目录
[Feign 继承方式](#Feign 继承方式)
[Feign 抽取方式](#Feign 抽取方式)
OpenFeign最佳实践
问题引入
最佳实践, 其实也就是经过历史的迭代, 在项⽬中的实践过程中, 总结出来的最好的使⽤⽅式.
通过观察, 我们也能看出来, Feign的客户端与服务提供者的controller代码⾮常相似:
Feign客户端
java
@FeignClient(value = "product-service",path = "/product")
public interface ProductApi {
    @RequestMapping("/{productId}")
    ProductInfo getProductById(@PathVariable("productId") Integer productId);
}
服务提供方Controller
java
@RequestMapping("/product")
@RestController
public class ProductController {
    @Autowired
    private ProductService productService;

    @RequestMapping("/{productId}")
    public ProductInfo getProductById(@PathVariable("productId") Integer productId){
        return productService.selectProductById(productId);
    }
}
那么有没有⼀种⽅法可以简化这种写法呢?
Feign 继承方式
Feign ⽀持继承的⽅式, 我们可以把⼀些常⻅的操作封装到接⼝⾥.
我们可以定义好⼀个接⼝, 服务提供⽅实现这个接⼝, 服务消费⽅编写Feign 接⼝的时候, 直接继承这个接口。
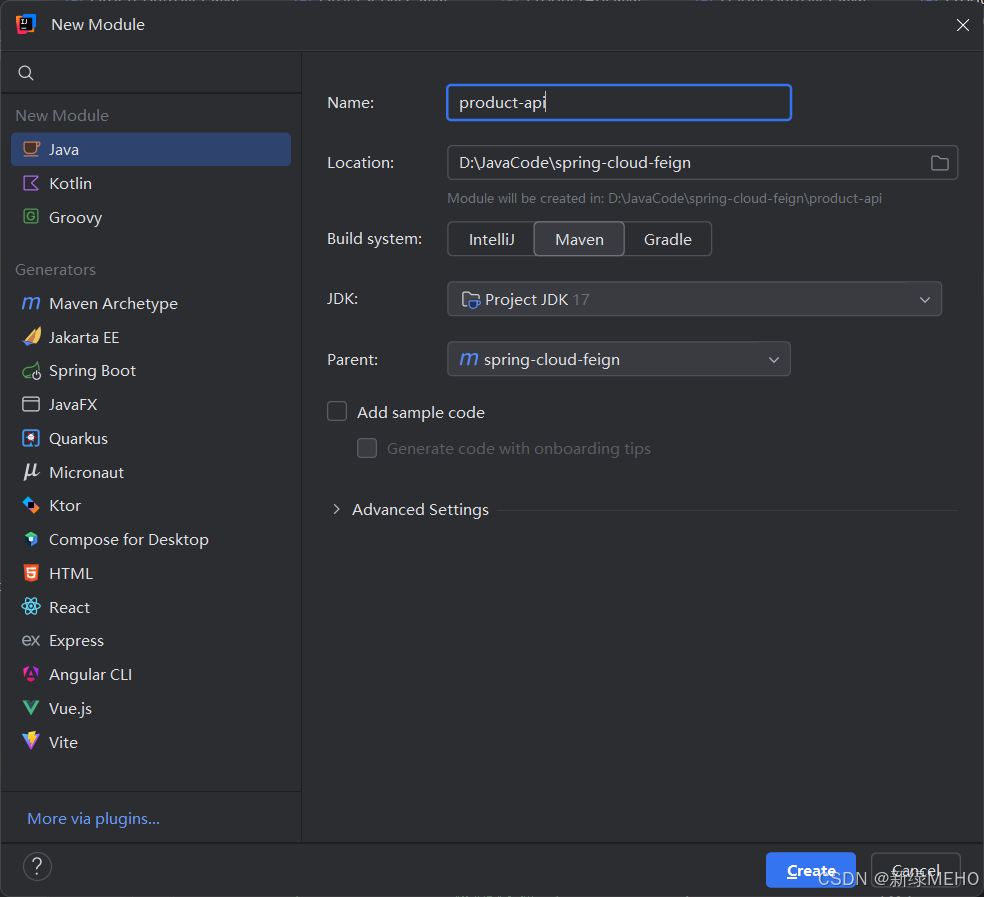
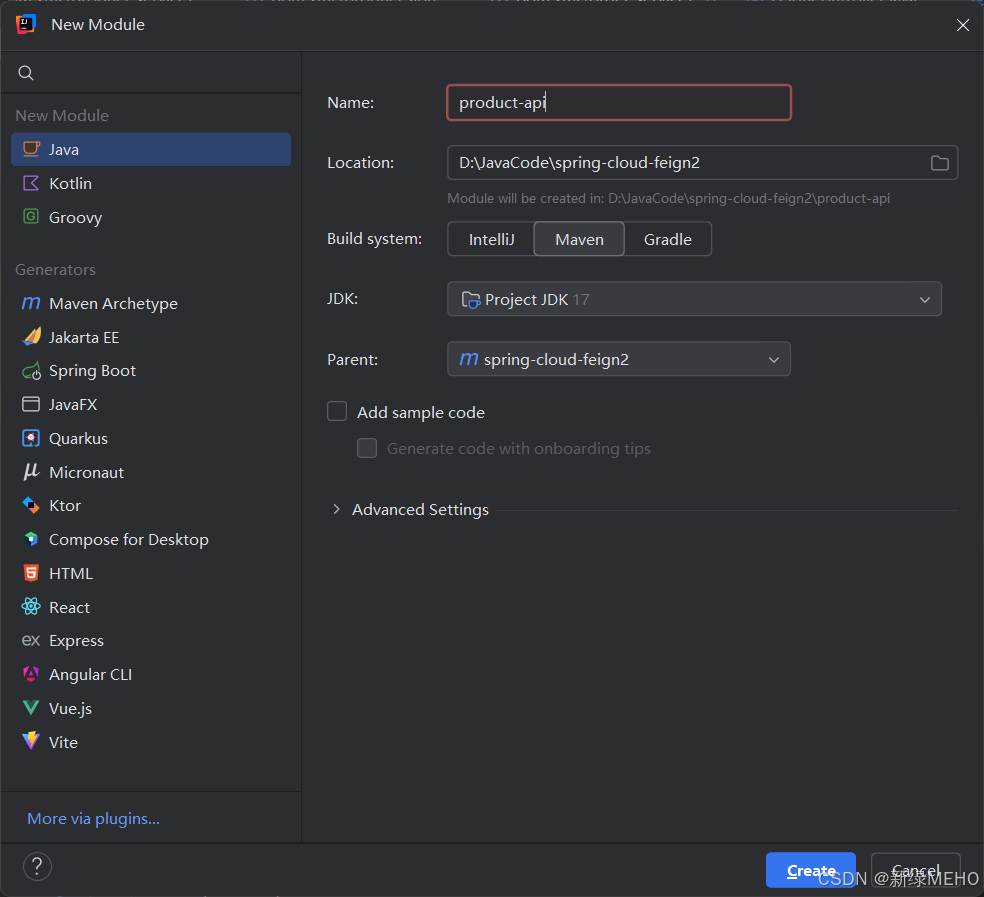
创建Module
接⼝可以放在⼀个公共的Jar包⾥, 供服务提供⽅和服务消费⽅使⽤.
引入依赖
<dependencies>
    <dependency>
        <groupId>org.springframework.boot</groupId>
        <artifactId>spring-boot-starter-web</artifactId>
    </dependency>
    <dependency>
        <groupId>org.springframework.cloud</groupId>
        <artifactId>spring-cloud-starter-openfeign</artifactId>
    </dependency>
</dependencies>
编写接口
把之前ProductApi的内容移动到Module中的ProductInterface接口中:
java
package api;

import model.ProductInfo;
import org.springframework.cloud.openfeign.SpringQueryMap;
import org.springframework.web.bind.annotation.PathVariable;
import org.springframework.web.bind.annotation.RequestBody;
import org.springframework.web.bind.annotation.RequestMapping;
import org.springframework.web.bind.annotation.RequestParam;

public interface ProductInterface {
    @RequestMapping("/{productId}")
    ProductInfo getProductById(@PathVariable("productId") Integer productId);

    @RequestMapping("/p1")
    String p1(@RequestParam("id") Integer id);

    @RequestMapping("/p2")
    String p2(@RequestParam("id") Integer id, @RequestParam("name") String name);

    @RequestMapping("/p3")
    String p3(@SpringQueryMap ProductInfo productInfo);

    @RequestMapping("/p4")
    String p4(@RequestBody ProductInfo productInfo);
}
把之前ProductInfo的内容移动到Module中:
java
package model;
import lombok.Data;
import java.util.Date;
@Data
public class ProductInfo {
private Integer id;
private String productName;
private Integer productPrice;
private Integer state;
private Date createTime;
private Date updateTime;
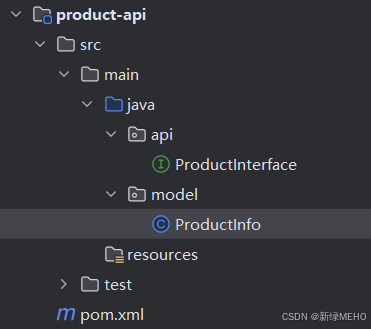
}目录结构如下:
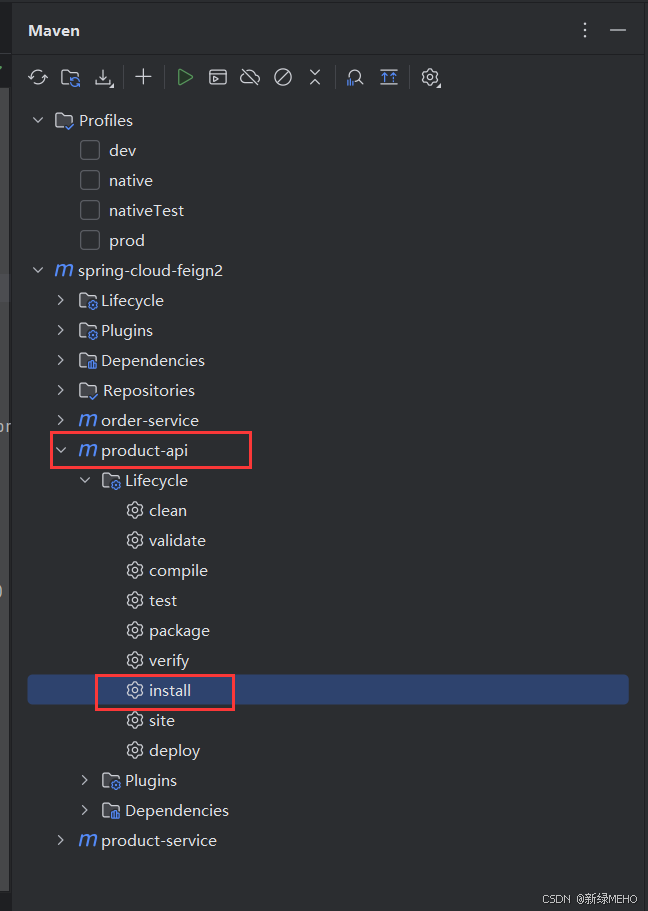
打Jar包
通过Maven打包
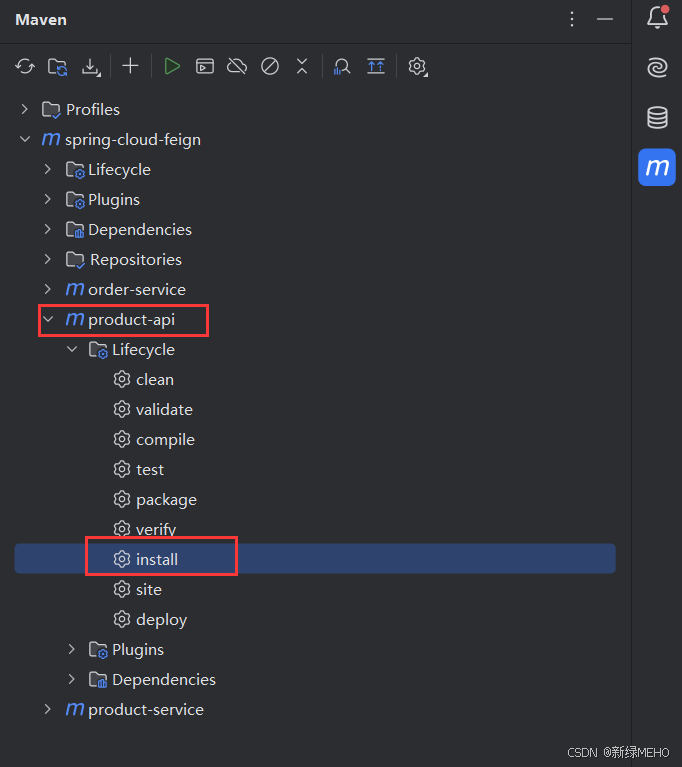

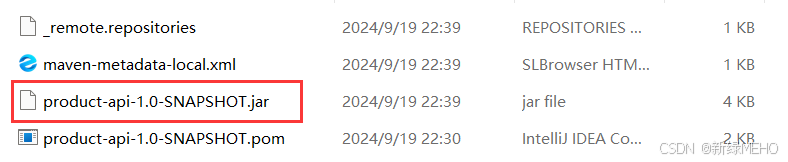
观察Maven本地仓库, Jar包是否打成功:
服务提供方
服务提供⽅实现接口 ProductInterface
java
package product.controller;

import api.ProductInterface;
import model.ProductInfo;
import org.springframework.beans.factory.annotation.Autowired;
import org.springframework.web.bind.annotation.PathVariable;
import org.springframework.web.bind.annotation.RequestBody;
import org.springframework.web.bind.annotation.RequestMapping;
import org.springframework.web.bind.annotation.RestController;
import product.service.ProductService;

@RequestMapping("/product")
@RestController
public class ProductController implements ProductInterface {
    @Autowired
    private ProductService productService;

    @RequestMapping("/{productId}")
    public ProductInfo getProductById(@PathVariable("productId") Integer productId){
        return productService.selectProductById(productId);
    }

    @RequestMapping("/p1")
    public String p1(Integer id){
        return "product-service 接收到参数, id:"+id;
    }
    @RequestMapping("/p2")
    public String p2(Integer id, String name){
        return "product-service 接收到参数, id:"+id+",name:"+name;
    }
    @RequestMapping("/p3")
    public String p3(ProductInfo productInfo){
        return "product-service 接收到参数: productInfo"+productInfo.toString();
    }

    @RequestMapping("/p4")
    public String p4(@RequestBody ProductInfo productInfo){
        return "product-service 接收到参数: productInfo"+productInfo.toString();
    }
}
服务消费方
服务消费⽅继承ProductInterface
java
package order.api;

import api.ProductInterface;
import org.springframework.cloud.openfeign.FeignClient;

@FeignClient(value = "product-service",path = "/product")
public interface ProductApi extends ProductInterface {
}
启动服务并访问


Feign 抽取方式
官⽅推荐Feign的使⽤⽅式为继承的⽅式, 但是企业开发中, 更多是把Feign接⼝抽取为⼀个独⽴的模块(做法和继承相似, 但理念不同).
操作⽅法:
将Feign的Client抽取为⼀个独⽴的模块, 并把涉及到的实体类等都放在这个模块中, 打成⼀个Jar. 服务消费⽅只需要依赖该Jar包即可. 这种⽅式在企业中⽐较常⻅, Jar包通常由服务提供⽅来实现.
创建Module
引入依赖
<dependency>
    <groupId>org.springframework.cloud</groupId>
    <artifactId>spring-cloud-starter-openfeign</artifactId>
</dependency>
编写接口
把之前ProductApi的内容移动到Module中的ProductInterface接口中:
java
package api;

import model.ProductInfo;
import org.springframework.cloud.openfeign.SpringQueryMap;
import org.springframework.web.bind.annotation.PathVariable;
import org.springframework.web.bind.annotation.RequestBody;
import org.springframework.web.bind.annotation.RequestMapping;
import org.springframework.web.bind.annotation.RequestParam;

public interface ProductInterface {
    @RequestMapping("/{productId}")
    ProductInfo getProductById(@PathVariable("productId") Integer productId);

    @RequestMapping("/p1")
    String p1(@RequestParam("id") Integer id);

    @RequestMapping("/p2")
    String p2(@RequestParam("id") Integer id, @RequestParam("name") String name);

    @RequestMapping("/p3")
    String p3(@SpringQueryMap ProductInfo productInfo);

    @RequestMapping("/p4")
    String p4(@RequestBody ProductInfo productInfo);
}
把之前ProductInfo的内容移动到Module中:
java
package model;

import lombok.Data;

import java.util.Date;

@Data
public class ProductInfo {
    private Integer id;
    private String productName;
    private Integer productPrice;
    private Integer state;
    private Date createTime;
    private Date updateTime;
}
目录结构如下:
打Jar包
通过Maven打包
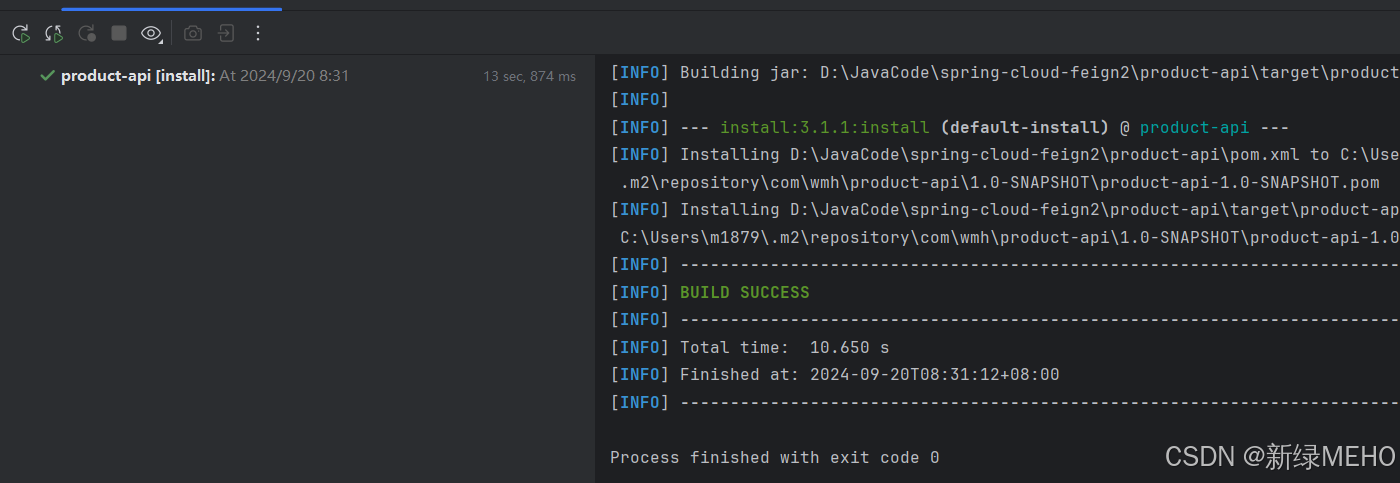
观察Maven本地仓库, Jar包是否打成功:

服务消费方
删除ProductInfo和ProductApi
引入依赖
<dependency>
    <groupId>com.wmh</groupId>
    <artifactId>product-api</artifactId>
    <version>1.0-SNAPSHOT</version>
    <scope>compile</scope>
</dependency>
指定扫描类
下面我们使用@EnableFeignClients(clients = {ProductApi.class})来指定扫描类,
当然也可以使用@EnableFeignClients(basePackages = {"api"})指定扫描类。
java
package order;

import api.ProductApi;
import org.springframework.boot.SpringApplication;
import org.springframework.boot.autoconfigure.SpringBootApplication;
import org.springframework.cloud.openfeign.EnableFeignClients;

@EnableFeignClients(clients = {ProductApi.class})
@SpringBootApplication
public class OrderServiceApplication {
    public static void main(String[] args) {
        SpringApplication.run(OrderServiceApplication.class, args);
    }
}
如果不指定扫描类的话,运行程序会失败并报错:
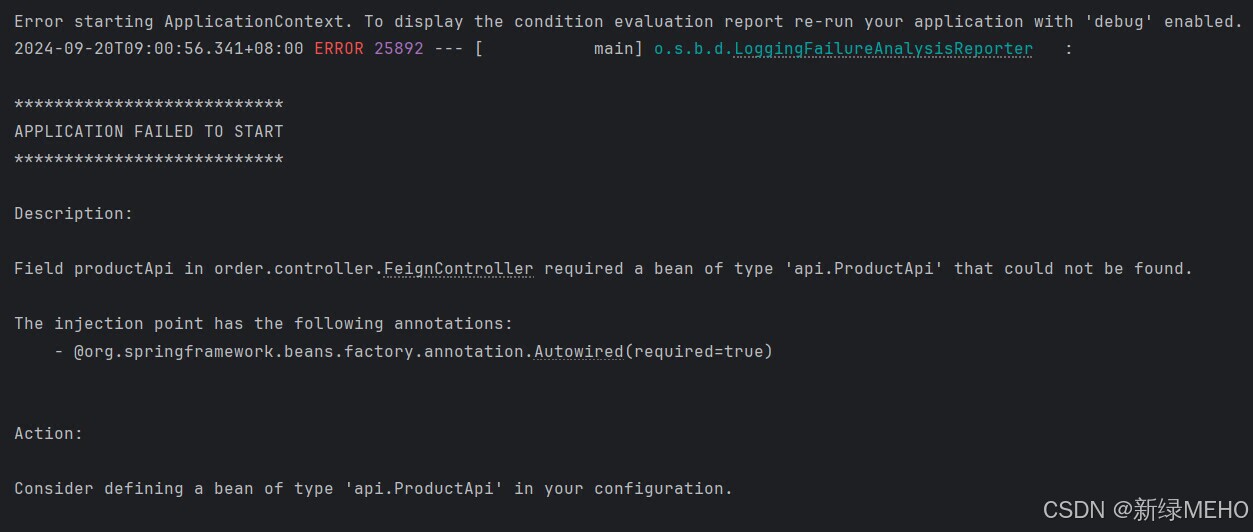
原因是因为order-service的启动类OrderServiceApplication只会扫描启动类所在目录,而ProductApi并不在其扫描路径内,因此需要指定扫描类。
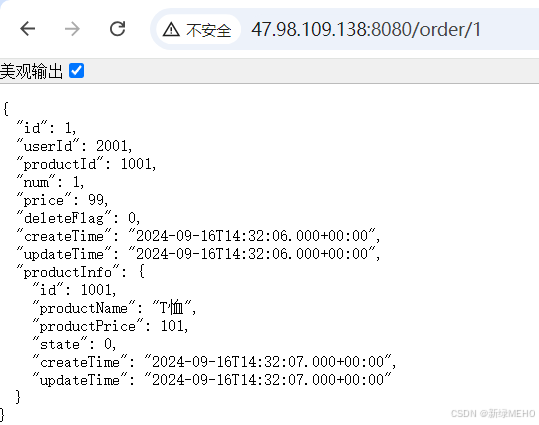
启动服务并访问

服务部署
-
修改数据库, Nacos等相关配置
-
对两个服务进⾏打包
Maven打包默认是从远程仓库下载的, product-api 这个包在本地, 有以下解决⽅案:
◦ 上传到Maven中央仓库(⽐较⿇烦)不推荐
◦ 搭建Maven私服, 上传Jar包到私服企业推荐
◦ 从本地读取Jar包个⼈学习阶段推荐
前两种⽅法⽐较复杂, 咱们使⽤第三种⽅式。
修改pom.xml文件

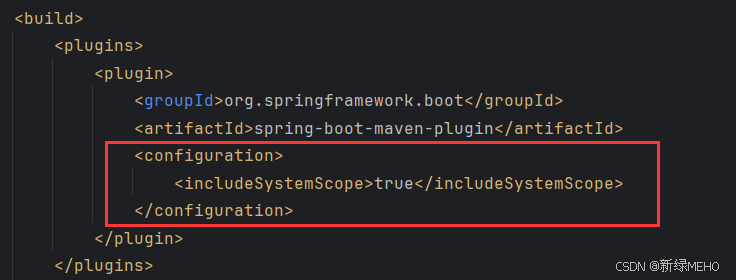
如果不配置上图所示的一下内容,项目启动会失败并报错:
<configuration>
    <includeSystemScope>true</includeSystemScope>
</configuration>

-
上传jar到Linux服务器
-
启动Nacos
启动前最好把data数据删除掉.
- 启动服务
#后台启动order-service, 并设置输出⽇志到logs/order.log
nohup java -jar order-service.jar >logs/order.log &
#后台启动product-service, 并设置输出⽇志到logs/order.log
nohup java -jar product-service.jar >logs/product-9090.log &
#启动实例, 指定端⼝号为9091
nohup java -jar product-service.jar --server.port=9091 >logs/product-9091.log &
观察Nacos控制台
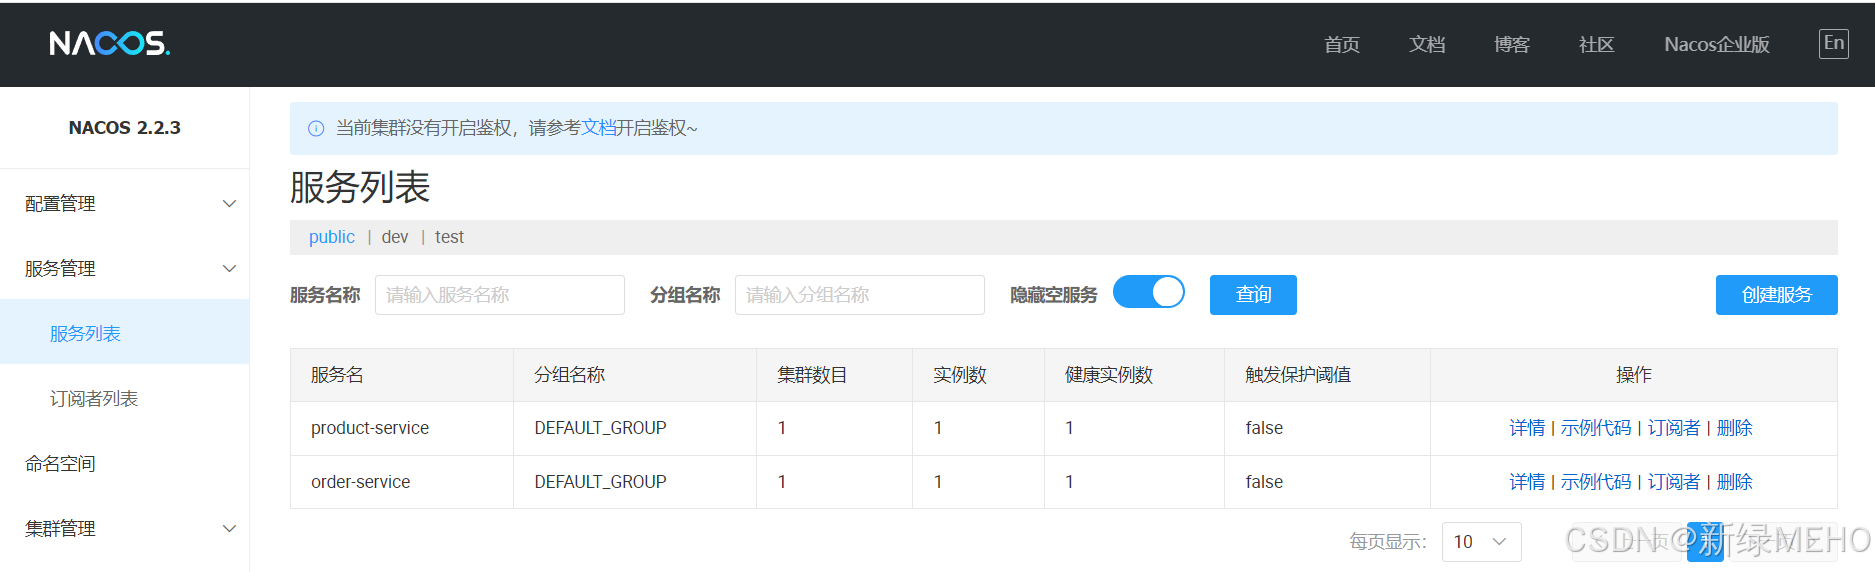
远程访问