autopilot 需要数据才能跑起来,想了下自己造数据太麻烦了,所以基于 konva(canvas)做一个场景编辑器来造点数据,目标是通过编辑器编辑地图和基于地图编辑一个基础场景(自车+车道+环境车+行驶模拟),并在 autopilot 应用中跑起来
这里咱直接用成熟的 canvas 库 konva 来搭建页面,这个库可以先用官网的 editor-demo 体验下。konva 的图层层级结构分为 Stage -> Layer(层) (-> Group) -> Shape(元素),可以先熟悉下这几个概念,不熟的话可能比较难以看懂下面的示例代码
页面布局
稍微设计一下:中间画布+顶部操作栏+右侧属性面板。关于组件库的话,antd 够用了,如下图所示:
暂时先只做一个地图和一个场景,后面再扩展下多对多的情况
数据管理
通过 mobx 和 mobx-react-lite 来管理编辑器的数据。新建变量的时候,很多情况下你只需要一个全局变量而不是响应式变量,所以还是建议在 makeObservable 指定变量是否可观察(而不是一味 makeAutoObservable 虽然用这个有点爽),另外可以善用下observable.shallow 做浅层的观察,毕竟复杂的大对象在生成响应式对象时还是有一定开销的
ts
// store/index.ts
import Konva from "konva";
import { makeObservable, observable, computed, action } from "mobx";

class EditorStore {
  stage: IStage = {
    ref: null, // 暂存konva画布实例
  };
  editMode = EditMode.Map; // 编辑模式,分为地图和场景编辑
  isEdit = false; // 编辑锁
  isDrawLine = false; // 画线锁
  // 统一处理场景元素的绘制
  drawCallForScene = (type: ESceneElement) => {
    this.isEdit = true;
    switch (type) {
      case ESceneElement.Vehicle: {
        break;
      }
      default: {
        break;
      }
    }
    this.isEdit = false;
  };
  // 统一处理地图元素的绘制
  drawCallForMap = (type: EMapElement) => {
    this.isEdit = true;
    switch (type) {
      case EMapElement.Line: {
        this.isDrawLine = true;
        break;
      }
      default: {
        break;
      }
    }
    this.isEdit = false;
  };
  // 在初始化画布时执行,挂载画布事件
  initStage = () => {
    const stage = this.stage.ref!;
    const layer = stage.getLayers()[0];
    // ...
  };
  // 地图
  mapList = [];
  currentMap = "";
  // 场景
  sceneList = [];
  currentScene = "";
  // 元素
  selectedElement = null;
  // 当前选中的元素的属性,基础属性包括位置、颜色、旋转、大小、名称等
  selectedElementProps = null;

  constructor() {
    makeObservable(this, {
      stage: observable.shallow,
      editMode: observable,
      // ...文章代码可能不全,感兴趣自行查阅github源码
    });
  }
}
初始化页面
新建一个 react 路由页面,初始化画布,监听画布事件比如点击、鼠标事件等,并自适应容器宽高
tsx
// scene-editor/index.tsx
const SceneEditor = observer(() => {
  const { stage } = editorStore;
  const containerRef = useRef<HTMLDivElement>(null);
  const [shapes, setShapes] = useState<Konva.ShapeConfig[]>([]);
  const [selectedId, setSelectedId] = useState<string>();

  // 初始化画布
  useEffect(() => {
    if (containerRef.current) {
      const container = containerRef.current;
      stage.ref = new Konva.Stage({
        container: containerRef.current,
        width: container.clientWidth,
        height: container.clientHeight,
        draggable: true,
      });
      // 初始化图层
      const layer = new Konva.Layer();
      stage.ref.add(layer);
      const resizeStage = () => {
        stage.ref!.width(container.clientWidth);
        stage.ref!.height(container.clientHeight);
        // 批量绘制(放到同一帧绘制)
        stage.ref!.batchDraw();
      };
      editorStore.initStage();
      // 监听窗口变化
      window.addEventListener("resize", resizeStage);
      // 监听缩放
      stage.ref.on("wheel", (e) => {
        e.evt.preventDefault();
        handleWheel(e.evt);
      });
      return () => {
        stage.ref?.destroy();
        window.removeEventListener("resize", resizeStage);
      };
    }
  }, []);

  return (
    <div className="scene-editor">
      {/* 顶部状态栏 */}
      <Header />
      <div ref={containerRef} style={{ width: "100%", height: "100%" }} />
      {/* 侧边栏 */}
      <RightSider />
    </div>
  );
});
代码可能不全,可以查阅 github 源码
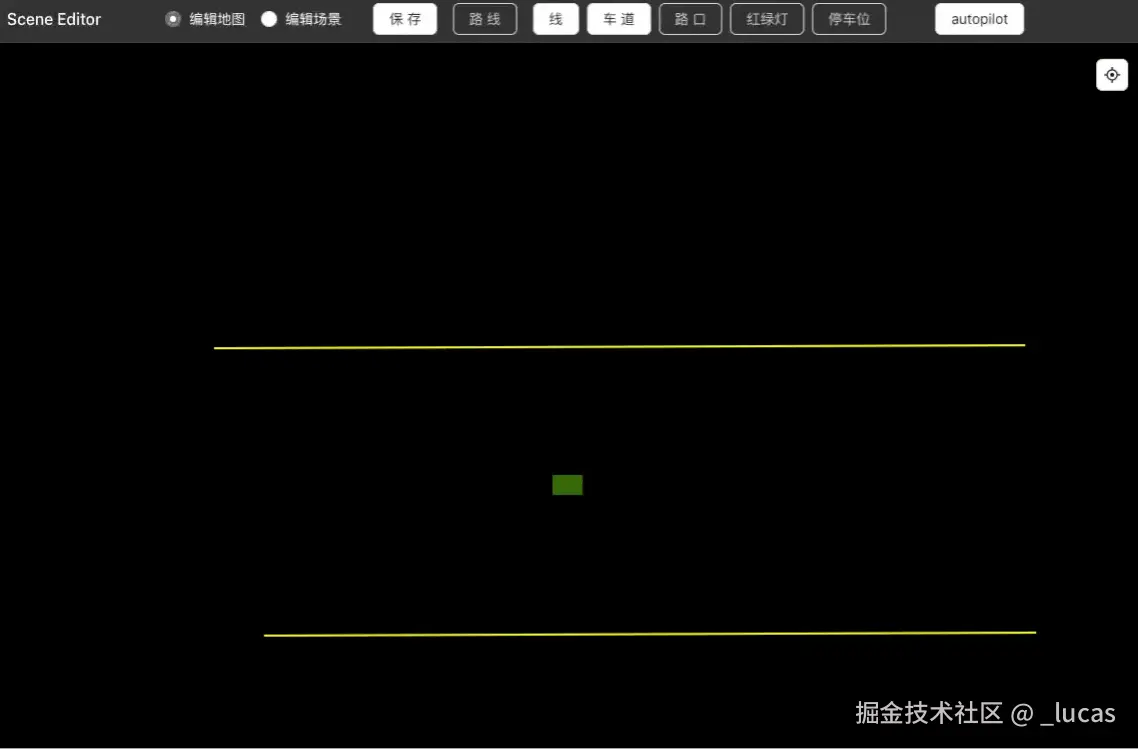
自车
自车默认位于原点位置,这里先简单用一个绿色矩形框来替代,在初始化的时候就自动添加到场景中。并且这里要先加一个元素控制器 Konva.Transformer,便于调整矩形框的大小和旋转角度
ts
// store/index.ts
// ...
initStage = () => {
  // ...
  // 初始化控制器
  this.transformer = new Konva.Transformer({
    // 启用旋转
    rotateEnabled: true,
    // 设置旋转吸附角度
    rotationSnaps: [0, 90, 180, 270],
  });
  layer.add(this.transformer);
  // ...然后监听点击事件,在点击到具体shape的时候动态加上控制器
  stage.on("click", (e) => {
    if (e.target === stage) {
      this.transformer!.nodes([]);
    } else {
      const target = e.target as Konva.Shape;
      // 这里其实可以做下限制,有些元素可能是不允许编辑的
      // 比如地图元素在场景编辑模式下是不可编辑的
      // if (target !== this.currentLine) {
      this.transformer!.nodes([target]);
      this.selectedElement = target;
      // }
    }
  });
};
自车相关的代码如下:
ts
// store/index.ts
// ...
initStage = () => {
  //...
  // 绘制自车
  const autoCar = createRect({
    fill: "green",
    x: 0,
    y: 0,
    width: 30,
    height: 20,
    strokeWidth: 1,
  });
  layer.add(autoCar);
};
基础图形封装
其实 konva 本身已经封装了现成的图形绘制函数,这里是二次封装简化下代码量,基类代码如下:
ts
import Konva from "konva";

type ShapeType = "rect" | "circle" | "line" | "polygon" | "triangle";

export function createRect(config: Konva.RectConfig) {
  return createShape("rect", {
    width: 100,
    height: 80,
    ...config,
  });
}

export function createCircle(config: Konva.CircleConfig) {
  return createShape("circle", {
    radius: config?.radius || 50,
    ...config,
  });
}

export function createTriangle(config: Konva.ShapeConfig) {
  return createShape("triangle", {
    offset: { x: 0, y: -15 }, // 居中调整
    ...config,
  });
}

/**
 * 图形基类
 */
export function createShape(type: ShapeType, config: any) {
  const defaults = {
    x: 0,
    y: 0,
    fill: Konva.Util.getRandomColor(),
    draggable: true,
    stroke: "#333",
    strokeWidth: 2,
  };

  const shapeConfig = { ...defaults, ...config };
  let shape: Konva.Shape;

  switch (type) {
    case "rect":
      shape = new Konva.Rect(shapeConfig);
      break;
    case "circle":
      shape = new Konva.Circle({
        radius: 50,
        ...shapeConfig,
      });
      break;
    case "line":
      shape = new Konva.Line({
        points: [0, 0, 100, 100], // 默认对角线
        lineCap: "round",
        ...shapeConfig,
      });
      break;
    case "polygon":
      shape = new Konva.RegularPolygon({
        sides: 5, // 默认五边形
        radius: 60,
        ...shapeConfig,
      });
      break;
    case "triangle":
      shape = new Konva.Shape({
        sceneFunc: function (context: Konva.Context, shape: Konva.Shape) {
          context.beginPath();
          context.moveTo(0, -30);
          context.lineTo(30, 30);
          context.lineTo(-30, 30);
          context.closePath();
          context.fillStrokeShape(shape);
        },
        ...shapeConfig,
      });
      break;
  }
  shape!.on("click", () => console.log(`${type} clicked`));
  shape!.on("dragend", () => console.log(`${type} moved`));
  return shape!;
}
交互实现
整体交互是先在场景编辑器编辑地图和交通场景,通过 localStorage 保存数据,然后通过指定按钮快速跳转到 autopilot 3d 页面查看仿真效果,可以翻到最后先看下录屏效果
地图交互
地图拖动。配置支持 draggable
ts
new Konva.Stage({
  container: containerRef.current,
  width: container.clientWidth,
  height: container.clientHeight,
  draggable: true,
});
地图缩放。下面以鼠标滚轮缩放为例,基于鼠标位置做画布的缩放
ts
// scene-editor/index.tsx
// 监听鼠标滚轮事件
const MIN_SCALE = 0.5; // 最小缩放比例
const MAX_SCALE = 3; // 最大缩放比例
const handleWheel = (e: any) => {
  const stageRef = stage.ref!;
  const step = 1.1;
  const oldScale = stageRef.scaleX();
  const pointer = stageRef.getPointerPosition()!;
  let newScale = e.deltaY < 0 ? oldScale * step : oldScale / step;
  // 有最大和最小范围限制
  newScale = Math.min(Math.max(newScale, MIN_SCALE), MAX_SCALE);
  const mousePointTo = {
    x: (pointer.x - stageRef.x()) / oldScale,
    y: (pointer.y - stageRef.y()) / oldScale,
  };
  stageRef.scale({ x: newScale, y: newScale });
  const newPos = {
    x: pointer.x - mousePointTo.x * newScale,
    y: pointer.y - mousePointTo.y * newScale,
  };
  stageRef.position(newPos);
  stageRef.batchDraw();
};
// ...
一键返回原点。可以在左上角加个悬浮按钮居中画布原点
ts
// store/index.ts
focusOrigin = () => {
  if (this.stage.ref) {
    // 清除拖拽产生的位移偏差
    this.stage.ref.x(0);
    this.stage.ref.y(0);
    const centerX = -this.stage.ref.width() / 2;
    const centerY = -this.stage.ref.height() / 2;
    this.stage.ref.offset({ x: centerX, y: centerY });
  }
};
线段绘制
- 支持绘制直线和虚线
- 编辑过程加绘制锁,按 Q 键(Quit)退出线段绘制
这里需要在 initStage 监听鼠标点击和移动事件,具体看代码注释清晰点:
ts
// store/index.ts
// 暂存的线段对象,用于绘制多段直线
// ...
isDrawLine = false;
currentLine: Konva.Line | null = null;
// 点击顶部操作栏的线段按钮,会加编辑锁,便于多段线段的绘制
drawCallForMap = (type: EMapElement) => {
  this.isEdit = true;
  switch (type) {
    case EMapElement.Line: {
      this.isDrawLine = true;
      break;
    }
    default: {
      break;
    }
  }
  this.isEdit = false;
};
// 在初始化画布时执行,挂载画布事件
initStage = () => {
  const stage = this.stage.ref!;
  const layer = stage.getLayers()[0];
  // 点击时新建线段
  stage.on("mousedown", () => {
    if (this.isDrawLine) {
      const pos = stage.getPointerPosition()!;
      this.currentLine = new Konva.Line({
        points: [pos.x, pos.y],
        fill: "yellow",
        stroke: "yellow",
        strokeWidth: 2,
      });
      layer.add(this.currentLine);
    }
  });
  // 移动鼠标可以选择下一段线段的落点
  // TODO 这里其实可以做下节流
  stage.on("mousemove", () => {
    if (this.currentLine && this.isDrawLine) {
      const pos = stage.getPointerPosition()!;
      let newPoints = [];
      if (this.currentLine.points().length > 2) {
        newPoints = this.currentLine
          .points()
          .slice(0, -2)
          .concat([pos.x, pos.y]);
      } else {
        newPoints = this.currentLine.points().concat([pos.x, pos.y]);
      }
      this.currentLine.points(newPoints);
      layer.batchDraw();
    }
  });
  // 监听键盘事件,这里设定在点击ESC键时结束线段的绘制
  const onKeydown = (e: any) => {
    if (e.key === "q") {
      if (this.isDrawLine && this.currentLine) {
        const newPoints = this.currentLine.points().slice(0, -2);
        this.currentLine.points(newPoints);
        layer.batchDraw();
        this.isDrawLine = false;
        this.currentLine = null;
      }
    }
  };
  window.addEventListener("keydown", onKeydown);
};
车道绘制
这里设计为三段式编辑,第一二次点击确定车道宽度,第三次点击确定长度,并且结束车道绘制。在第三次点击前有一个框体的高亮效果辅助定位范围
ts
// store/index.ts
isDrawMapElement: EMapElement | null = null;
// 车道辅助绘制,计算当前点击的次数
drawLaneCount = 0;
// 当前车道,多边形对象
currentLane: Konva.Shape | null = null;
stage.on("mousedown", () => {
  // ...
  if (this.isDrawMapElement === EMapElement.Lane) {
    // 第一次点击,先绘制宽度线
    if (this.drawLaneCount === 0) {
      this.currentLine = new Konva.Line({
        points: [pointX, pointY],
        fill: "yellow",
        stroke: "yellow",
        strokeWidth: 2,
      });
      layer.add(this.currentLine);
      // 第二次点击,确定宽度
    } else if (this.drawLaneCount === 1) {
      this.currentLine!.points().push(pointX, pointY);
      // 第三次点击,确定长度
    } else if (this.drawLaneCount === 2) {
      this.currentLane?.destroy();
      const points = [
        this.currentLine!.points()[0],
        this.currentLine!.points()[1],
        this.currentLine!.points()[2],
        this.currentLine!.points()[3],
        pointX,
        pointY,
        pointX -
          (this.currentLine!.points()[2] - this.currentLine!.points()[0]),
        pointY -
          (this.currentLine!.points()[3] - this.currentLine!.points()[1]),
      ];
      this.currentLane = new Konva.Shape({
        // 顶点坐标数组
        points,
        fill: "yellow",
        stroke: "green",
        opacity: 0.2,
        strokeWidth: 2,
        sceneFunc: function (ctx, shape) {
          const points = shape.getAttr("points");
          ctx.beginPath();
          ctx.moveTo(points[0], points[1]);
          for (let i = 2; i < points.length; i += 2) {
            ctx.lineTo(points[i], points[i + 1]);
          }
          ctx.closePath();
          ctx.fillStrokeShape(shape);
        },
      });
      layer.add(this.currentLane);
      this.drawDone(EMapElement.Lane);
    }
    this.drawLaneCount++;
  }
})
stage.on("mousemove", () => {
  // ...
  if (this.currentLine && this.isDrawMapElement === EMapElement.Lane) {
    const pos = stage.getPointerPosition()!;
    const pointX = stage.offset().x + pos.x;
    const pointY = stage.offset().y + pos.y;
    let newPoints = [];
    if (this.drawLaneCount === 1) {
      if (this.currentLine.points().length > 2) {
        newPoints = this.currentLine
          .points()
          .slice(0, -2)
          .concat([pointX, pointY]);
      } else {
        newPoints = this.currentLine.points().concat([pointX, pointY]);
      }
      this.currentLine.points(newPoints);
      layer.batchDraw();
    } else if (this.drawLaneCount === 2) {
      this.currentLane?.destroy();
      // NOTE 注意按逆时针排,和threejs自定义多边形点集一致
      const points = [
        this.currentLine!.points()[0],
        this.currentLine!.points()[1],
        this.currentLine!.points()[2],
        this.currentLine!.points()[3],
        pointX,
        pointY,
        pointX -
          (this.currentLine!.points()[2] - this.currentLine!.points()[0]),
        pointY -
          (this.currentLine!.points()[3] - this.currentLine!.points()[1]),
      ];
      this.currentLane = new Konva.Shape({
        points,
        fill: "yellow",
        stroke: "green",
        opacity: 0.2,
        strokeWidth: 2,
        sceneFunc: function (ctx, shape) {
          const points = shape.getAttr("points");
          ctx.beginPath();
          ctx.moveTo(points[0], points[1]);
          for (let i = 2; i < points.length; i += 2) {
            ctx.lineTo(points[i], points[i + 1]);
          }
          ctx.closePath();
          ctx.fillStrokeShape(shape);
        },
      });
      layer.add(this.currentLane);
    }
  }
})
// 在这里统一处理绘制结束的逻辑
drawDone = (type: EMapElement | ESceneElement) => {
  // ...
  if (type === EMapElement.Lane) {
    const contour = _.chunk(this.currentLane?.getAttr("points"), 2).map(
      (item) =>
        ({
          x: item[0],
          y: item[1],
          z: 0,
        } as { x: number; y: number; z: number })
    );
    const data: IFreespace = {
      id: "freespace" + this.mapElements.lanes.length,
      contour,
    };
    this.mapElements.lanes.push(data);
    this.currentLine?.destroy();
    this.currentLane = null;
    this.currentLine = null;
    this.drawLaneCount = 0;
  }
}
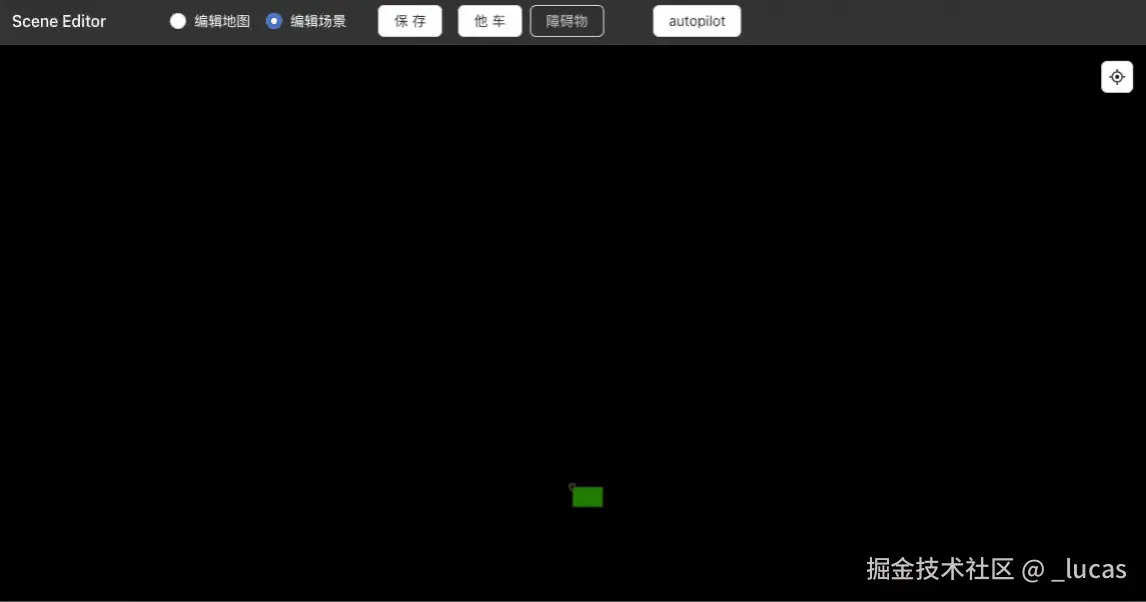
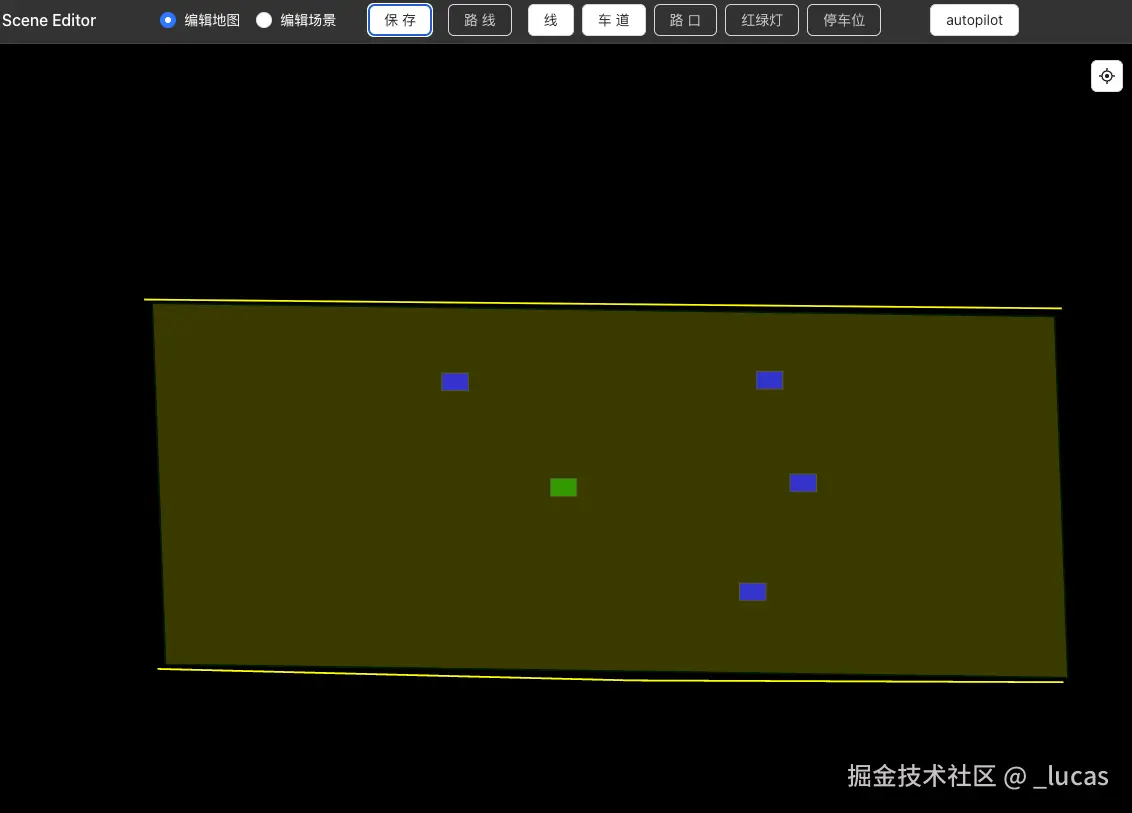
场景编辑
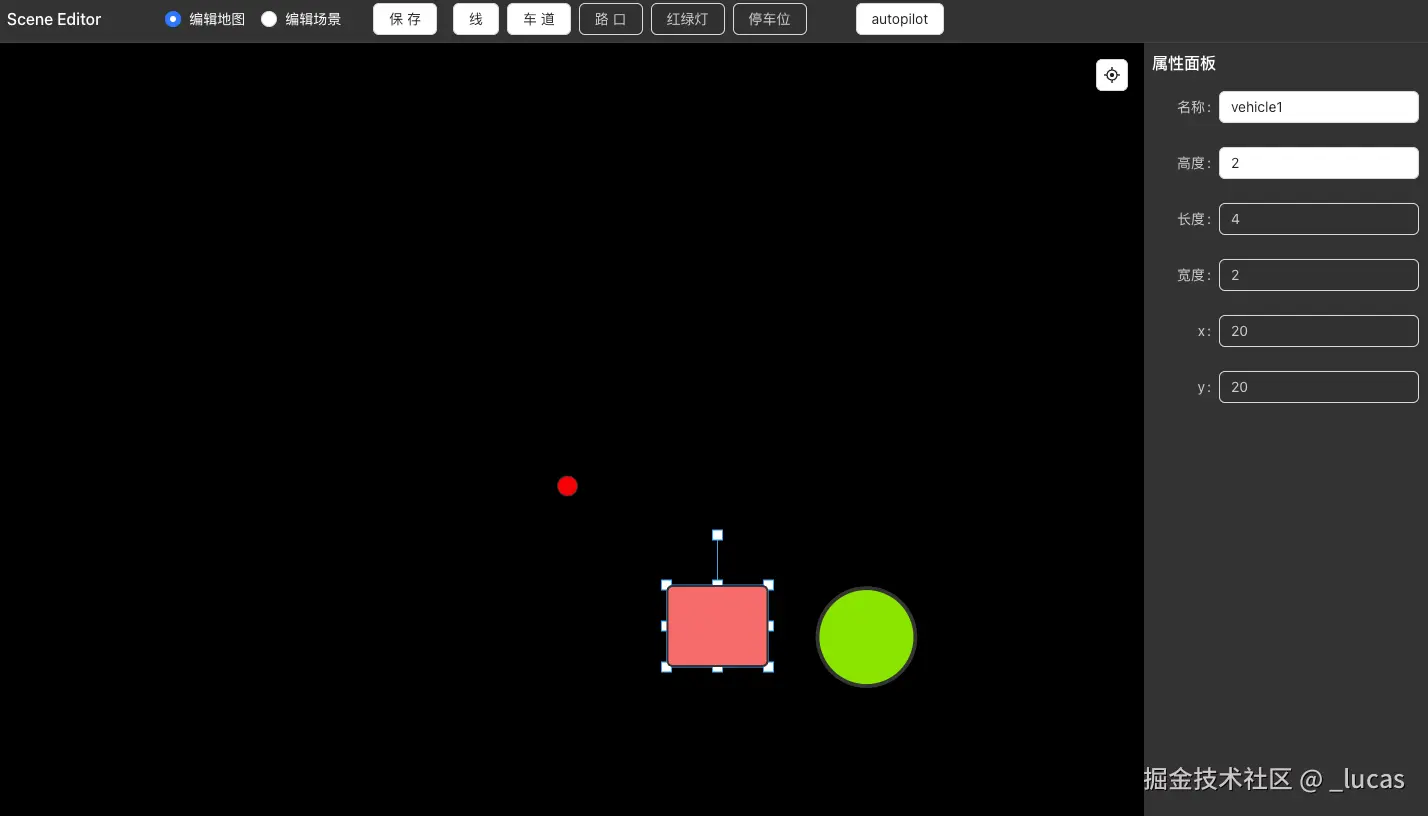
先支持他车的编辑,以矩形框替代,可以设置高度,看看这个交互是咋样的:
- 点击他车按钮
- 点击画布任意处新增他车矩形框
- 添加他车矩形框,矩形框支持旋转、改变大小和拖动
- 处于选中状态时,右侧表单自动回填属性,包括名称、宽高、位置等,可以修改,保存场景时会以最新的属性为准
添加代码参考:
ts
// store/index.ts
// 当前正在绘制的场景元素
isDrawSceneElement: ESceneElement | null = null;
drawCallForScene = (type: ESceneElement) => {
  this.isEdit = true;
  switch (type) {
    case ESceneElement.Vehicle: {
      this.isDrawSceneElement = ESceneElement.Vehicle;
      break;
    }
    default: {
      break;
    }
  }
  this.isEdit = false;
};
// ...
stage.on("click", (e) => {
  if (e.target === stage) {
    // ...
    if (this.isDrawSceneElement === ESceneElement.Vehicle) {
      const pos = stage.getPointerPosition()!;
      const pointX = stage.offset().x + pos.x;
      const pointY = stage.offset().y + pos.y;
      const vehicle = createRect({
        fill: "blue",
        x: pointX,
        y: pointY,
        width: 40,
        height: 30,
        strokeWidth: 1,
        // 居中
        offsetX: 15,
        offsetY: 10,
      });
      layer.add(vehicle);
      layer.batchDraw();
      // 自动选中
      this.transformer!.nodes([vehicle]);
      this.isDrawSceneElement = null;
    }
  } else {
    // ...
  }
});
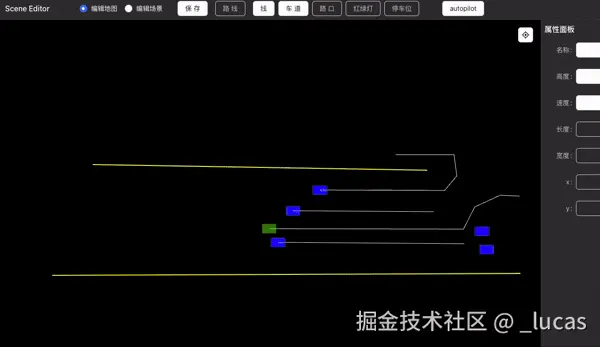
自车或他车路线编辑
这里先做成匀速的场景,后面可以扩展到更多行驶场景,当然这需要一定的算法 ~ 路线绘制的话,可以复用上面的画线逻辑
选中目标后,路线编辑按钮可点击,这个时候可以编辑对应的路线,路线起点是选中目标的原点,不过这里要注意加一下和他车或自车的关联。另外选中状态下,可以在右侧表单中设置速度
下面是绘制自车路线的示例,环境车其实也类似,注意和路线做下关联就行了:
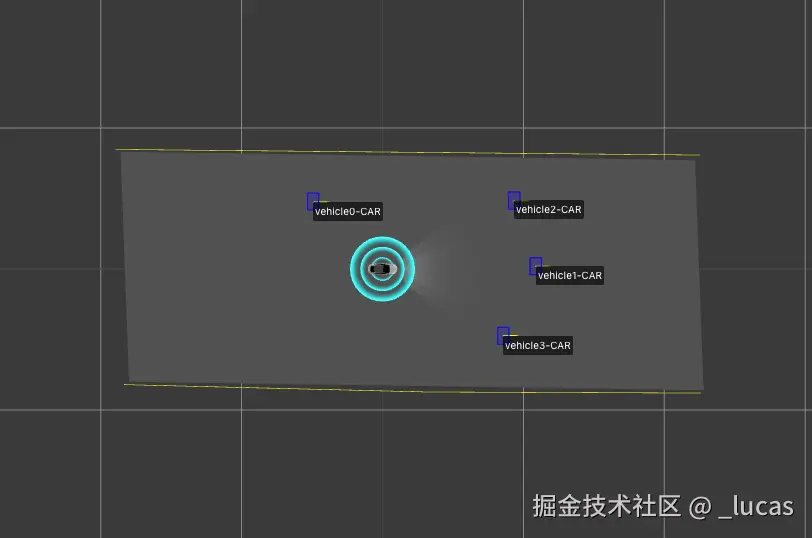
和 autopilot 交互
顶部右侧有一个按钮,可以点击后跳转到 autopilot 页面,快速预览 3d 效果,先简单从 localStorage 读取数据。数据结构方面,2d 元素这里其实和 3d 元素只有一个 z 轴的区别,其他结构其实差不多,场景元素主要都是点集,这里注意下坐标轴方向(编辑器现在 y 轴是反向...有点别扭其实)
保存场景数据
需要遍历场景元素,转换成 autopilot 能接受的接口数据(json),场景数据参考下面的类型定义:
ts
// 编辑器输出的场景数据
export interface ISceneData {
autoCar: {
pos: number[];
rotation: number;
path: number[][];
};
map: IMapElements;
scene: ISceneElements;
}
// 自车属性
export interface IAutoCar {
ref: Konva.Rect | null;
config: {
x: number;
y: number;
rotation: number;
};
path: number[][];
speed: number;
}
// 地图元素集合
export interface IMapElements {
lines: ILine[];
lanes: IFreespace[];
}
// 场景元素集合
export interface ISceneElements {
vehicles: ICube[];
obstacles: ICube[];
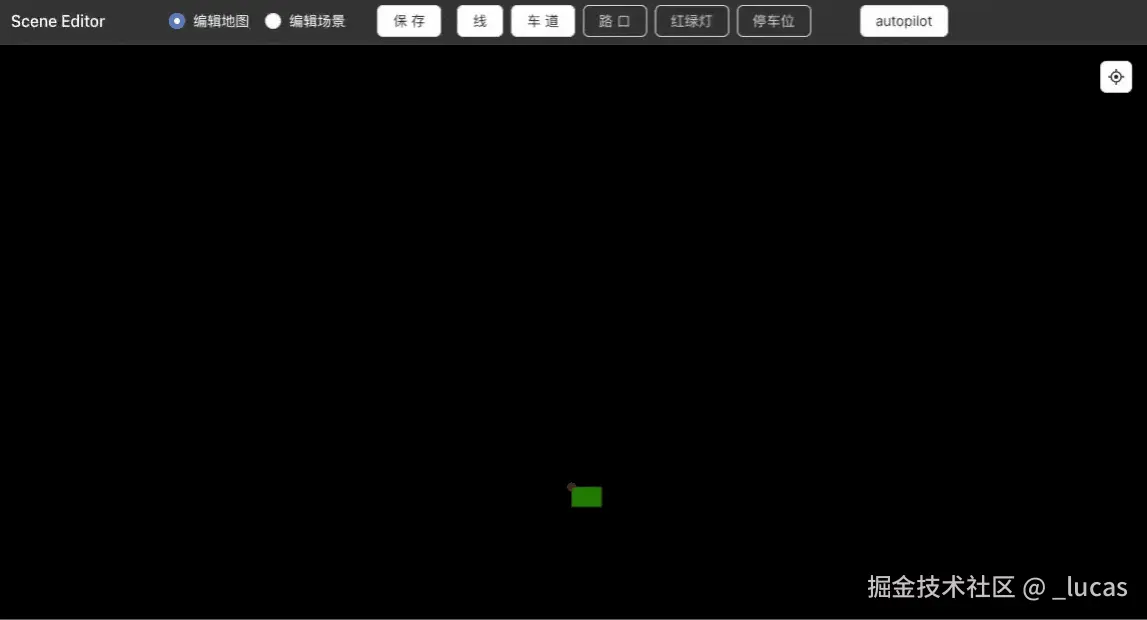
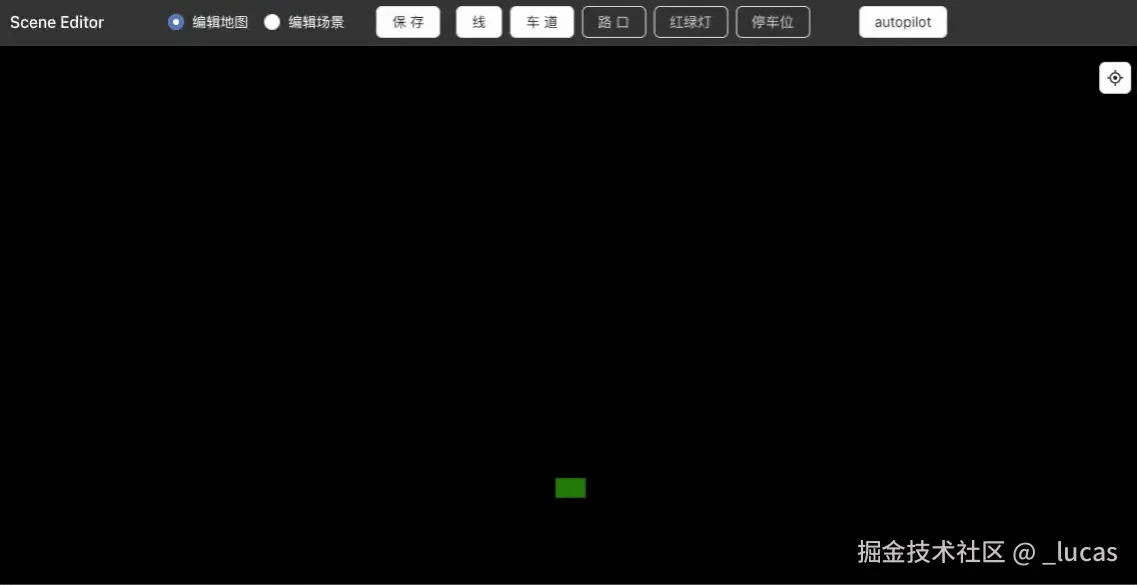
}看下编辑器和 autopilot 初步联动的静态效果:
编辑器:
autopilot 俯视:
再把速度加上,这里就假定车子是匀速,然后车子朝向固定为前后俩点的方向,下面是自车速度的实现示例,当然实际业务研发中,路线主要是上游算法或地图给的点集数据,这里纯粹做个演示,然后他车的匀速行驶也类似:
ts
// renderer/index.ts
// 模拟匀速行驶
// ...
if (path.length > 0) {
  // 生成平滑曲线
  const curve = new THREE.CatmullRomCurve3(
    path.map((p) => new THREE.Vector3(p[0] / 100, -p[1] / 100, 0)),
    false
  );
  const totalLength = curve.getLength();
  // 总时长 ms
  this.totalDuration = (totalLength / speed) * 1000;
  // 拆分为5000个点
  this.pathPoints = curve.getPoints(5000);
}
// ...
totalDuration = 0;
pathPoints: any[] = [];
startTime = 0;
currentIndex = 0;
mockAutoDrive() {
  if (!this.startTime) this.startTime = performance.now();
  const elapsed = performance.now() - this.startTime;
  const progress = Math.min(elapsed / this.totalDuration, 1);
  this.currentIndex = Math.floor(progress * (this.pathPoints.length - 1));
  if (this.currentIndex < this.pathPoints.length - 1) {
    const currentPoint = this.pathPoints[this.currentIndex];
    const nextPoint = this.pathPoints[this.currentIndex + 1];
    // 动态计算自车位置
    this.egoCar!.group.position.set(currentPoint.x, -currentPoint.y, 0);
    // 自车朝向
    const dx = nextPoint.x - currentPoint.x;
    const dy = nextPoint.y - currentPoint.y;
    this.egoCar!.group.rotation.z = -Math.PI / 2 + Math.atan2(dx, dy);
  }
}
最后
现在元素还比较少,功能相对简单,后面复杂一点还要碰一碰算法和性能问题
anyway,麻雀虽小,bug 超多<抱拳>,keep learning and respect