LED闪烁
在通过WIFI控制LED灯的开关之前,我们先实现一下LED闪烁。
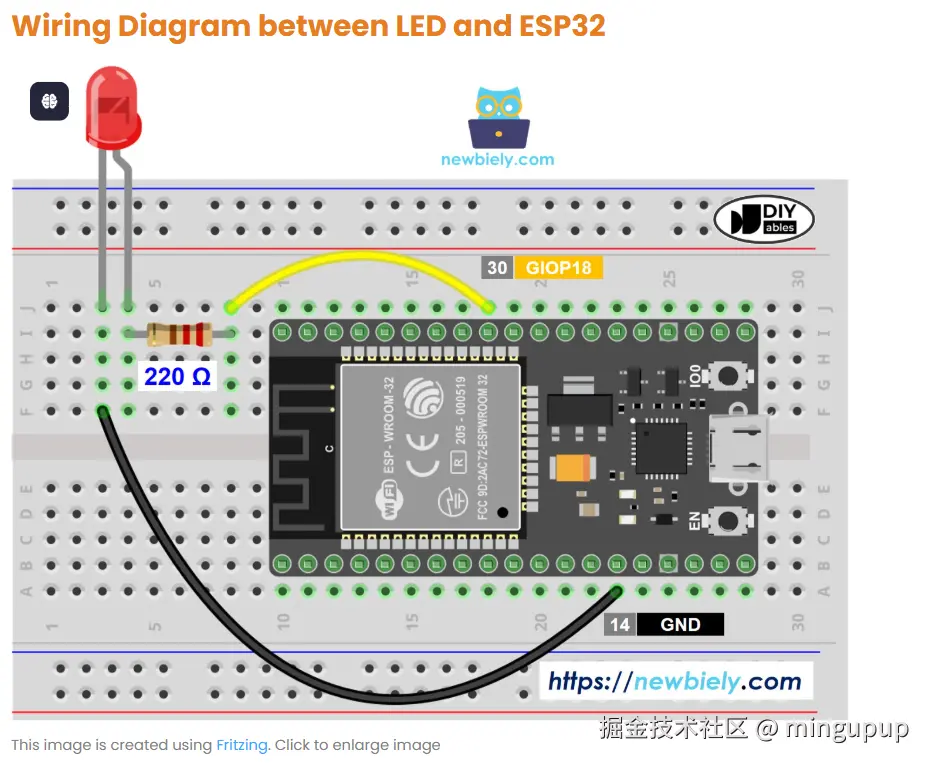
接线图:
我的接线图:
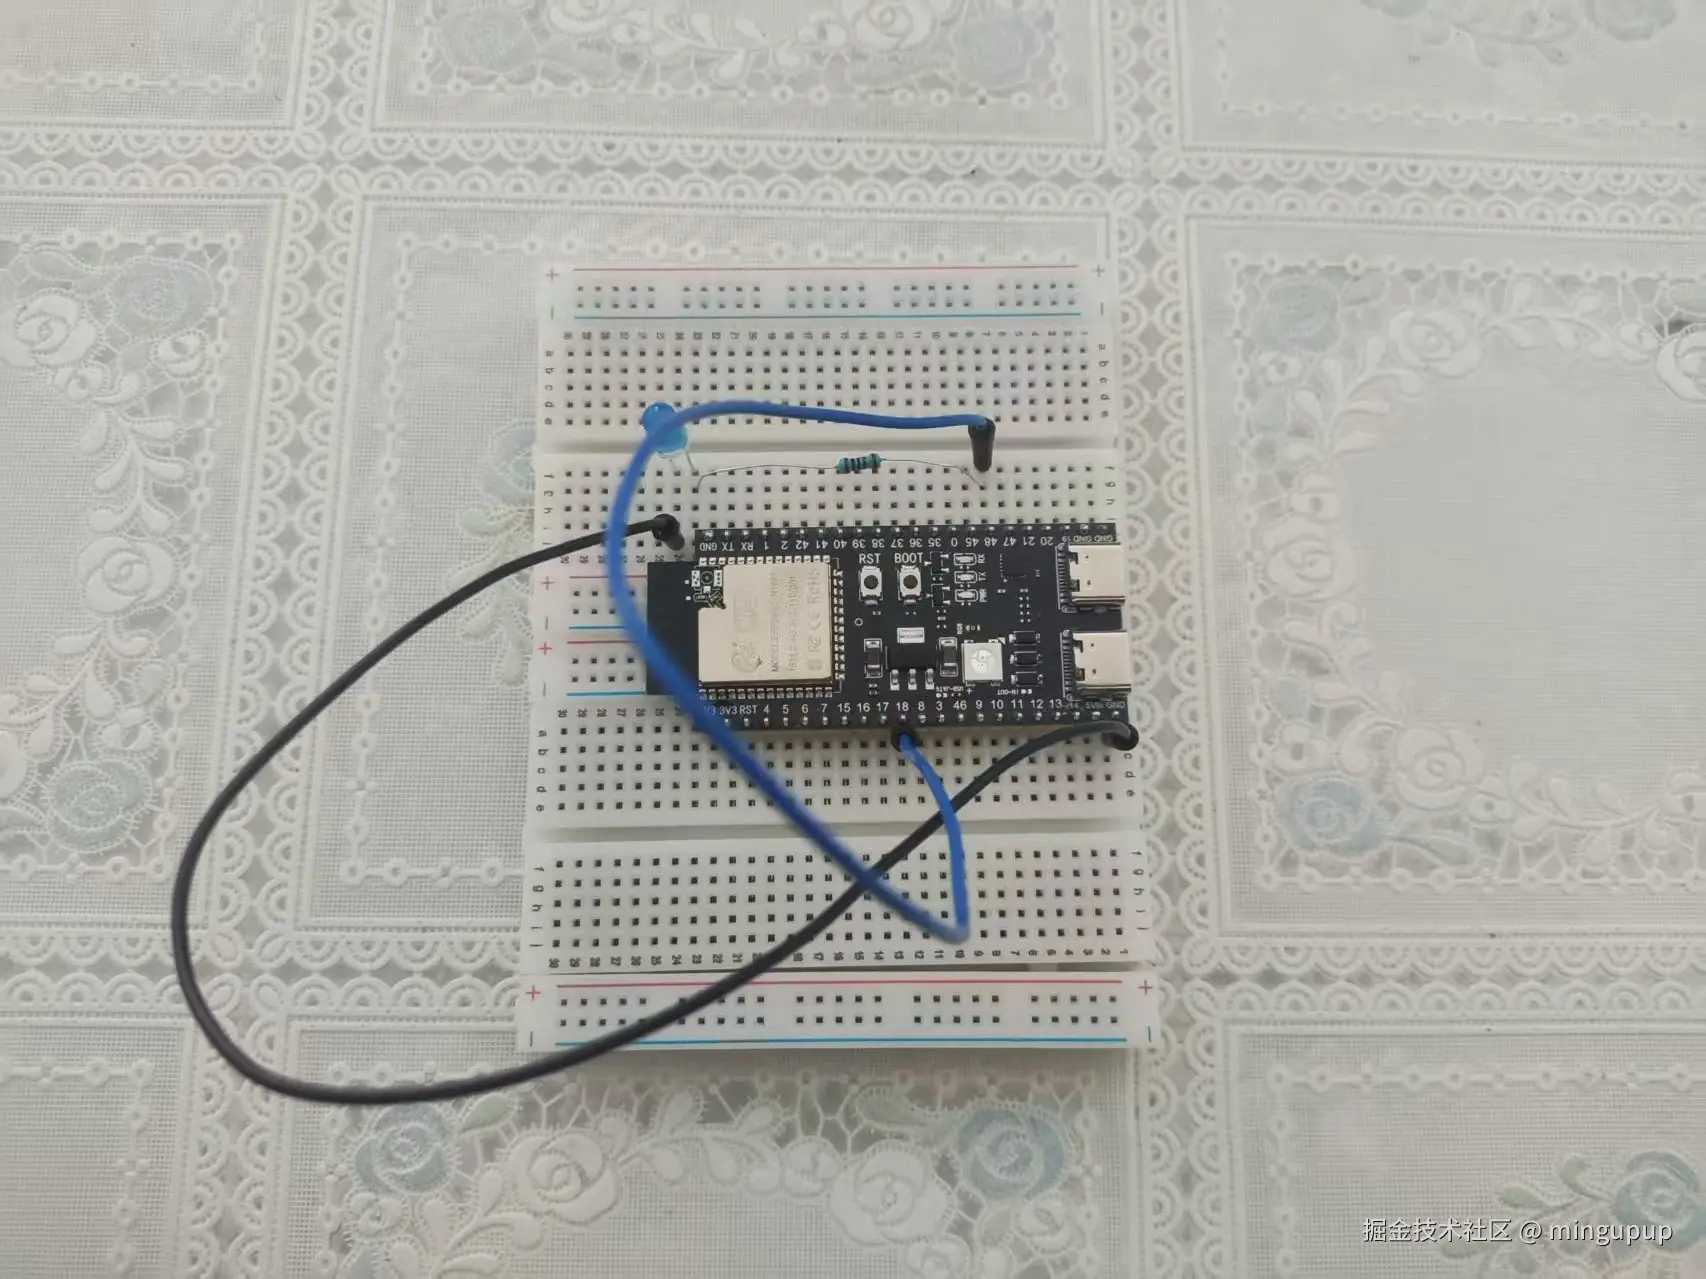
LED长的为阳极,短的为阴极,阳极通过一个电阻与ESP32引脚连接,这里以18引脚为例,阴极连接ESP32的GND引脚。
代码:
scss
// 定义 LED 连接的引脚
const int ledPin = 18;  // GPIO 2
void setup() {
  // 初始化 LED 引脚为输出
  pinMode(ledPin, OUTPUT);
}
void loop() {
  // 打开 LED
  digitalWrite(ledPin, HIGH);
  delay(1000);  // 等待 1 秒
  // 关闭 LED
  digitalWrite(ledPin, LOW);
  delay(1000);  // 等待 1 秒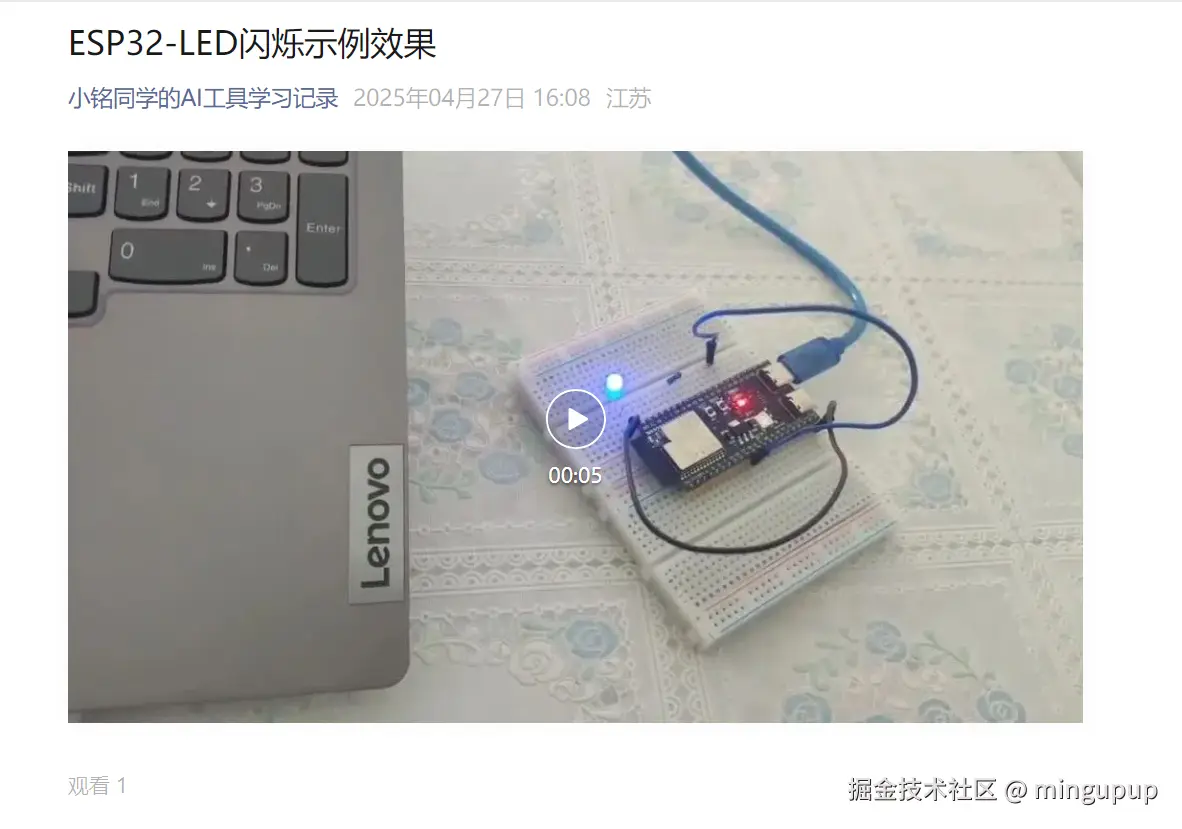
}烧录运行,如果接线没错的话,效果在:mp.weixin.qq.com/s/tI6YlXAeG...
通过WIFI控制LED灯的开关
在实现第一个例子之后,为了挖掘一下ESP32的特性,我们就来玩一下通过WIFI控制LED灯的开关。
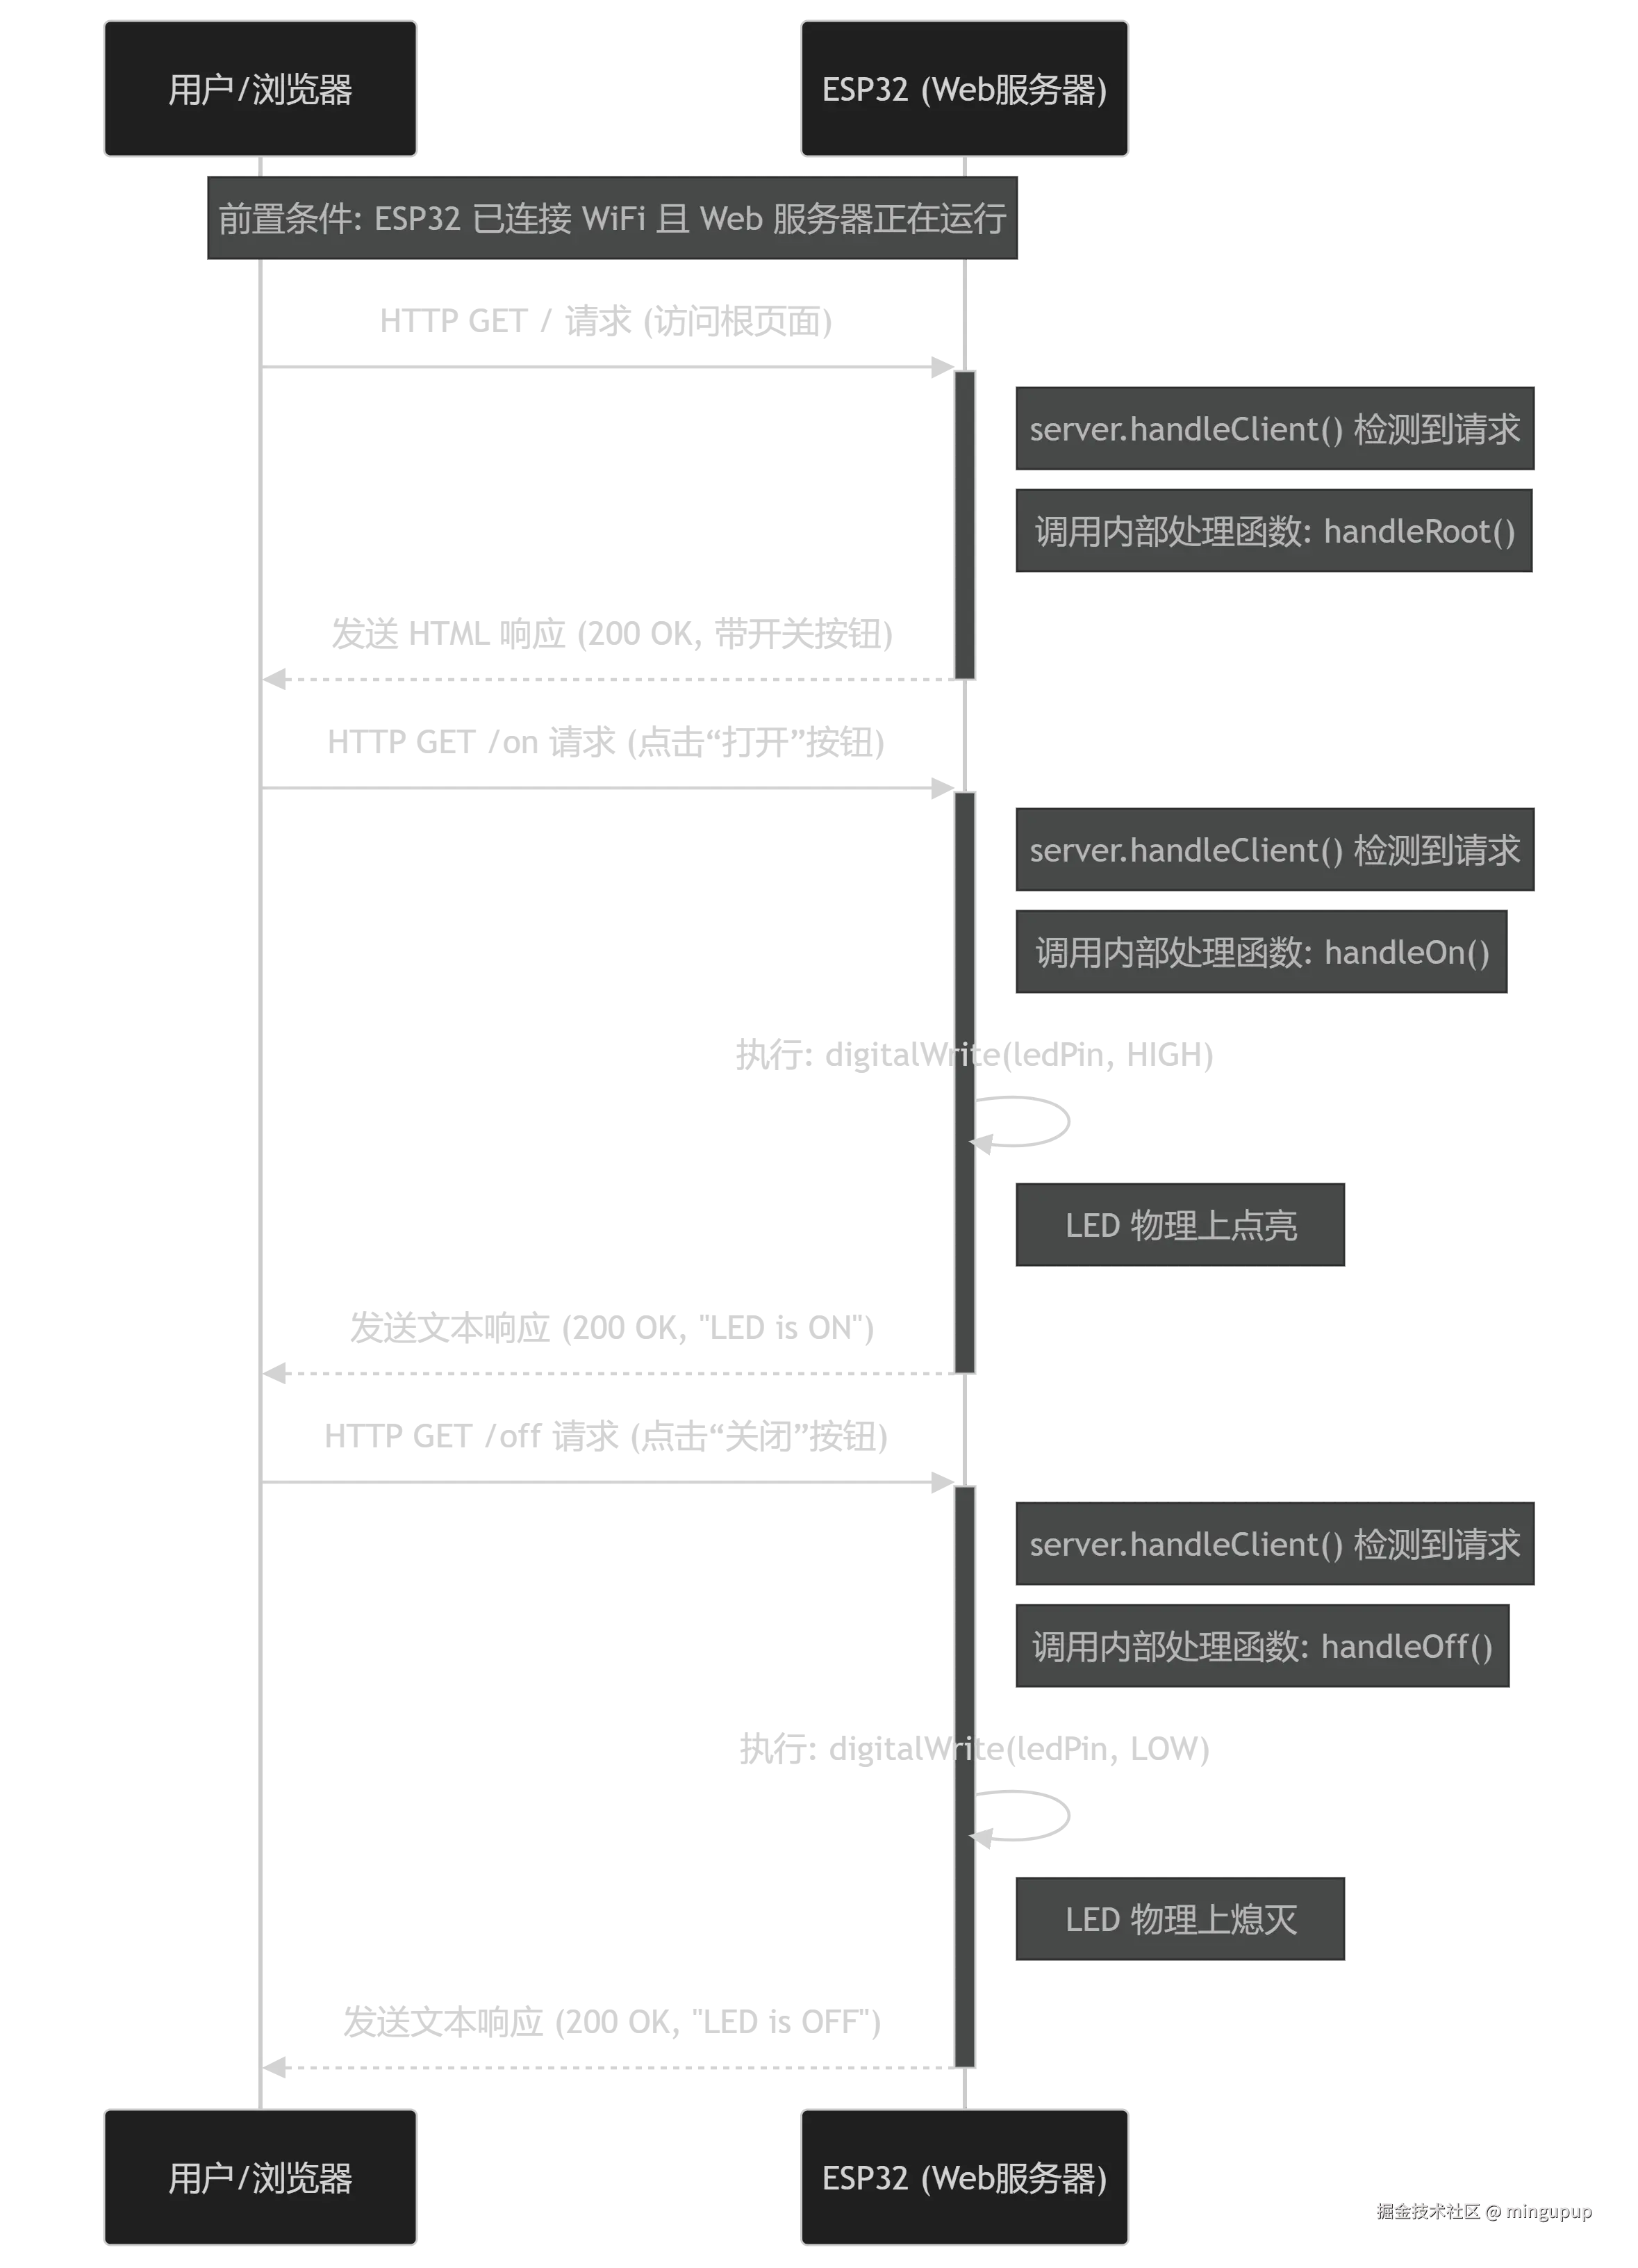
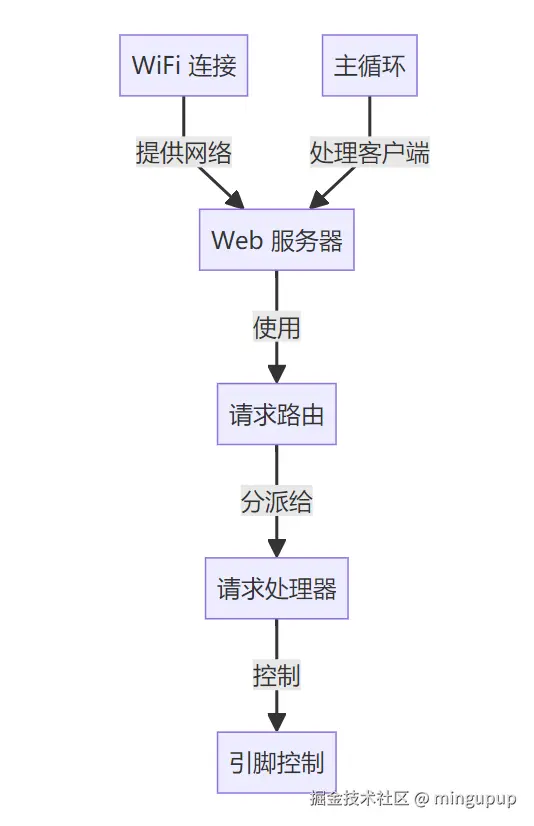
整个过程的时序图:
代码:
arduino
#include <WiFi.h>
#include <WebServer.h>
// 定义 LED 连接的引脚
const int ledPin = 18; // GPIO 2
// WiFi 连接参数
const char* ssid = "WIFI名称";
const char* password = "WIFI密码";
// Web 服务器端口
const int serverPort = 80;
// 创建 WiFi 客户端和 Web 服务器对象
WebServer server(serverPort);
void setup() {
// put your setup code here, to run once:
Serial.begin(115200);
// 初始化 LED 引脚为输出
pinMode(ledPin, OUTPUT);
// 连接 WiFi
WiFi.begin(ssid, password);
while (WiFi.status() != WL_CONNECTED) {
delay(1000);
Serial.println("Connecting to WiFi...");
}
Serial.println("Connected to WiFi");
Serial.print("IP Address: ");
Serial.println(WiFi.localIP());
// 设置 Web 服务器路由
server.on("/", handleRoot);
server.on("/on", handleOn);
server.on("/off", handleOff);
// 开始 Web 服务器
server.begin();
Serial.println("Web server started");
}
void loop() {
// 处理 Web 服务器请求
server.handleClient();
}
// 处理根路由
void handleRoot() {
String html = "<html><head><title>ESP32 LED Control</title></head><body>";
html += "<h1>ESP32 LED Control</h1>";
html += "<a href="/on"><button>Turn On</button></a>";
html += "<a href="/off"><button>Turn Off</button></a>";
html += "</body></html>";
server.send(200, "text/html", html);
}
// 处理 LED 开启请求
void handleOn() {
digitalWrite(ledPin, HIGH);
server.send(200, "text/plain", "LED is ON");
}
// 处理 LED 关闭请求
void handleOff() {
digitalWrite(ledPin, LOW);
server.send(200, "text/plain", "LED is OFF");
}方便理解,可以看一下这个图:
烧录运行,查看串口监视器,没有看到输出的话,就按一下ESP32上的RST重启一下:
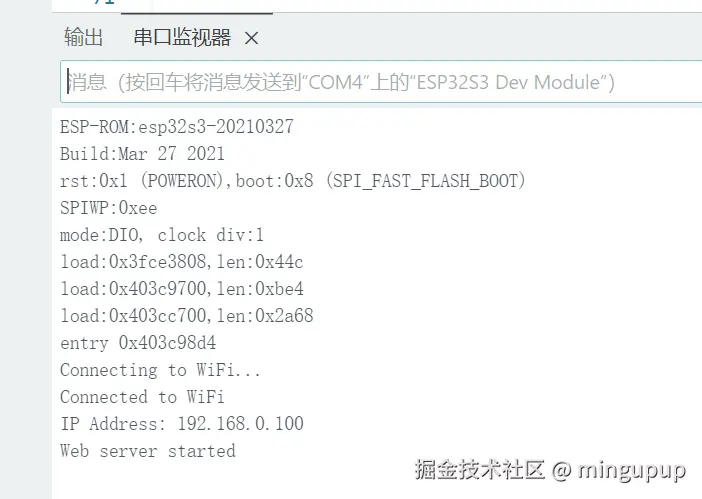
现在我们可以使用连接同一个WIFI的电脑或者手机,登录http://192.168.0.100:80/由于80是默认端口号,直接输入ip地址即可。
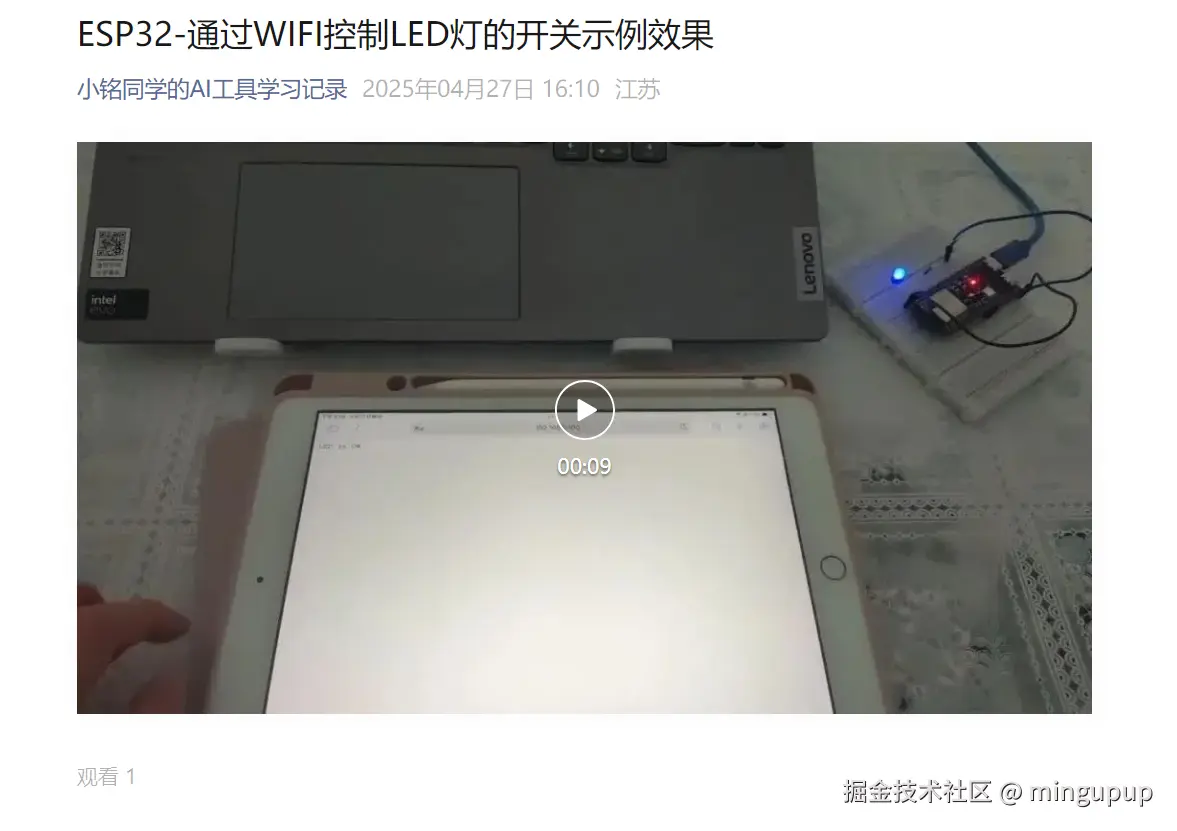
为了方便录制效果,我使用的是平板登录。
效果在:mp.weixin.qq.com/s/xMPMKkogf...
总结
总结一下,通过这个示例,我们可以了解到:
- 基础 Arduino 结构:
setup()用于初始化,loop()用于重复执行。 - GPIO 控制: 如何使用
pinMode()设置引脚模式,以及如何使用digitalWrite()控制数字输出(开关 LED)。 - 串口通信: 如何使用
Serial对象向电脑发送调试信息。 - ESP32 WiFi 连接: 如何包含库、设置 SSID/密码、启动连接、检查状态并获取 IP 地址。
- ESP32 Web 服务器: 如何包含库、创建服务器对象、设置路由(将 URL 路径映射到处理函数)、启动服务器以及在
loop()中处理客户端请求。 - HTTP 基础: 了解请求 (访问 URL) 和响应 (服务器发送回的内容),以及简单的 HTTP 状态码 (200 OK) 和内容类型 (
text/html,text/plain)。 - HTML 基础: 如何构建一个包含标题、链接和按钮的简单网页。
- 回调函数 (Handlers): 函数可以作为参数传递给其他函数(如
server.on),并在特定事件发生时被调用。