创建MCP服务器
我们选择用nodejs来实现bitfactory-mcp这个MCP服务器。
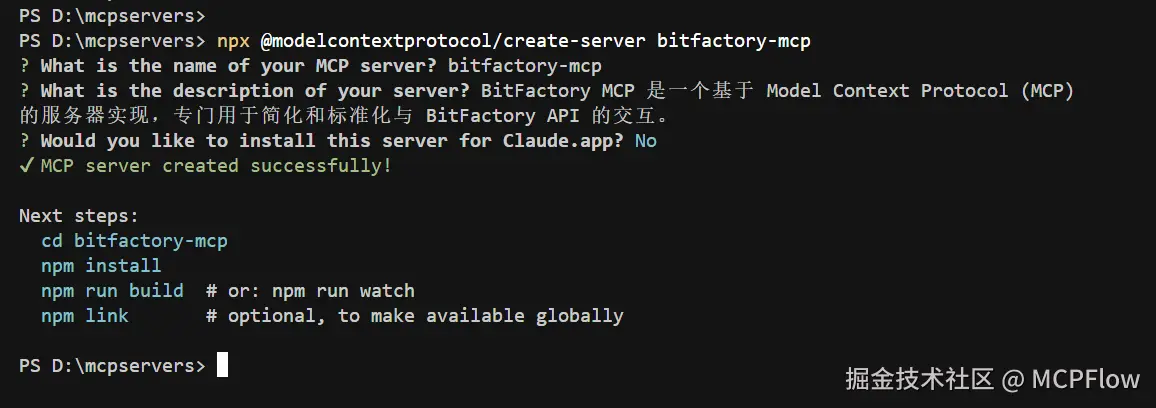
使用MCP官方提供的命令行工具来创建MCP服务器:
sql
npx @modelcontextprotocol/create-server bitfactory-mcp
在终端执行上面命令,按照提示输入要创建的MCP服务器信息:
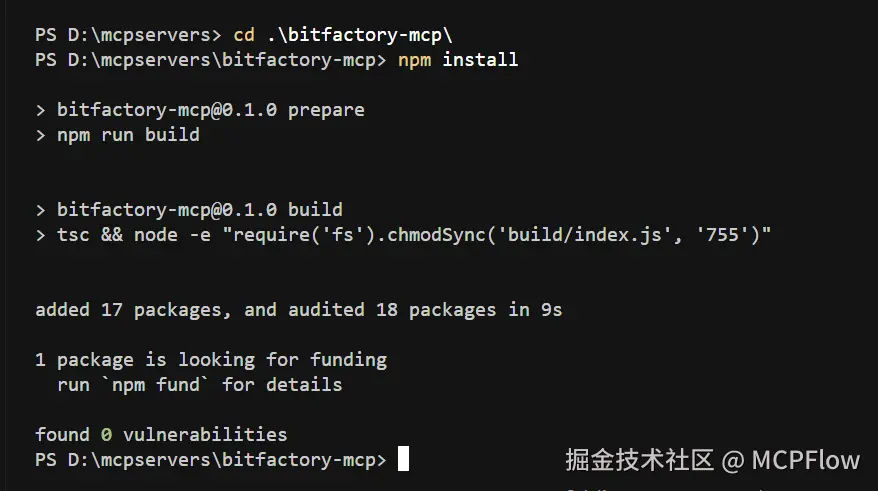
进入创建的MCP服务器目录,安装项目依赖:
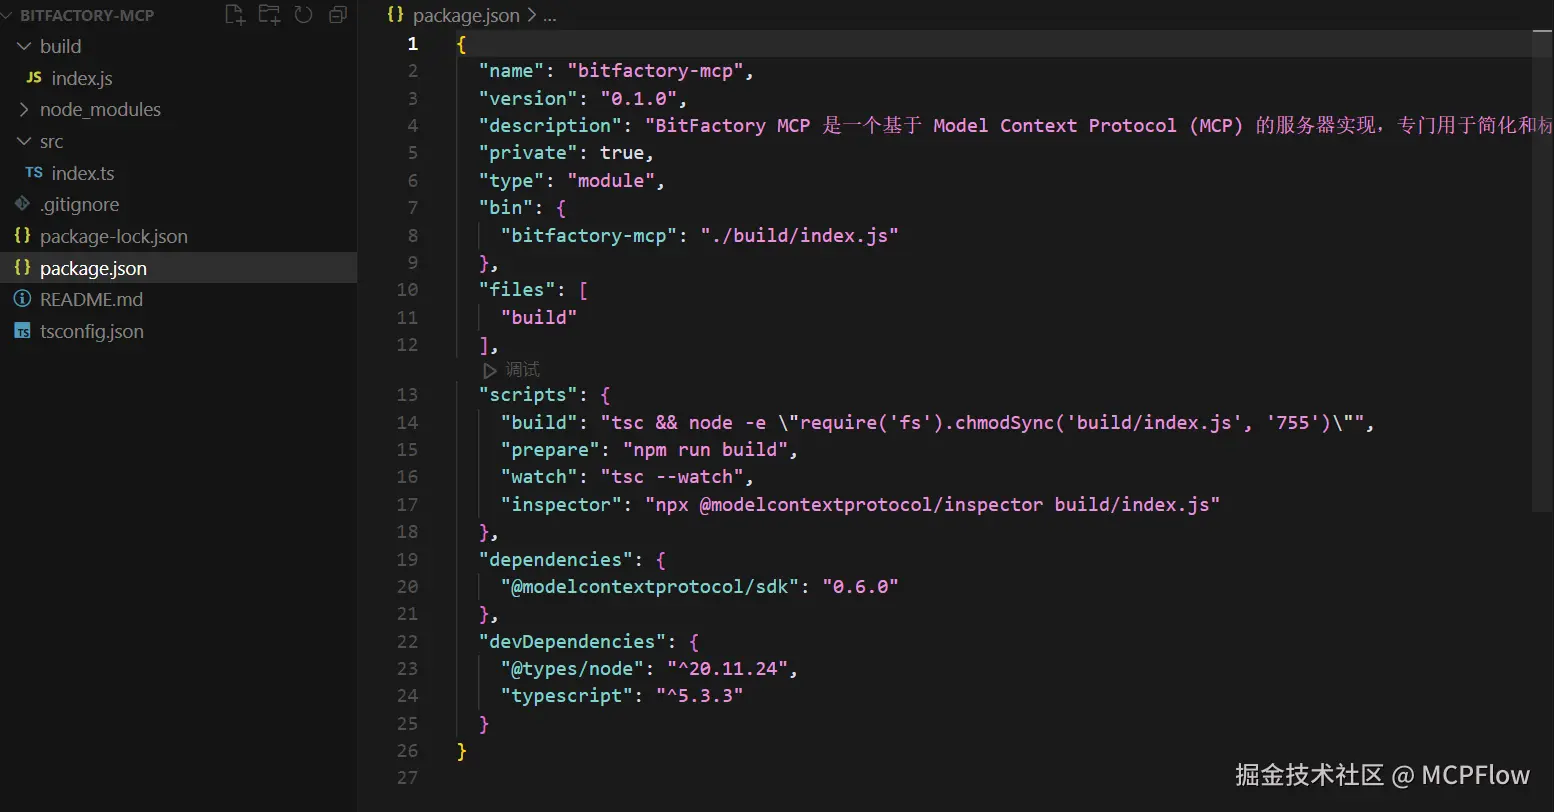
打开创建好的MCP服务器,可以看到默认生成的项目代码结构:
src/index.ts 是 MCP 服务器的源码文件,在此文件实现 MCP 服务器的业务功能,build/js 是 MCP 服务器源码编译后的可执行文件,调试阶段和发布上线,都要用到此文件。
调试MCP服务器
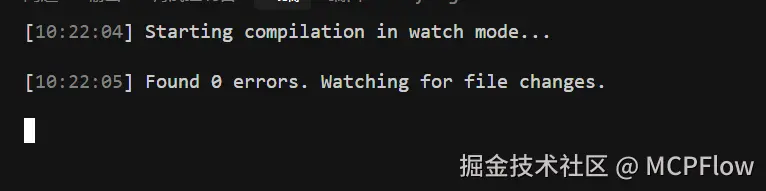
在 MCP 服务器项目目录下,运行 npm run watch 启动一个监听服务,监听 src/index.ts 源码文件的内容变动,并实时编译成 build/index.js 可执行文件。
在 MCP 服务器项目目录下,运行 npm run inspector,实际执行的命令是:

此命令用到了 MCP 官方开发的一个调试工具,运行 MCP 服务器可执行文件,连接到 MCP 服务器进行功能调试。

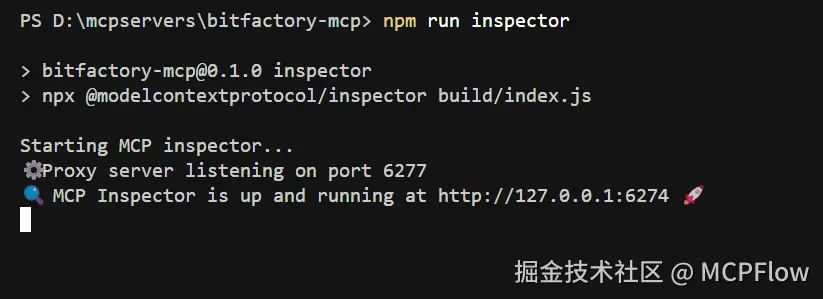
点击调试面板运行地址,进入 MCP 服务器调试面板。
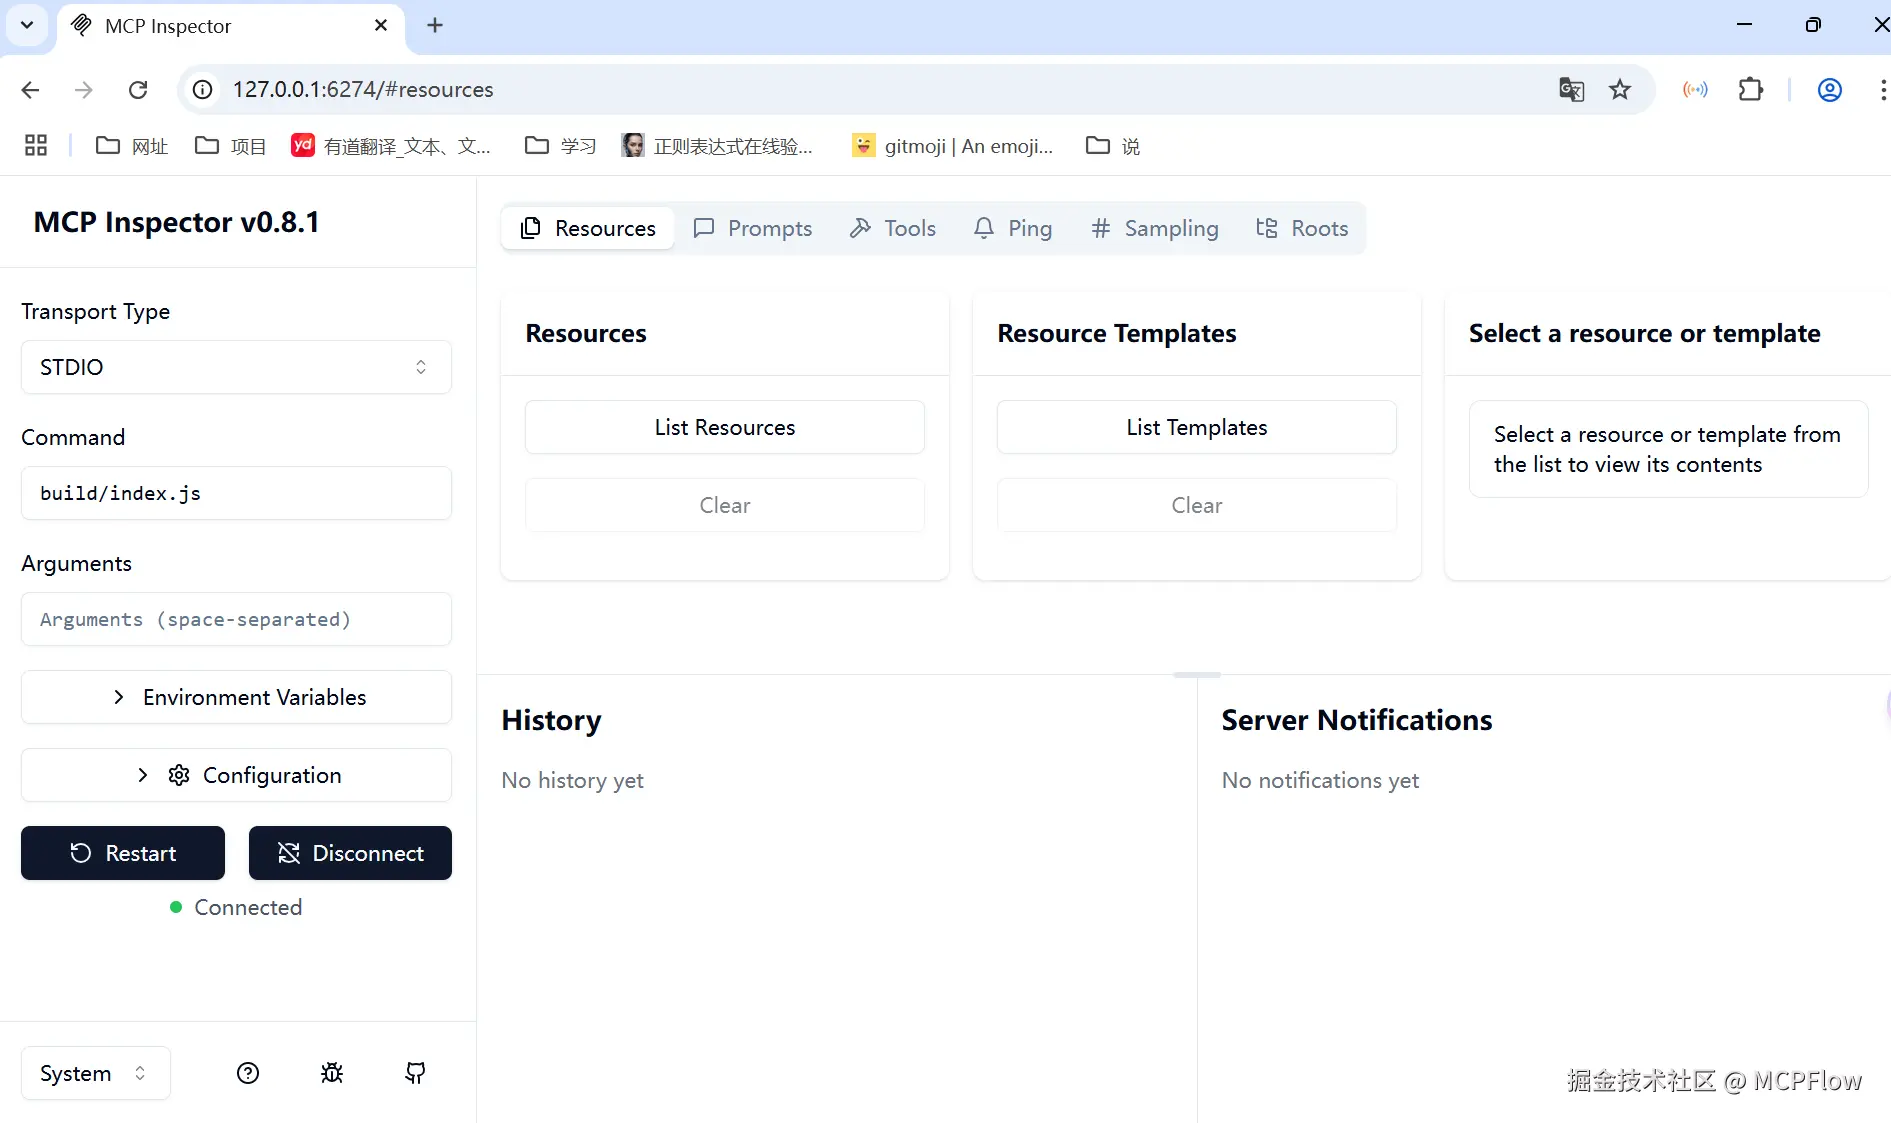
在 MCP 服务器调试面板,点左侧的 Connect 可以连接到 MCP 服务器进行调试,显示 Connected 表示连接成功。
可以设置 MCP 服务器启动参数 Arguments 和环境变量 Environment Variables,在 MCP 服务器实现逻辑中可以读取这两部分的参数值。
MCP 服务器调试面板右侧主要用于请求 MCP 服务器内部定义的资源(Resources)、提示词(Prompts)、工具(Tools)等内容。
我们可以在右侧的 Tools 栏目点 List Tools 获取 MCP 服务器内部实现的所有工具(Tools)。
实现MCP服务器业务逻辑
- 定义MCP服务器信息
在src/index.ts文件,通过new Server创建MCP服务器信息(实现tools能力)。
vbscript
const server = new Server(
  {
    name: "bitfactory-mcp",
    version: "0.0.1",
  },
  {
    capabilities: {
      tools: {},
    },
  }
);- 定义MCP服务器工具列表
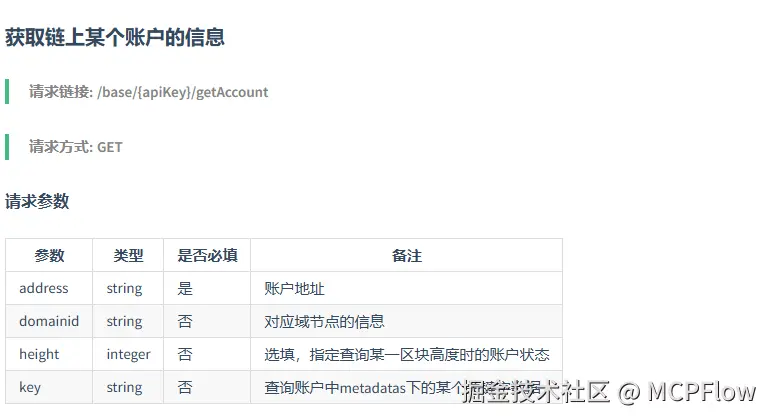
修改 src/index.ts 文件中默认生成的获取工具列表(ListTools)的逻辑,定义一个 getAccount 方法,写上功能描述,说明这个工具(Tool)的作用是获取链上某个账户的信息。
getAccount 工具的参数依据星火链API文档来定义,其中apikey是必填项,api-secret根据用户定义来决定是否要填写,勾选就必须传,否则就不需要。

星火链获取链上某个账户的信息API文档如下图:
ListTools 的定义如下:
php
server.setRequestHandler(ListToolsRequestSchema, async () => {
  return {
    tools: [
      {
        name: "getAccount",
        description: "获取链上某个账户的信息",
        inputSchema: {
          type: "object",
          properties: {
            apiKey: {
              type: "string",
              description: "API key for authentication"
            },
            apiSecret: {
              type: "string",
              description: "header apiSecret"
            },
            address: {
              type: "string",
              description: "账户地址"
            },
            domainid: {
              type: "string",
              description: "对应域节点的信息"
            },
            height: {
              type: "number",
              description: "选填,指定查询某一区块高度时的账户状态"
            },
            key: {
              type: "string",
              description: "查询账户中metadatas下的某个关键字数据"
            }

          },
          required: ["apiKey", "apiSecret", "address", "domainid", "height", "key"]
        }
      }
]
  };
});- 实现MCP服务器工具(Tool)逻辑
我们先创建一个新的文件,src/client.ts,定义一个BitFactoryClient类,实现sendGet和getAccount方法,其中sendGet方法是查询类(GET请求)API的通用方法,getAccount方法是获取链上某个账户信息的方法。
typescript
export class BitFactoryClient{

private readonly apiUrl: string;

/**
   * Create a new Query client
   * @param apiUrl - The API URL
   */
constructor({ apiUrl }: { apiUrl: string }) {
    this.apiUrl = apiUrl;
  }
/**
   * Send a query request
   * @param apiSecret - The API secret (optional)
   * @returns The response from the API
   */
async sendGet({ apiSecret, path, params }: { apiSecret?: string, path?: string, params?: Record<string, string | number | boolean> } = {}): Promise<string> {
    try {
      const headers: Record<string, string> = {
        'accept': '*/*'
      };
      if (apiSecret) {
        headers['api-secret'] = apiSecret.trim();
      }

      let url = this.apiUrl;
      if (path) {
        url += `/${path}`;
      }
      if (params) {
        const queryParams = new URLSearchParams();
        Object.entries(params).forEach(([key, value]) => {
          if (value !== undefined) {
            queryParams.append(key, String(value));
          }
        });
        const queryString = queryParams.toString();
        if (queryString) {
          url += `?${queryString}`;
        }
      }
      const response = await fetch(url, {
        method: "GET",
        headers
      });

      const responseText = await response.text();

      if (!response.ok) {
        throw new Error(`Request failed with status ${response.status}: ${response.statusText}\nResponse: ${responseText}`);
      }
      return responseText;

    } catch (error: unknown) {
      if (error instanceof Error) {
        throw new Error(`Query request failed: ${error.message}`);
      }
      throw new Error('Query request failed: Unknown error');
    }
  }

/**
 * Get account information
 * @param apiSecret - The API secret
 * @param address - The account address
 * @param domainid - The domain ID
 * @param height - The block height
 * @param key - The key to query
 * @returns The account information
 */
async getAccount({apiSecret, address, domainid, height, key }:
  { apiSecret: string, address: string, domainid?: string, height?: number, key?: string }): Promise<string> {
    try {
      if (!address) {
        throw new Error("Account address is required");
      }
      const params: Record<string, string | number> = {
        address
      };

      if (domainid !== undefined) {
        params.domainid = domainid;
      }
      if (height !== undefined) {
        params.height = height;
      }
      if (key !== undefined) {
        params.key = key;
      }
      const responseText = await this.sendGet({
        apiSecret: apiSecret,
        path: 'getAccount',
        params
      });
      return responseText;

    } catch (error: unknown) {
      if (error instanceof Error) {
        throw new Error(`Get chain account failed: ${error.message}`);
      }
      throw new Error('Get chain account failed: Unknown error');
    }
 }
然后,修改CallTool的逻辑,接到getAccount请求时,先获取参数,校验必填参数后,再调用QueryClient的getAccount方法。
typescript
server.setRequestHandler(CallToolRequestSchema, async (request) => {
  switch (request.params.name) {
    case "getAccount": {
      const args = request.params.arguments;
      if (!args || typeof args !== 'object') {
        throw new Error("Invalid arguments provided");
      }

      const apiKey = String(args.apiKey || "").trim();
      const apiSecret = String(args.apiSecret || "").trim();
      const address = String(args.address || "").trim();
      const domainid = args.domainid !== undefined ? String(args.domainid) : undefined;
      const height = args.height !== undefined ? Number(args.height) : undefined;
      const key = args.key !== undefined ? String(args.key) : undefined;
      if (!apiKey) {
        throw new Error("apiKey is required");
      }
      if (!address) {
        throw new Error("address is required");
      }

      const baseUrl = `https://bif-testnet.bitfactory.cn/base/${apiKey}`;
      const bitFactoryClient = new BitFactoryClient({ apiUrl: baseUrl });

      try {
        const result = await bitFactoryClient.getAccount({apiSecret, address, domainid, height, key });
        const jsonResult = JSON.parse(result);
        return {
          content: [{
            type: "text",
            text: JSON.stringify(jsonResult, null, 2)
          }]
        };
      } catch (error: unknown) {
        if (error instanceof Error) {
          throw new Error(`Get chain account failed: ${error.message}`);
        }
        throw new Error('Get chain account failed: Unknown error');
      }
}
    default:
      throw new Error("Unknown tool");
  }
});- 调试MCP服务器工具(Tool)
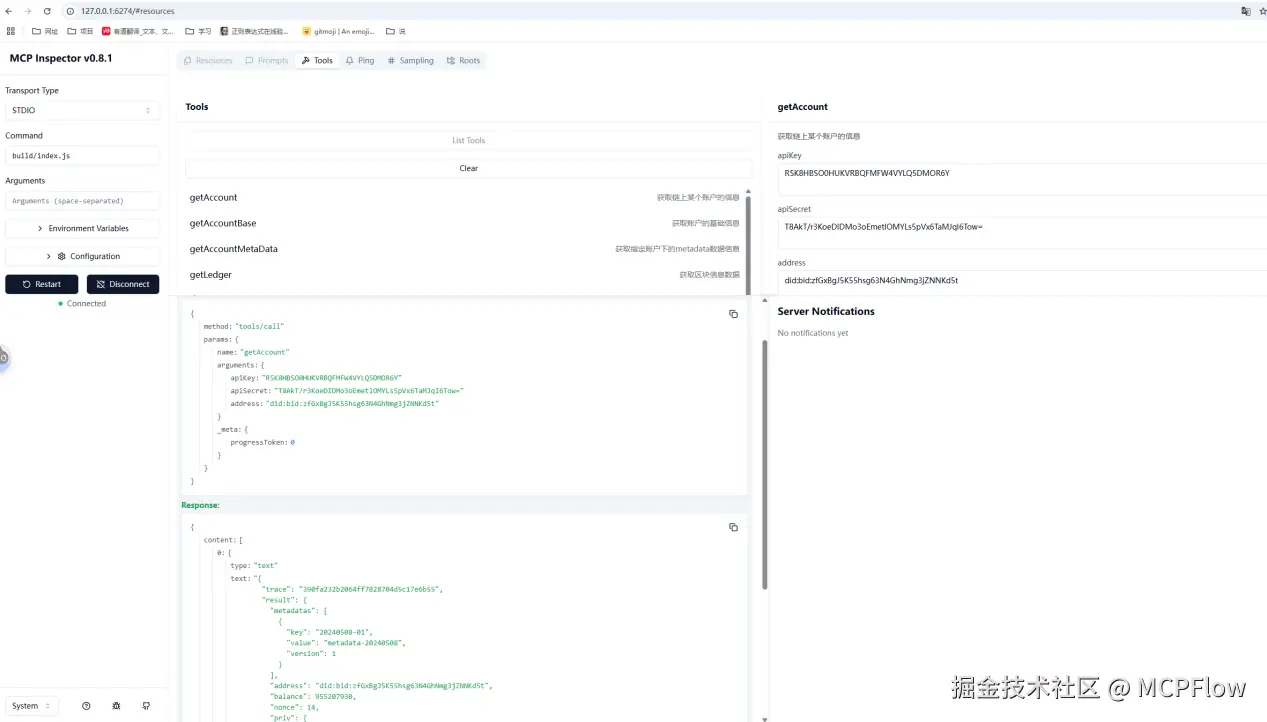
在调试工具选择 getAccount工具,填入参数,点击 Run Tool,查看工具的调用结果:
在MCP客户端测试
使用Cursor编辑器,作为 MCP 客户端。来测试我们开发的 bitfactory-mcp 服务器。
首先,打开 Cursor 的 MCP 服务器配置文件。
json
{
  "mcpServers": {
    "bitfactory-mcp":{
      "command":"node",
      "args":["build/index.js 的绝对路径"]
    }
  }
}
写入连接 bitfactory-mcp 的配置:
args 里面填写 bitfactory-mcp 服务编译后文件的绝对路径。
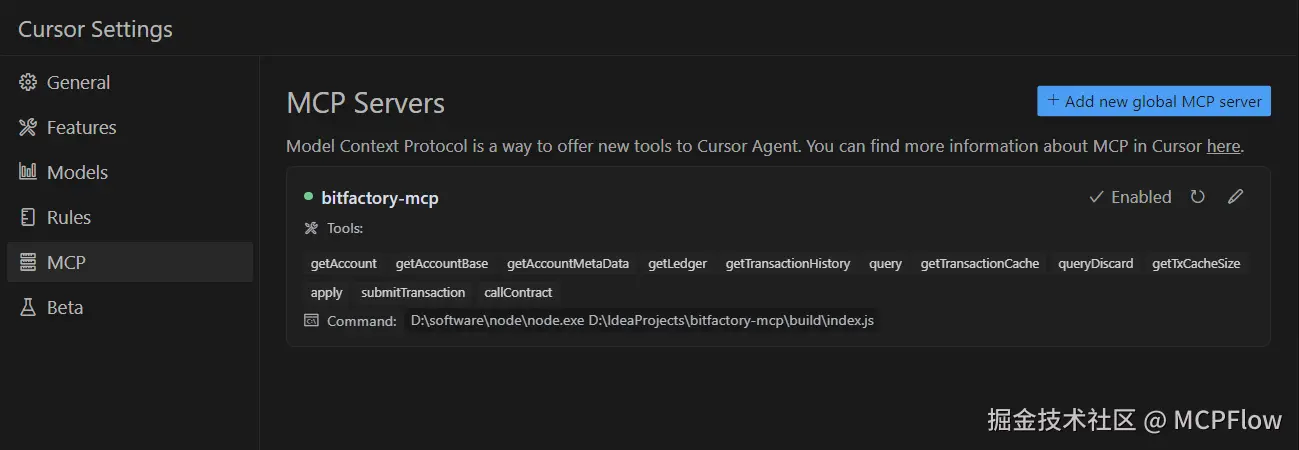
在 Cursor 的 MCP 配置面板,可以看到bitfactory-mcp 服务已经成功运行,并且获取到了可用的 Tools。
打开 Cursor AI 对话面板,选择 Agent 模式,输入以下或类似内容:

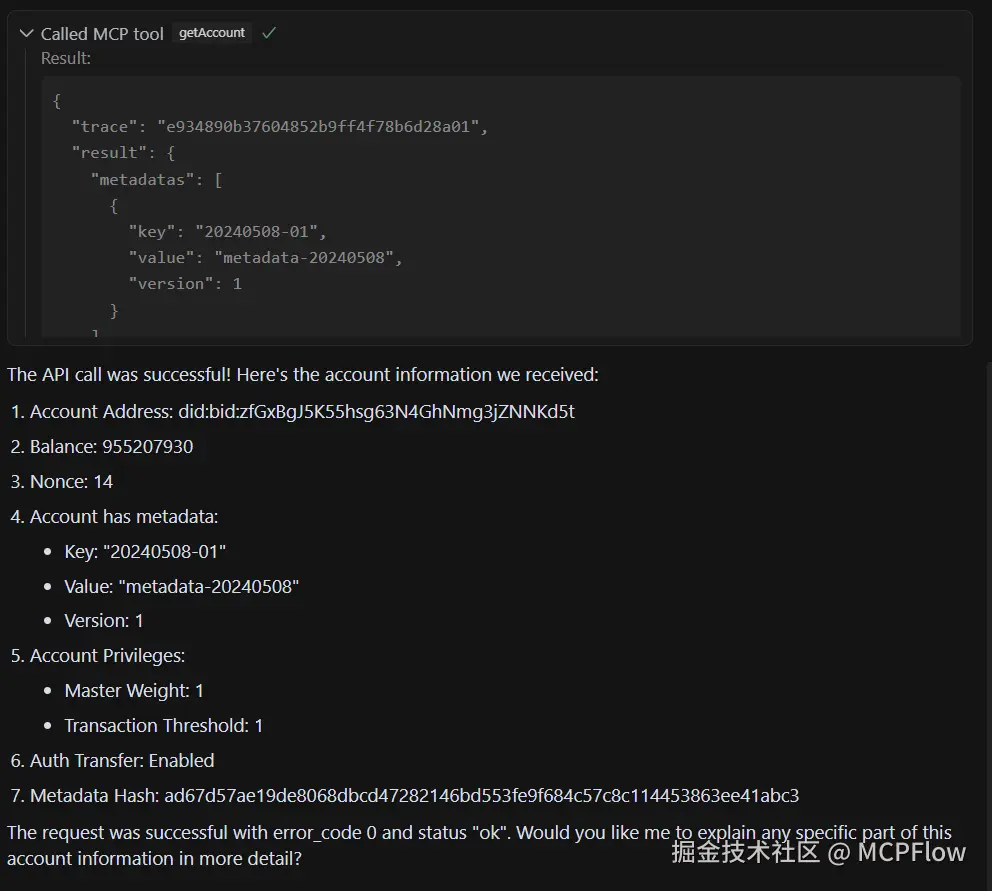
Cursor 会加载所有已配置的可用的 Tools 进行意图识别,识别到意图是获取链上账户信息,会自动调用 bitfactory-mcp 服务的 getAccount 工具。
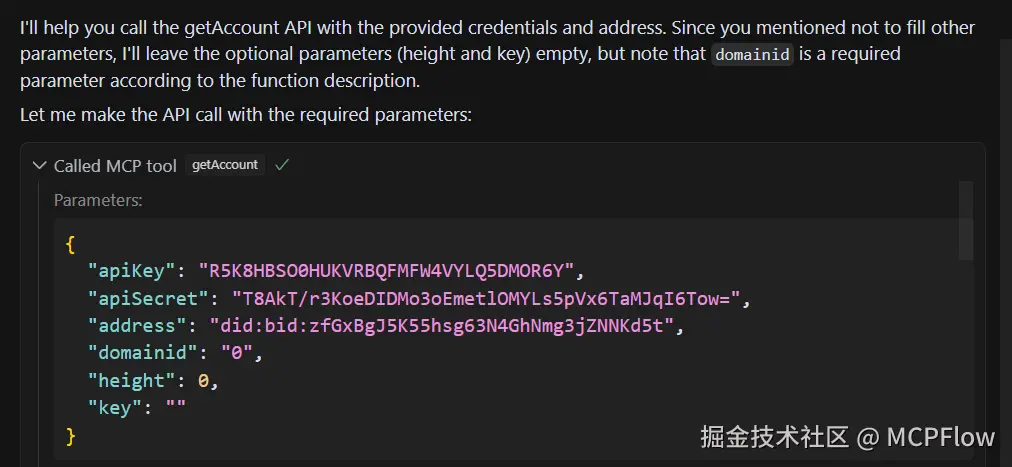
调用结果如下: