目录
Docker
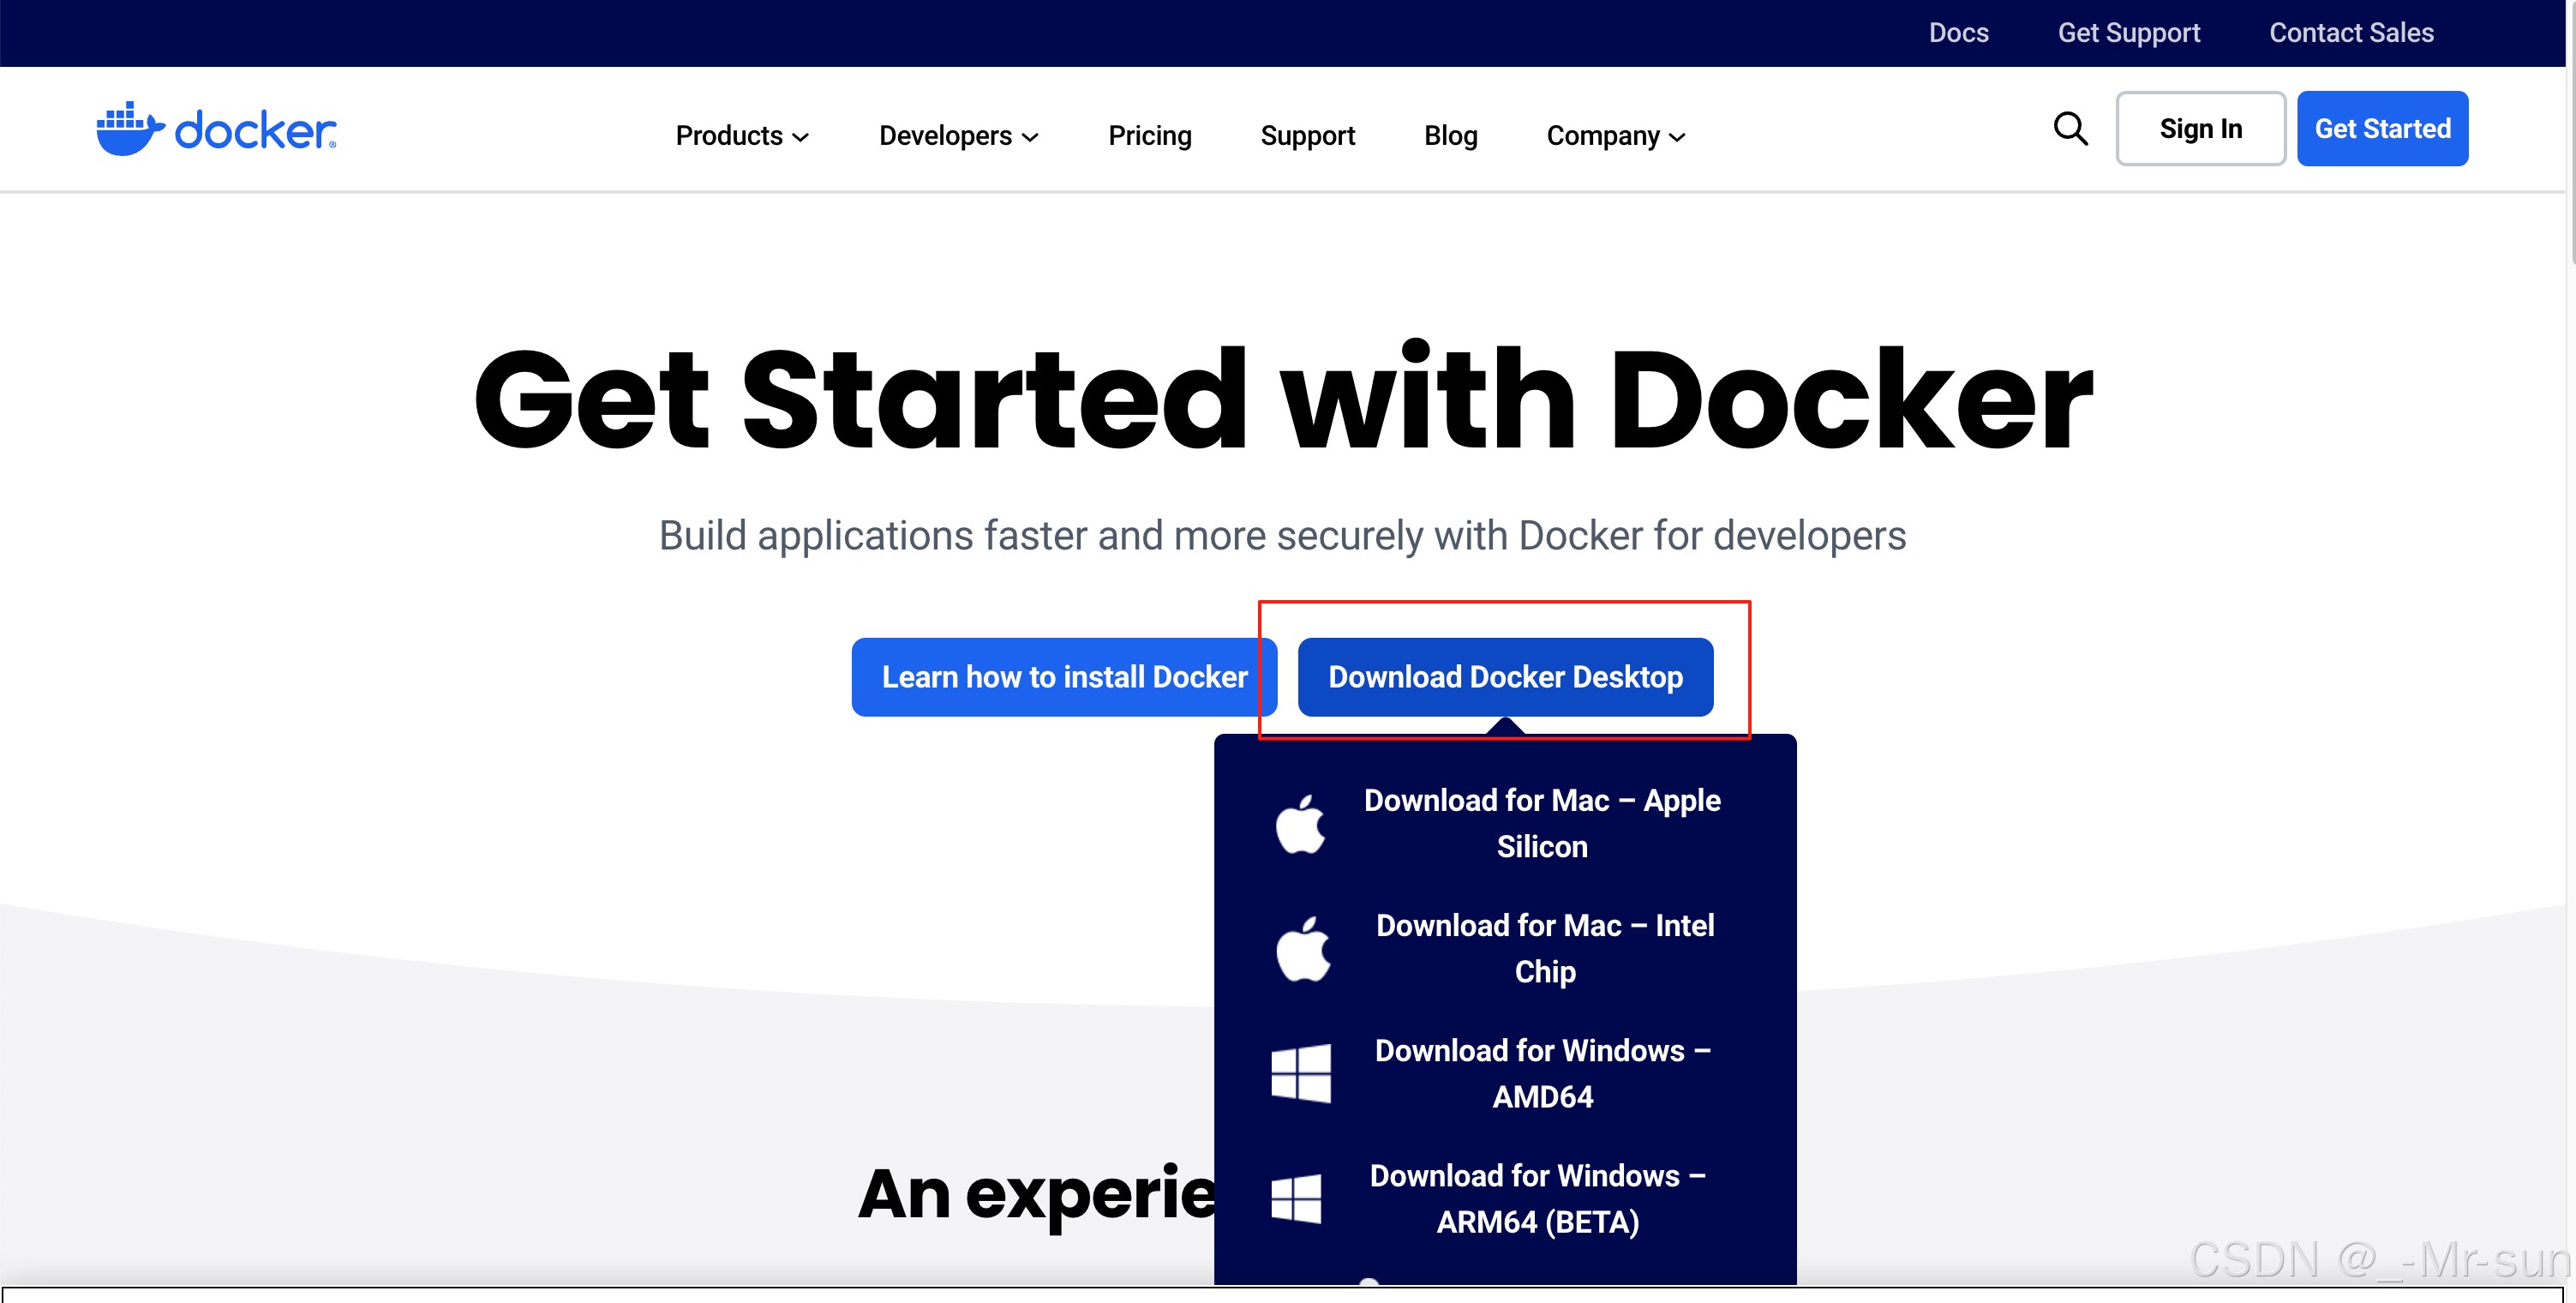
下载
官网:https://www.docker.com/get-started/
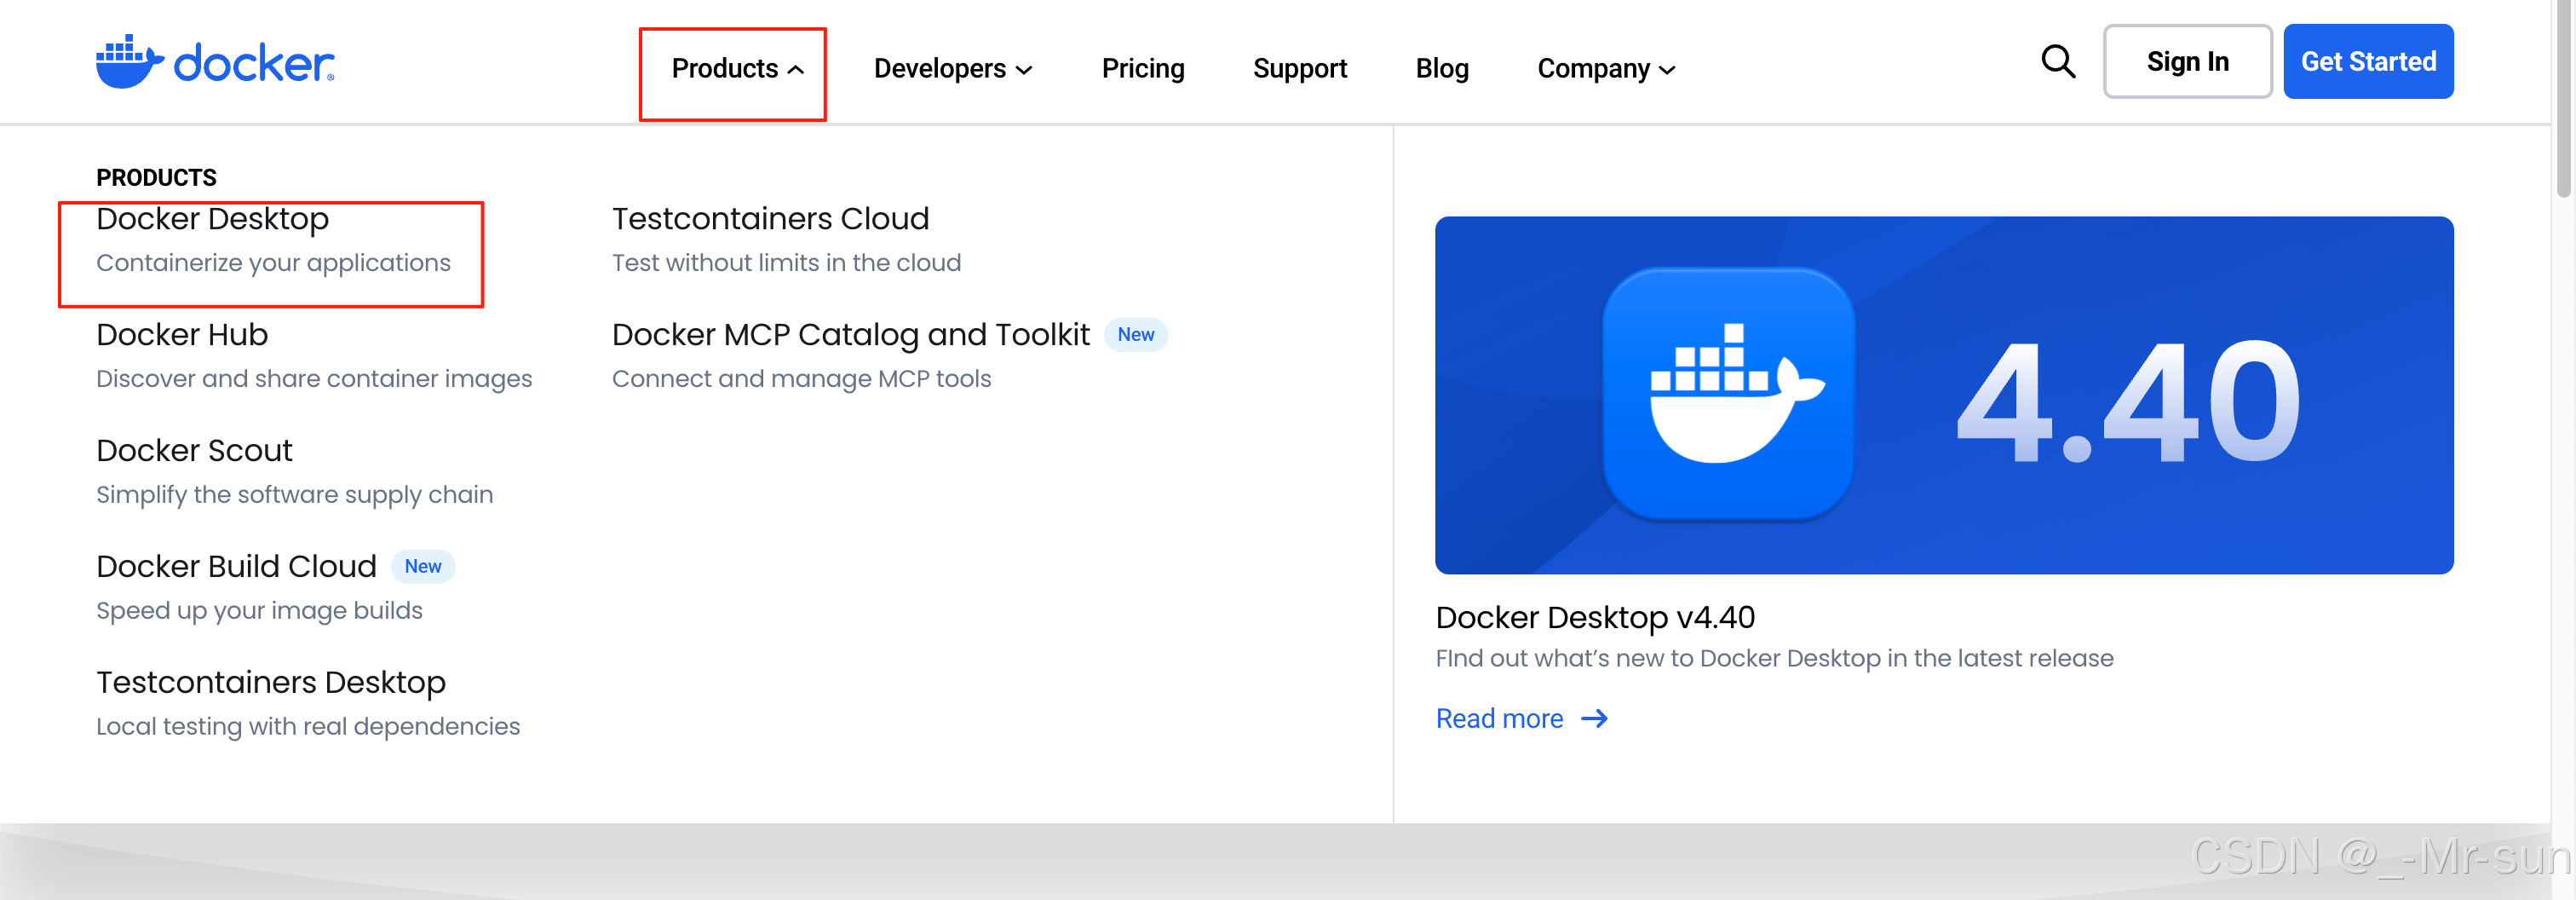
或者
安装

配置
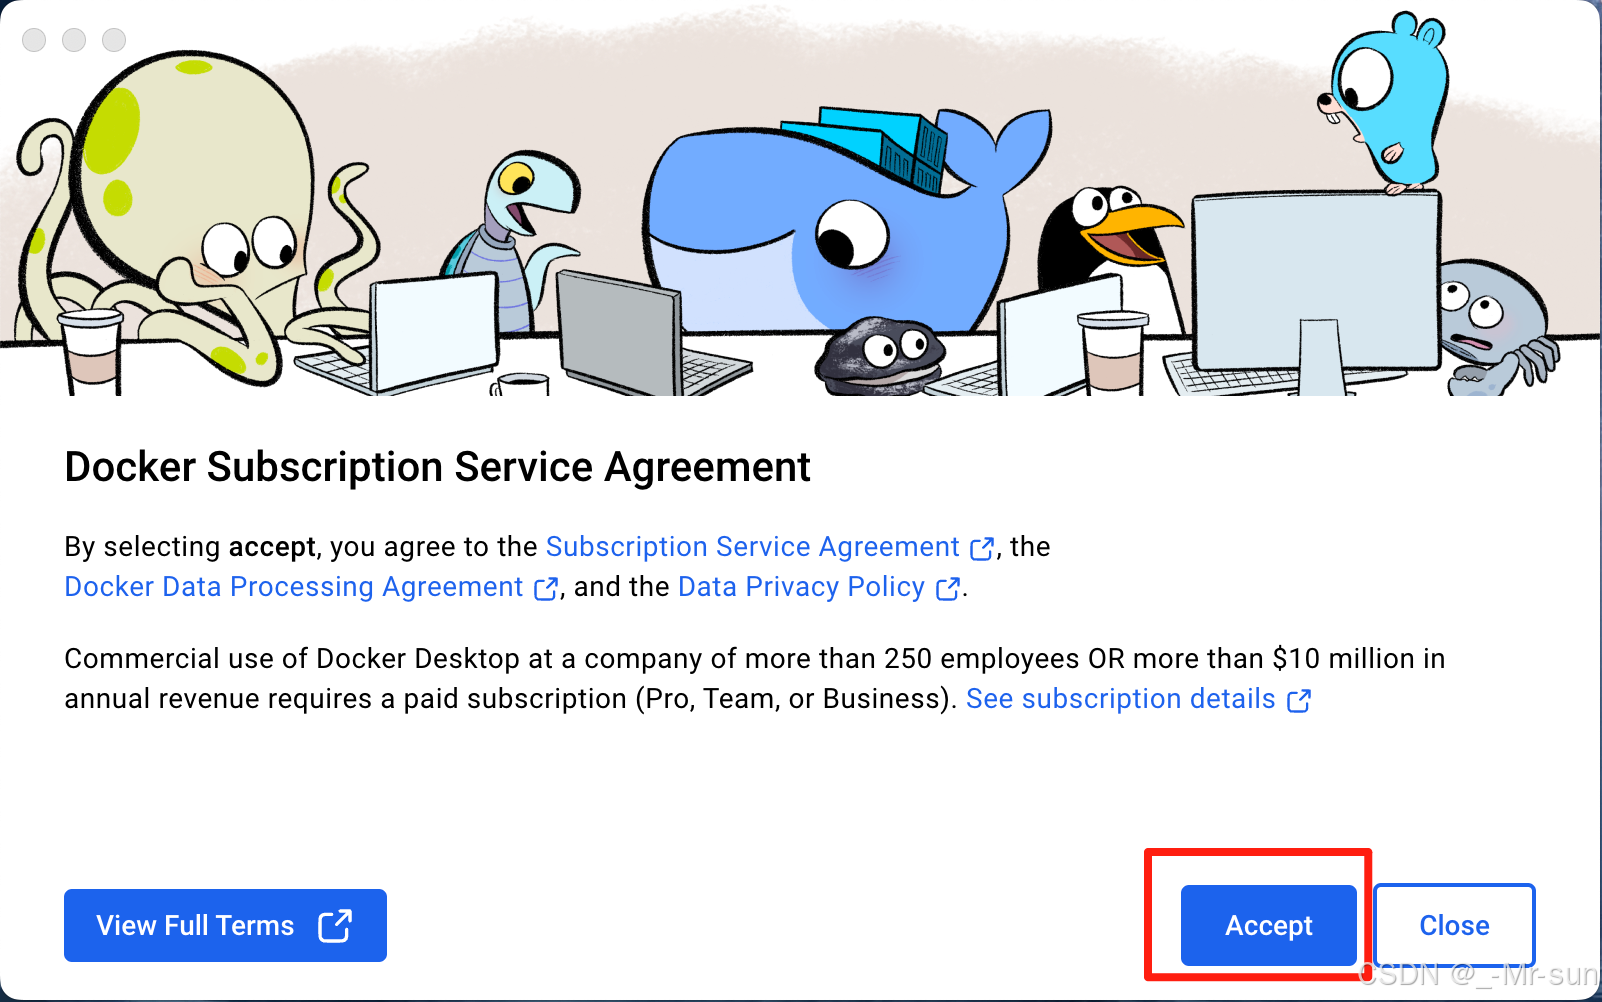
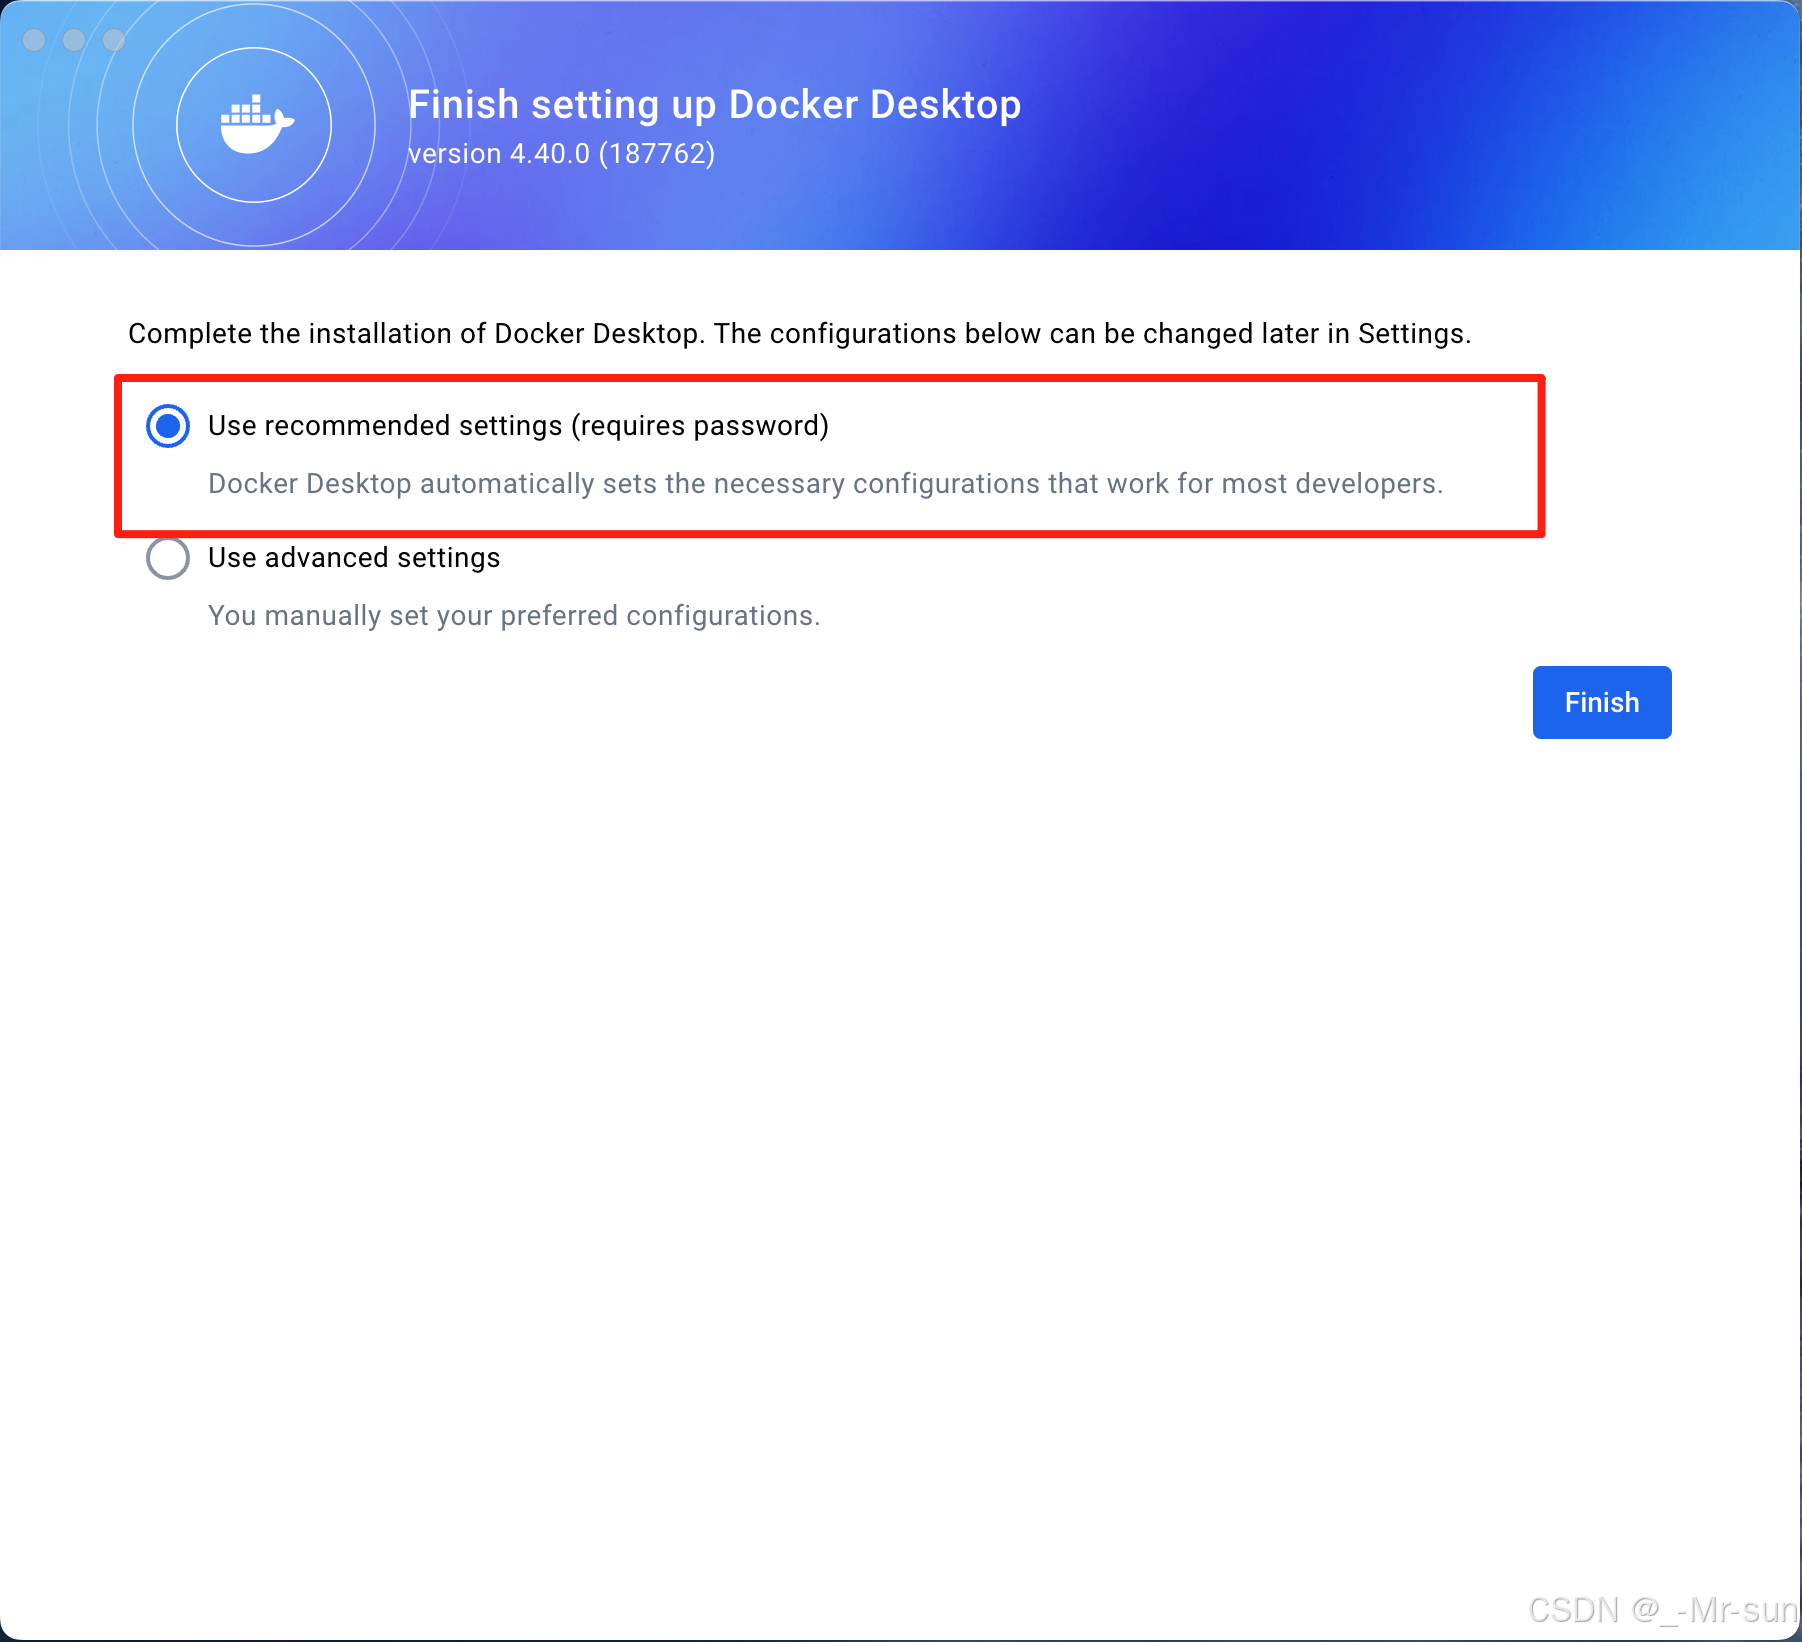
- 这里我们选择 Accept
- 选择默认配置就行,Docker 会自动设置一些大多数开发人员必要的配置。
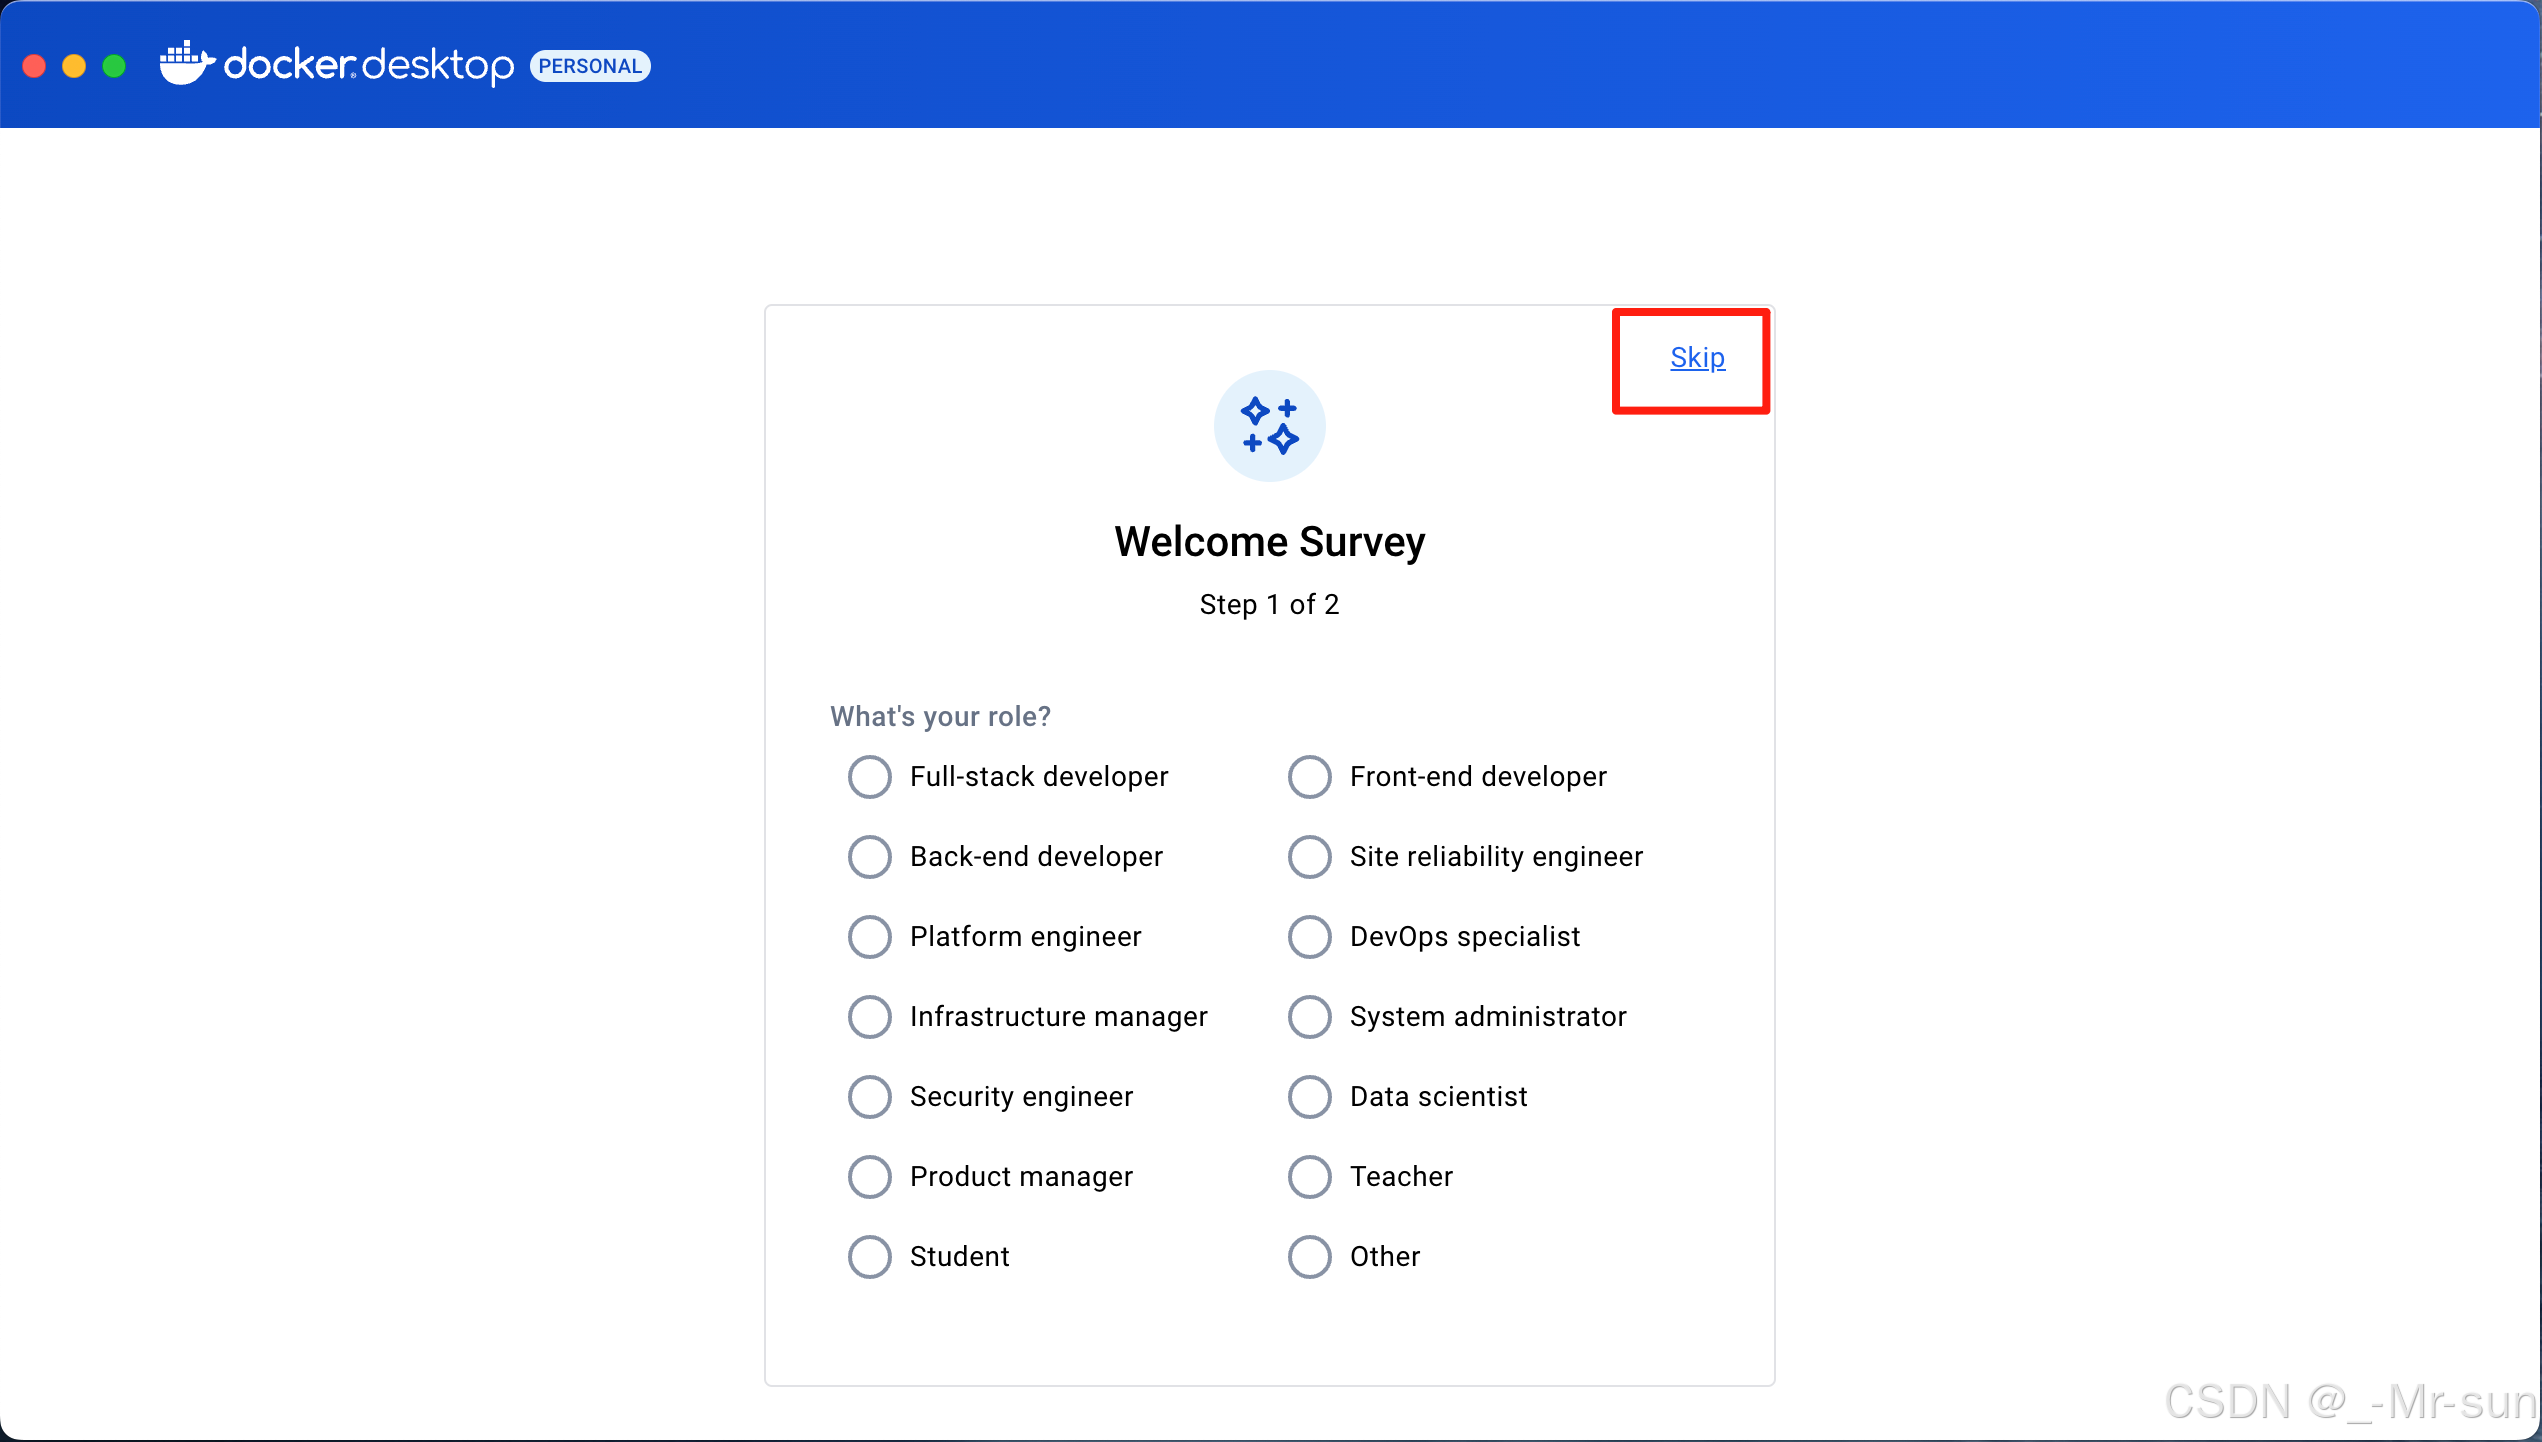
- 这里可以直接选择跳过
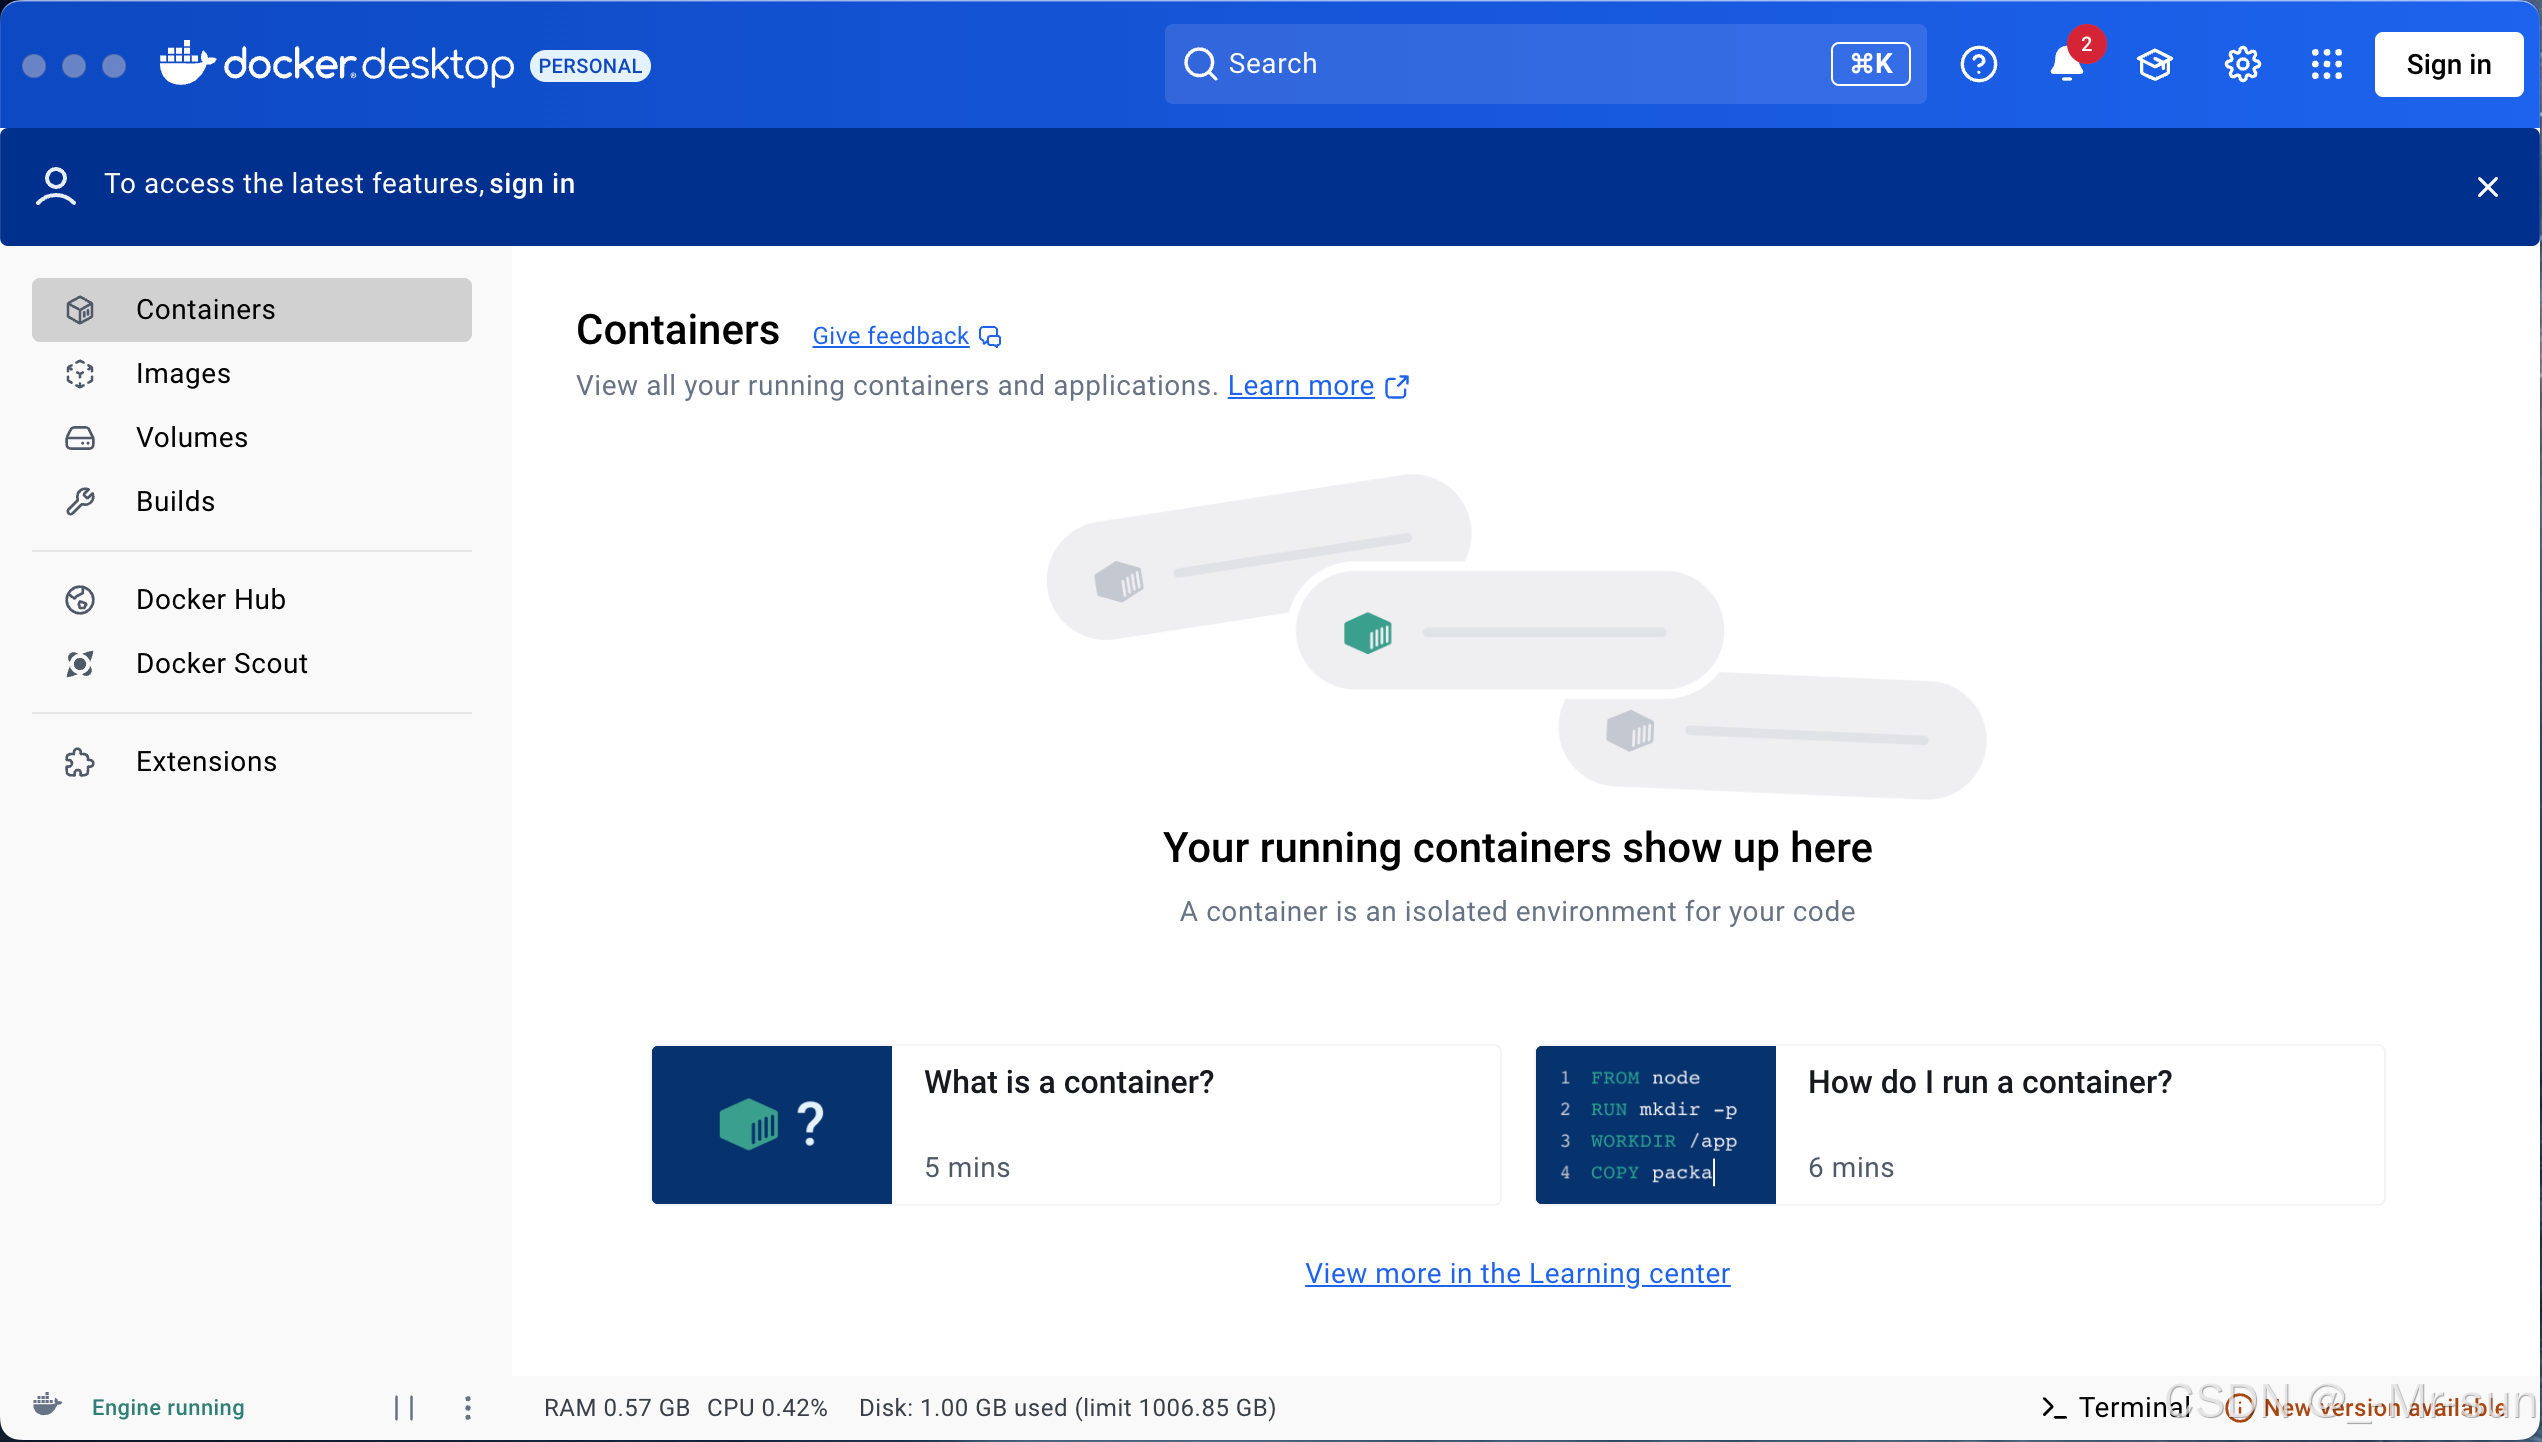

- 出现以上的图标即可
- 到这里并没有正真的完成
版本查询以及问题处理

如果不显示版本号,显示如下
shell
docker --version
zsh:command not found:docker
那就要查看一下自己的配置文件中有没有配置docker
如果没有那就依次执行以下代码(先看看自己的配置文件是zshrc还是bash_profile)
shell
echo 'export PATH=/Applications/Docker.app/Contents/Resources/bin:$PATH' >> ~/.zshrc
shell
source ~/.zshrc通过 docker info 命令 可以查看 Docker Client 端和 Server 端信息。
Client端显示包括 Docker 版本,当前的上下文,调试模式等。
Server 部分显示了 Docker 守护进程的信息,包括当前运行的容器数量、镜像数量等
shell
Last login: Wed May  7 20:03:52 on ttys000
sunhaixin@bogon ~ % docker info
Client:
 Version:    28.0.4
 Context:    desktop-linux
 Debug Mode: false
 ......在此省略一些
Server:
 Containers: 0
  Running: 0
  Paused: 0
  Stopped: 0
 Images: 0
 Server Version: 28.0.4
 ......在此省略一些
配置国内镜像
Error response from daemon: Get "https://registry-1.docker.io/v2/": net/http: request canceled while waiting for connection (Client.Timeout exceeded while awaiting headers)
因为没有配置国内镜像所以很容易导致链接失败
进入该目录
然后找到daemon.json

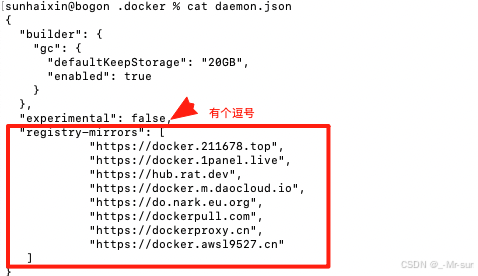
将以下代码放在这个位置
shell
"registry-mirrors": [
            "https://docker.211678.top",
            "https://docker.1panel.live",
            "https://hub.rat.dev",
            "https://docker.m.daocloud.io",
            "https://do.nark.eu.org",
            "https://dockerpull.com",
            "https://dockerproxy.cn",
            "https://docker.awsl9527.cn"
      ]
添加完后重启docker软件即可
在Docker中安装软件
Nginx
-
方式一:
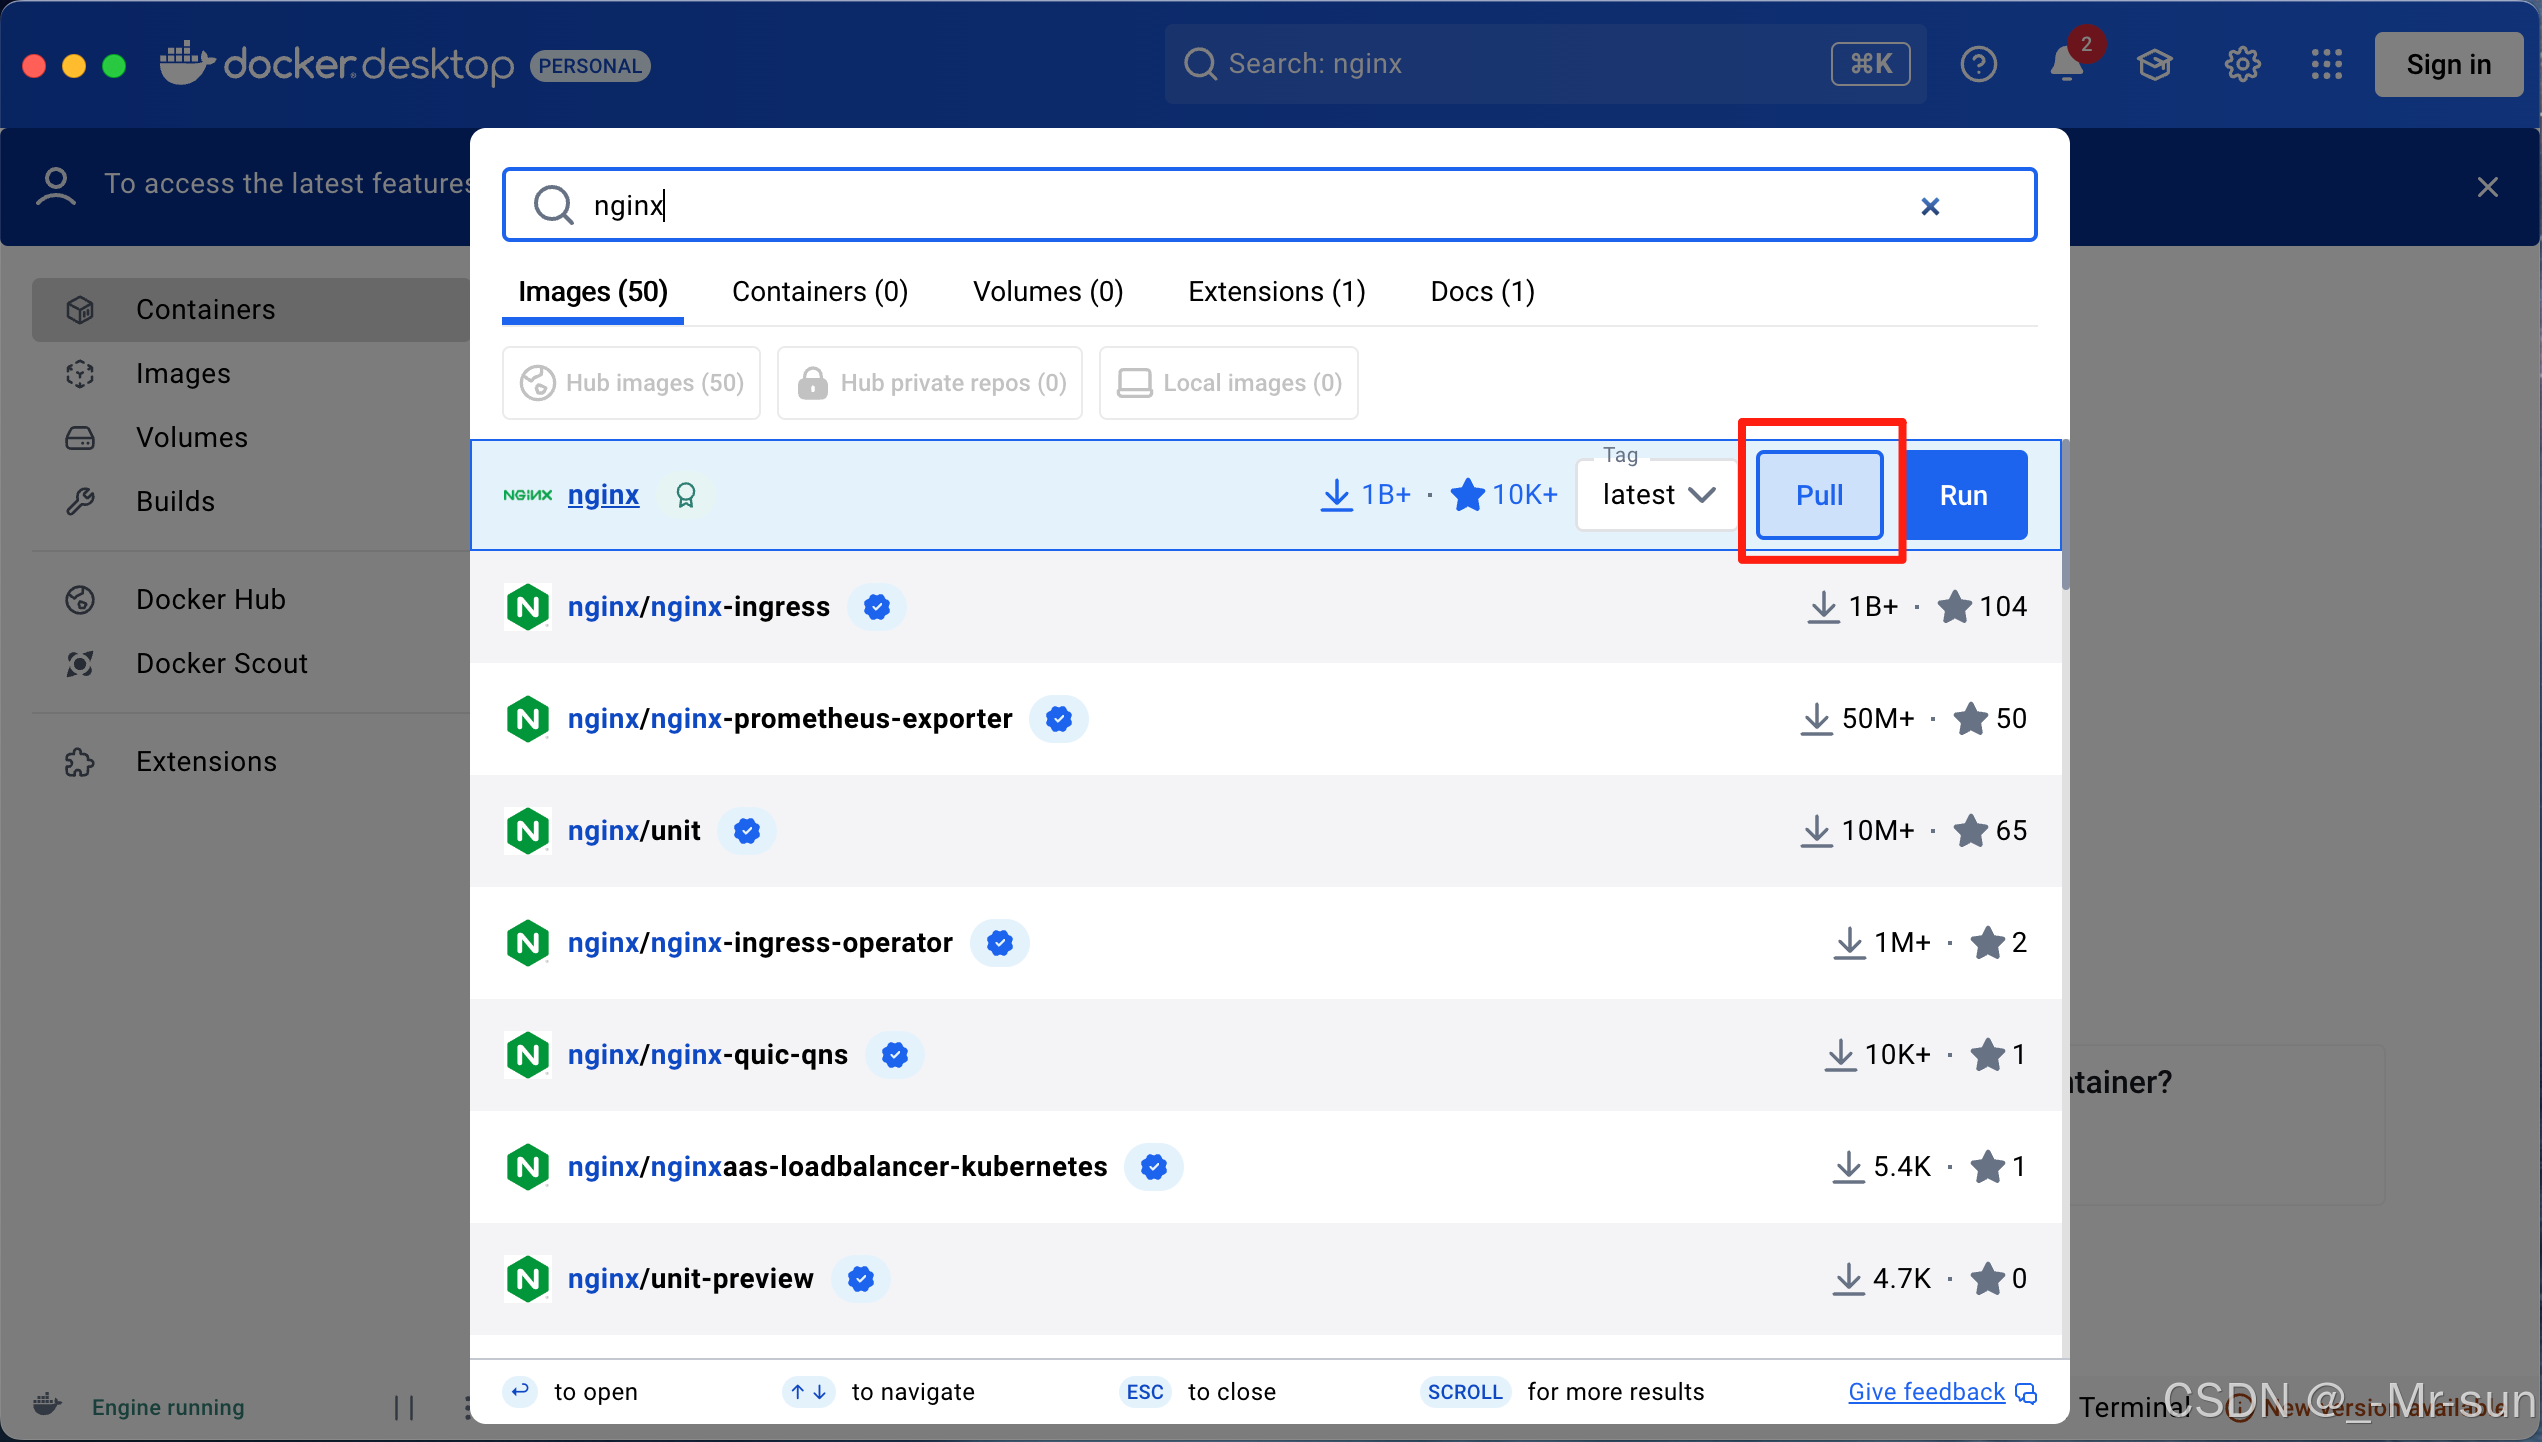
-
方式二:使用命令行
shellsudo docker pull nginx -
命名、指定端口并运行nginx
shellsudo docker run --name mynginx -p 8080:80 -d nginx--name mynginx 指定当前容器名称为 mynginx
-p 8080:80 将容器的 80 端口映射到主机的 8080 端口
-v ~/project/www:/usr/share/nginx/html 将主机的 ~/project/www 目录挂载到容器的 /www
-v ~/project/nginx/conf.d:/etc/nginx/conf.d 将主机的 ~/project/nginx/conf.d 目录挂载到容器的 /etc/nginx/conf.d
--link myphp:php 将 myphp 容器的网络并入 nginx 容器,实现容器间的通信
如果想将docker内的文件与docker外的文件相关关联
那么你可以在本地文件夹中创建对应文件
shell
mkdir -p ~/project/nginx/www ~/project/nginx/logs ~/project/nginx/confwww是项目路经
logs是nginx错误日志
conf 是nginx配置文件

可以看见nginx正常运行
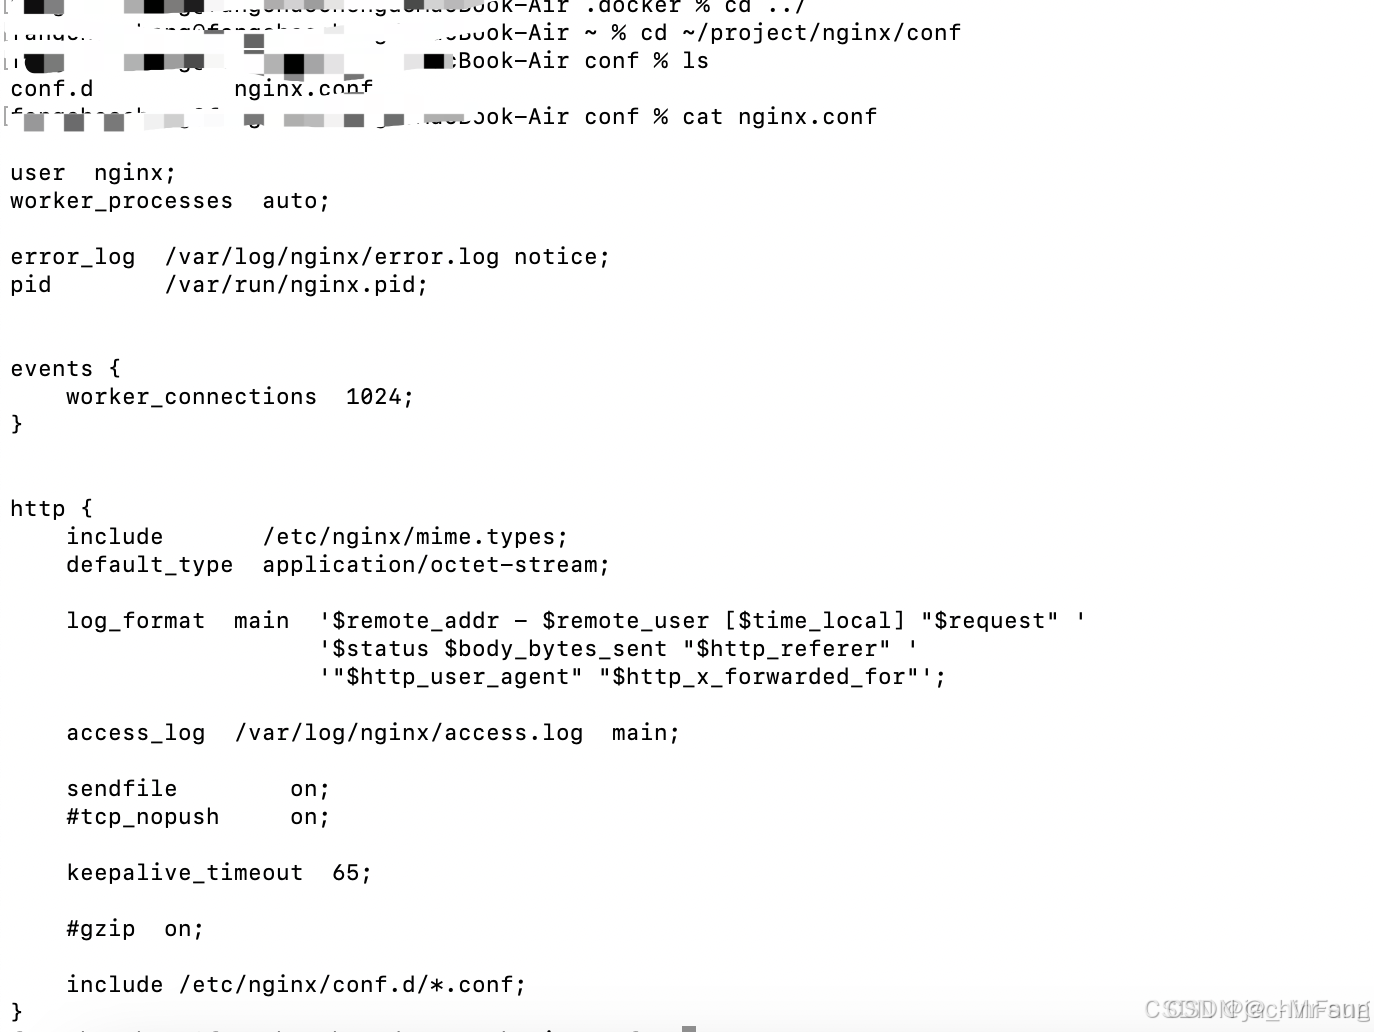
接下来复制docker容器终端配置文件到宿主中
输入(ce1e83caf65f这个在上图查看安装中可见到)
shell
docker cp ce1e83caf65f:/etc/nginx/nginx.conf ~/project/nginx/conf可以查看一下原配置信息
接下来再运行一个新的(删除原来创建的nginx),前面是测试(开一个新的需要修改端口号和名字),输入如下:
shell
docker run -d -p 8082:80 --name mynginx2 -v ~/project/nginx/www:/usr/share/nginx/html -v ~/project/nginx/conf/nginx.conf:/etc/nginx/nginx.conf -v ~/project/nginx/logs:/var/log/nginx nginx进入www创建
shell
cd ~/project/nginx/www
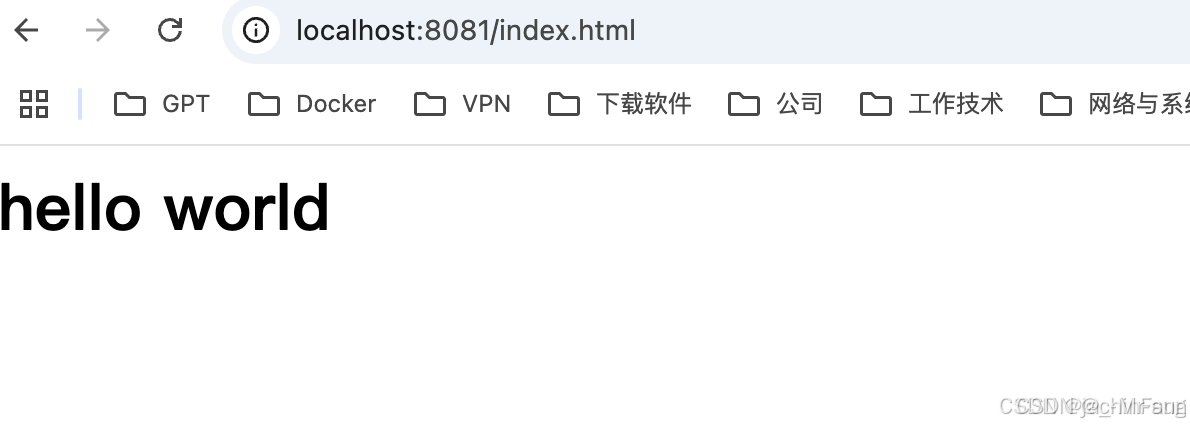
vim index.html
html
#写一个hello world
<DOCTYPE html>
<html>
<head>
<meta charset="utf-8">
<title>my test docker</title>
</head>
<body>
<h1>hello world</h1>
</body>
</html>在网页上输入http://localhost:8082/index.html,就能看到hello Wrold