1、brew安装
如果未安装 Homebrew,按照https://brew.sh上的说明进行安装。
可以切换brew源(如下) 或者 用梯子
#清华源
# 修改 brew.git
git -C "$(brew --repo)" remote set-url origin https://mirrors.tuna.tsinghua.edu.cn/git/homebrew/brew.git
# 修改 homebrew-core.git
git -C "$(brew --repo homebrew/core)" remote set-url origin https://mirrors.tuna.tsinghua.edu.cn/git/homebrew/homebrew-core.git
# 修改 homebrew-cask.git(可选)
git -C "$(brew --repo homebrew/cask)" remote set-url origin https://mirrors.tuna.tsinghua.edu.cn/git/homebrew/homebrew-cask.git
# 设置 bottles 镜像(zsh)
echo 'export HOMEBREW_BOTTLE_DOMAIN=https://mirrors.tuna.tsinghua.edu.cn/homebrew-bottles' >> ~/.zshrc
source ~/.zshrc
# 设置 bottles 镜像(bash)
echo 'export HOMEBREW_BOTTLE_DOMAIN=https://mirrors.tuna.tsinghua.edu.cn/homebrew-bottles' >> ~/.bash_profile
source ~/.bash_profile
# 刷新源
brew update
2、依赖包安装
打开终端窗口运行brew install cmake protobuf rust python@3.10 git wget
3、下载安装包
下载安装包
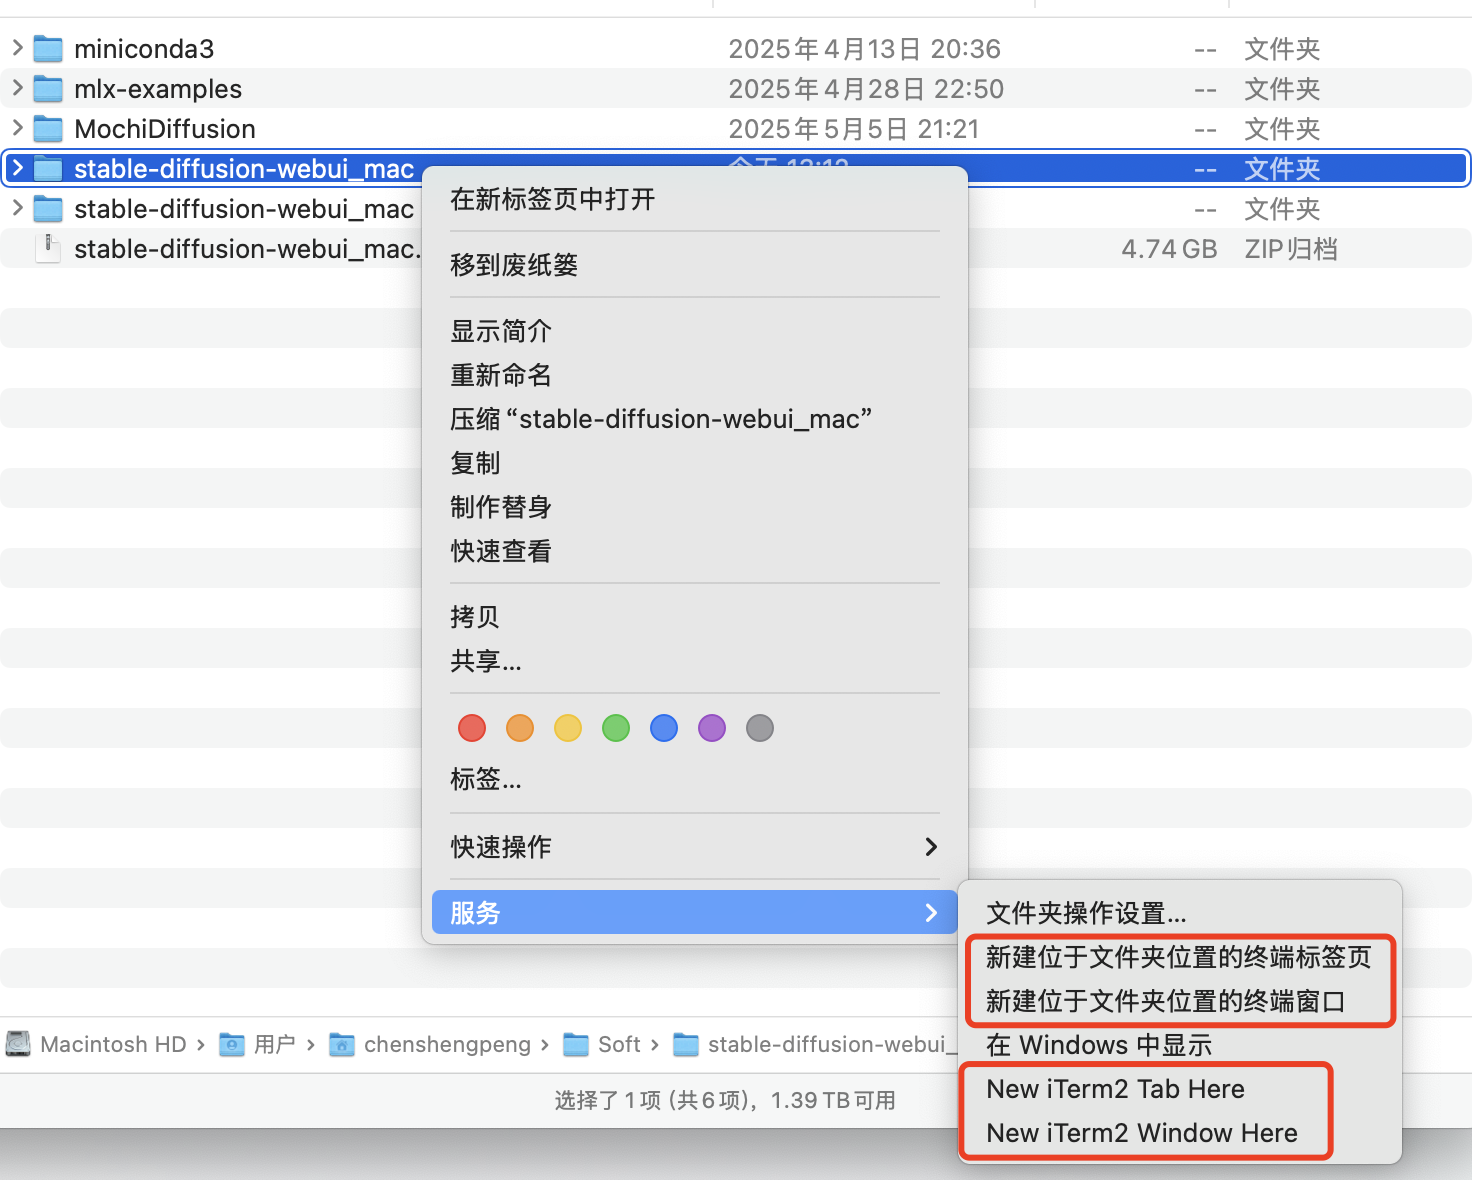
stable-diffusion-webui_mac.zip,添加了相关插件,解压文件,文件夹名称为stable-diffusion-webui_mac
4、启动
右键打开命令行终端,自带终端的或者ITrems都行。 cd stable-diffusion-webui_mac ./webui.sh
首次会慢一些。启动之后,会自动打开页面 http://127.0.0.1:7860/

stable-diffusion-webui_mac/webui-user.sh
启动参数可以根据mac实际情况调整,如果不清楚也可以让大模型生成符合自己配置的启动参数
# --skip-torch-cuda-test:跳过 PyTorch CUDA 测试(M4 使用 Metal 而非 CUDA)
# --device mps:启用 Metal Performance Shaders (MPS) 加速
# --no-half-vae:禁用 VAE 半精度,避免绿屏并提高图像质量
# --opt-sdp-attention:使用更高效的 SDP 注意力算法替代 FlashAttention
# --precision full:VAE 使用完整精度 (float32)
# --upcast-sampling:采样过程使用更高精度,减少噪点和 artifacts
# --always-batch-cond-uncond:优化批处理性能,提高吞吐量
# --max-batch-count 10:最大批处理数量
# --listen 0.0.0.0:允许远程设备通过 IP 访问 WebUI
# --enable-insecure-extension-access:允许加载第三方扩展
# --styles-file styles.csv:预加载样式文件,加快样式切换
# --deepdanbooru:启用 DeepDanbooru 标签识别,它可以自动为图像生成详细的标签(tags),这些标签可用于反向提示(Negative Prompt)或生成新图像时的参考
#--disable-safe-unpickle是一个命令行参数,允许你绕过这种安全检查来读取文件。然而,使用这个参数是有风险的,因为它会关闭对恶意文件的防护。只有在你绝对确定你所使用的模型文件是安全可靠的情况下,才应该使用 --disable-safe-unpickle 参数。

#export PYTORCH_MPS_HIGH_WATERMARK_RATIO=0.9
export COMMANDLINE_ARGS="--skip-torch-cuda-test --device mps --no-half-vae  --opt-sdp-attention --precision full --upcast-sampling --always-batch-cond-uncond --max-batch-count 10  --enable-insecure-extension-access  --styles-file styles.csv --deepdanbooru"
5、使用
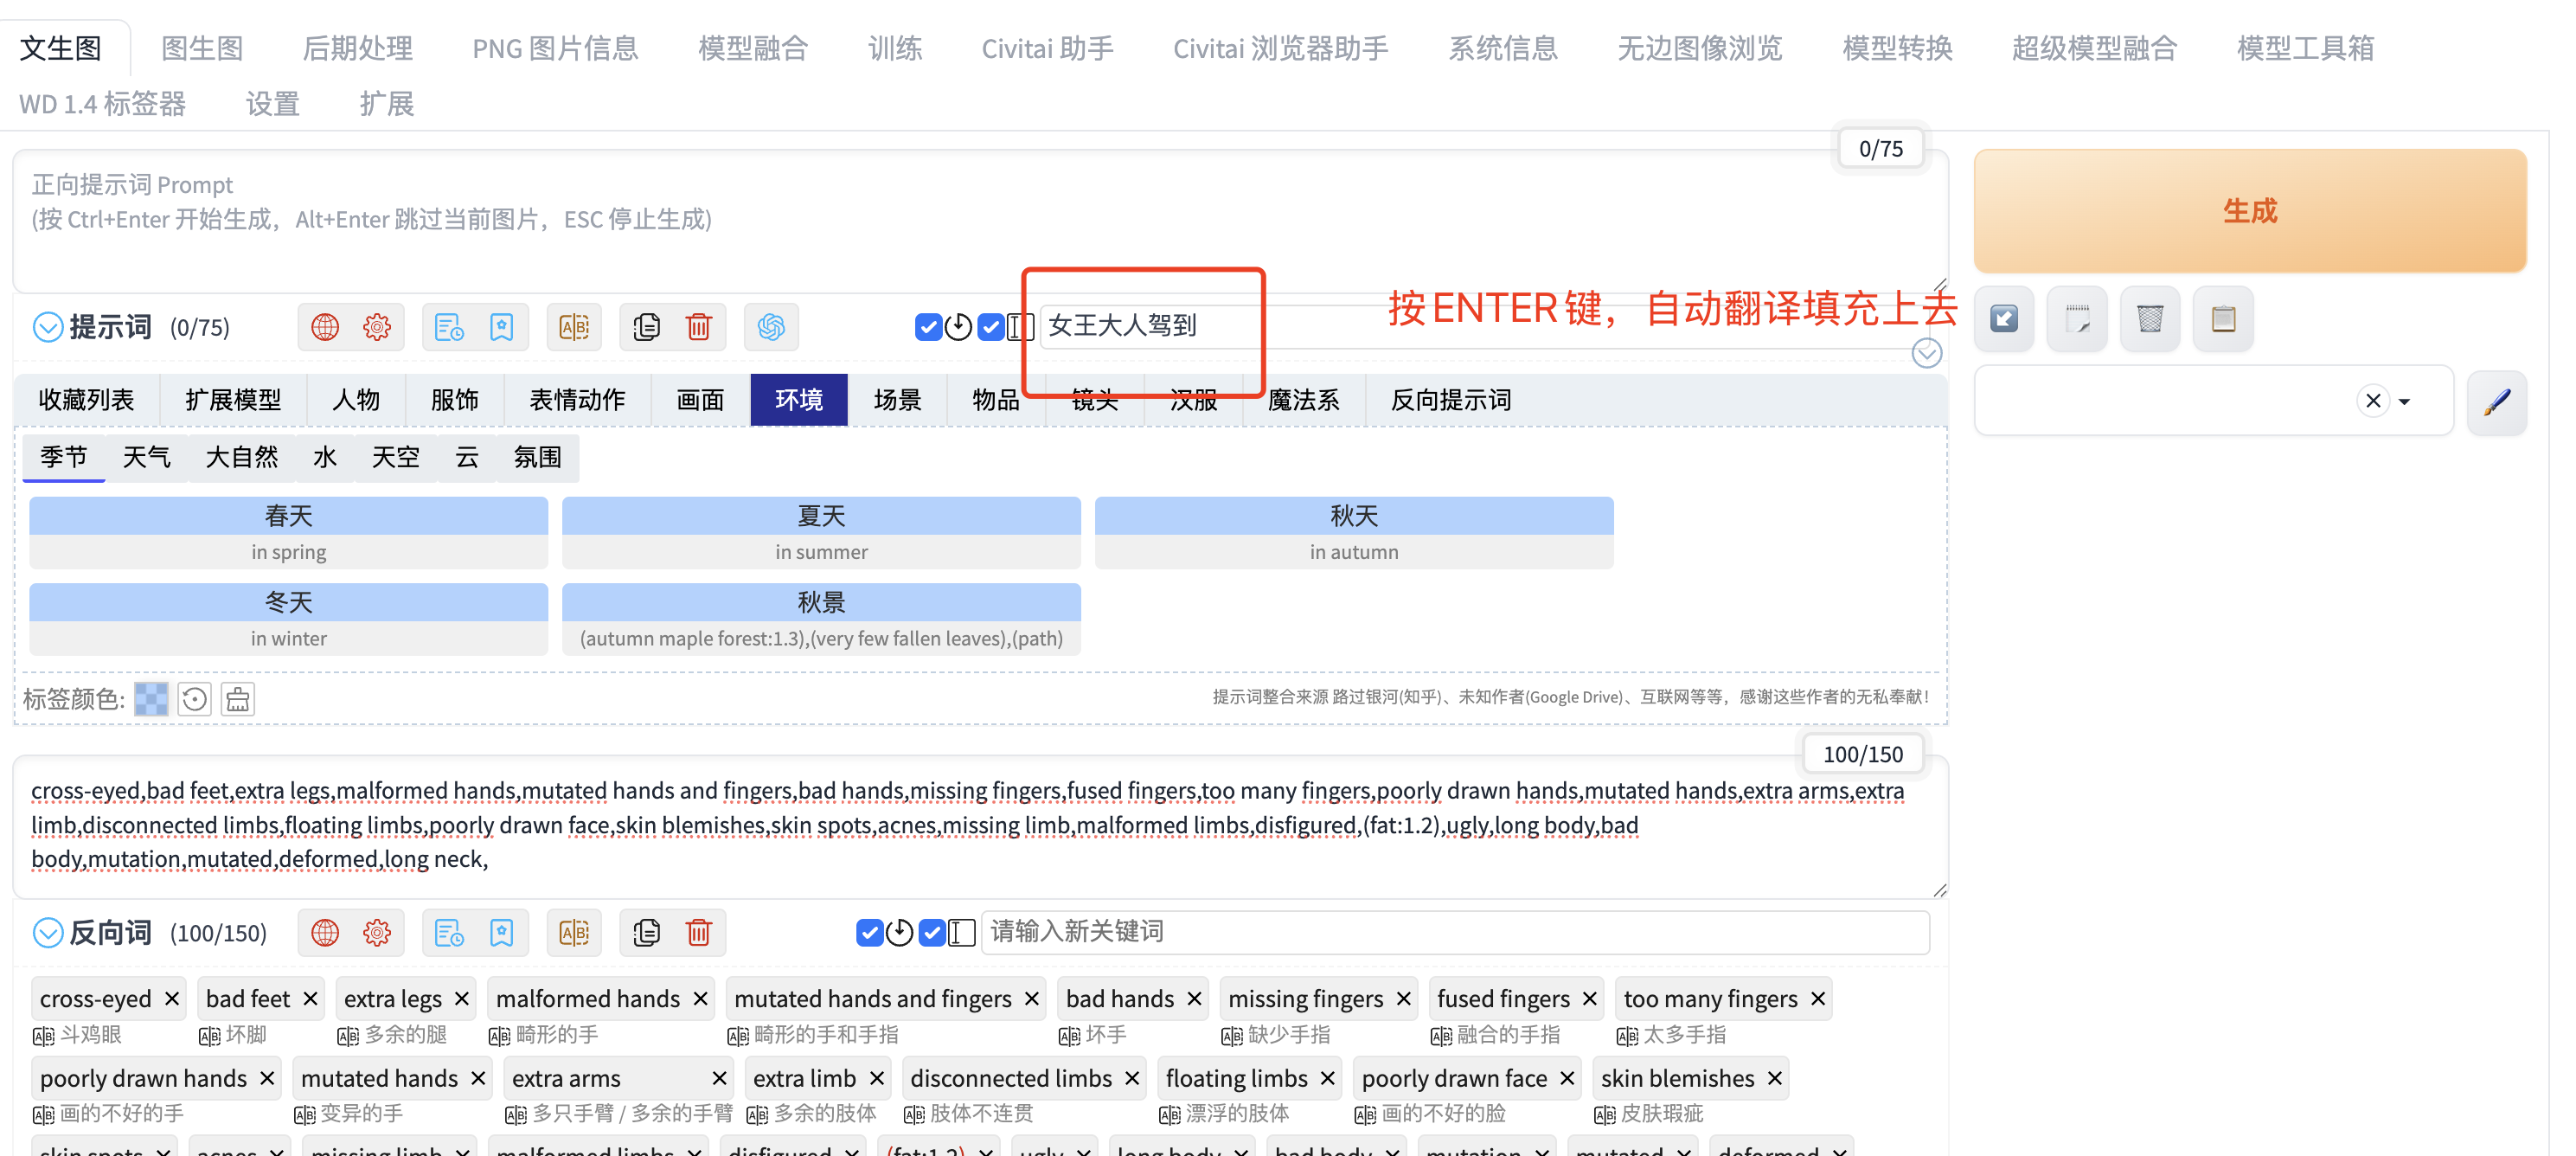
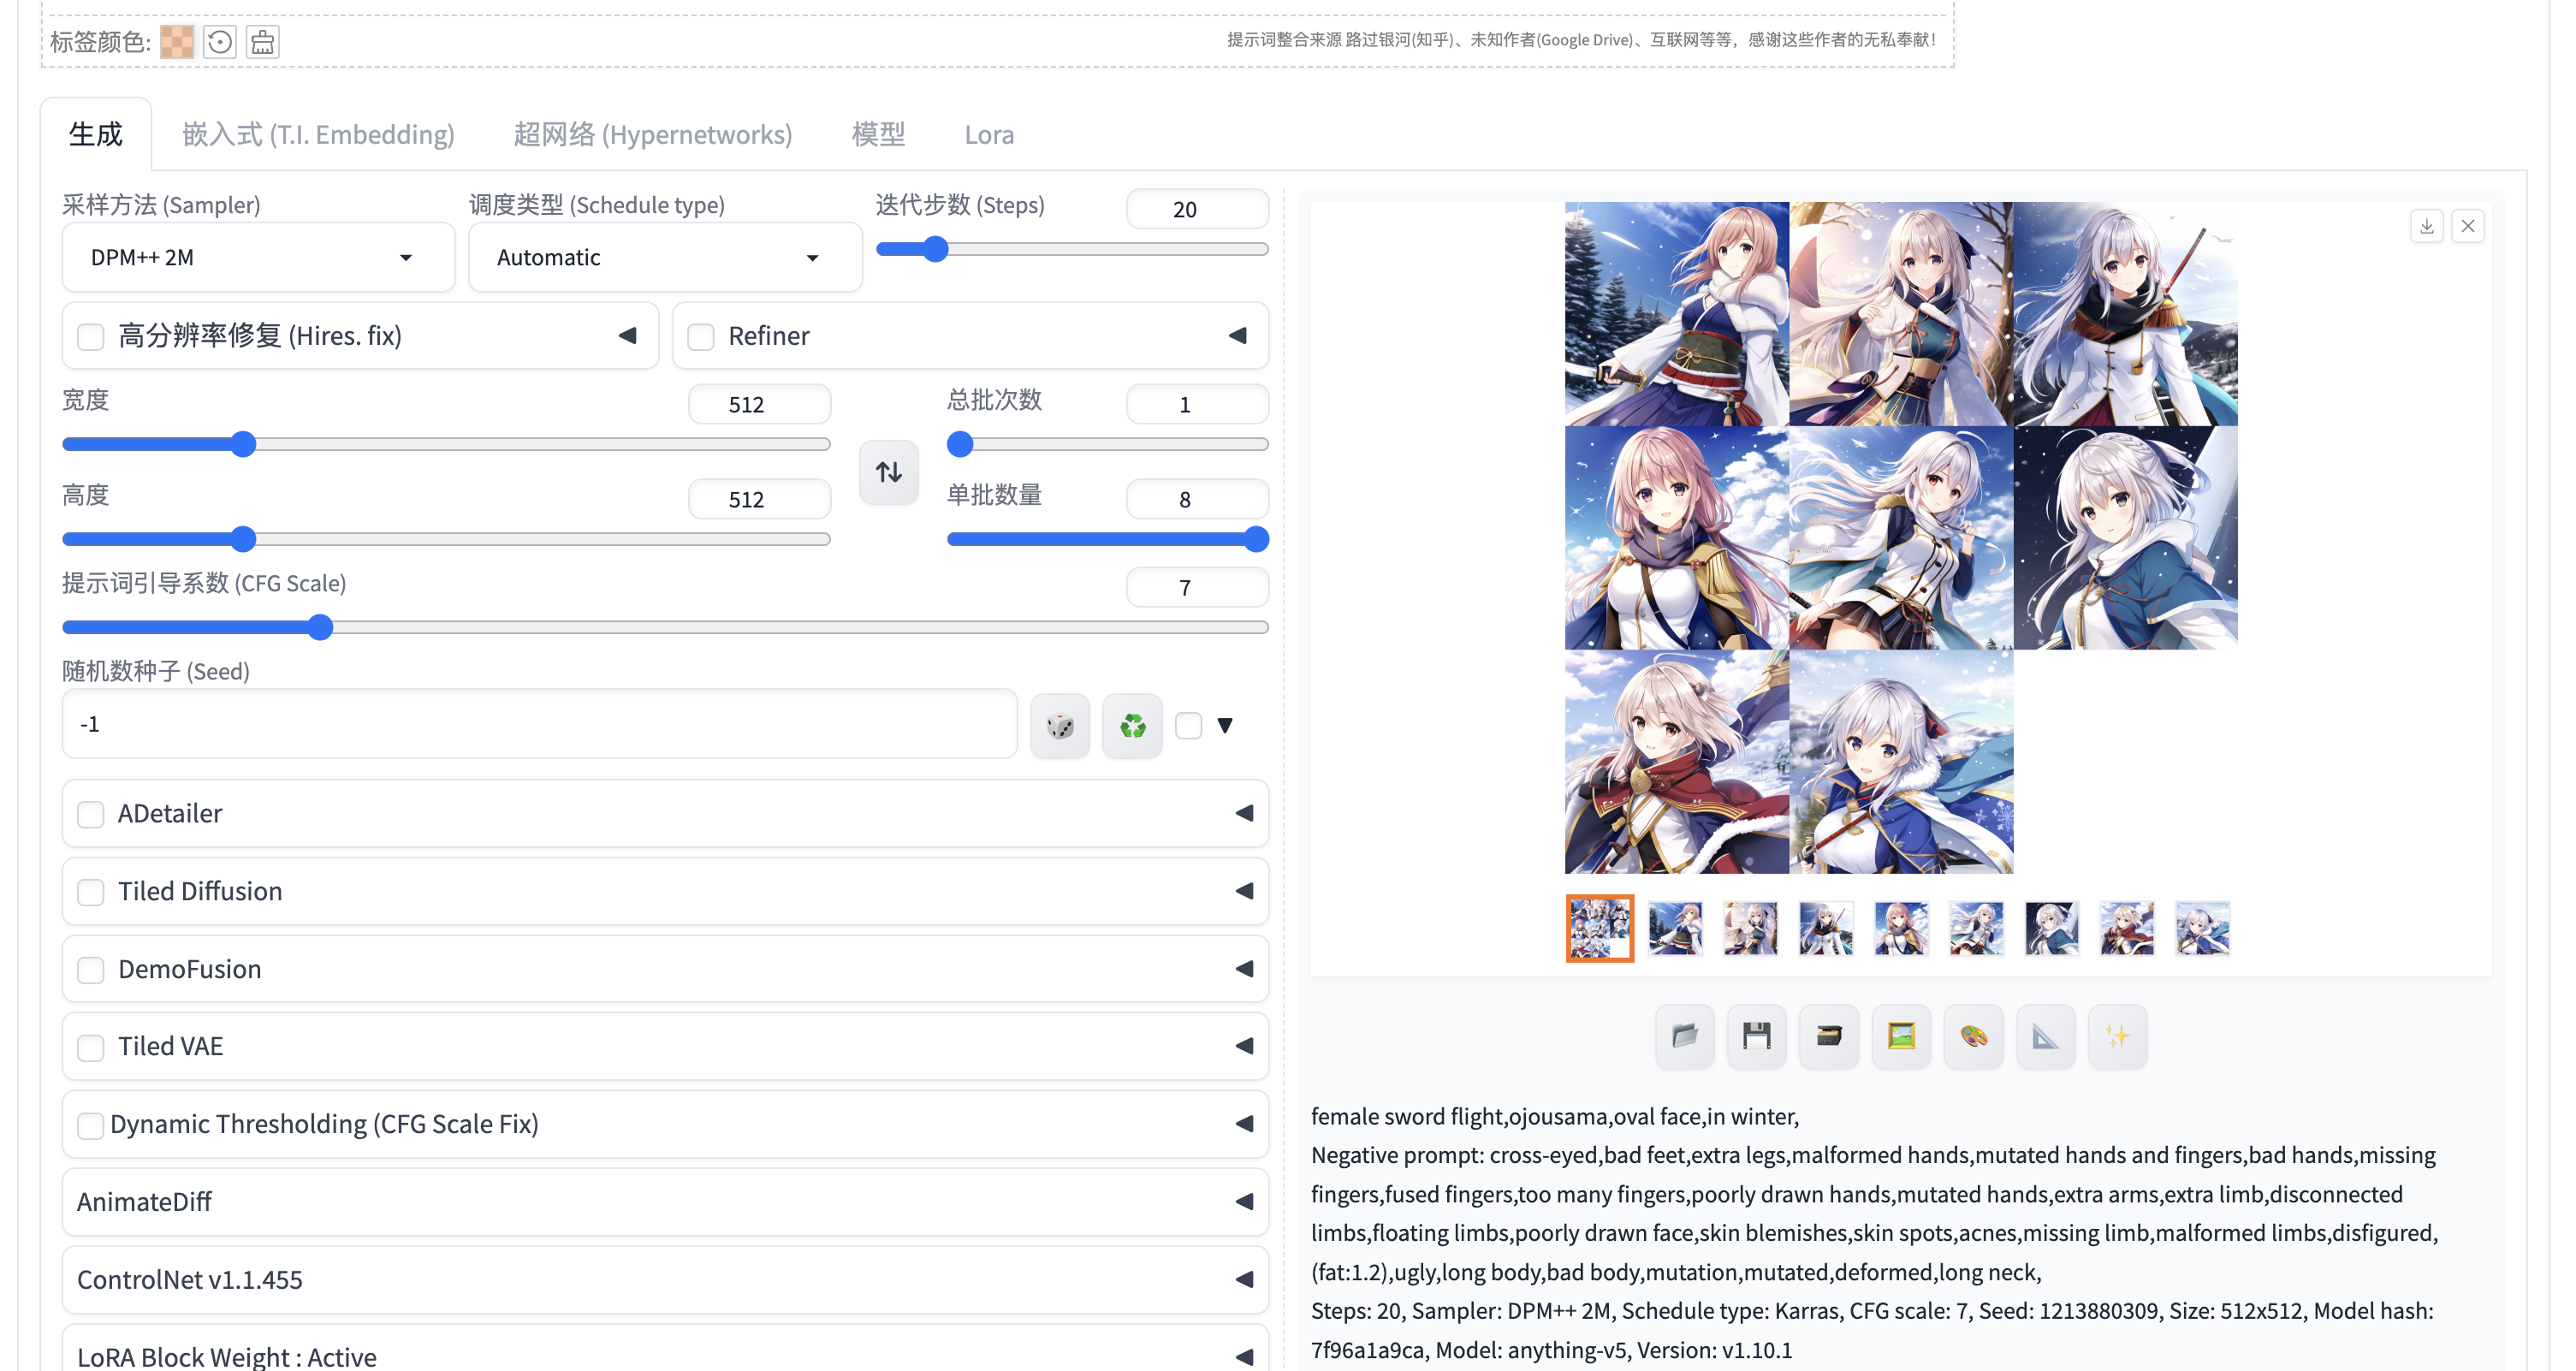
示例提示词: 正向提示词:female sword flight,ojousama,oval face,in winter,
反向提示词:cross-eyed,bad feet,extra legs,malformed hands,mutated hands and
fingers,bad hands,missing fingers,fused fingers,too many
fingers,poorly drawn hands,mutated hands,extra arms,extra
limb,disconnected limbs,floating limbs,poorly drawn face,skin
blemishes,skin spots,acnes,missing limb,malformed
limbs,disfigured,(fat:1.2),ugly,long body,bad
body,mutation,mutated,deformed,long neck,
如果要调整设置,请点击设置菜单栏进行调整,如vae展现,step设置等;设置完记得保存且重载。

### **附加说明**
1. **项目许可证**:本文衍生自 AGPL-3.0 开源项目,修改或再发布需遵守相同条款。
2. **模型权重**:Stable Diffusion 模型需单独遵守 [CreativeML OpenRAIL-M](https://huggingface.co/spaces/CompVis/stable-diffusion-license) 许可证。
3. **第三方组件**:部分功能依赖 GFPGAN、RealESRGAN 等组件,其许可证可能不同,请查阅 [项目 Licenses 文件](https://github.com/AUTOMATIC1111/stable-diffusion-webui/blob/master/html/licenses.html)。