在编写小说网站时,突发奇想:作者发布章节后,是不是粉丝应该接收到作者发布章节的消息通知呢。以下就是一个测试案例:
添加pom.xml文件依赖:
XML
<dependency>
    <groupId>org.springframework.boot</groupId>
    <artifactId>spring-boot-starter-websocket</artifactId>
</dependency>
以上只给了websocket依赖,实际还要添加mysql依赖,以及配置application中数据库:
XML
spring.datasource.url=
spring.datasource.driver-class-name=
spring.datasource.username=
spring.datasource.password=
接下来就创建一个配置类启用 WebSocket 消息代理:
java
import org.springframework.context.annotation.Configuration;
import org.springframework.messaging.simp.config.MessageBrokerRegistry;
import org.springframework.web.socket.config.annotation.EnableWebSocketMessageBroker;
import org.springframework.web.socket.config.annotation.StompEndpointRegistry;
import org.springframework.web.socket.config.annotation.WebSocketMessageBrokerConfigurer;

@Configuration
@EnableWebSocketMessageBroker
public class WebSocketConfig implements WebSocketMessageBrokerConfigurer {

    @Override
    public void registerStompEndpoints(StompEndpointRegistry registry) {
        // 定义 WebSocket 端点,前端通过此连接
        registry.addEndpoint("/ws")
                .setAllowedOriginPatterns("*") // 允许跨域(生产环境建议限制域名)
                .withSockJS(); // 支持 SockJS 回退
    }

    @Override
    public void configureMessageBroker(MessageBrokerRegistry registry) {
        // 客户端订阅地址前缀(前端从这里订阅)
        registry.enableSimpleBroker("/topic");
    }
}
监听作者发布章节事件
定义事件类
java
public class ChapterPublishedEvent {
    private Long authorId;
    private String chapterTitle;

    // 构造方法、Getter/Setter
}
在发布章节的方法中触发事件
java
@RestController
public class ChaptersController {

@Autowired
NovelsMapper mapper;

@Autowired
private ApplicationEventPublisher eventPublisher;

    @RequestMapping("chapter")
    String insert(HttpServletRequest request){
// 触发事件
        eventPublisher.publishEvent(new ChapterPublishedEvent(1, "文章名"));
        return "chapter:" + request.getServerPort();
    }
}
推送消息给关注者
监听事件并发送消息
java
import com.lxy.other.dao.UserAuthMapper;
import com.lxy.other.vo.ChapterPublishedEvent;
import org.springframework.beans.factory.annotation.Autowired;
import org.springframework.context.event.EventListener;
import org.springframework.messaging.simp.SimpMessagingTemplate;
import org.springframework.scheduling.annotation.Async; // 可选异步
import org.springframework.stereotype.Component;

import java.util.ArrayList;
import java.util.Arrays;
import java.util.List;

@Component
public class ChapterPublishListener {

    @Autowired
    private SimpMessagingTemplate messagingTemplate;

    @Autowired
    private UserAuthMapper userAuthMapper; // 自定义服务,用于查询关注者

    @EventListener
    @Async // 异步处理(可选,需在启动类添加 @EnableAsync)
    public void handleChapterPublishedEvent(ChapterPublishedEvent event) {
        Long authorId = event.getAuthorId();
        // 查询所有关注该作者的用户的ID
        List<Long> followerIds = new ArrayList<>(Arrays.asList(2L, 3L));
        // 向每个关注者推送消息
        followerIds.forEach(followerId -> {
            String destination = "/topic/user/" + followerId + "/notifications";
            messagingTemplate.convertAndSend(destination, "作者发布了新章节:" + event.getChapterTitle());
        });
    }
}
前端订阅通知
使用 SockJS 和 Stomp.js 连接 WebSocket 并订阅频道:
html
<!DOCTYPE html>
<html>
<meta charset="UTF-8">
<head>
    <title>WebSocket通知</title>
</head>
<body>
<script src="https://cdn.jsdelivr.net/npm/sockjs-client@1.6.1/dist/sockjs.min.js"></script>
<script src="https://cdnjs.cloudflare.com/ajax/libs/stomp.js/2.3.3/stomp.min.js"></script>

<script>
    // 1. 连接 WebSocket
    const socket = new SockJS('http://127.0.0.1:8002/ws');
    const stompClient = Stomp.over(socket);

    // 2. 订阅通知
    stompClient.connect({}, () => {
        const userId = 2; // 替换为实际用户ID
        stompClient.subscribe(`/topic/user/${userId}/notifications`, (message) => {
            console.log('收到通知:', message.body);
            alert(message.body);
        });
    }, (error) => {
        console.error('连接失败:', error);
    });
</script>
</body>
</html>
效果图:
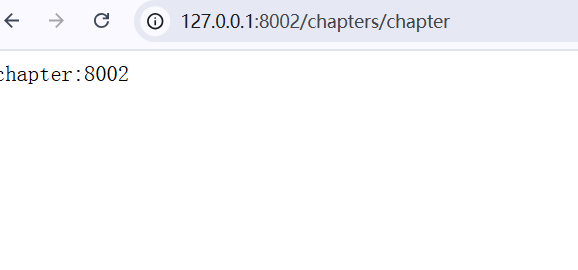
发送触发事件的请求。
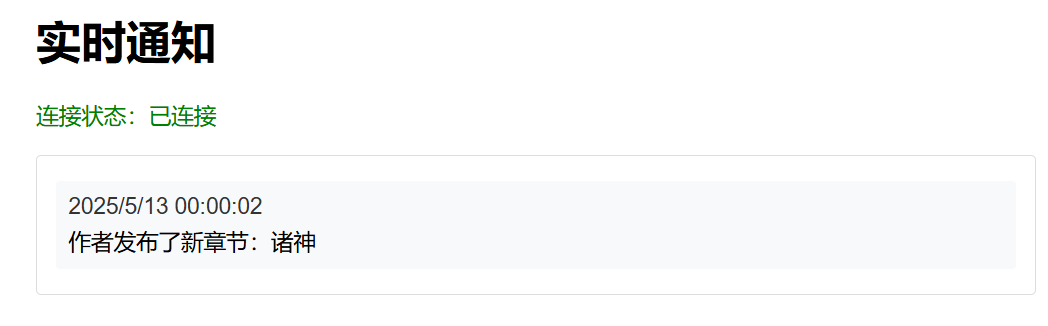
这个时候就可以自定义 页面样式了