1.下载mysql的官方yum源
wget http://dev.mysql.com/get/mysql57-community-release-el7-11.noarch.rpm2.安装yum源
yum -y install mysql57-community-release-el7-11.noarch.rpm3.安装秘钥文件
rpm --import https://repo.mysql.com/RPM-GPG-KEY-mysql-20224.安装mysql5.7
yum install mysql-community-server5.启动mysql
systemctl start mysqld6.设置开机自启
systemctl enable mysqld7.修改密码
#在mysql日志文件中找到初始密码
grep pass /var/log/mysqld.log
#登录mysql
mysql -uroot -pO#)2Mu2#DNt)#修改密码
use mysql
ALTER USER 'root'@'localhost' IDENTIFIED BY 'password';
#查看密码策略
show variables like 'validate_password%';#设置密码长度为6
mysql> set global validate_password_length=6;#设置密码要包含大小写字母的个数
set global validate_password_mixed_case_count=0;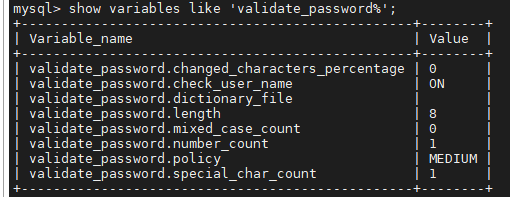
#设置允许远程访问
grant all privileges on *.* to root@"%" identified by "pasword";
GRANT ALL PRIVILEGES ON *.* TO 'root'@'%' IDENTIFIED BY 'pasword';
#刷新权限
flush privileges;
#查看是否成功
 select host,user from user;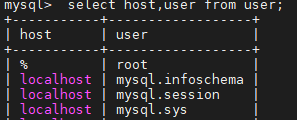
设置不区分大小写
修改/etc/my.cnf配置文件
[mysqld]
lower_case_table_names=1
重启mysql
systemctl restart mysqld
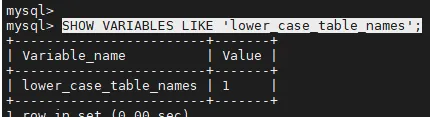
查看修改是否生效
mysql -uroot -ppassword
SHOW VARIABLES LIKE 'lower_case_table_names';