GO语言学习(六)
各位支持我的友友们我们现在不知不觉的已经进入第六期了,在上一期我们学习了一些简单的HTTP相关知识,还带大家基本的了解了web的深层原理及实现过程,相信大家应该都有自己的收获了,现在我就带领大家学习一下本期的内容:利用GO来构建一个简单的web服务器
首先我们这里可以使用GO语言自带的一个web构建的包:net/http包,通过这个包,可以方便的搭建起一个可以运行的web服务,同时使用这个包能够简单地对web的路由、静态文件、相关资源文件、模版的管理,并对其进行满足自己需求的设置和操作。
在这里我直接给大家简单的示范一下利用http包来构建属于自己的web服务器,话不多说,直接上代码:
go
package main

import (
	"fmt"
	"net/http"
	"strings"
	"log"
)

func sayhelloName(w http.ResponseWriter, r *http.Request) {
	r.ParseForm()  //解析参数,默认是不会解析的
	fmt.Println(r.Form)  //这些信息是输出到服务器端的打印信息
	fmt.Println("path", r.URL.Path)
	fmt.Println("scheme", r.URL.Scheme)
	fmt.Println(r.Form["url_long"])
	for k, v := range r.Form {
		fmt.Println("key:", k)
		fmt.Println("val:", strings.Join(v, ""))
	}
	fmt.Fprintf(w, "Hello astaxie!") //这个写入到w的是输出到客户端的
}

func main() {
	http.HandleFunc("/", sayhelloName) //设置访问的路由
	err := http.ListenAndServe(":9090", nil) //设置监听的端口
	if err != nil {
		log.Fatal("ListenAndServe: ", err)
	}
}
你们可以将上面的代码复制粘贴到自己的编译器上,运行一下,这里我来建单的给大家说明一下:
我们build之后,然后执行web.exe,这个时候其实已经在9090端口监听http链接请求了。
然后在浏览器输入
http://localhost:9090然后我们就可以看到浏览器页面输出了
Hello astaxie!同理你们也可以换一个地址试试:
http://localhost:9090/?url_long=111&url_long=222
大家是不是发现了一个很简单的道理,这样子写那么和我们经常写的apache、nginx服务器不就显得那么简单了吗,我现在来更大家解释一下go的构建服务器与上述两种常见的有啥区别:
nginx:首先就是net/http包实现了监听TCP包的功能,这一点就相当于做了nginx的事情
apache:这一点实现就要来说一下我们实现的一些逻辑函数问题了,这个其实就相当于使用了php的控制层函数
这部分相对比较简单、内容也较少,看完之后各位也可以去仿照我的代码区编写一个属于自己的服务器,有啥问题也欢迎大家在评论区中交流,我们一同进步,然后就到了我们的惊喜环节了。

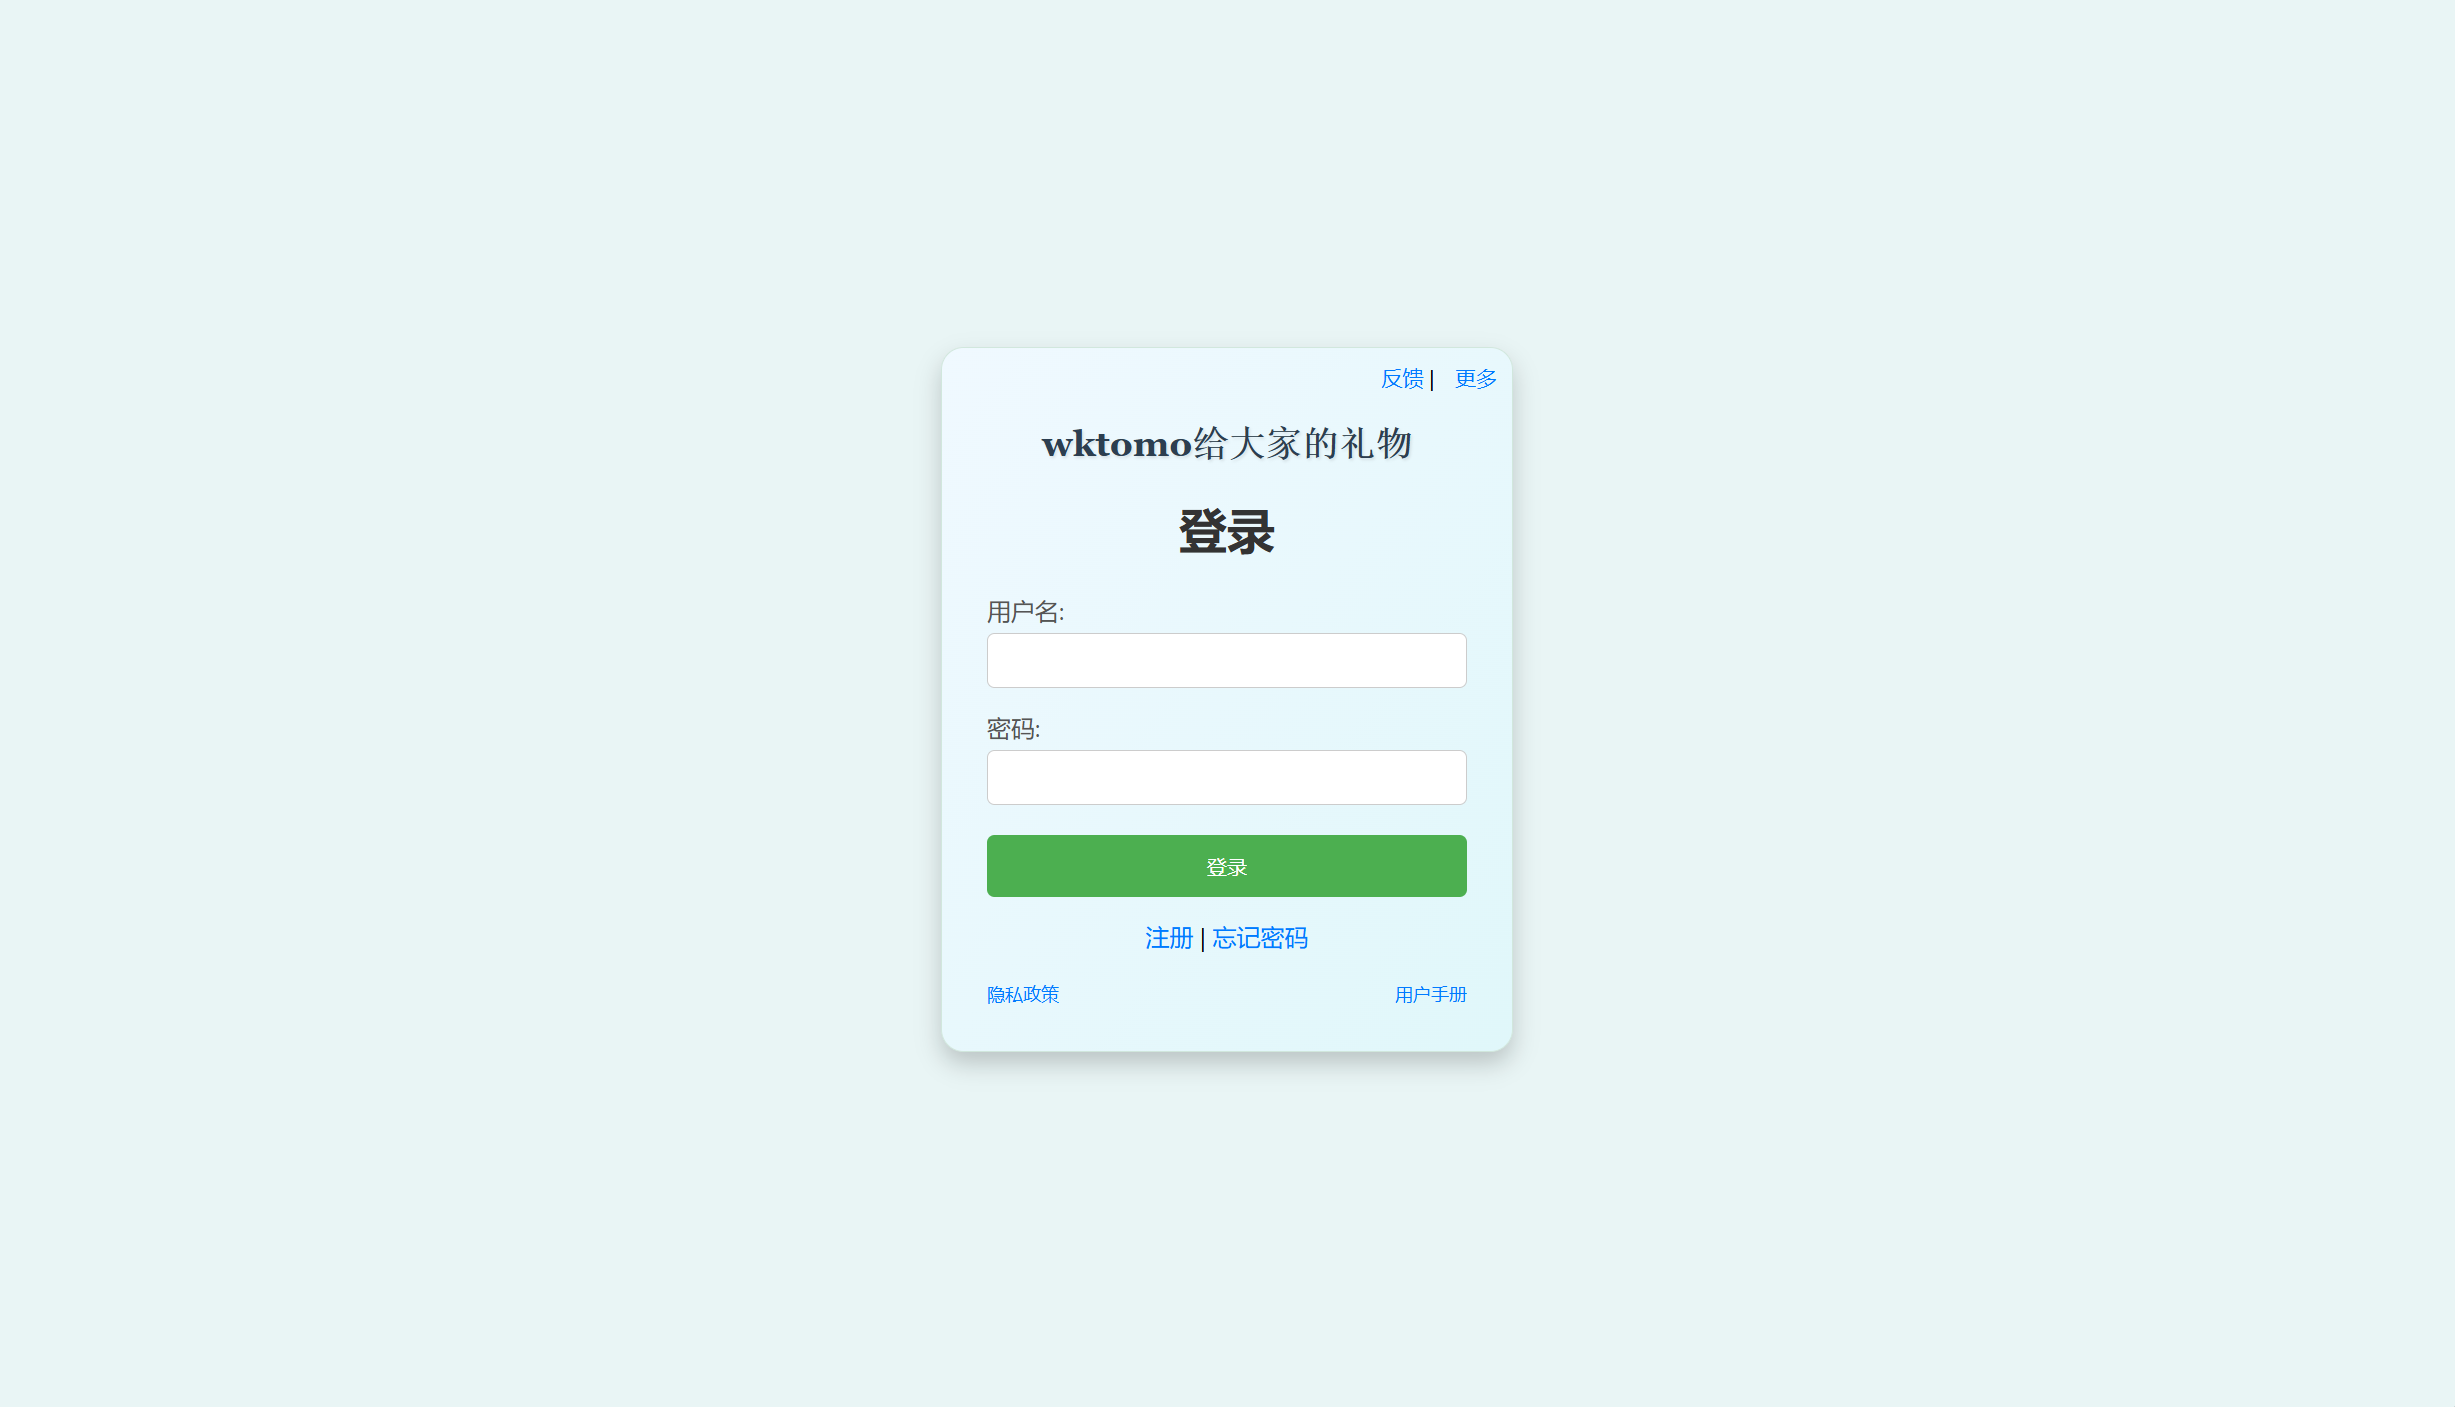
这是登录页面:
go
<!DOCTYPE html>
<html lang="zh-CN">
<head>
    <meta charset="UTF-8">
    <title>登录</title>
    <style>
        body {
            font-family: 'Segoe UI', Tahoma, Geneva, Verdana, sans-serif;
            background-color: #e9f5f5;
            display: flex;
            justify-content: center;
            align-items: center;
            height: 100vh;
            margin: 0;
        }
        .container {
            background-color: #ffffff;
            padding: 30px;
            border-radius: 15px;
            box-shadow: 0 8px 16px rgba(0, 0, 0, 0.2);
            width: 320px;
            border: 1px solid #d1e7dd;
            background-image: linear-gradient(to bottom right, #f0f9ff, #e0f7fa);
            position: relative;
        }
        h1, h2 {
            text-align: center;
            color: #333;
        }
        h2 {
            margin-bottom: 20px;
            font-size: 24px;
            color: #2c3e50;
            font-weight: bold;
            font-family: 'Georgia', serif;
            text-shadow: 1px 1px 2px rgba(0, 0, 0, 0.1);
        }
        label {
            display: block;
            margin-top: 15px;
            color: #555;
        }
        input[type="text"], input[type="password"], input[type="email"] {
            width: 100%;
            padding: 10px;
            margin-top: 5px;
            border: 1px solid #ccc;
            border-radius: 5px;
            box-sizing: border-box;
        }
        button {
            width: 100%;
            padding: 12px;
            background-color: #4caf50;
            color: white;
            border: none;
            border-radius: 5px;
            margin-top: 20px;
            cursor: pointer;
            transition: background-color 0.3s;
        }
        button:hover {
            background-color: #45a049;
        }
        .link {
            text-align: center;
            margin-top: 15px;
        }
        .link a {
            cursor: pointer;
            color: #007bff;
            text-decoration: none;
            transition: color 0.3s;
        }
        .link a:hover {
            text-decoration: underline;
            color: #0056b3;
        }
        .side-links {
            position: absolute;
            top: 10px;
            right: 10px;
            font-size: 14px;
        }
        .side-links a {
            margin-left: 10px;
            color: #007bff;
            text-decoration: none;
            transition: color 0.3s;
        }
        .side-links a:hover {
            text-decoration: underline;
            color: #0056b3;
        }
        .collapsible {
            background-color: #f1f1f1;
            color: #333;
            cursor: pointer;
            padding: 10px;
            width: 100%;
            border: none;
            text-align: left;
            outline: none;
            font-size: 15px;
            margin-top: 10px;
        }
        .content {
            padding: 0 18px;
            display: none;
            overflow: hidden;
            background-color: #f9f9f9;
            margin-top: 5px;
            border-radius: 5px;
        }
        .bottom-links {
            display: flex;
            justify-content: space-between;
            margin-top: 20px;
            font-size: 12px;
        }
        .bottom-links a {
            color: #007bff;
            text-decoration: none;
            transition: color 0.3s;
        }
        .bottom-links a:hover {
            text-decoration: underline;
            color: #0056b3;
        }
    </style>
    <script>
        function showForm(formId) {
            const forms = ['loginForm', 'registerForm', 'forgotPasswordForm'];
            forms.forEach(id => {
                document.getElementById(id).style.display = (id === formId) ? 'block' : 'none';
            });
        }

        function toggleContent(id) {
            const content = document.getElementById(id);
            if (content.style.display === "block") {
                content.style.display = "none";
            } else {
                content.style.display = "block";
            }
        }

        function validateRegistration() {
            const password = document.getElementById('reg_password').value;
            const confirmPassword = document.getElementById('confirm_password').value;
            if (password !== confirmPassword) {
                alert('密码不一致,请重新输入。');
                return false;
            }
            return true;
        }

        function markAsRead(id) {
            const content = document.getElementById(id);
            content.style.display = "none";
            alert('已阅读');
        }
    </script>
</head>
<body>
    <div class="container">
        <h2>wktomo给大家的礼物</h2>
        <div class="side-links">
            <a href="/feedback">反馈</a> |
            <a href="/more">更多</a>
        </div>
        <div id="loginForm">
            <h1>登录</h1>
            <form method="post">
                <label for="username">用户名:</label>
                <input type="text" id="username" name="username" required>
                <label for="password">密码:</label>
                <input type="password" id="password" name="password" required>
                <button type="submit">登录</button>
            </form>
            <div class="link">
                <a onclick="showForm('registerForm')">注册</a> |
                <a href="{{ url_for('forgot_password') }}">忘记密码</a>
            </div>
            <div class="bottom-links">
                <a onclick="toggleContent('privacyPolicy')">隐私政策</a>
                <a onclick="toggleContent('userManual')">用户手册</a>
            </div>
            <div class="content" id="privacyPolicy">
                <h3>隐私政策</h3>
                <p>欢迎使用本网站(以下简称 "我们" 或 "本网站")。我们非常重视用户的隐私保护,本隐私政策旨在向您说明我们在您使用本网站服务时如何收集、使用、存储、共享和保护您的个人信息,以及您享有的权利。</p>
                <p>请您在使用本网站服务前仔细阅读本隐私政策,确保您已充分理解其中的内容。如果您对本隐私政策有任何疑问,请通过官方提供的联系方式与我们联系。</p>
                <ul>
                    <li>您有权访问我们收集和存储的关于您的个人信息,包括但不限于注册信息、个人资料、使用信息等。</li>
                    <li>您可以通过登录您的账户,在个人资料页面或相关设置页面查看和更正您的个人信息。</li>
                    <li>如果您发现您的个人信息有错误或不完整,您可以随时要求我们更正或补充相关信息。我们将及时处理您的请求,确保您的个人信息准确无误。</li>
                </ul>
                <h4>联系我们</h4>
                <p>如果您对本隐私政策有任何疑问、建议或投诉,或者您发现您的个人信息安全受到威胁或存在其他问题,请通过以下方式与我们联系:</p>
                <ul>
                    <li>联系地址 :见官方资料</li>
                    <li>联系电话 :见官方资料</li>
                    <li>电子邮箱 :见官方资料</li>
                </ul>
                <button onclick="markAsRead('privacyPolicy')">已阅读</button>
            </div>
            <div class="content" id="userManual">
                <h3>用户手册</h3>
                <h4>页面 1:欢迎与简介</h4>
                <h5>欢迎使用本网站</h5>
                <p>本网站是一个专注于 [具体领域] 的平台,为您提供 [列举主要服务内容],致力于满足 [目标用户群体] 在 [列举用户需求场景] 等方面的需求。</p>
                <h4>页面 2:注册与登录</h4>
                <h5>注册账号</h5>
                <ol>
                    <li>访问注册页面:点击 "注册" 按钮。</li>
                    <li>填写注册信息:输入用户名、密码、电子邮箱地址、手机号码等。</li>
                    <li>验证与激活:获取验证码,激活账号。</li>
                </ol>
                <h5>登录账号</h5>
                <ol>
                    <li>访问登录页面:点击 "登录" 按钮。</li>
                    <li>输入账号信息:输入用户名 / 邮箱、密码。</li>
                    <li>选择登录方式:常规登录或第三方账号登录。</li>
                    <li>忘记密码:通过手机号或邮箱找回密码。</li>
                </ol>
                <h4>页面 3:网站界面与导航</h4>
                <h5>首页布局</h5>
                <p>顶部导航栏:包含主要功能菜单,如 "首页""产品分类""关于我们""联系我们" 等。</p>
                <p>搜索框:输入关键词进行全站搜索。</p>
                <p>轮播图区域:展示最新活动、热门产品或重要公告。</p>
                <p>特色功能模块:如 "热门推荐""新品上线""用户评价" 等。</p>
                <h5>页面导航</h5>
                <p>左侧 / 右侧导航栏:展示分类 / 子分类,方便切换。</p>
                <p>面包屑导航:显示当前位置,可返回上级页面或首页。</p>
                <h4>页面 4:核心功能使用指南</h4>
                <h5>产品浏览与搜索</h5>
                <ol>
                    <li>产品分类浏览:按类别筛选,查看产品列表及基本信息。</li>
                    <li>产品搜索:输入关键词搜索,筛选和排序搜索结果。</li>
                    <li>产品详情查看:查看详细信息,咨询客服或留言。</li>
                </ol>
                <button onclick="markAsRead('userManual')">已阅读</button>
            </div>
        </div>
        <div id="registerForm" style="display:none;">
            <h1>注册</h1>
            <form method="post" onsubmit="return validateRegistration()">
                <label for="reg_username">用户名:</label>
                <input type="text" id="reg_username" name="username" required>
                <label for="reg_password">密码:</label>
                <input type="password" id="reg_password" name="password" required>
                <label for="confirm_password">确认密码:</label>
                <input type="password" id="confirm_password" name="confirm_password" required>
                <button type="submit">注册</button>
            </form>
            <div class="link">
                <a onclick="showForm('loginForm')">返回登录</a>
            </div>
        </div>
        <div id="forgotPasswordForm" style="display:none;">
            <h1>忘记密码</h1>
            <form method="post">
                <label for="email">电子邮件:</label>
                <input type="email" id="email" name="email" required>
                <button type="submit">重置密码</button>
            </form>
            <div class="link">
                <a onclick="showForm('loginForm')">返回登录</a>
            </div>
        </div>
    </div>
</body>
</html>
这是忘记密码页面:

go
<!DOCTYPE html>
<html lang="zh-CN">
<head>
    <meta charset="UTF-8">
    <title>忘记密码</title>
    <style>
        body {
            font-family: 'Segoe UI', Tahoma, Geneva, Verdana, sans-serif;
            background-color: #e9f5f5;
            display: flex;
            justify-content: center;
            align-items: center;
            height: 100vh;
            margin: 0;
        }
        .container {
            background-color: #ffffff;
            padding: 30px;
            border-radius: 15px;
            box-shadow: 0 8px 16px rgba(0, 0, 0, 0.2);
            width: 320px;
            border: 1px solid #d1e7dd;
        }
        h1 {
            text-align: center;
            color: #333;
            margin-bottom: 20px;
        }
        label {
            display: block;
            margin-top: 15px;
            color: #555;
        }
        input[type="text"], input[type="email"] {
            width: 100%;
            padding: 10px;
            margin-top: 5px;
            border: 1px solid #ccc;
            border-radius: 5px;
            box-sizing: border-box;
        }
        button {
            width: 100%;
            padding: 12px;
            background-color: #4caf50;
            color: white;
            border: none;
            border-radius: 5px;
            margin-top: 20px;
            cursor: pointer;
            transition: background-color 0.3s;
        }
        button:hover {
            background-color: #45a049;
        }
    </style>
    <script>
        function validateCaptcha() {
            const captchaInput = document.getElementById('captcha').value;
            const correctCaptcha = '1234'; // 示例验证码
            if (captchaInput !== correctCaptcha) {
                alert('验证码错误,请重新输入。');
                return false;
            }
            alert('用户名: user123\n密码: password123'); // 示例返回信息
            return true;
        }
    </script>
</head>
<body>
    <div class="container">
        <h1>忘记密码</h1>
        <form method="post" onsubmit="return validateCaptcha()">
            <label for="email">电子邮件:</label>
            <input type="email" id="email" name="email" required>
            <label for="captcha">验证码:</label>
            <input type="text" id="captcha" name="captcha" required>
            <button type="submit">重置密码</button>
        </form>
    </div>
</body>
</html>
给出的这些可以解决各位友友们的后顾之忧,这样你们就可以在此基础上直接编写的服务器并且实操了,有好的结果也别忘了和我分享一下你们的成绩,期待你们都能完成自己的项目,加油!!!