操作系统版本:
openEuler release 22.03 (LTS-SP4)
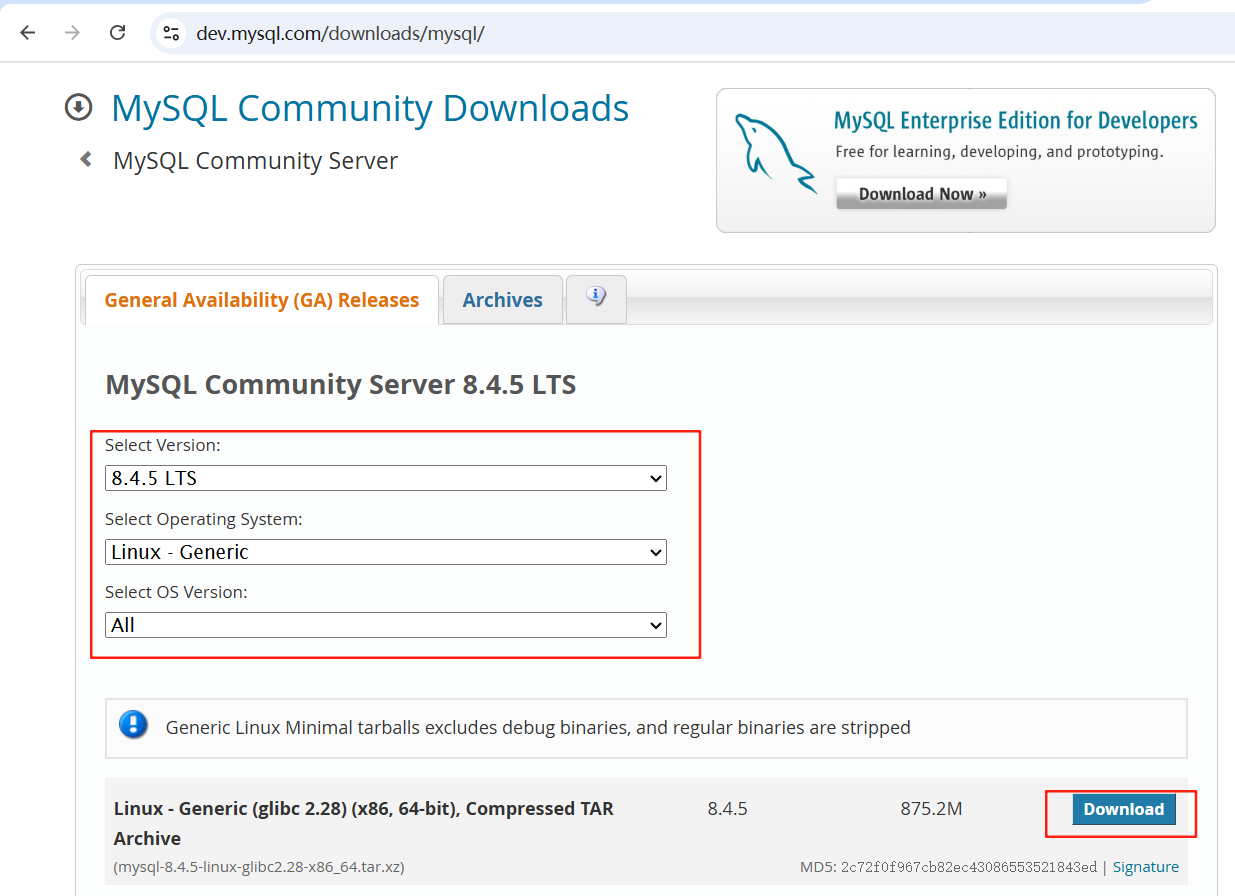
MySql版本:
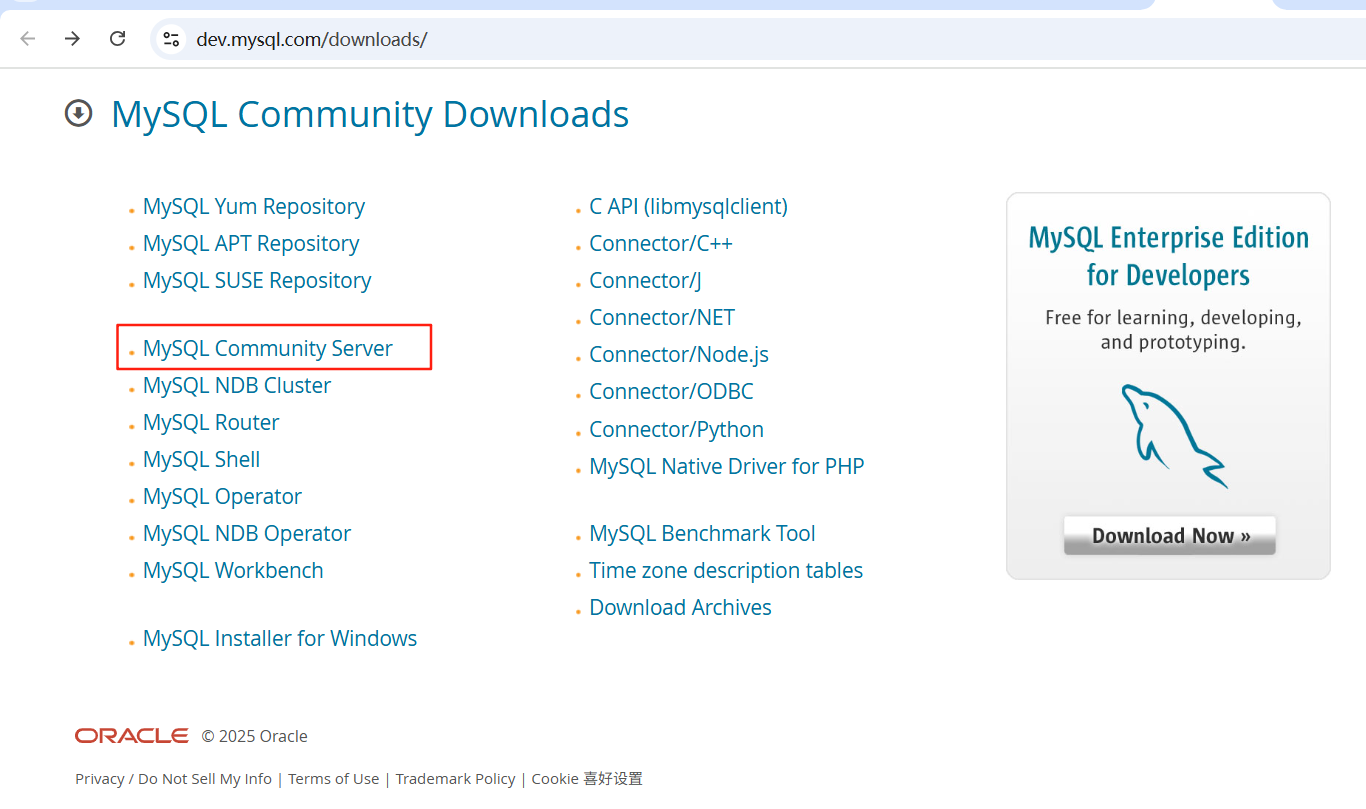
下载地址:
https://dev.mysql.com/downloads/mysql/
准备安装:
关闭防火墙:
停止防火墙
#systemctl stop firewalld.service
关闭防火墙
#systemctl disable firewalld.service
执行disable命令关闭防火墙的同时,也取消了开机自启动。
查看防火墙状态
#systemctl status firewalld.service
mysql安装好后 ,如果需要开启防火墙,请执行下面2个命令:
#firewall-cmd --permanent --add-port=3306/tcp
#firewall-cmd --reload
关闭SELinux:
SElinux对服务的影响:SElinux是最全面的安全系统,若不关闭会对文件和服务有一定的限制
设置SELinux成为permissive模式,临时关闭SElinux。
#setenforce 0
查看SELinux状态,确认为permissive模式。
#getenforce
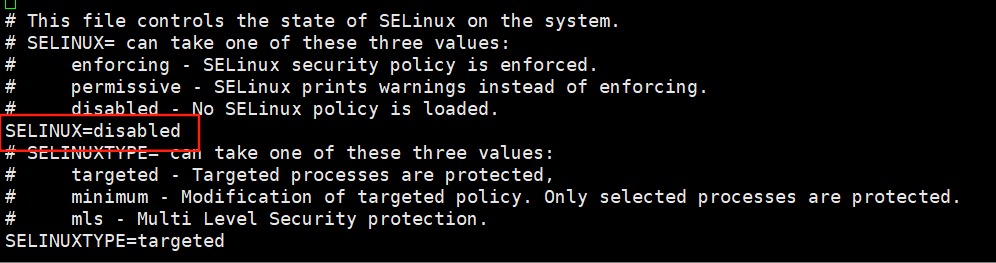
也可以永久关闭SELinux
#vi /etc/selinux/config
将SELINUX=enforcing改为SELINUX=disabled
上传安装包:
把下载下来的安装包上传到服务器:/opt/software/mysql目录中

解压安装包:
#tar -xvf mysql-8.4.5-linux-glibc2.28-x86_64.tar.xz
创建用户与用户组:
#groupadd -g 1201 mysql
#useradd -g mysql -u 1201 -m mysql
设置mysql用户密码:
#passwd mysql #回车输入两次密码
修改目录owner:
#chowner -R mysql:mysql /opt/software/mysql
配置环境变量:
#vi /etc/profile
追加:
export PATH=$PATH:/opt/software/mysql/mysql-8.4.5-linux-glibc2.28-x86_64/bin
初始化数据库:
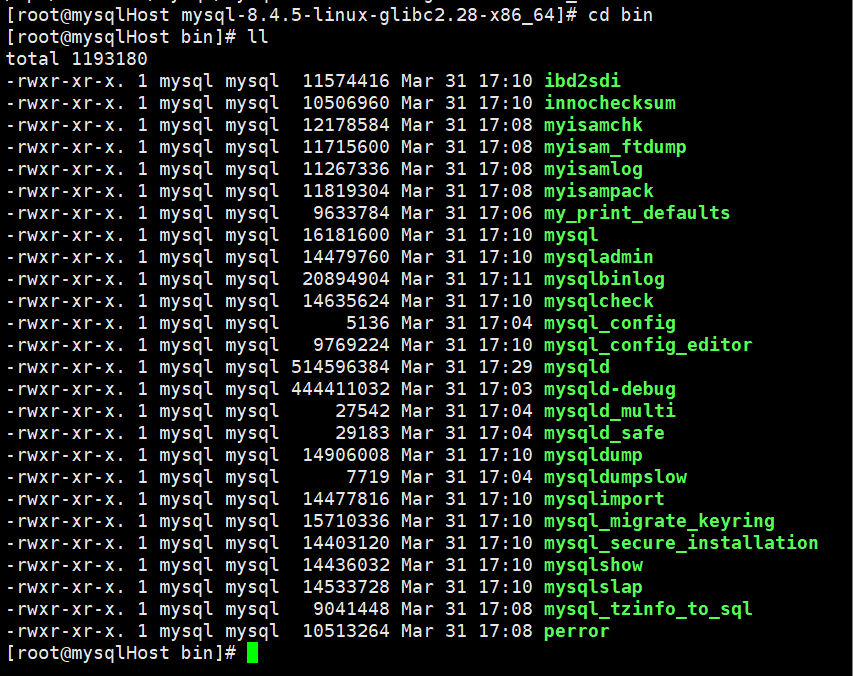
进入bin目录
执行初始化命令:
#./mysqld --initialize --user=mysql --port=3306 --basedir=/opt/software/mysql/mysql-8.4.5-linux-glibc2.28-x86_64 --datadir=/opt/software/mysql/mysql-8.4.5-linux-glibc2.28-x86_64/data --plugin-dir=/opt/software/mysql/mysql-8.4.5-linux-glibc2.28-x86_64/lib/plugin --log-error=/opt/software/mysql/mysql-8.4.5-linux-glibc2.28-x86_64/logs/mysqld_error.log --open-files-limit=10240 --pid-file=/opt/software/mysql/mysql-8.4.5-linux-glibc2.28-x86_64/mysqld.pid --socket=/opt/software/mysql/mysql-8.4.5-linux-glibc2.28-x86_64/mysql.sock
 请记住生成的root用户临时密码,后面登录mysql会用到
也可以将初始化参数写入配置文件my.cnf中,然后通过指定初始化配置文件的方式初始化安装mysql,第一个参数必须是 defaults-file,指向准备好的my.cnf 配置文件,第二个参数是 initialize,指示 mysqld 进行初始化操作。
例如:
#./mysqld --defaults-file=/opt/software/mysql/mysql-8.4.5-linux-glibc2.28-x86_64/my.cnf --initialize
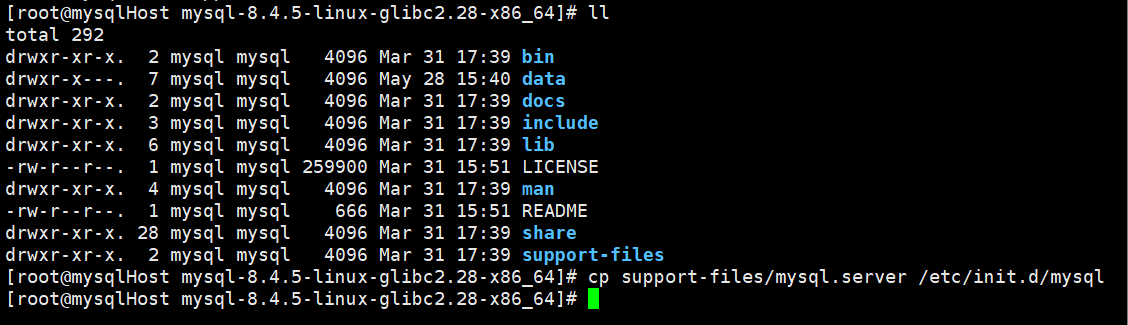
复制MySQL服务脚本(可选):
如果你希望使用系统服务管理MySQL(例如使用systemctl),可以复制MySQL提供的系统服务脚本到/etc/systemd/system/目录:
#cp support-files/mysql.server /etc/init.d/mysql
 开启mysql管理服务命令:
#systemctl enable mysql

启动mysql服务:
#./mysqld_safe --user=mysql &
或者:
#systemctl start mysql
安全设置:
#mysql_secure_installation
会提示修改root用户密码,是否要设置验证密码组件,是否移除匿名用户,是否禁止root账户远程登录,是否删除test数据库及其访问权限,是否立即重新加载权限表(选y)等
[root@mysqlHost bin]# mysql_secure_installation
Securing the MySQL server deployment.
Enter password for user root:
The existing password for the user account root has expired. Please set a new password.
New password:
Re-enter new password:
VALIDATE PASSWORD COMPONENT can be used to test passwords
and improve security. It checks the strength of password
and allows the users to set only those passwords which are
secure enough. Would you like to setup VALIDATE PASSWORD component?
Press y|Y for Yes, any other key for No: no
Using existing password for root.
Change the password for root ? ((Press y|Y for Yes, any other key for No) : y
New password:
Re-enter new password:
Sorry, passwords do not match.
New password:
Re-enter new password:
By default, a MySQL installation has an anonymous user,
allowing anyone to log into MySQL without having to have
a user account created for them. This is intended only for
testing, and to make the installation go a bit smoother.
You should remove them before moving into a production
environment.
Remove anonymous users? (Press y|Y for Yes, any other key for No) : no
... skipping.
Normally, root should only be allowed to connect from
'localhost'. This ensures that someone cannot guess at
the root password from the network.
Disallow root login remotely? (Press y|Y for Yes, any other key for No) : no
... skipping.
By default, MySQL comes with a database named 'test' that
anyone can access. This is also intended only for testing,
and should be removed before moving into a production
environment.
Remove test database and access to it? (Press y|Y for Yes, any other key for No) : no
... skipping.
Reloading the privilege tables will ensure that all changes
made so far will take effect immediately.
Reload privilege tables now? (Press y|Y for Yes, any other key for No) : y
Success.
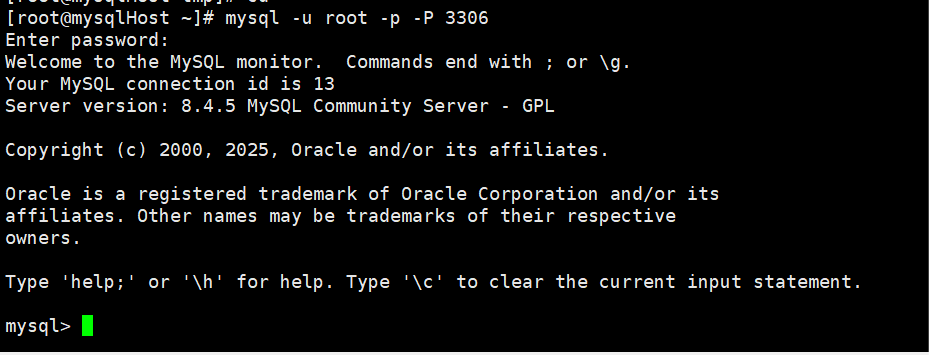
All done!登录mysql:
#mysql -u root -p -P 3306
常遇到的问题:
- 登录mysql时报错:ERROR 2002 (HY000): Can't connect to local MySQL server through socket '/tmp/mysql.sock' (2)
解释/原因:这个提示是缺失mysql.sock文件,安装mysql后没有做安全设置,即没有执行mysql_secure_installation命令进行一系列的设置,就登录mysql,这样就会报这个错误,这个文件是在执行mysql_secure_installation命令后,才会产生。
如果没有进行安全设置就想登录,可以用这个方法:
./mysqld_safe --user=mysql --basedir=/opt/software/mysql/mysql-8.4.5-linux-glibc2.28-x86_64 --datadir=/opt/software/mysql/mysql-8.4.5-linux-glibc2.28-x86_64/data &
然后再登录即可
my.cnf配置说明:
MySql8.4没有默认的my.cnf,需要用户根据需要自行配置my.cnf文件
[client]
# 客户端连接 MySQL 服务器的端口号,通常是 3306。
port = 3306
# MySQL 服务器的套接字文件路径,用于本地连接。
socket =/opt/software/mysql/mysql-8.4.5-linux-glibc2.28-x86_64/mysql.sock
#编码
default-character-set = utf8mb4

[mysqld]
#Mysql服务的唯一编号 每个mysql服务Id需唯一
server-id=1
# MySQL 服务器监听的端口号,通常也是 3306。
port = 3306
# MySQL 服务器的套接字文件路径,用于本地连接。
socket = /opt/software/mysql/mysql-8.4.5-linux-glibc2.28-x86_64/mysql.sock
# MySQL 的根目录路径,通常用于安装 MySQL 的根目录(default /usr)
basedir = /opt/software/mysql/mysql-8.4.5-linux-glibc2.28-x86_64
# mysql存放数据库文件的目录路径,通常与basedir不在一个文件夹内
datadir=/var/lib/mysql
# 启用binglog日志文件,可以指定目录,如果不指定则放在数据目录下面
log_bin = mysql-bin
#存放 MySQL 进程 ID 的文件路径。
pid-file = /opt/software/mysql/mysql-8.4.5-linux-glibc2.28-x86_64/data/mysql.pid
#错误日志路径
log_error = /opt/software/mysql/mysql-8.4.5-linux-glibc2.28-x86_64/logs/mysql-error.log
#临时数据路径
tmpdir=/opt/software/mysql/mysql-8.4.5-linux-glibc2.28-x86_64/tmp
#用于指定 MySQL 服务器绑定的 IP 地址,0.0.0.0 表示绑定到所有可用的 IP 地址。
bind-address = 0.0.0.0
# 跳过密码登录
#skip-grant-tables
#事务隔离级别,默认为可重复读,mysql默认可重复读级别(此级别下可能参数很多间隙锁,影响性能)
#transaction_isolation=READ-COMMITTED
# 连接到 MySQL 服务器时初始化 SQL 命令。
init-connect = 'SET NAMES utf8mb4'
# 服务器默认的字符集。
character-set-server = utf8mb4
#允许在内核中等待的连接数量
back_log = 300
# 允许的最大并发连接数。
max_connections = 1000
# 最大连接错误数
max_connect_errors = 6000
# 打开的文件数限制。
open_files_limit = 65535
# 表缓存大小。
table_open_cache = 128
# 单个查询的最大允许数据包大小
max_allowed_packet = 4M
# 二进制日志缓存大小
binlog_cache_size = 1M

#内部内存临时表的最大值 ,设置成128M。
#比如大数据量的group by ,order by时可能用到临时表,
#超过了这个值将写入磁盘,系统IO压力增大
# 最大堆表大小
max_heap_table_size = 8M
# 临时表大小
tmp_table_size = 16M

# 读取缓冲区大小
read_buffer_size = 2M
# 随机读取缓冲区大小
read_rnd_buffer_size = 8M
# 排序缓冲区大小
sort_buffer_size = 8M
# 连接缓冲区大小
join_buffer_size = 8M
# 键缓冲区大小
key_buffer_size = 4M
# 线程缓存大小
thread_cache_size = 8

#禁用mysql的缓存查询结果集功能
#后期根据业务情况测试决定是否开启
#大部分情况下关闭下面两项
# 查询缓存类型 (1 表示启用)
#query_cache_type = 0
# 查询缓存大小
#query_cache_size = 8M
# 查询缓存限制
#query_cache_limit = 2M

# 全文索引最小词长度
ft_min_word_len = 4
# 二进制日志文件的格式
binlog_format = mixed

# 二进制日志文件自动清理天数
expire_logs_days = 30

#慢查询sql日志设置
# 启用慢查询日志 (1 表示启用)
#slow_query_log = 1
#慢查询sql日志路径
#slow_query_log_file = /opt/software/mysql/mysql-8.4.5-linux-glibc2.28-x86_64/logs/mysql-slow.log
# 定义慢查询的阈值时间
#long_query_time = 1

#检查未使用到索引的sql
log_queries_not_using_indexes=1


# 性能模式 (0 表示禁用)
performance_schema = 0
#明确指定 MySQL 是否应该使用严格的模式来检查日期和时间值:TIMESTAMP如果没有显示声明NOT NULL,允许NULL值
explicit_defaults_for_timestamp=true
# 表名大小写不敏感 (1 表示启用:不区分大小写)
lower_case_table_names = 1
# 禁用外部锁定,用于控制表级锁定
skip-external-locking
# 默认存储引擎 (InnoDB)
default_storage_engine = InnoDB
# 每个表使用单独的 InnoDB 文件
innodb_file_per_table = 1
# InnoDB 可以打开的最大文件数
innodb_open_files = 500
# InnoDB 缓冲池大小
innodb_buffer_pool_size = 64M
# InnoDB 写 I/O 线程数
innodb_write_io_threads = 4
# InnoDB 读 I/O 线程数
innodb_read_io_threads = 4
# InnoDB 线程并发度
innodb_thread_concurrency = 0
# InnoDB 清理线程数
innodb_purge_threads = 1
# InnoDB 日志刷新行为
innodb_flush_log_at_trx_commit = 2
# InnoDB 日志缓冲大小
innodb_log_buffer_size = 2M
# InnoDB 日志文件大小
innodb_log_file_size = 32M
# InnoDB 日志文件组数
innodb_log_files_in_group = 3
# InnoDB 最大脏页百分比
innodb_max_dirty_pages_pct = 90
# InnoDB 锁等待超时时间
innodb_lock_wait_timeout = 120
# 批量插入缓冲区大小
bulk_insert_buffer_size = 8M
#MySQL连接闲置超过一定时间后(单位:秒)将会被强行关闭
#MySQL默认的wait_timeout  值为8个小时, interactive_timeout参数需要同时配置才能生效
# 交互超时时间
interactive_timeout = 28800
# 等待超时时间
wait_timeout = 28800
[mysqldump]
quick
# mysqldump 最大允许数据包大小,如果有BLOB对象建议修改成1G
max_allowed_packet = 100M
[myisamchk]
# MyISAM 检查工具的键缓冲区大小
key_buffer_size = 8M
# MyISAM 检查工具的排序缓冲区大小
sort_buffer_size = 8M
# 读缓存大小
read_buffer = 4M
# 写缓存大小
write_buffer = 4M
mysql bin目录几个常见的服务:
mysql: MySQL客户端程序,用于连接和管理MySQL服务器。mysqldump: 用于备份MySQL数据库的工具。mysqladmin: 用于执行管理操作的MySQL客户端工具。mysqld: MySQL服务器的主程序。mysql_config: 用于获取MySQL编译配置信息的工具。mysql_secure_installation: 用于增强新安装MySQL服务器安全性的脚本。
忘记密码的解决办法:
忘记密码的处理办法,通过指定的参数启动 mysql,执行 flush privileges 命令,加载用户和权限相关的表,修改密码后重新启动
--skip-networking 选项禁用了MySQL的网络功能,这意味着只能通过本地连接(例如使用localhost或127.0.0.1)访问MySQL服务器。
#./mysqld_safe --defaults-file=/opt/software/mysql/mysql-8.4.5-linux-glibc2.28-x86_64/my.cnf --skip-grant-tables --skip-networking &
--skip-grant-tables 选项使得MySQL服务器启动时跳过权限表的加载,这意味着任何人都可以连接到 MySQL服务器而无需密码。
然后用root账号登录mysql数据库
#mysql -uroot
然后修改root账号密码
#alter user 'root'@'localhost' identified by 'xxx'
退出mysql,重新用root和设置的新密码登录