食用指南
向量数据库是专门的数据存储,能够基于向量表示来索引和检索信息。这些向量称为嵌入,捕获了已嵌入数据的语义含义。
向量数据库经常用于搜索非结构化数据,例如文本、图像和音频,以基于语义相似性而非精确的关键字匹配来检索相关信息。

本文将展示如何使用 LangChain + Elasticsearch 搭建智能向量数据库。 LangChain 框架提供工具链,用于连接大语言模型(LLM)与外部数据源。Elasticsearch 作为分布式搜索引擎,支持向量存储和相似度搜索,适合处理高维向量数据。 LangChain 与 Elasticsearch 结合的意义在于将自然语言处理(NLP)与大模型的能力与高效搜索引擎的存储检索功能结合,构建支持语义搜索的智能向量数据库。
温馨提示:本文搭配
Jupyter notebooks食用更佳,在交互式环境中学习是更好地理解它们的好方法。
一、配置LLM环境变量
python
import os

os.environ["DASHSCOPE_API_KEY"] = "sk-xxx"
二、嵌入模型与向量存储
使用 text-embedding-v3 嵌入模型,有条件的话可以使用者 openai 的嵌入模型 text-embedding-3-large,或者智源的 bge-m3。
python
pip install dashscope
python
# pip install -qU langchain-openai
# from langchain_openai import OpenAIEmbeddings
# embeddings = OpenAIEmbeddings(model="bge-m3")

from langchain_community.embeddings import DashScopeEmbeddings
embeddings = DashScopeEmbeddings( model="text-embedding-v3")
使用 es 作为向量存储:
python
pip install -qU langchain-elasticsearch通过 Docker 运行 Elasticsearch,作为演示简单起见,这里运行一个禁用安全性的单节点 Elasticsearch 实例,不建议用于生产环境。
python
sudo docker run -p 9200:9200 -e "discovery.type=single-node" -e "xpack.security.enabled=false" -e "xpack.security.http.ssl.enabled=false" docker.elastic.co/elasticsearch/elasticsearch:8.12.1
#sudo docker run -d --name myes -p 9200:9200 -e "discovery.type=single-node" -e "xpack.security.enabled=false" -e "xpack.security.http.ssl.enabled=false" docker.elastic.co/elasticsearch/elasticsearch:8.12.1
初始化 es 向量存储:
python
from langchain_elasticsearch import ElasticsearchStore

vector_store = ElasticsearchStore(
    "langchain-demo", embedding=embeddings, es_url="http://localhost:9200"
)
三、读取 txt 并切割文档
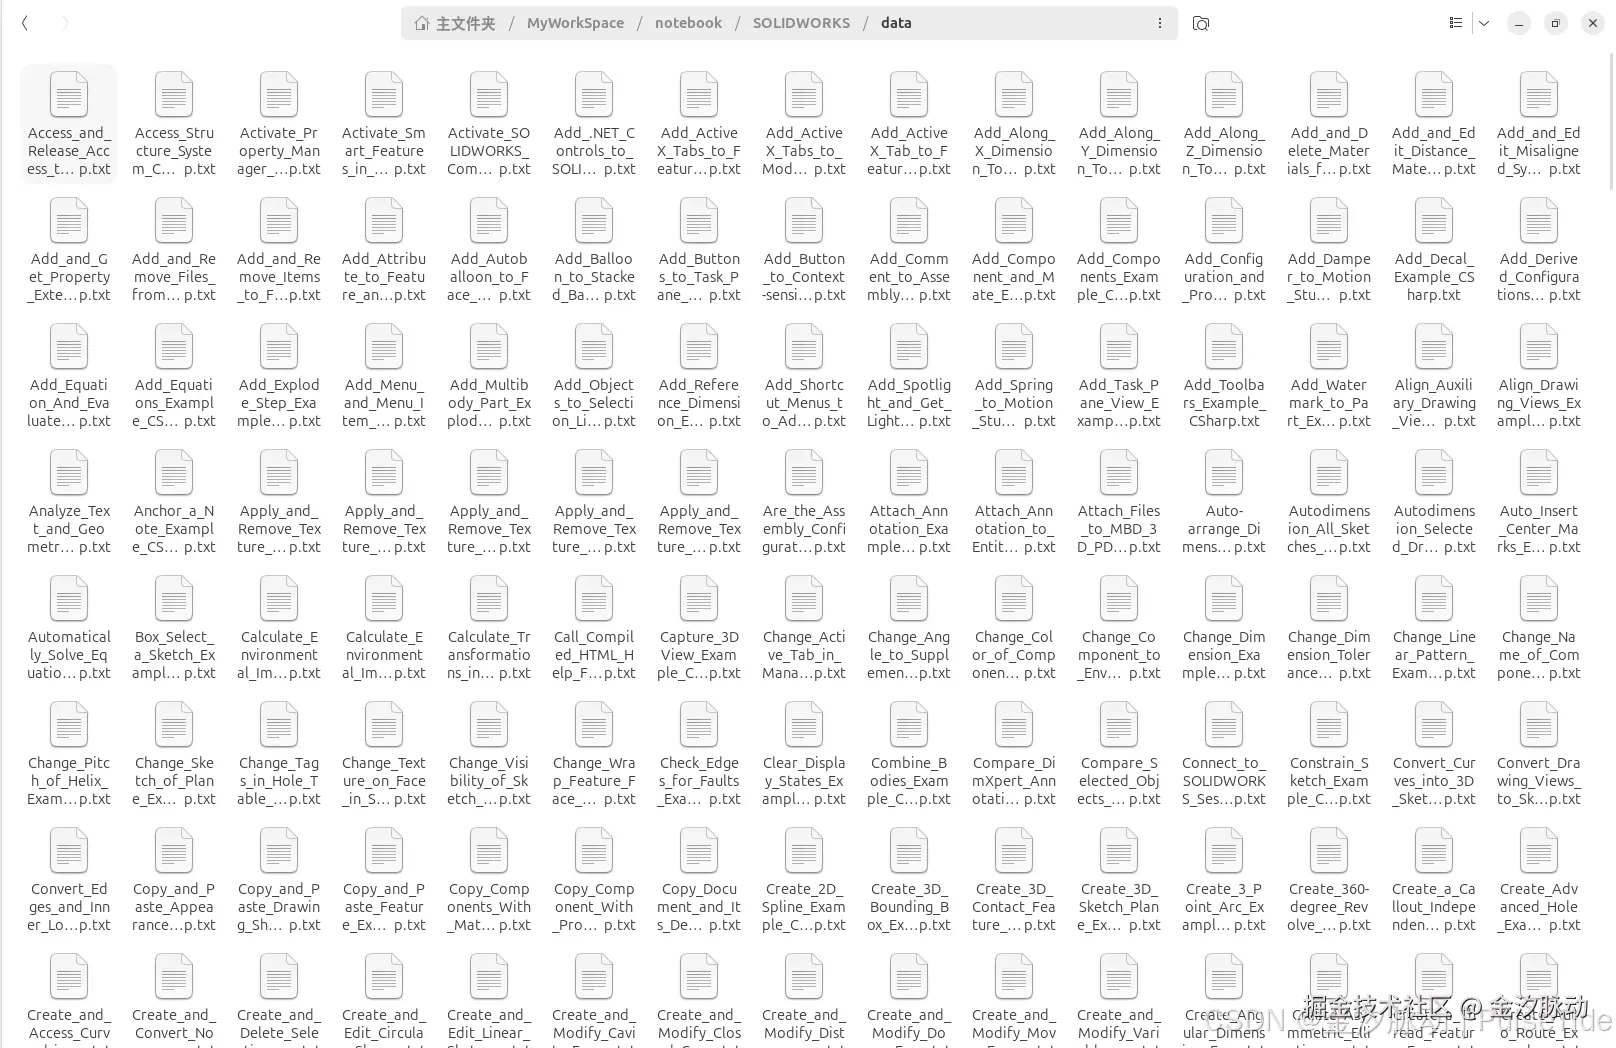
当前目录下的 data 文件夹有 812 个 txt 文档,接下来我们读取这些文档并做解析。
python
import os

# 遍历文件夹
def recursive_listdir(path):
    dirlist = []
    for entry in os.listdir(path):
        full_path = os.path.join(path, entry)
        if os.path.isdir(full_path):
            recursive_listdir(full_path)
        else:
            # print("Processing: " + full_path)
            dirlist.append(full_path)
    return dirlist
python
dirlist = recursive_listdir('data')
len(dirlist)812
python
from langchain_community.document_loaders import TextLoader
from langchain_text_splitters import CharacterTextSplitter
def doc2vectorstore(txt):
    # Load the document, split it into chunks, embed each chunk and load it into the vector store.
    raw_documents = TextLoader(txt).load()
    text_splitter = CharacterTextSplitter(chunk_size=1024, chunk_overlap=0)
    all_splits = text_splitter.split_documents(raw_documents)
    # Index chunks
    _ = vector_store.add_documents(documents=all_splits)
python
for item in dirlist:
    print(item)
    doc2vectorstore(item)
kotlin
data/Get_Wizard_Hole_Standards_Data_Example_CSharp.txt

......

data/Create_TaskPaneView_Add-in_Example_CSharp.txt
相关报错:
bash
ValueError: status_code: 400
 code: InvalidParameter
message: Range of input length should be [1, 8192]从官方的错误信息来看,以上报错是因为调用模型时输入内容长度超过模型上限,这时候得把文档给拆分成多个部分去解析,或者换个能支持更长 Token 的嵌入模型。

四、查询向量存储
1、直接查询
执行相似性搜索,并按元数据进行筛选
- query:搜索查询文本,这里是对LangChain功能的描述
- k=2:指定返回最相似的2个结果
- filter:使用元数据过滤条件,这里限定匹配data目录下所有文件
python
raw_documents = TextLoader('data/Combine_Bodies_Example_CSharp.txt').load()
raw_documents[0].metadata
arduino
{'source': 'data/Combine_Bodies_Example_CSharp.txt'}
python
results = vector_store.similarity_search(
    query="virtual assembly",
    k=2,
    filter=[{"wildcard": {"metadata.source.keyword": "data/*"}}]
)
for res in results:
    print(f"* {res.page_content} [{res.metadata}]")
perl
* SOLIDWORKS API Help
Insert and Save Virtual Assembly Example (C#)
This example shows how to create and save a virtual sub-assembly.
...
} [{'source': 'data/Insert_and_Save_Virtual_Assembly_Example_CSharp.txt'}]
* SOLIDWORKS API Help
Insert New Instance of Virtual Component (C#)
...
} [{'source': 'data/Insert_New_Instance_of_Virtual_Component_Example_CSharp.txt'}]
执行相似性搜索并接收相应的分数
python
results = vector_store.similarity_search_with_score(
    query="Fire Events",
    k=1,
    filter=[{"wildcard": {"metadata.source.keyword": "data/*"}}]
)
for doc, score in results:
    print(f"* [SIM={score:3f}] {doc.page_content} [{doc.metadata}]")
scss
* [SIM=0.768177] SOLIDWORKS API Help
Fire Events When Display State Changes in Part Document (C#)
...
} [{'source': 'data/Fire_Events_When_Display_State_Changes_in_Part_Document_Example_CSharp.txt'}]
2、通过转换为检索器进行查询
将向量存储转换为检索器,以便在链中使用。
- search_type="similarity_score_threshold"指定采用阈值过滤的相似度搜索模式
- score_threshold: 0.2设定最小相似度分数为0.2
python
retriever = vector_store.as_retriever(
    search_type="similarity_score_threshold", search_kwargs={"score_threshold": 0.7}
)
retriever.invoke("Add Component")
vbnet
[Document(metadata={'source': 'data/Add_Component_and_Mate_Example_CSharp.txt'}, page_content='SOLIDWORKS API Help\nAdd and Mate Component Example (C#)\nThis example shows how to add a component to an assembly and mate it.\n//---------------------------------------------------------------------------\n// Preconditions:\n// 1. Verify that these documents exist in public_documents\\samples\\tutorial\\toolbox:\n//    * lens_mount.sldasm\n//    * camtest.sldprt\n// 2. Open the Immediate window.\n//\n// Postconditions:\n// 1. Opens lens_mount.sldasm.\n// 2. Adds the specified component, camtest.sldprt, to the assembly.\n// 3. Fires the AddItemNotify event.\n// 4. Makes the specified component virtual by saving it to the\n//    assembly with a new name.\n// 5. Fires the RenameItemNotify event.\n// 6. Adds a mate between the selected planes to the assembly.\n// 7. Inspect the Immediate window and FeatureManager design tree.\n//\n// NOTE: Because the models are used elsewhere, do not save changes.\n//----------------------------------------------------------------------------\n \nusing SolidWorks.Interop.sldworks;\nusing SolidWorks.Interop.swconst;\nusing System.Runtime.InteropServices;\nusing System;\nusing System.Diagnostics;\nusing System.Collections;\nusing System.Windows.Forms;\n \nnamespace MakeVirtualCSharp.csproj\n{ \n    partial class SolidWorksMacro\n    {\n \n        public AssemblyDoc swAssemblyDoc;\n        ModelDoc2 swModel;\n        ModelDocExtension swDocExt;\n        Hashtable openAssem;\n        string tmpPath;\n        ModelDoc2 tmpObj;\n        bool boolstat;\n        bool stat;\n        Component2 swComponent;\n        Feature matefeature;\n        string MateName;\n        string FirstSelection;\n        string SecondSelection;\n        string strCompName;\n        string AssemblyTitle;\n        string AssemblyName;\n        int errors;\n        int warnings;\n        string fileName;\n \n        int mateError;\n \n        public void Main()\n        {\n            // Open assembly\n            fileName = "C:\\\\Users\\\\Public\\\\Documents\\\\SOLIDWORKS\\SOLIDWORKS 2018\\\\samples\\\\tutorial\\\\toolbox\\\\lens_mount.sldasm";\n            swModel = (ModelDoc2)swApp.OpenDoc6(fileName, (int)swDocumentTypes_e.swDocASSEMBLY, (int)swOpenDocOptions_e.swOpenDocOptions_Silent, "", ref errors, ref warnings);\n  \n            // Set up event\n            swAssemblyDoc = (AssemblyDoc)swModel;\n            openAssem = new Hashtable();\n            AttachEventHandlers();\n \n            // Get title of assembly document\n            AssemblyTitle = swModel.GetTitle();\n \n            // Split the title into two strings using the period as the delimiter\n            string[] strings = AssemblyTitle.Split(new Char[] { \'.\' });\n \n            // Use AssemblyName when mating the component with the assembly\n            AssemblyName = (string)strings[0];\n \n            Debug.Print("Name of assembly: " + AssemblyName);\n \n            boolstat = true;\n            string strCompModelname = null;\n            strCompModelname = "camtest.sldprt";\n \n            // Because the component resides in the same folder as the assembly, get\n            // the assembly\'s path and use it when opening the component\n            tmpPath = swModel.GetPathName();\n            int idx;\n            idx = tmpPath.LastIndexOf("lens_mount.sldasm");\n            string compPath;\n            tmpPath = tmpPath.Substring(0, (idx));\n            compPath = string.Concat(tmpPath, strCompModelname);\n \n            // Open the component\n            tmpObj = (ModelDoc2)swApp.OpenDoc6(compPath, (int)swDocumentTypes_e.swDocPART, (int)swOpenDocOptions_e.swOpenDocOptions_Silent, "", ref errors, ref warnings);\n \n            // Check to see if the file is read-only or cannot be found; display error\n            // messages if either\n            if (warnings == (int)swFileLoadWarning_e.swFileLoadWarning_ReadOnly)\n            {\n                MessageBox.Show("This file is read-only.");\n                boolstat = false;\n            }\n \n            if (tmpObj == null)\n            {\n                MessageBox.Show("Cannot locate the file.");\n                boolstat = false;\n            }\n \n            // Activate the assembly so that you can add the component to it\n            swModel = (ModelDoc2)swApp.ActivateDoc3(AssemblyTitle, true, (int)swRebuildOnActivation_e.swUserDecision, ref errors);\n \n            // Add the part to the assembly document\n            swComponent = (Component2)swAssemblyDoc.AddComponent5(strCompModelname, (int)swAddComponentConfigOptions_e.swAddComponentConfigOptions_CurrentSelectedConfig, "", false, "", -1, -1, -\n \n            // Make the component virtual\n            stat = swComponent.MakeVirtual2(true);\n \n            // Get the name of the component for the mate\n            strCompName = swComponent.Name2;\n \n            // Create the name of the mate and the names of the planes to use for the mate\n            MateName = "top_coinc_" + strCompName;\n            FirstSelection = "Top@" + strCompName + "@" + AssemblyName;\n            SecondSelection = "Front@" + AssemblyName;\n \n            swModel.ClearSelection2(true);\n            swDocExt = (ModelDocExtension)swModel.Extension;\n \n            // Select the planes for the mate\n            boolstat = swDocExt.SelectByID2(FirstSelection, "PLANE", 0, 0, 0, true, 1, null, (int)swSelectOption_e.swSelectOptionDefault);\n            boolstat = swDocExt.SelectByID2(SecondSelection, "PLANE", 0, 0, 0, true, 1, null, (int)swSelectOption_e.swSelectOptionDefault);\n \n            // Add the mate\n            matefeature = (Feature)swAssemblyDoc.AddMate5((int)swMateType_e.swMateCOINCIDENT, (int)swMateAlign_e.swMateAlignALIGNED, false, 0, 0, 0, 0, 0, 0, 0, 0, false, false, 0,\nout mateError);\n            matefeature.Name = MateName;\n            Debug.Print("Mate added: " + matefeature.Name);\n \n            swModel.ViewZoomtofit2();\n \n        }\n \n        public void AttachEventHandlers()\n        {\n            AttachSWEvents();\n        }\n \n \n        public void AttachSWEvents()\n        {\n            swAssemblyDoc.AddItemNotify += this.swAssemblyDoc_AddItemNotify;\n            swAssemblyDoc.RenameItemNotify += this.swAssemblyDoc_RenameItemNotify;\n        }\n \n        private int swAssemblyDoc_AddItemNotify(int EntityType, string itemName)\n        {\n            Debug.Print("Component added: " + itemName);\n            return 1;\n        }\n \n        private int swAssemblyDoc_RenameItemNotify(int EntityType, string oldName, string NewName)\n        {\n            Debug.Print("Virtual component name: " + NewName);\n            return 1;\n        }\n \n \n        public SldWorks swApp;\n \n    }\n}'),
 Document(metadata={'source': 'data/Add_Comment_to_Assembly_Component_Example_CSharp.txt'}, page_content='SOLIDWORKS API Help\nAdd Comment to Assembly Component Example (C#)\nThis example shows how to add a comment to an assembly component.\n//----------------------------------------------------------------------------\n// Preconditions:\n// 1. Open an assembly document.\n// 2. Select a component in the FeatureManager design tree.\n// 3. Open an Immediate window.\n//\n// Postconditions: A comment about the selected component is added to the\n// document\'s Comments folder.\n// ---------------------------------------------------------------------------\nusing SolidWorks.Interop.sldworks;\nusing SolidWorks.Interop.swconst;\nusing System.Runtime.InteropServices;\nusing System;\nnamespace AddComment_C_.csproj\n{\n    public partial class SolidWorksMacro\n    {\n        public void Main()\n        {\n            ModelDoc2 swModel;\n            SelectionMgr swSelMgr;\n            ModelDocExtension swModelDocExt;\n            Component2 selComp;\n            String selCompName;\n            Comment newComment;\n            swModel = (ModelDoc2)swApp.ActiveDoc;\n            swSelMgr = (SelectionMgr)swModel.SelectionManager;\n            swModelDocExt = swModel.Extension;\n            selComp = (Component2)swSelMgr.GetSelectedObjectsComponent4(1, -1);\n            selCompName = selComp.Name2;\n            newComment = swModelDocExt.AddComment("This component\'s name is " + selCompName);\n        }\n        public SldWorks swApp;\n    }\n}'),
 Document(metadata={'source': 'data/Insert_New_Instance_of_Virtual_Component_Example_CSharp.txt'}, page_content='SOLIDWORKS API Help\nInsert New Instance of Virtual Component (C#)\nThis example shows how to:\ncreate an assembly document.\ninsert a new part as a virtual component in the assembly document.\ninsert a new instance of the virtual component in the assembly document.\n//-----------------------------------------------------\n// Preconditions: None\n//\n// Postconditions:\n// 1. An assembly document is created.\n// 2. A virtual part is inserted in the assembly document.\n// 3. A new instance of the virtual part is inserted\n//    in the assembly document.\n// 4. Examine the FeatureManager design tree to\n//    verify steps 2 and 3.\n// 5. Close the assembly document without saving the modified\n//    documents.\n//-----------------------------------------------------\nusing SolidWorks.Interop.sldworks;\nusing SolidWorks.Interop.swconst;\nusing System.Runtime.InteropServices;\nusing System;\nusing System.Diagnostics;\nnamespace AddNewVirtualPartsCSharp.csproj\n{\n    partial class SolidWorksMacro\n    {\n        public void Main()\n        {\n            string asmTemplate = null;\n            asmTemplate = swApp.GetUserPreferenceStringValue((int)swUserPreferenceStringValue_e.swDefaultTemplateAssembly);\n            ModelDoc2 swModel = default(ModelDoc2);\n            swModel = (ModelDoc2)swApp.NewDocument(asmTemplate, 0, 0, 0);\n            SelectionMgr swSelMgr = default(SelectionMgr);\n            swSelMgr = (SelectionMgr)swModel.SelectionManager;\n            if (swModel.Extension.SelectByID2("Front Plane", "PLANE", 0, 0, 0, false, 0, null, 0) == false)\n            {\n                Debug.Print("Failed to select Front plane; check feature name.");\n                return;\n            }\n            Feature swPlaneFeature = default(Feature);\n            swPlaneFeature = (Feature)swSelMgr.GetSelectedObject6(1, -1);\n            RefPlane swPlane = default(RefPlane);\n            swPlane = (RefPlane)swPlaneFeature.GetSpecificFeature2();\n            AssemblyDoc swAssem = default(AssemblyDoc);\n            swAssem = (AssemblyDoc)swModel;\n            int lResult = 0;\n            Component2 swVirtComp = default(Component2);\n            lResult = swAssem.InsertNewVirtualPart(swPlane, out swVirtComp);\n            if (lResult == (int)swInsertNewPartErrorCode_e.swInsertNewPartError_NoError)\n            {\n                Component2 swSecondComp = default(Component2);\n                swSecondComp = (Component2)swAssem.AddComponent5(swVirtComp.GetPathName(),\n(int)swAddComponentConfigOptions_e.swAddComponentConfigOptions_CurrentSelectedConfig, "", false, "", 0.1, 0, 0);\n            }\n        }\n        /// <summary>\n        /// The SldWorks swApp variable is pre-assigned for you.\n        /// </summary>\n        public SldWorks swApp;\n    }\n}'),
 Document(metadata={'source': 'data/Add_Equations_Example_CSharp.txt'}, page_content='SOLIDWORKS API Help\nAdd and Modify Equations Example (C#)\nThis example shows how to add equations to multiple configurations of a part created in SOLIDWORKS 2014 or later.\n//----------------------------------------------------------------------------\n// Preconditions: Open a part created in SOLIDWORKS 2014 or later that has a\n// Boss-Extrude1 feature and multiple configurations.\n//\n// Postconditions:\n// 1. Adds two equations to all configurations.\n// 2. Modifies the equation at index 1.\n// 3. Click Tools > Equations and examine each configuration in the dialog.\n// ---------------------------------------------------------------------------\nusing SolidWorks.Interop.sldworks;\nusing SolidWorks.Interop.swconst;\nusing System.Runtime.InteropServices;\nusing System;\nnamespace Add3_CSharp.csproj\n{\n    partial class SolidWorksMacro\n    {\n        public void Main()\n        {\n            ModelDoc2 Part = default(ModelDoc2);\n            EquationMgr swEquationMgr = default(EquationMgr);\n            long longEquation = 0;\n            Part = (ModelDoc2)swApp.ActiveDoc;\n            swEquationMgr = Part.GetEquationMgr();\n            if (swEquationMgr == null)\n                ErrorMsg(swApp, "Failed to get the equation manager");\n            //Add a global variable assignment at index, 0, to all configurations\n            longEquation = swEquationMgr.Add3(0, "\\"A\\" = 2in", true, (int)swInConfigurationOpts_e.swAllConfiguration, null);\n            if (longEquation != 0)\n                ErrorMsg(swApp, "Failed to add a global variable assignment");\n            //Add a dimension equation at index, 1, to all configurations\n            longEquation = swEquationMgr.Add3(1, "\\"D1@Boss-Extrude1\\" = 0.05in", true,\n(int)swInConfigurationOpts_e.swAllConfiguration, null);\n            if (longEquation != 1)\n                ErrorMsg(swApp, "Failed to add a dimension equation");\n            //Modify dimension equation at index, 1, in all configurations\n            longEquation = swEquationMgr.SetEquationAndConfigurationOption(1, "\\"D1@Boss-Extrude1\\" = 0.07in",\n(int)swInConfigurationOpts_e.swAllConfiguration, null);\n            if (longEquation != 1)\n                ErrorMsg(swApp, "Failed to modify a dimension equation");\n        }\n        public void ErrorMsg(SldWorks swApp, string Message)\n        {\n            swApp.SendMsgToUser2(Message, 0, 0);\n            swApp.RecordLine("\'*** WARNING - General");\n            swApp.RecordLine("\'*** " + Message);\n            swApp.RecordLine("");\n        }\n        public SldWorks swApp;\n    }\n}')]
五、关于查询结果不准确
首先肯定是嵌入模型的问题,考虑换一个性能更强的模型。其次是搜索条件,不同的向量数据库有自己的高级搜索特性,需要从官方学习如何使用这些特性,然后放到 filter 中提升搜索准确度。