一、前言
1.1、前置知识
需要您在本地能够启动部署dify,如果没有到这一步,请移步文章《ollama+dify本地化部署【菜鸟教程】》
1.2、实现效果
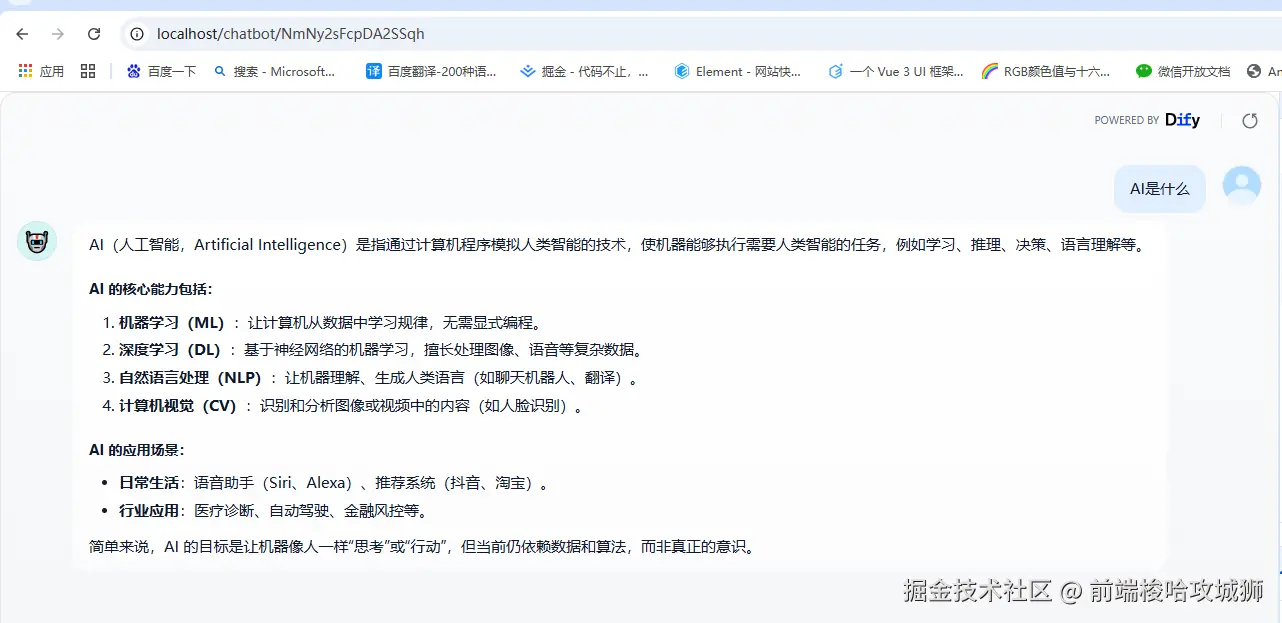
原先效果
最终效果 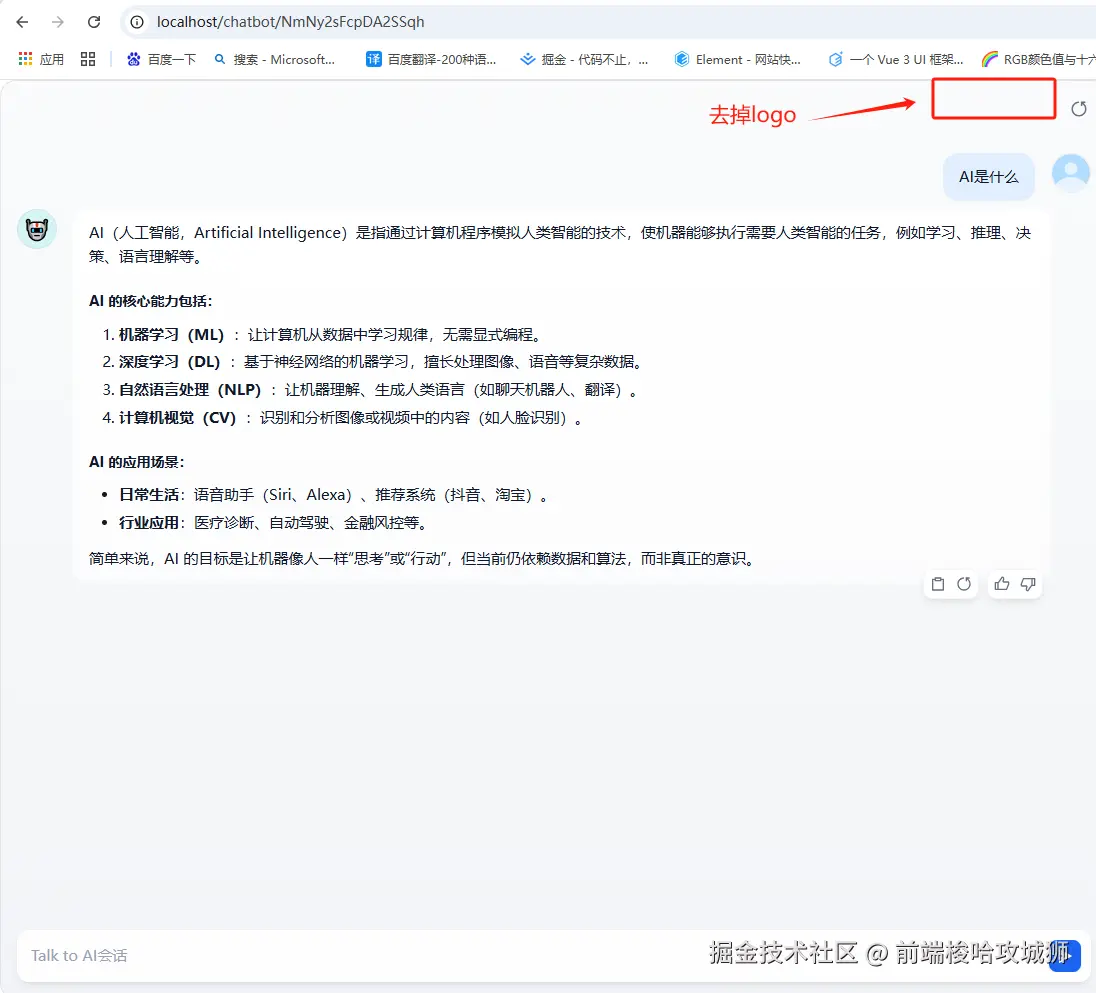
以上方式,仅仅只是个示例,如果您想更换dify图标,可以去dify-1.5.0\web\public\logo文件夹下替换所有的
二、更改前端
2.1、dify-1.5.0版本
1)复制env文件 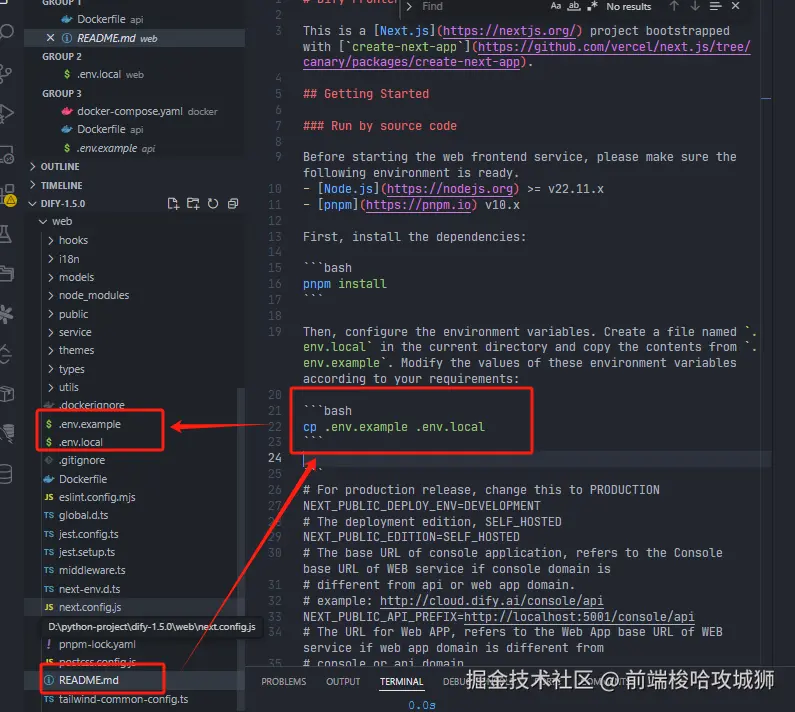
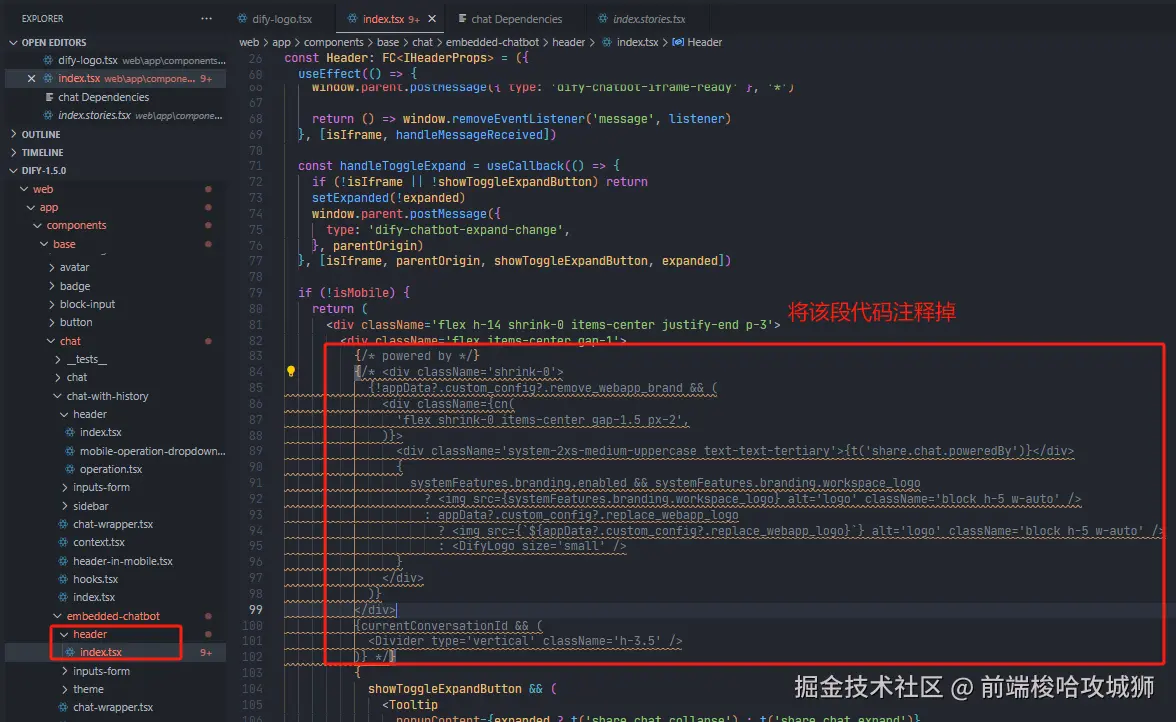
2)进入dify-1.5.0\web\app\components\base\chat\embedded-chatbot\header\index.tsx文件下
3)更改前端代码完毕后,进入 dify-1.5.0/docker,更改docker-compose.yaml文件
yaml
  # Frontend web application.
  web:
    #image: langgenius/dify-web:1.5.0
    image: dify-web-custom
下图所示 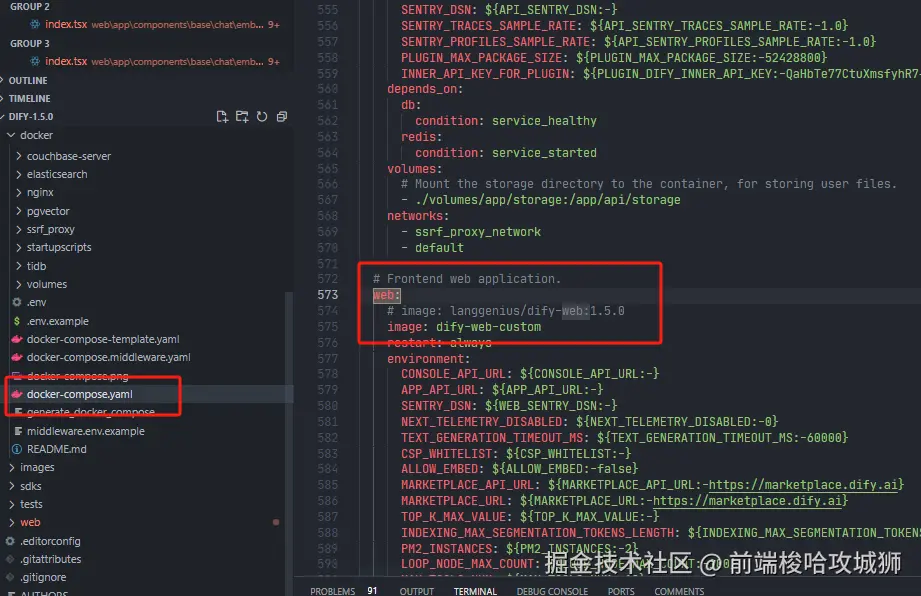
更改完毕后,执行命令将web目录打包成本地镜像web,docker compose up -d dify-web-custom 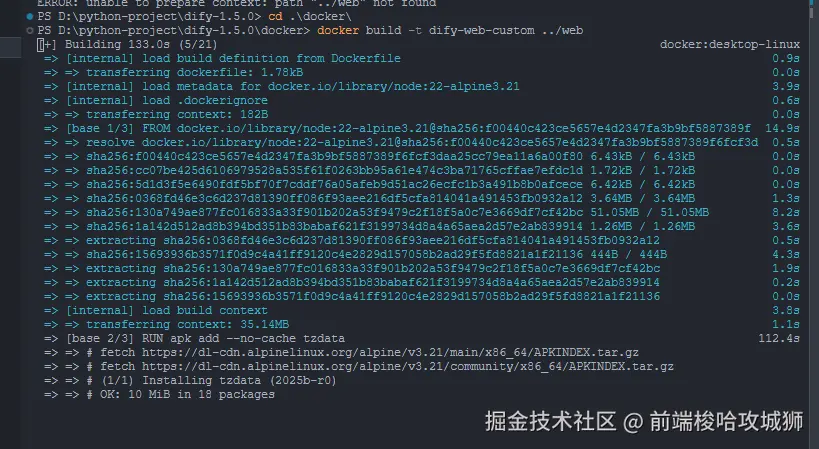 打包花的时间比较久,需要耐心等待
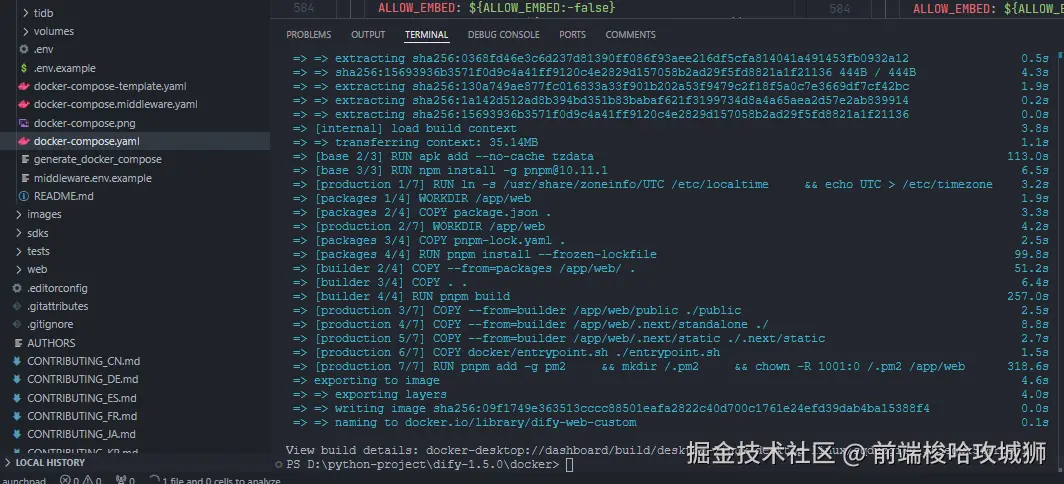
4)docker compose up -d ,重启docker 
5)最终效果为
三、更改后端
3.1、dify版本1.0.0-1.2.0
1)复制env文件 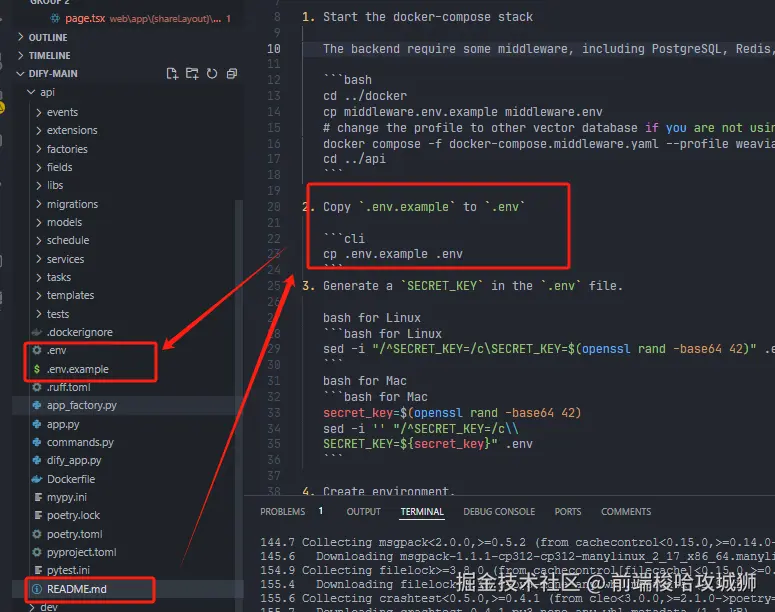
2)更改后端代码,代码位于dify\api 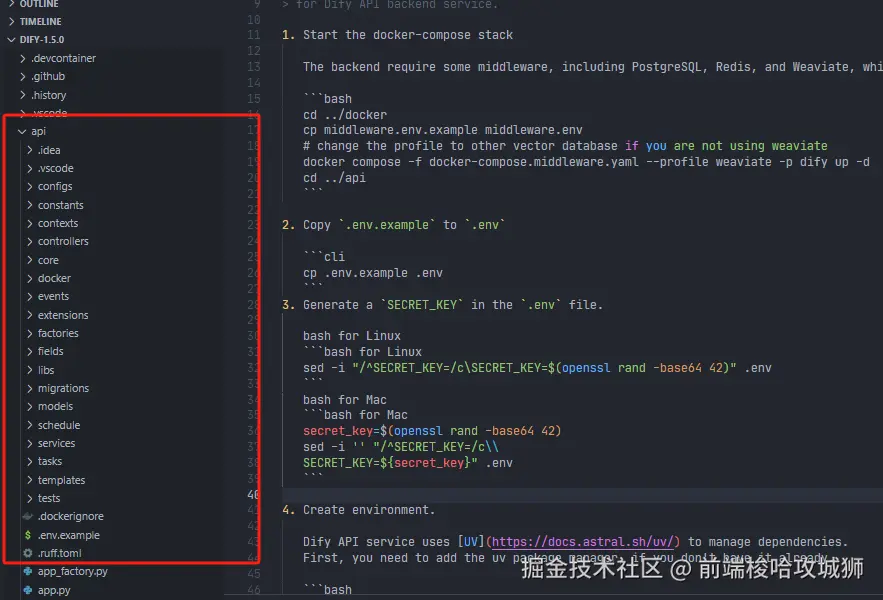 api是python开发,用的打包工具是poetry,先安装poetry
bash
pip install poetry进入api目录然后执行
bash
poetry install编辑api目录下的Dockerfile
yaml
# Install Python dependencies
# COPY pyproject.toml poetry.lock ./
# RUN poetry install --sync --no-cache --no-root

# Install Python dependencies
COPY pyproject.toml poetry.lock ./
RUN poetry source add mirrors https://mirrors.aliyun.com/pypi/simple/
RUN poetry lock
RUN poetry install --no-root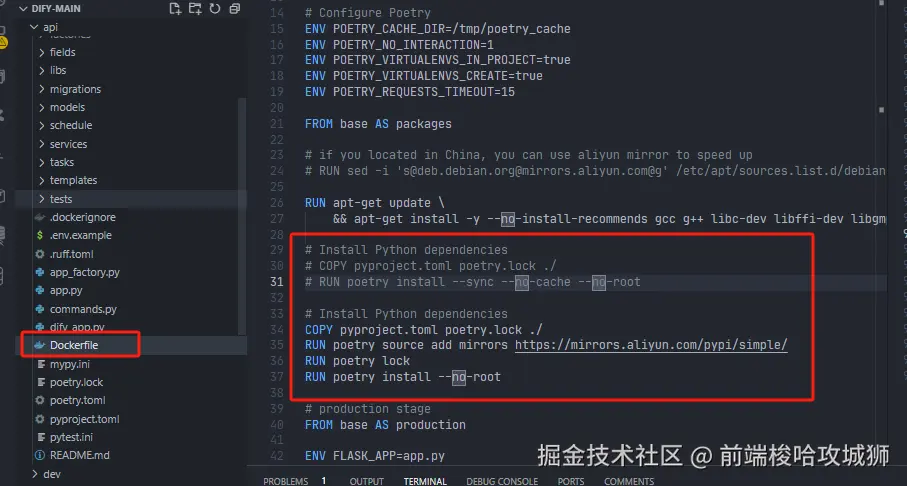
3)回到dify/docker目录,编辑docker-compose.yaml里找到api的镜像配置改成
yaml
  api:
    # image: langgenius/dify-api:1.0.0
    image: dify-api-custom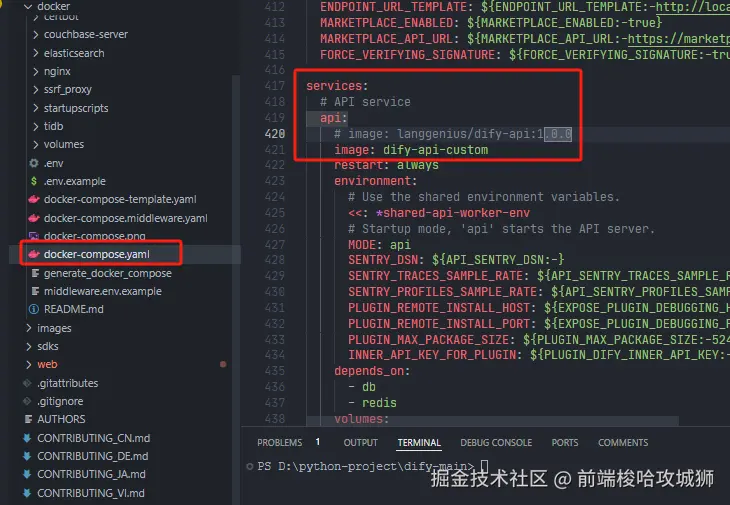
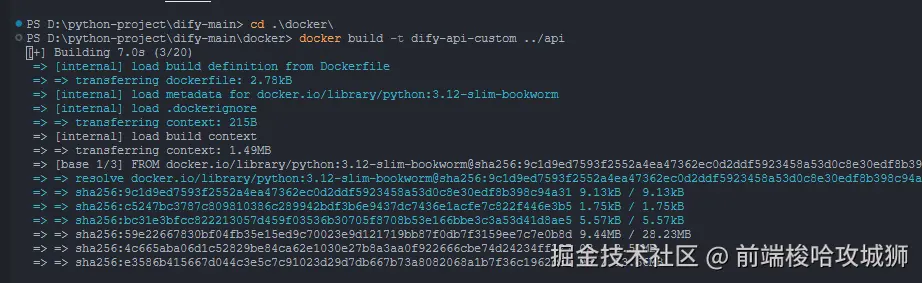
4)最后执行,docker build -t dify-api-custom ../api
3.2、dify版本1.5.0
1)复制env文件 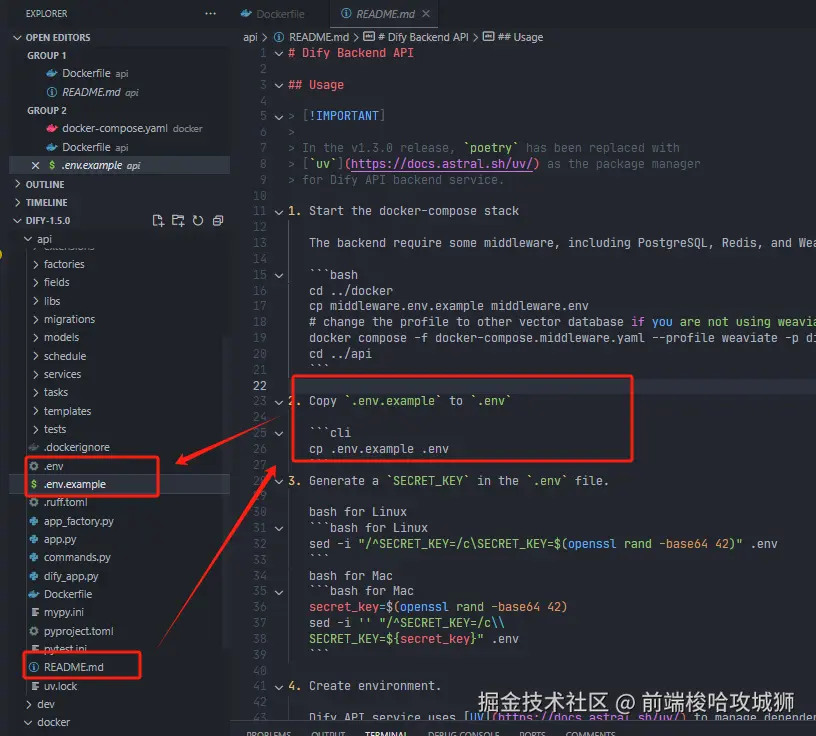
2)1.5版本的工具变成了uv 
3)回到dify/docker目录,编辑docker-compose.yaml里找到api的镜像配置改成
yaml
  # API service
  api:
    # image: langgenius/dify-api:1.5.0
    image: dify-api-custom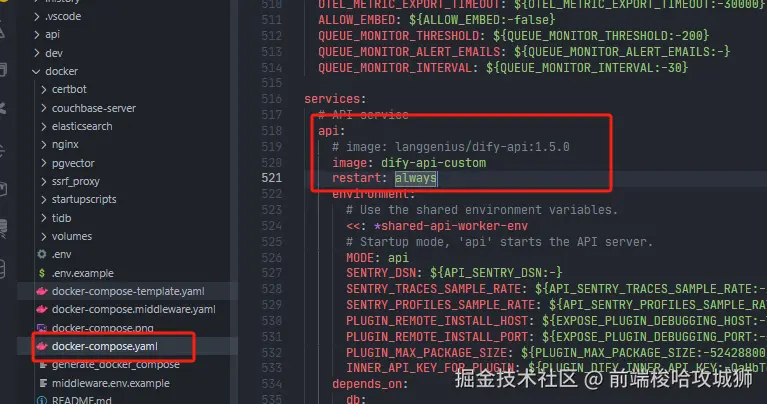
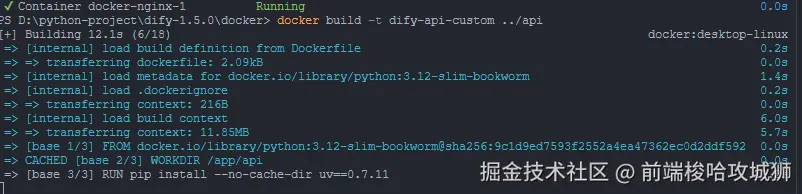
4)最后执行,docker build -t dify-api-custom ../api
四、总结
上文只是一个简单的示例,更加复杂的二开,需要您自己去探索开发了,完结撒花....