1.基本组件
FastMCP应用程序的核心部分是FastMCP服务器类。该类充当应用程序工具、资源和提示的主容器,并管理与MCP客户端的通信,它的基本组件有3个:
- tools 工具
- resources 资源
- prompts 提示词
1.1 tools
提供具体功能
python
@mcp.tool
def multiply(a: float, b: float) -> float:
   """Multiplies two numbers together."""
  return a * b
1.2 Resources
提供资源以供客户端使用
python
@mcp.resource("data://config")
def get_config() -> dict:
   """Provides the application configuration."""
   return {"theme": "dark", "version": "1.0"}
1.3 Resource Templates
提供格式化资源以供客户端使用
python
@mcp.resource("users://{user_id}/profile")
def get_user_profile(user_id: int) -> dict:
   """Retrieves a user's profile by ID."""
   # The {user_id} in the URI is extracted and passed to this function
   return {"id": user_id, "name": f"User {user_id}", "status": "active"}
1.4 Prompts
提供可复用的提示词
python
@mcp.prompt
def analyze_data(data_points: list[float]) -> str:
   """Creates a prompt asking for analysis of numerical data."""
   formatted_data = ", ".join(str(point) for point in data_points)
   return f"Please analyze these data points: {formatted_data}"
2.server创建
ini
from fastmcp import FastMCP
# 基本创建
mcp = FastMCP(name="MyAssistantServer")
# 添加指令创建
mcp_with_instructions = FastMCP(
name="HelpfulAssistant",
instructions="""
This server provides data analysis tools.
Call get_average() to analyze numerical data.
""",
)FastMCP构造函数参数
- name 您的服务器的人类可读名称
- Instructions 如何与此服务器交互的描述。这些说明有助于客户了解服务器的目的和可用功能
- auth 授权 OAuthProvider | TokenVerifier | None
用于保护基于HTTP的传输的身份验证提供商。请参阅身份验证以了解配置选项
- lifespan AsyncContextManager | None
用于服务器启动和关机逻辑的非同步上下文管理器功能
- tools 工具 列表工具 \| 可调用 | 无
添加到服务器的工具(或转换为工具的功能)列表。在某些情况下,以编程方式提供工具可能比使用@mcp.tool装饰器更方便
- dependencies 依赖 列表str | 无
带有软件包规范的可选服务器依赖列表
- include_tags 包括_标签 Setstr | 无
仅公开具有至少一个匹配标签的组件
- exclude_tags 排除_标签 Setstr | 无
使用任何匹配标签隐藏组件
等等
3.启动Server
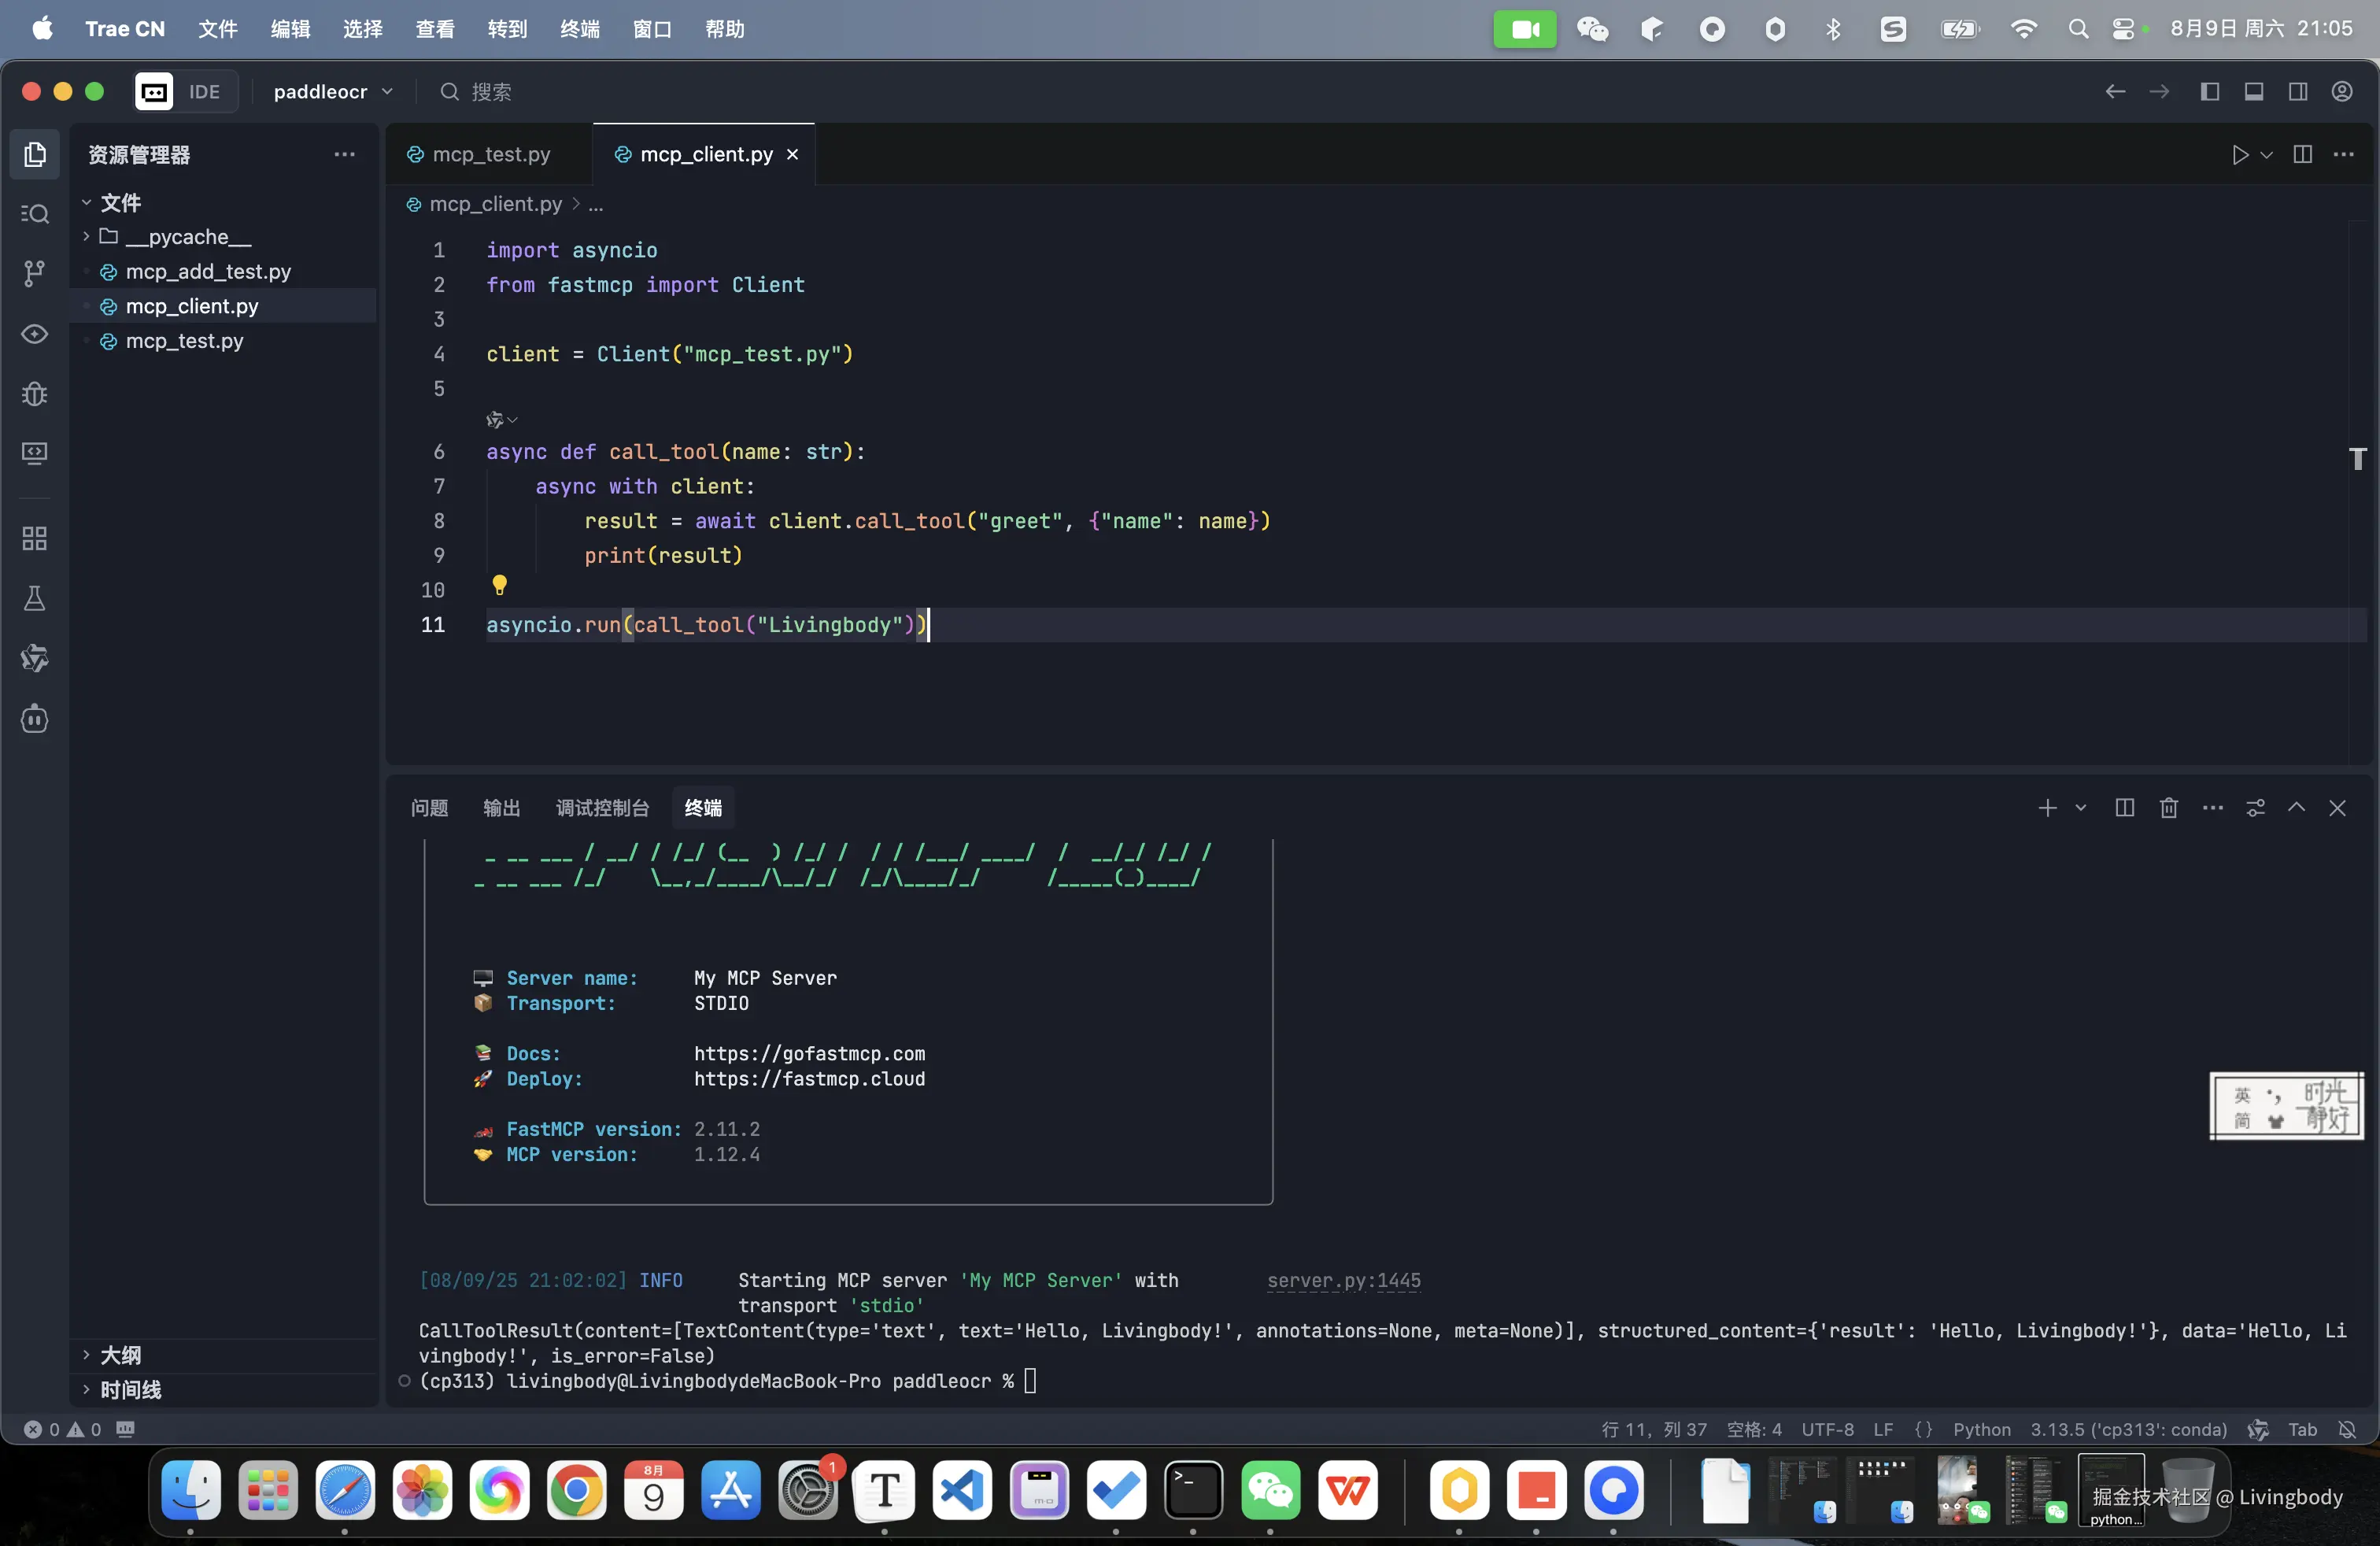
FastMCP服务器需要一个传输机制来与客户通信。您通常通过在FastMCP实例上调用mcp.run()方法来启动服务器,通常在主服务器脚本中的 if name == "main": 块中。此模式确保了与各种MCP客户端的兼容性。
python
# my_server.py
from fastmcp import FastMCP
mcp = FastMCP(name="MyServer")
@mcp.tool
def greet(name: str) -> str:
"""Greet a user by name."""
return f"Hello, {name}!"
if __name__ == "__main__":
# This runs the server, defaulting to STDIO transport
mcp.run()
# To use a different transport, e.g., Streamable HTTP:
# mcp.run(transport="http", host="127.0.0.1", port=9000)3.1 3种传输模式
FastMCP支持3种传输模式
- STDIO 该方法为默认,本地调用,对应参数 mcp.run(transport="stdio")
- Streamable HTTP ,建议web service使用 mcp.run(transport="http")
- SEE 不建议使用, mcp.run(transport="sse")
启动模式
arduino
fastmcp run server.py也可以制定传输方式和端口
css
fastmcp run server.py --transport sse --port 90003.2 带依赖的启动模式
带有依赖的启动
vbscript
# 启动时使用指定的python版本
fastmcp run server.py --python 3.11
# 启动时使用指定的依赖包
fastmcp run server.py --with pandas --with numpy
# 启动时使用requirements.txt
fastmcp run server.py --with-requirements requirements.txt
# 合并多项启动依赖
fastmcp run server.py --python 3.10 --with httpx --transport http
# 启动时使用特定的项目路径
fastmcp run server.py --project /path/to/project3.3 开发者模式
开发时也可以使用开发者模式
vbscript
fastmcp dev server.py
# Dev server with specific Python version and packages
fastmcp dev server.py --python 3.11 --with pandas
3.4 带配置文件的启动模式
arduino
fastmcp run config_server.py -- --config config.json
fastmcp run database_server.py -- --database-path /tmp/db.sqlite --debug
3.5 HTTP流模式详解
流式HTTP是一种现代、高效的传输,用于通过HTTP公开您的MCP服务器。这是基于网络的部署的推荐传输。
要使用Streamable HTTP运行服务器,您可以使用run()方法,传输参数设置为"http"。这将在默认主机(127.0.0.1)、端口(8000)和路径(/mcp/)上启动Uvicorn服务器。
ini
# server.py
from fastmcp import FastMCP
mcp = FastMCP()
if __name__ == "__main__":
mcp.run(transport="http")
csharp
# client.py
import asyncio
from fastmcp import Client
async def example():
async with Client("http://127.0.0.1:8000/mcp/") as client:
await client.ping()
if __name__ == "__main__":
asyncio.run(example())也可以更复杂,添加端口、路径、log等级等等
ini
# server.py
from fastmcp import FastMCP
mcp = FastMCP()
if __name__ == "__main__":
mcp.run(
transport="http",
host="127.0.0.1",
port=4200,
path="/my-custom-path",
log_level="debug",
)
csharp
client.py
import asyncio
from fastmcp import Client
async def example():
async with Client("http://127.0.0.1:4200/my-custom-path") as client:
await client.ping()
if __name__ == "__main__":
asyncio.run(example())3.6异步使用
FastMCP为运行您的服务器提供同步和非同步API。前面示例中看到的run()方法是一种同步方法,内部使用anyio.run()来运行异步服务器。对于已经在异步上下文中运行的应用程序,FastMCP提供了run_async()方法。
python
from fastmcp import FastMCP # 从fastmcp库导入FastMCP类
import asyncio # 导入asyncio模块,用于异步编程
mcp = FastMCP(name="MyServer") # 创建FastMCP实例,命名为"MyServer"
@mcp.tool # 使用mcp的tool装饰器定义工具函数
def hello(name: str) -> str: # 定义hello函数,接受字符串参数name,返回字符串
return f"Hello, {name}!" # 返回包含问候信息的字符串
async def main(): # 定义异步主函数
# 在异步上下文中使用run_async()
await mcp.run_async(transport="http") # 启动服务器,使用HTTP传输方式
if __name__ == "__main__": # 检查是否作为主程序运行
asyncio.run(main()) # 运行异步主函数3.7自定义路线
您还可以将自定义网络路由添加到您的FastMCP服务器中,这些路由将与MCP端点一起显示。要做到这一点,请使用@custom_route装饰器。请注意,这不像使用完整的ASGI框架那样灵活,但对于向独立服务器添加运行状况检查等简单端点很有用。
python
from fastmcp import FastMCP # 从fastmcp库导入FastMCP类
from starlette.requests import Request # 从starlette.requests导入Request类
from starlette.responses import PlainTextResponse # 从starlette.responses导入PlainTextResponse类
mcp = FastMCP("MyServer") # 创建FastMCP实例,命名为"MyServer"
@mcp.custom_route("/health", methods=["GET"]) # 定义自定义路由,路径为"/health",支持GET方法
async def health_check(request: Request) -> PlainTextResponse: # 定义异步健康检查函数,接受Request参数,返回PlainTextResponse
return PlainTextResponse("OK") # 返回内容为"OK"的纯文本响应
if __name__ == "__main__": # 检查是否作为主程序运行
mcp.run() # 启动服务器4.组合server
可以通过import_server 、 mount来组织大型模块化servers,例如。
python
# Example: Importing a subserver
from fastmcp import FastMCP
import asyncio
main = FastMCP(name="Main")
sub = FastMCP(name="Sub")
@sub.tool
def hello():
return "hi"
# Mount directly
main.mount(sub, prefix="sub")5.代理Server
FastMCP可以使用FastMCP.as_proxy充当任何MCP服务器(本地或远程)的代理,允许您桥接传输或向现有服务器添加前端。例如,您可以通过stdio在本地公开远程SSE服务器,反之亦然。
代理在使用断开连接的客户端时,通过为每个请求创建新的会话,自动安全地处理并发操作。
有关详细信息和高级用法,请参阅代理服务器指南。
ini
from fastmcp import FastMCP, Client
backend = Client("http://example.com/mcp/sse")
proxy = FastMCP.as_proxy(backend, name="ProxyServer")
# Now use the proxy like any FastMCP server6.与OpenAPI结合
FastMCP可以使用FastMCP.from_openapi()和FastMCP.from_fastapi()从OpenAPI规范或现有的FastAPI应用程序中自动生成服务器。这允许您立即将现有API转换为MCP服务器,而无需手动创建工具。
ini
import httpx
from fastmcp import FastMCP
# From OpenAPI spec
spec = httpx.get("https://api.example.com/openapi.json").json()
mcp = FastMCP.from_openapi(openapi_spec=spec, client=httpx.AsyncClient())
# From FastAPI app
from fastapi import FastAPI
app = FastAPI()
mcp = FastMCP.from_fastapi(app=app)7.Server配置
7.1 构造配置
当构造Server时需进行配置
ini
# 从fastmcp库导入FastMCP类
from fastmcp import FastMCP

# 配置服务器特定设置
mcp = FastMCP(
   name="ConfiguredServer",  # 服务器名称
   dependencies=["requests", "pandas>=2.0.0"],  # 可选的服务器依赖
   include_tags={"public", "api"},              # 仅公开带有这些标签的组件
   exclude_tags={"internal", "deprecated"},     # 隐藏带有这些标签的组件
   on_duplicate_tools="error",                  # 处理重复工具注册的方式
   on_duplicate_resources="warn",               # 处理重复资源的方式
   on_duplicate_prompts="replace",              # 处理重复提示的方式
   include_fastmcp_meta=False,                  # 禁用FastMCP元数据以实现更简洁的集成
)
7.2 全局设置
即通过环境变量设置影响Server
python
import fastmcp

# 访问全局设置
print(fastmcp.settings.log_level)        # 默认值: "INFO"
print(fastmcp.settings.mask_error_details)  # 默认值: False
print(fastmcp.settings.resource_prefix_format)  # 默认值: "path"
print(fastmcp.settings.include_fastmcp_meta) # 默认值: True- log_level:日志级别("DEBUG"、"INFO"、"WARNING"、"ERROR"、"CRITICAL"),通过 FASTMCP_LOG_LEVEL 设置
- mask_error_details:是否向客户端隐藏详细错误信息,通过 FASTMCP_MASK_ERROR_DETAILS 设置
- resource_prefix_format:如何格式化资源前缀("path" 或 "protocol"),通过 FASTMCP_RESOURCE_PREFIX_FORMAT 设置
- include_fastmcp_meta:是否在组件响应中包含 FastMCP 元数据(默认:True),通过 FASTMCP_INCLUDE_FASTMCP_META 设置
7.3 传输模式配置
ini
# 运行时配置传输方式
mcp.run(
transport="http",
host="0.0.0.0", # 绑定到所有接口
port=9000, # 自定义端口
log_level="DEBUG", # 覆盖全局日志级别
)
# 或者用于异步使用
await mcp.run_async(
transport="http",
host="127.0.0.1",
port=8080,
)7.4 全局配置
ini
# 配置全局FastMCP行为
export FASTMCP_LOG_LEVEL=DEBUG  # 设置日志级别为DEBUG
export FASTMCP_MASK_ERROR_DETAILS=True  # 启用错误详情掩码
export FASTMCP_RESOURCE_PREFIX_FORMAT=protocol  # 设置资源前缀格式为protocol
export FASTMCP_INCLUDE_FASTMCP_META=False  # 禁用FastMCP元数据
8.工具序列化
FastMCP需要返回文本的时候,返回值为JSON,此时需要tool_serializer工具来实现。
python
import yaml
from fastmcp import FastMCP
# 定义一个自定义序列化器,将字典格式化为YAML
def yaml_serializer(data):
return yaml.dump(data, sort_keys=False)
# 使用自定义序列化器创建服务器
mcp = FastMCP(name="MyServer", tool_serializer=yaml_serializer)
@mcp.tool
def get_config():
"""以YAML格式返回配置。"""
return {"api_key": "abc123", "debug": True, "rate_limit": 100}