案例
案例一:普通的 Spring 应用
下面的代码中使用了 @Component 注解修饰了 TestBean,表示这个类需要被 Spring 加载为一个 Bean。
使用 @Configuration 和 @Compenent 注解修饰 AppConfig 表示这是一个配置类,且需要从 com.example 包路径下去扫描加载 Bean。
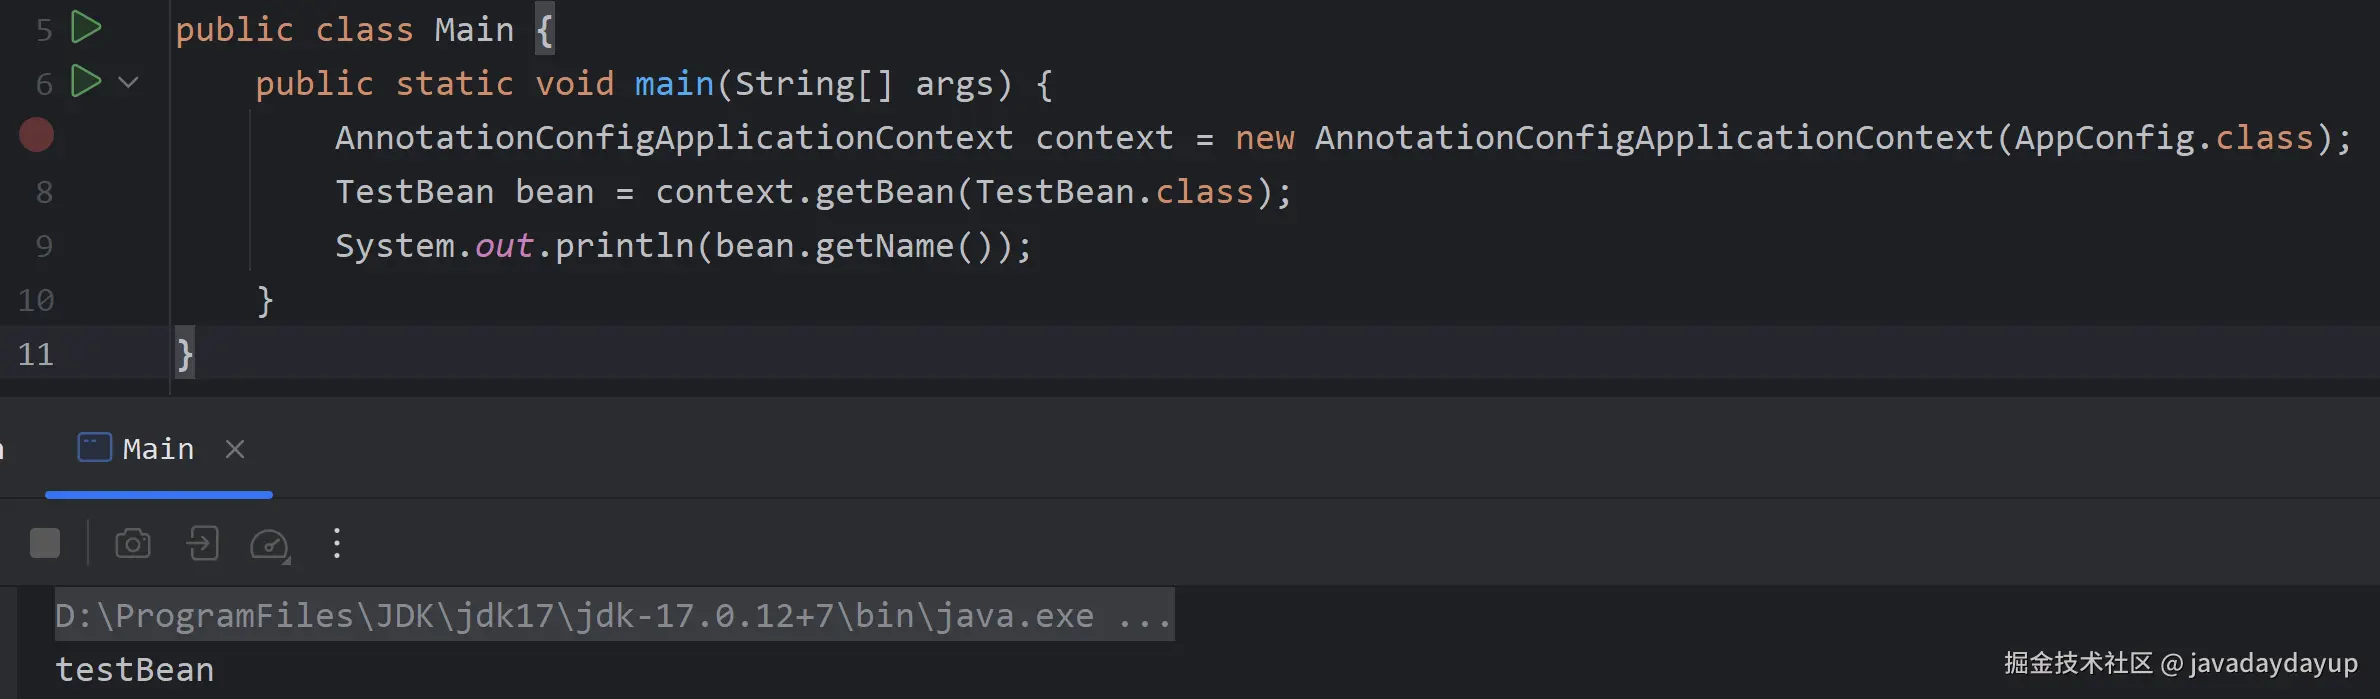
在 Main 中通过构造一个 AnnotationConfigApplicationContext,并把 AppConfig 作为构造参数。然后从这个 Spring 上下文中获取 TestBean,并输出它的 name 属性。从结果看是 Spring 是可以正确扫描并加载 TestBean 到 Spring 上下文中的。代码如下:
java
@Component
public class TestBean {
    private String name = "testBean";

    public String getName() {
        return name;
    }

    public void setName(String name) {
        this.name = name;
    }
}

@Configuration
@ComponentScan("com.example")
public class AppConfig {
}

public class Main {
    public static void main(String[] args) {
        AnnotationConfigApplicationContext context = new AnnotationConfigApplicationContext(AppConfig.class);
        TestBean bean = context.getBean(TestBean.class);
        System.out.println(bean.getName());
    }
}
案例二:Spring Web项目
下面的代码中的使用 @Configuration 和 @ComponentScan 注解修饰了 RootConfig,表明了它是一个配置类,且需要从 com.example 路径下扫描并加载 Bean,并且排除 @Controller 注解修饰的类。
使用 @Configuration 和 @ComponentScan 注解修饰了 WebConfig,表明了它是一个配置类,扫描 com.example.controller 路径下的 Bean。
提供了 MyWebAppInitializer 继承自 AbstractAnnotationConfigDispatcherServletInitializer 并在它的 getRootConfigClasses() 和 getServletConfigClasses() 分别指定了 RootConfig 和 WebConfig 配置类。
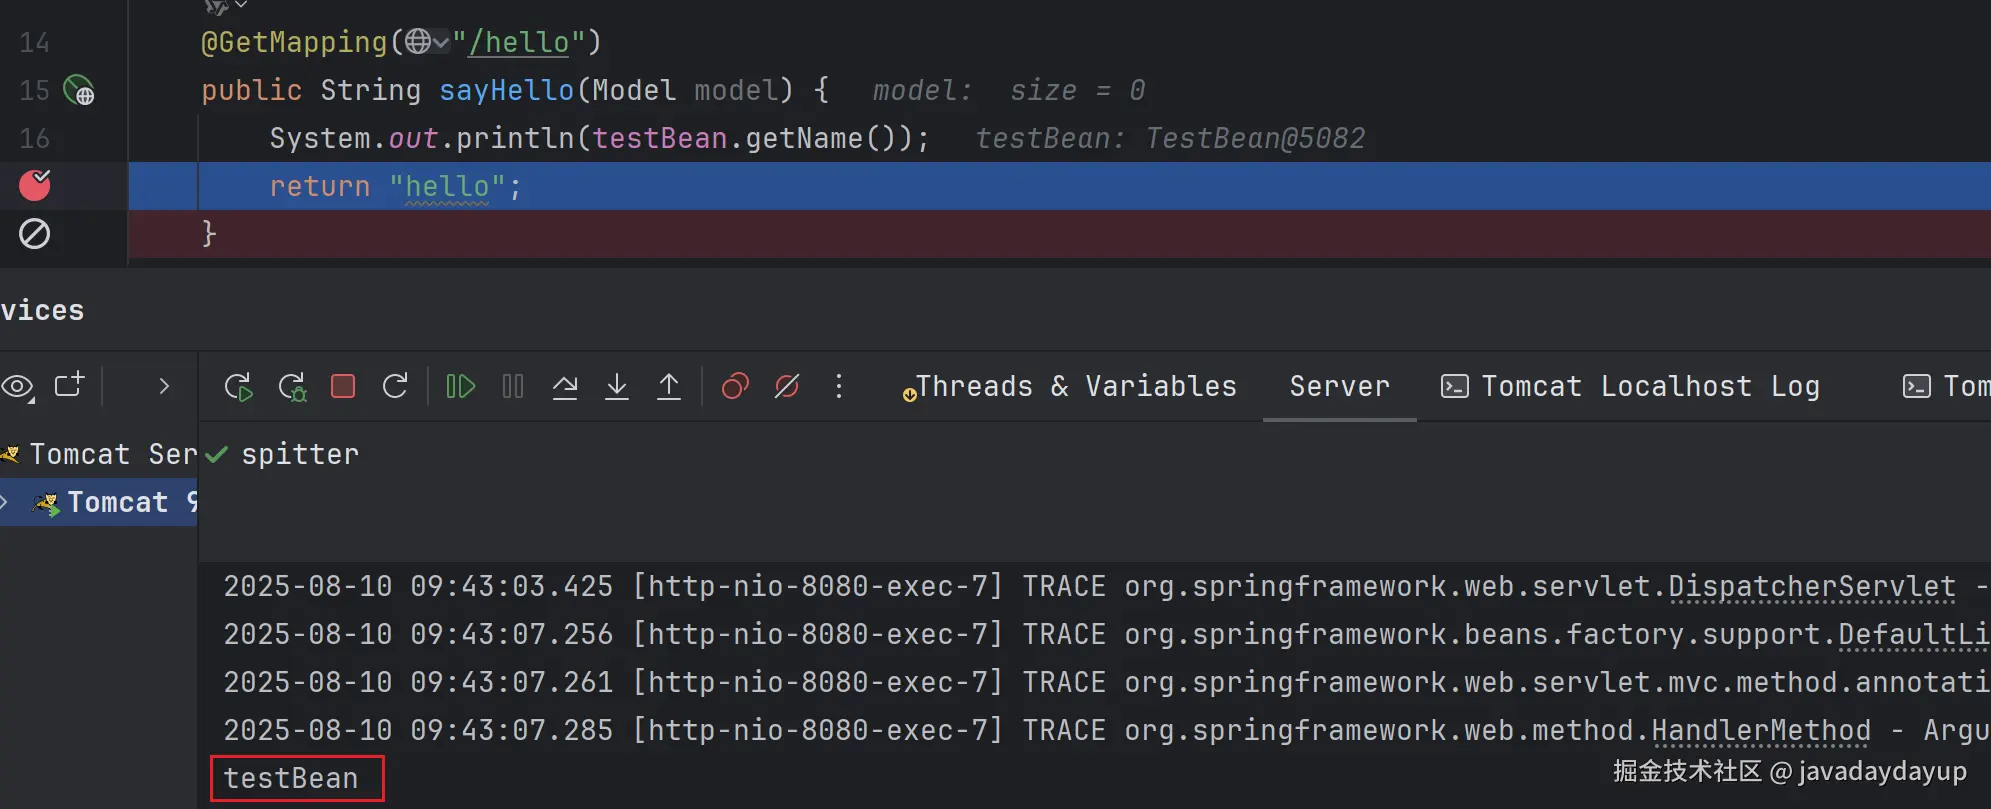
然后在 HelloController 中注入了 TestBean 这个 Bean,并在请求的时候并输出它的 name 属性。从结果看 Spring 是可以正确扫描并加载 TestBean 这个 Bean 到 Spring 上下文中的。
java
@Component
public class TestBean {
    private String name = "testBean";

    public String getName() {
        return name;
    }

    public void setName(String name) {
        this.name = name;
    }
}

public class MyWebAppInitializer extends AbstractAnnotationConfigDispatcherServletInitializer {
    @Override
    protected Class<?>[] getRootConfigClasses() {
        return new Class<?>[] { RootConfig.class };
    }

    @Override
    protected Class<?>[] getServletConfigClasses() {
        return new Class<?>[] { WebConfig.class };
    }

    @Override
    protected String[] getServletMappings() {
        return new String[] { "/" };
    }
}

@Configuration
@ComponentScan(
    basePackages = "com.example",
    excludeFilters = {
        @ComponentScan.Filter(type = FilterType.ANNOTATION, value = Controller.class)
    }
)
public class RootConfig {
}

@Configuration
@EnableWebMvc
@ComponentScan(basePackages = "com.example.controller")
public class WebConfig implements WebMvcConfigurer {
    @Bean
    public ViewResolver viewResolver() {
        InternalResourceViewResolver resolver = new InternalResourceViewResolver();
        resolver.setPrefix("/WEB-INF/views/");
        resolver.setSuffix(".jsp");
        return resolver;
    }
}

@Controller
public class HelloController {
    @Autowired
	private TestBean testBean;

    @GetMapping("/hello")
    public String sayHello(Model model) {
        System.out.println(testBean.getName());
        return "hello";
    }
}
案例三:Spring Boot 应用
下面的代码中少了 RootConfig 和 WebConfig 两个配置类,取而代之的是 @SpringBootApplication 注解修饰的 SpringBootTestApplication。
@SpringBootApplication 这个注解实际上是个复合注解,它被 @Configuration 和 @ComponentScan 注解修饰,那等效的效果就是 @Configuration 和 @ComponentScan 注解修饰了 SpringBootTestApplication。
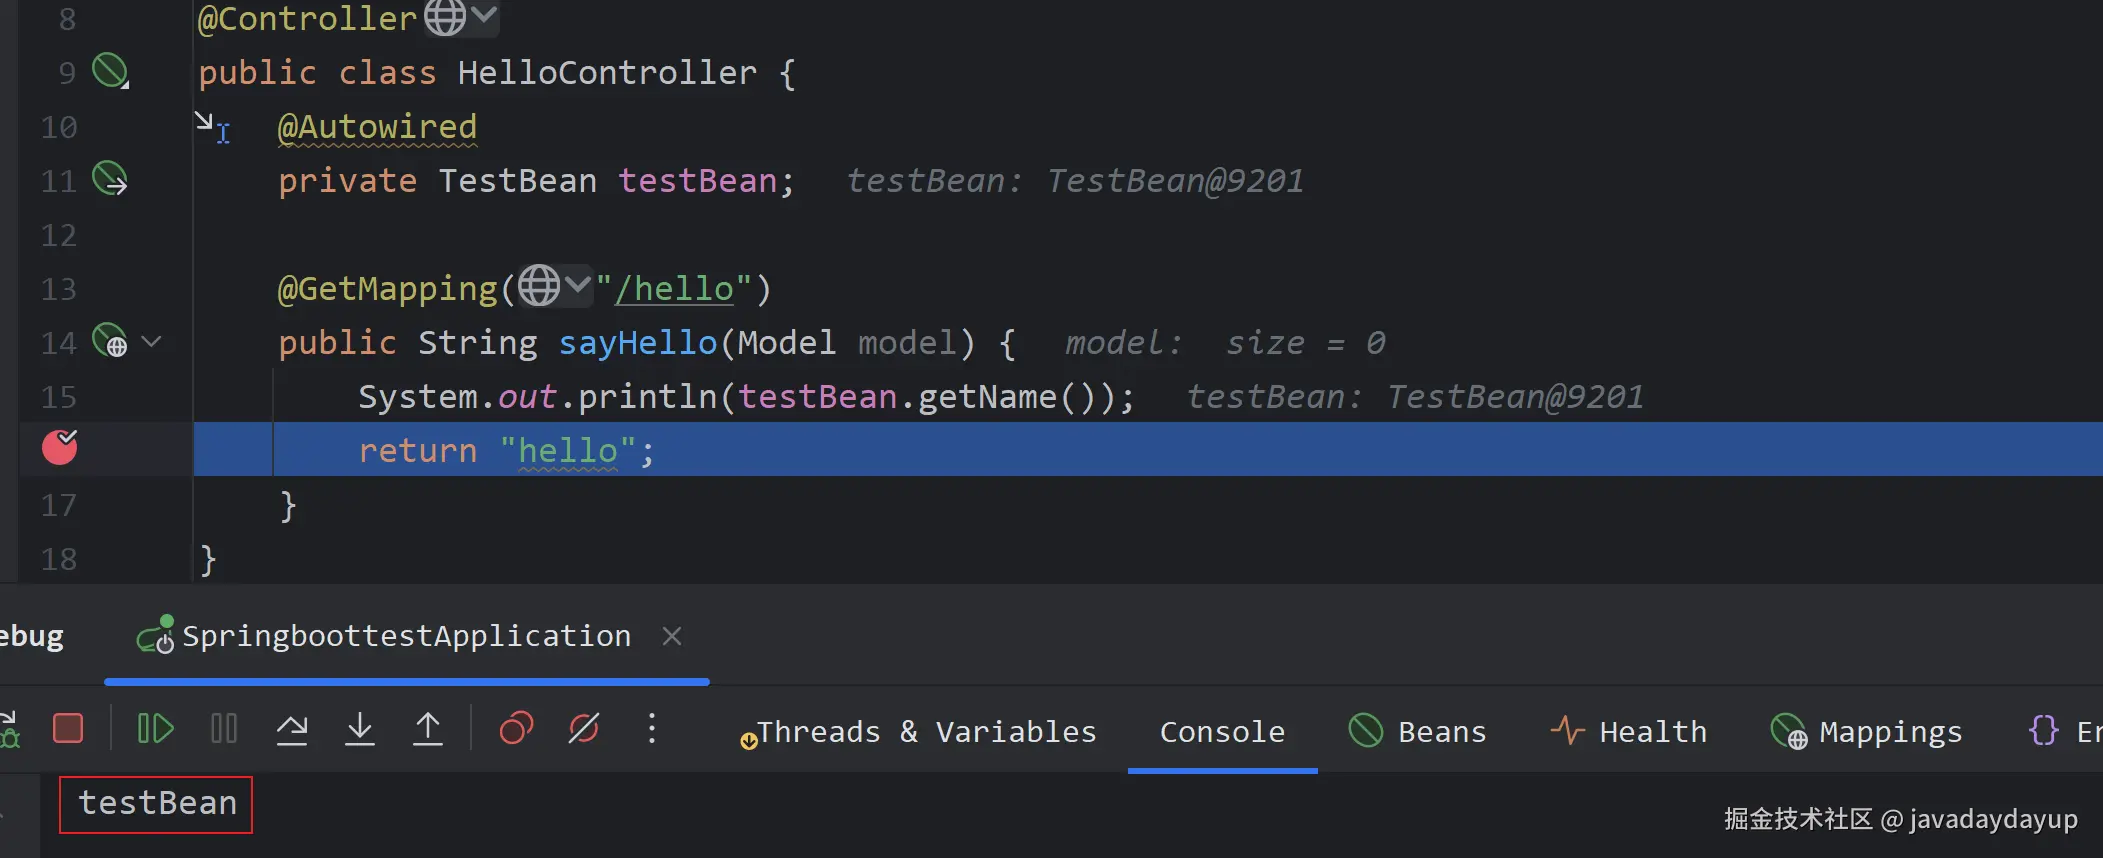
然后在 HelloController 中注入了 TestBean 这个 Bean,并在请求的时候并输出它的 name 属性。从结果看 Spring 是可以正确扫描并加载 TestBean 这个 Bean 到 Spring 上下文中的。
java
@Component
public class TestBean {
    private String name = "testBean";

    public String getName() {
        return name;
    }

    public void setName(String name) {
        this.name = name;
    }
}

@Controller
public class HelloController {
    @Autowired
	private TestBean testBean;

    @GetMapping("/hello")
    public String sayHello(Model model) {
        System.out.println(testBean.getName());
        return "hello";
    }
}

@SpringBootApplication
public class SpringBootTestApplication {
    public static void main(String[] args) {
        SpringApplication.run(SpringBootTestApplication.class, args);
    }
}

@Target(ElementType.TYPE)
@Retention(RetentionPolicy.RUNTIME)
@Documented
@Inherited
@SpringBootConfiguration
@EnableAutoConfiguration
@ComponentScan(excludeFilters = { @Filter(type = FilterType.CUSTOM, classes = TypeExcludeFilter.class),
       @Filter(type = FilterType.CUSTOM, classes = AutoConfigurationExcludeFilter.class) })
public @interface SpringBootApplication {
}

@Target(ElementType.TYPE)
@Retention(RetentionPolicy.RUNTIME)
@Documented
@Configuration
@Indexed
public @interface SpringBootConfiguration {
}
从上面的三个案例可以看出这几种案例下 Spring 都能够正确地扫描到 @Component 注解修饰的 Bean,那在 Spring 内部是如何实现的呢?
先说结论: Spring 在创建了上下文之后,会把 @Configuration 注解修饰的配置类的 Bean 定义注册到上下文中。然后在 BeanDefinitionRegistryPostProcessor 的 postProcessBeanDefinitionRegistry() 方法中,解析配置类上面的 @ComponentScan 注解上定义 basePackages 信息,然后从这些路径下去读取 class 文件,判断它是否有 @Component 注解修饰,如果有则将其解析为一个 Bean 定义,然后注册到 Spring 上下文中,从而完成对 @Component 注解定义的 Bean 的扫描。
接下来将从源码的角度来分析一下。
源码分析
在 Spring 中提供了 BeanDefinitionRegistryPostProcessor,它有一个 postProcessBeanDefinitionRegistry() 方法,扩展这个方法可以向 Spring 中注册额外的 Bean 定义。而对于 @Component 注解修饰的 Bean 的定义就是通过这个扩展方法注册到 Spring 中的。
java
public interface BeanDefinitionRegistryPostProcessor extends BeanFactoryPostProcessor {
    void postProcessBeanDefinitionRegistry(BeanDefinitionRegistry registry) throws BeansException;

    @Override
    default void postProcessBeanFactory(ConfigurableListableBeanFactory beanFactory) throws BeansException {
    }
}
案例一
先看下案例一 中的 AnnotationConfigApplicationContext 构造函数的实现。当传入一个配置类时,它会把这个配置类在 Spring 中注册一个 Bean 定义,注册是委托给 AnnotatedBeanDefinitionReader 进行注册的,其实后面的案例二和案例三最终也是委托给该类进行注册的。代码如下:
java
ublic class AnnotationConfigApplicationContext extends GenericApplicationContext implements AnnotationConfigRegistry {
    public AnnotationConfigApplicationContext(Class<?>... componentClasses) {
        this();
        register(componentClasses);
        refresh();
    }

    public void register(Class<?>... componentClasses) {
        // 调用reader的register()方法进行注册
        this.reader.register(componentClasses);
        registerComponentClass.end();
    }
}

public class AnnotatedBeanDefinitionReader {
    public void register(Class<?>... componentClasses) {
        for (Class<?> componentClass : componentClasses) {
            registerBean(componentClass);
        }
    }
}
Spring 提供了一个 ConfigurationClassPostProcessor 实现了 BeanDefinitionRegistryPostProcessor 接口,然后在它的 postProcessBeanDefinitionRegistry() 方法中会查找所有的 Bean 定义中带有 @Configuration 注解修饰的 Bean 定义,然后委托 ConfigurationClassParser 去解析这些配置类配置的要扫描的 Bean 定义。 代码如下:
java
public class ConfigurationClassPostProcessor implements BeanDefinitionRegistryPostProcessor,
        BeanRegistrationAotProcessor, BeanFactoryInitializationAotProcessor, PriorityOrdered,
        ResourceLoaderAware, ApplicationStartupAware, BeanClassLoaderAware, EnvironmentAware {

    @Override
    public void postProcessBeanDefinitionRegistry(BeanDefinitionRegistry registry) {
        // 省略代码

        processConfigBeanDefinitions(registry);
    }

    public void processConfigBeanDefinitions(BeanDefinitionRegistry registry) {
        List<BeanDefinitionHolder> configCandidates = new ArrayList<>();
        String[] candidateNames = registry.getBeanDefinitionNames();

        for (String beanName : candidateNames) {
            BeanDefinition beanDef = registry.getBeanDefinition(beanName);
            if (beanDef.getAttribute(ConfigurationClassUtils.CONFIGURATION_CLASS_ATTRIBUTE) != null) {
		        // 省略代码
            }
            // 这里判断是否有@Configuration注解修饰,如果有就加入到configCandidates中
            else if (ConfigurationClassUtils.checkConfigurationClassCandidate(beanDef, this.metadataReaderFactory)) {
                configCandidates.add(new BeanDefinitionHolder(beanDef, beanName));
            }
        }

        // 省略代码

        // 构造ConfigurationClassParser对象
        ConfigurationClassParser parser = new ConfigurationClassParser(
                this.metadataReaderFactory, this.problemReporter, this.environment,
                this.resourceLoader, this.componentScanBeanNameGenerator, registry);

        Set<BeanDefinitionHolder> candidates = new LinkedHashSet<>(configCandidates);
        Set<ConfigurationClass> alreadyParsed = CollectionUtils.newHashSet(configCandidates.size());
        do {
            // 调用ConfigurationClassParser的parse()方法解析Bean定义
            parser.parse(candidates);
            parser.validate();

			// 获取到解析的Bean定义
            Set<ConfigurationClass> configClasses = new LinkedHashSet<>(parser.getConfigurationClasses());

            // 省略代码

            this.reader.loadBeanDefinitions(configClasses);
            alreadyParsed.addAll(configClasses);

	        // 省略代码

            candidates.clear();
        }
        while (!candidates.isEmpty());
    }
}
在 ConfigurationClassPostProcessor 的 parse() 方法中,对每一个有 @Configuration 注解的 Bean 定义进行解析,最终的解析逻辑是在 doProcessConfigurationClass() 方法中实现的。代码如下:
java
class ConfigurationClassParser {
    public void parse(Set<BeanDefinitionHolder> configCandidates) {
        for (BeanDefinitionHolder holder : configCandidates) {
            BeanDefinition bd = holder.getBeanDefinition();
            if (bd instanceof AnnotatedBeanDefinition annotatedBeanDef) {
                // 对每一个有@Configuration注解的Bean定义进行解析
                parse(annotatedBeanDef.getMetadata(), holder.getBeanName());
            }
        }

        // 省略代码
    }

    protected final void parse(AnnotationMetadata metadata, String beanName) throws IOException {
        processConfigurationClass(new ConfigurationClass(metadata, beanName), DEFAULT_EXCLUSION_FILTER);
    }

    protected void processConfigurationClass(ConfigurationClass configClass, Predicate<String> filter) throws IOException {
        if (this.conditionEvaluator.shouldSkip(configClass.getMetadata(), ConfigurationPhase.PARSE_CONFIGURATION)) {
            return;
        }

        SourceClass sourceClass = null;
        sourceClass = asSourceClass(configClass, filter);
		do {
		    // 在doProcessConfigurationClass()方法执行真正的解析
			sourceClass = doProcessConfigurationClass(configClass, sourceClass, filter);
		}
		while (sourceClass != null);
        this.configurationClasses.put(configClass, configClass);
    }
}
在 doProcessConfigurationClass() 方法中又获取 @ConponentScan 注解的属性信息,然后委托 ComponentScanAnnotationParser 进行 Bean 定义的解析。代码如下:
java
class ConfigurationClassParser {
	protected final SourceClass doProcessConfigurationClass(
	            ConfigurationClass configClass, SourceClass sourceClass, Predicate<String> filter)
	            throws IOException {

	        // 省略代码

	        // 获取@ComponentScan注解的属性信息
	        Set<AnnotationAttributes> componentScans = AnnotationConfigUtils.attributesForRepeatable(
	                sourceClass.getMetadata(), ComponentScan.class, ComponentScans.class,
	                MergedAnnotation::isDirectlyPresent);

	        // 省略代码

	        if (!componentScans.isEmpty() &&
	                !this.conditionEvaluator.shouldSkip(sourceClass.getMetadata(), ConfigurationPhase.REGISTER_BEAN)) {
	            for (AnnotationAttributes componentScan : componentScans) {
		            // 调用componentScanParser的parse()方法进行解析
	                Set<BeanDefinitionHolder> scannedBeanDefinitions =
	                        this.componentScanParser.parse(componentScan, sourceClass.getMetadata().getClassName());

					// 省略代码
	            }
	        }
	    }
}
在 ComponentScanAnnotationParser 的 parse() 方法中获取 @ComponentScan 的 basePackages 属性,然后委托给 ClassPathBeanDefinitionScanner 进行扫描。代码如下:
java
public Set<BeanDefinitionHolder> parse(AnnotationAttributes componentScan, String declaringClass) {
    ClassPathBeanDefinitionScanner scanner = new ClassPathBeanDefinitionScanner(this.registry,
            componentScan.getBoolean("useDefaultFilters"), this.environment, this.resourceLoader);

    // 省略代码

    Set<String> basePackages = new LinkedHashSet<>();
    // 获取 `basePackages` 属性
    String[] basePackagesArray = componentScan.getStringArray("basePackages");
    for (String pkg : basePackagesArray) {
        String[] tokenized = StringUtils.tokenizeToStringArray(this.environment.resolvePlaceholders(pkg),
                ConfigurableApplicationContext.CONFIG_LOCATION_DELIMITERS);
        Collections.addAll(basePackages, tokenized);
    }

    // 省略代码

	// 调用scanner的doScan()方法进行扫描
    return scanner.doScan(StringUtils.toStringArray(basePackages));
}
在 ClassPathBeanDefinitionScanner 的 doScan() 方法中实际上往下调用到 scanCandidateComponents() 方法,在该方法中会从设置的 basePackages 路径下读取所有的 class 文件,然后判断它上面是否有 @Component 注解修饰,如果有,则把它加载到返回结果中 ,然后在 doScan() 方法中将返回的 Bean 定义注册到 Spring 中,这样在后面就可以基于这些 Bean 定义创建 Bean 了。
java
protected Set<BeanDefinitionHolder> doScan(String... basePackages) {
    Set<BeanDefinitionHolder> beanDefinitions = new LinkedHashSet<>();
    for (String basePackage : basePackages) {
        Set<BeanDefinition> candidates = findCandidateComponents(basePackage);
        for (BeanDefinition candidate : candidates) {

            // 省略代码

            if (checkCandidate(beanName, candidate)) {
                BeanDefinitionHolder definitionHolder = new BeanDefinitionHolder(candidate, beanName);
                definitionHolder =
                        AnnotationConfigUtils.applyScopedProxyMode(scopeMetadata, definitionHolder, this.registry);
                beanDefinitions.add(definitionHolder);
                // 注册Bean定义
                registerBeanDefinition(definitionHolder, this.registry);
            }
        }
    }
    return beanDefinitions;
}

public Set<BeanDefinition> findCandidateComponents(String basePackage) {
    if (this.componentsIndex != null && indexSupportsIncludeFilters()) {
        return addCandidateComponentsFromIndex(this.componentsIndex, basePackage);
    }
    else {
        return scanCandidateComponents(basePackage);
    }
}

private Set<BeanDefinition> scanCandidateComponents(String basePackage) {
    Set<BeanDefinition> candidates = new LinkedHashSet<>();

    String packageSearchPath = ResourcePatternResolver.CLASSPATH_ALL_URL_PREFIX +
            resolveBasePackage(basePackage) + '/' + this.resourcePattern;
    Resource[] resources = getResourcePatternResolver().getResources(packageSearchPath);

    for (Resource resource : resources) { // 每一个 class文件对应一个Resource
        String filename = resource.getFilename();
        if (filename != null && filename.contains(ClassUtils.CGLIB_CLASS_SEPARATOR)) {
            // Ignore CGLIB-generated classes in the classpath
            continue;
        }

        // 从class文件中读取元数据
        MetadataReader metadataReader = getMetadataReaderFactory().getMetadataReader(resource);
        // 判断是否有@Component注解修饰
        if (isCandidateComponent(metadataReader)) {
            ScannedGenericBeanDefinition sbd = new ScannedGenericBeanDefinition(metadataReader);
            sbd.setSource(resource);
            if (isCandidateComponent(sbd)) {
                candidates.add(sbd);
            }
        }
    }
    return candidates;
}

protected boolean isCandidateComponent(MetadataReader metadataReader) throws IOException {
    for (TypeFilter tf : this.excludeFilters) {
        if (tf.match(metadataReader, getMetadataReaderFactory())) {
            return false;
        }
    }
    for (TypeFilter tf : this.includeFilters) {
        // 这里通过includeFilter来判断
        if (tf.match(metadataReader, getMetadataReaderFactory())) {
            return isConditionMatch(metadataReader);
        }
    }
    return false;
}

protected void registerDefaultFilters() {
    // 默认会加一个AnnotationTypeFilter,它会判断是否有@Component注解
    this.includeFilters.add(new AnnotationTypeFilter(Component.class));

    // 省略代码
}
案例二
对于案例二的加载原理是类似的。在 AbstractAnnotationConfigDispatcherServletInitializer 内部的 createRootApplicationContext() 和 createServletApplicationContext() 方法中实际上分别创建了一个 AnnotationConfigWebApplicationContext 上下文对象,并将 @Configuration 注解修饰的配置类注册到它内部的变量中。代码如下:
java
AbstractAnnotationConfigDispatcherServletInitializer {
	public abstract class AbstractAnnotationConfigDispatcherServletInitializer
        extends AbstractDispatcherServletInitializer {
    protected WebApplicationContext createRootApplicationContext() {
        Class<?>[] configClasses = getRootConfigClasses();
        if (!ObjectUtils.isEmpty(configClasses)) {
            // 创建AnnotationConfigWebApplicationContext上下文对象
            AnnotationConfigWebApplicationContext context = new AnnotationConfigWebApplicationContext();
            // 注册对应的配置类
            context.register(configClasses);
            return context;
        }
        else {
            return null;
        }
    }

    @Override
    protected WebApplicationContext createServletApplicationContext() {
        // 创建AnnotationConfigWebApplicationContext上下文对象
        AnnotationConfigWebApplicationContext context = new AnnotationConfigWebApplicationContext();
        Class<?>[] configClasses = getServletConfigClasses();
        if (!ObjectUtils.isEmpty(configClasses)) {
	        // 注册对应的配置类
            context.register(configClasses);
        }
        return context;
    }
}
在 AnnotationConfigWebApplicationContext 的 loadBeanDefinitions() 方法中和 AnnotationConfigApplicationContext 类似,也向 Spring 中注册了 @Configuration 注解修饰的配置类的 Bean 定义。代码如下:
java
protected void loadBeanDefinitions(DefaultListableBeanFactory beanFactory) {
    // 可以看到这里也是AnnotatedBeanDefinitionReader对象
    AnnotatedBeanDefinitionReader reader = getAnnotatedBeanDefinitionReader(beanFactory);
    ClassPathBeanDefinitionScanner scanner = getClassPathBeanDefinitionScanner(beanFactory);

    // 省略代码

    if (!this.componentClasses.isEmpty()) {
        // 和AnnotationConfigApplicationContext类似这里
        // 也向Spring中注册了@Configuration注解修饰的配置类的Bean定义
        reader.register(ClassUtils.toClassArray(this.componentClasses));
    }

    // 省略代码
}
而在 Spring 上下文启动过程中,在 AbstractApplicationContext 中的 refresh() 方法中调用了 obtainFreshBeanFactory() 方法,在其子类 AbstractRefreshableApplicationContext 中的 obtainFreshBeanFactory() 方法调用了 loadBeanDefinitions() 方法,也就将配置类的 Bean 定义注册到 Spring 中了。代码如下:
java
public abstract class AbstractApplicationContext extends DefaultResourceLoader
    implements ConfigurableApplicationContext {
    @Override
    public void refresh() throws BeansException, IllegalStateException {
        this.startupShutdownLock.lock();
        try {
            this.startupShutdownThread = Thread.currentThread();

            // Prepare this context for refreshing.
            prepareRefresh();

            // 这里获取BeanFactory
            ConfigurableListableBeanFactory beanFactory = obtainFreshBeanFactory();

            // Prepare the bean factory for use in this context.
            prepareBeanFactory(beanFactory);

			// 省略代码

            catch (RuntimeException | Error ex ) {
               // 省略代码
            }

            finally {
                contextRefresh.end();
            }
        }
        finally {
            this.startupShutdownThread = null;
            this.startupShutdownLock.unlock();
        }
    }


	protected ConfigurableListableBeanFactory obtainFreshBeanFactory() {
	    refreshBeanFactory();
	    return getBeanFactory();
	}
}

public abstract class AbstractRefreshableApplicationContext extends AbstractApplicationContext {
    protected final void refreshBeanFactory() throws BeansException {
        if (hasBeanFactory()) {
            destroyBeans();
            closeBeanFactory();
        }
        try {
            DefaultListableBeanFactory beanFactory = createBeanFactory();
            beanFactory.setSerializationId(getId());
            beanFactory.setApplicationStartup(getApplicationStartup());
            customizeBeanFactory(beanFactory);
            // 这里调用了loadBeanDefinitions()方法
            loadBeanDefinitions(beanFactory);
            this.beanFactory = beanFactory;
        }
        catch (IOException ex) {
            // 省略代码
        }
    }
}
案例三
对于案例三,在 SpringApplication 的 run() 方法中会创建一个 AnnotationConfigServletWebApplicationContext 类型的 Spring 上下文,然后调用 prepareContext() 方法准备上下文,然后调用 load() 方法,在该方法中委托给 BeanDefinitionLoader 进行加载。代码如下:
java
public class SpringApplication {
    public ConfigurableApplicationContext run(String... args) {
        // 省略代码


        // 创建一个AnnotationConfigServletWebApplicationContext类型Spring上下文
        context = createApplicationContext();
        context.setApplicationStartup(this.applicationStartup);
        prepareContext(bootstrapContext, context, environment, listeners, applicationArguments, printedBanner);
        refreshContext(context);

        // 省略代码

        return context;
    }

    private void prepareContext(DefaultBootstrapContext bootstrapContext,
	    ConfigurableApplicationContext context,
	    ConfigurableEnvironment environment, SpringApplicationRunListeners listeners,
	    ApplicationArguments applicationArguments, Banner printedBanner) {
	    // 省略代码

	    context.addBeanFactoryPostProcessor(new PropertySourceOrderingBeanFactoryPostProcessor(context));
	    if (!AotDetector.useGeneratedArtifacts()) {
	        // Load the sources
	        Set<Object> sources = getAllSources();
	        Assert.notEmpty(sources, "Sources must not be empty");
	        // 这里会注册Bean定义
	        load(context, sources.toArray(new Object[0]));
	    }
	    listeners.contextLoaded(context);
	}

	public Set<Object> getAllSources() {
	    Set<Object> allSources = new LinkedHashSet<>();
	    if (!CollectionUtils.isEmpty(this.primarySources)) {
	        allSources.addAll(this.primarySources);
	    }
	    if (!CollectionUtils.isEmpty(this.properties.getSources())) {
	        allSources.addAll(this.properties.getSources());
	    }
	    return Collections.unmodifiableSet(allSources);
	}

	protected void load(ApplicationContext context, Object[] sources) {
	    BeanDefinitionLoader loader = createBeanDefinitionLoader(getBeanDefinitionRegistry(context), sources);
	    if (this.beanNameGenerator != null) {
	        loader.setBeanNameGenerator(this.beanNameGenerator);
	    }
	    if (this.resourceLoader != null) {
	        loader.setResourceLoader(this.resourceLoader);
	    }
	    if (this.environment != null) {
	        loader.setEnvironment(this.environment);
	    }
	    // 这里进行加载
	    loader.load();
	}
}
在 BeanDefinitionLoader 的 load() 方法中又调用了 AnnotatedBeanDefinitionReader 的 register() 方法实现了配置类 Bean 定义的注册,到这里就和案例一的达到的效果是相同的了。代码如下:
java
class BeanDefinitionLoader {
    void load() {
        for (Object source : this.sources) {
            load(source);
        }
    }

    private void load(Object source) {
        Assert.notNull(source, "Source must not be null");
        if (source instanceof Class<?> type) {
            load(type);
            return;
        }

		// 省略代码
    }

    private void load(Class<?> source) {
        // 省略代码

        if (isEligible(source)) {
            // 这里同样是通过AnnotatedBeanDefinitionReader的register()方法注册的Bean定义
            this.annotatedReader.register(source);
        }
    }
}

public class AnnotatedBeanDefinitionReader {
    public void register(Class<?>... componentClasses) {
        for (Class<?> componentClass : componentClasses) {
            registerBean(componentClass);
        }
    }
}
后续
假设现在在 lib 目录下有两个 jar 包的不同版本,里面有一个 TestBean 的类,其中一个 jar 包中该类没有 @Component 注解修饰,另外一个有 @Component 注解修饰,且按照 jar 包在 CLASSPATH 中的顺序,没有 @Component 注解修饰的类所在的 jar 包在前面。那么 Spring 会创建一个 TestBean 类型的 Bean 么?
想知道这个问题的答案,可以看另外的这篇文章一次 Spring 扫描 @Component 注解修饰的类坑。