Bitmap 是什么
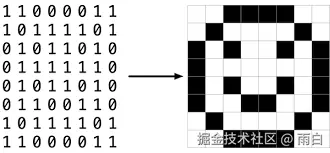
Bitmap 的字面意思是"位图",它是图片被解码后,在内存中的表现形式。它映射了每个像素的颜色信息,所以可以直接被系统用于渲染。
可以用一张图来形象地描述它:
Drawable 是什么
Drawable 不像 Bitmap,它不是一个图片信息的存储工具,它是绘制工具。
Drawable 可调用 Canvas 进行绘制,就像 View 一样。不过 View 负责测量、布局和绘制,Drawable 只负责绘制。Drawable 内部存储的是绘制操作或绘制规则,Bitmap 存储的是像素信息。
使用 Drawable 只需这样:
kotlin
// 创建Drawable对象
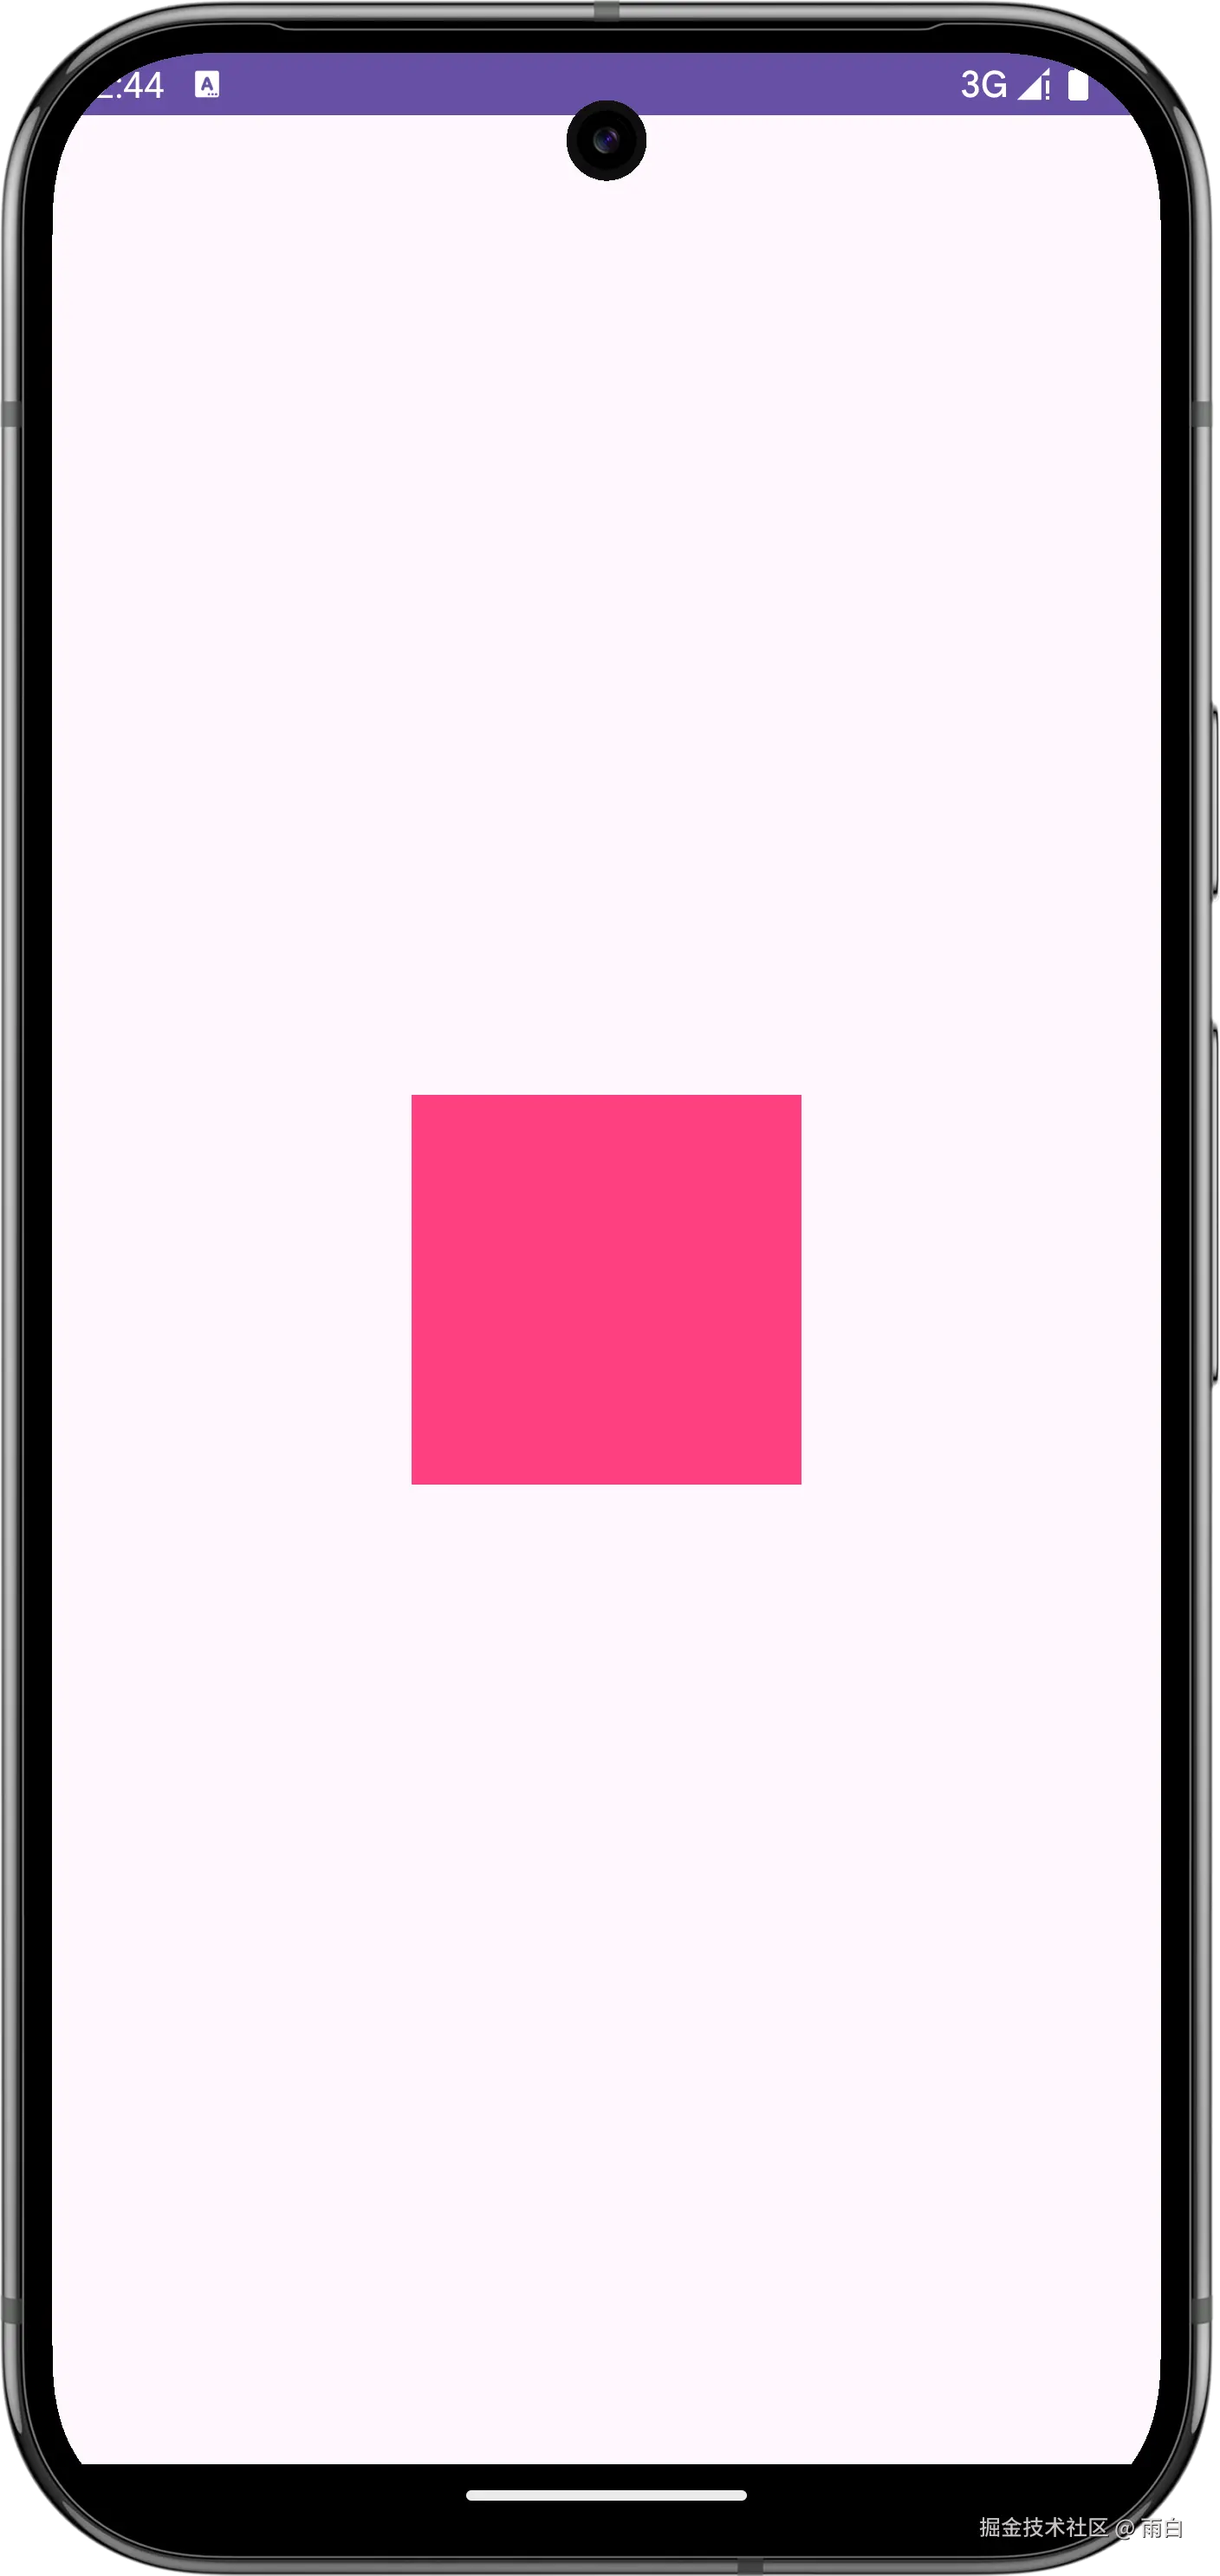
private val drawable = ColorDrawable(Color.parseColor("#FF4081"))
private val size = 150.dp
// 使用前,需要调用setBounds方法设置Drawable的边界
drawable.setBounds(
(width / 2f - size / 2f).toInt(),
(height / 2f - size / 2f).toInt(),
(width / 2f + size / 2f).toInt(),
(height / 2f + size / 2f).toInt()
)
drawable.draw(canvas)运行效果:
Drawable 和 Bitmap 的互转
其实 Drawable 和 Bitmap 的互转,只是用其中一个实例创建另一个实例,两者并没有真正的转换。以官方代码为例,Bitmap 转 Drawable 的代码是这样的:
kotlin
public inline fun Bitmap.toDrawable(resources: Resources): BitmapDrawable =
    // 创建BitmapDrawable对象
    BitmapDrawable(resources, this)
BitmapDrawable 在实际绘制时,只是将传入的 Bitmap 对象,使用 Canvas 绘制出来。
Drawable 转 Bitmap 的代码是这样的:
kotlin
public fun Drawable.toBitmap(
    @Px width: Int = intrinsicWidth,
    @Px height: Int = intrinsicHeight,
    config: Config? = null
): Bitmap {
    if (this is BitmapDrawable) {
        if (bitmap == null) {
            // This is slightly better than returning an empty, zero-size bitmap.
            throw IllegalArgumentException("bitmap is null")
        }
        if (config == null || bitmap.config == config) {
            // Fast-path to return original. Bitmap.createScaledBitmap will do this check, but it
            // involves allocation and two jumps into native code so we perform the check ourselves.
            if (width == bitmap.width && height == bitmap.height) {
                return bitmap
            }
            return Bitmap.createScaledBitmap(bitmap, width, height, true)
        }
    }

    val (oldLeft, oldTop, oldRight, oldBottom) = bounds

    val bitmap = Bitmap.createBitmap(width, height, config ?: Config.ARGB_8888)
    setBounds(0, 0, width, height)
    draw(Canvas(bitmap))

    setBounds(oldLeft, oldTop, oldRight, oldBottom)
    return bitmap
}
如果当前是 BitmapDrawable,直接返回内部存储的 Bitmap 对象,否则将当前 Drawable 绘制在新建的 Bitmap 对象上并返回。
这就是转换的本质。
自定义 Drawable
我们先来看看如何自定义 Drawable,比如我们要创建网格线的 Drawable。
需要继承自 Drawable 抽象类,然后实现各个抽象方法。
kotlin
class MeshDrawable : Drawable(){
    override fun draw(canvas: Canvas) {
        TODO("Not yet implemented")
    }

    override fun setAlpha(alpha: Int) {
        TODO("Not yet implemented")
    }

    override fun setColorFilter(colorFilter: ColorFilter?) {
        TODO("Not yet implemented")
    }

    @Deprecated("Deprecated in Java")
    override fun getOpacity(): Int {
        TODO("Not yet implemented")
    }
}
draw 方法是绘制的核心逻辑,setAlpha 方法用于设置透明度,setColorFilter 方法用于设置颜色滤镜,getOpacity 方法用于返回透明度信息。
对于设置透明度,只需将传入的透明度设置到内部的 Paint 对象上即可。
kotlin
private val paint = Paint(Paint.ANTI_ALIAS_FLAG)

override fun setAlpha(alpha: Int) {
    paint.alpha = alpha
    invalidateSelf() // 通知系统重绘
}
在更新了 Paint 的属性后,需要调用 invalidateSelf 方法通知 Drawable 的持有者进行重绘,这样才能应用到最新的透明度。
同理,颜色滤镜也是一样。
kotlin
override fun setColorFilter(colorFilter: ColorFilter?) {
    paint.colorFilter = colorFilter
    // 同样调用invalidateSelf方法
    invalidateSelf()
}因为网格线之间存在间隙,永远不会完全覆盖下层内容,所以属于半透明(TRANSLUCENT)类型,需要与下层图像进行混合。
kotlin
@Deprecated("Deprecated in Java",
    ReplaceWith("PixelFormat.TRANSLUCENT", "android.graphics.PixelFormat")
)
override fun getOpacity(): Int {
    return PixelFormat.TRANSLUCENT
}
最后,来绘制网格线。和自定义 View 绘制一样,代码如下:
kotlin
class MeshDrawable(
    private val meshSize: Float = 50f,
    private val meshColor: Int = Color.GRAY,
) : Drawable() {

    private val paint = Paint(Paint.ANTI_ALIAS_FLAG).apply {
        color = meshColor
        strokeWidth = 2f
    }

    override fun draw(canvas: Canvas) {
        val bounds = bounds

        // 画垂直线
        var x = bounds.left.toFloat()
        while (x <= bounds.right) {
            canvas.drawLine(x, bounds.top.toFloat(), x, bounds.bottom.toFloat(), paint)
            x += meshSize
        }

        // 画水平线
        var y = bounds.top.toFloat()
        while (y <= bounds.bottom) {
            canvas.drawLine(bounds.left.toFloat(), y, bounds.right.toFloat(), y, paint)
            y += meshSize
        }
    }

    ...
}
使用:
kotlin
private val drawable = MeshDrawable(meshSize = 50.dp)
override fun onDraw(canvas: Canvas) {
    drawable.setBounds(
        0,
        0,
        width,
        height
    )
    drawable.draw(canvas)
}
运行效果:

知道了 Drawable 的用法,我们自然会引出一个问题,它的使用场景是什么?
首先,它可以动态绘制图像,相较于静态图片来说更加灵活,就比如我们当前的示例,我们可以指定它的格子大小,网格线范围,以及网格线的粗细和颜色。
但它的核心价值在于作为独立的绘制模块,可在不同的自定义 View 之间共享绘制代码。
就比如,我们要在消息列表中展示一个小尺寸的头像(SimpleAvatarView),还要在个人资料页中展示一个大尺寸、带有光环的头像(DetailedAvatarView),我们就可以将核心的绘制逻辑(将方形头像裁剪为圆形),封装到一个自定义 AvatarDrawable 中。
对于 SimpleAvatarView 来说,只需直接使用这个 AvatarDrawable,DetailedAvatarView 只需在 AvatarDrawable 的基础上,额外绘制一个光环即可。
这样,就实现了复用,可以避免代码重复,还可以减少不必要的 View 嵌套以提升性能。
没有自定义 Bitmap
我们并不能自定义 Bitmap,因为类声明被 final 修饰了。
其实也很容易想明白,Bitmap 的职责是纯粹的数据存储,并不需要像 Drawable 那样为其添加额外的绘制行为。