1 Apache 简介

Apache HTTP Server(通常简称 "Apache")是世界上最流行、历史最悠久的开源 Web 服务器软件之一,由 Apache 软件基金会(Apache Software Foundation)维护。它的核心功能是接收客户端(如浏览器)的 HTTP/HTTPS 请求,处理并返回对应的网页、文件或数据,是构建 Web 应用、网站的核心基础设施之一。
Apache 是一款成熟、稳定、可扩展的开源 Web 服务器,凭借模块化架构和丰富的生态,成为中小企业、动态 Web 应用(尤其是 PHP 场景)的首选。尽管在高并发静态资源场景下,Nginx 逐渐成为主流,但 Apache 凭借数十年的技术积累和稳定性,仍在大量生产环境中发挥核心作用。
2 Apache 安装
2.1 Apache 基本信息
# apache的基本信息

/etc/httpd/conf                     # apache的配置目录
/etc/http/conf.d                    # 子配置目录
/etc/httpd/conf/httpd.conf          # 主配置文件
/lib/systemd/system/htpd.service    # 启动文件
:80                                 # 默认端口
/var/www/html                       # 默认发布目录
index.html                          # 默认发布文件
2.2 安装 Apache
1.下载
# yum install httpd -y
3.查看防火墙状态
# systemctl status firewalld.service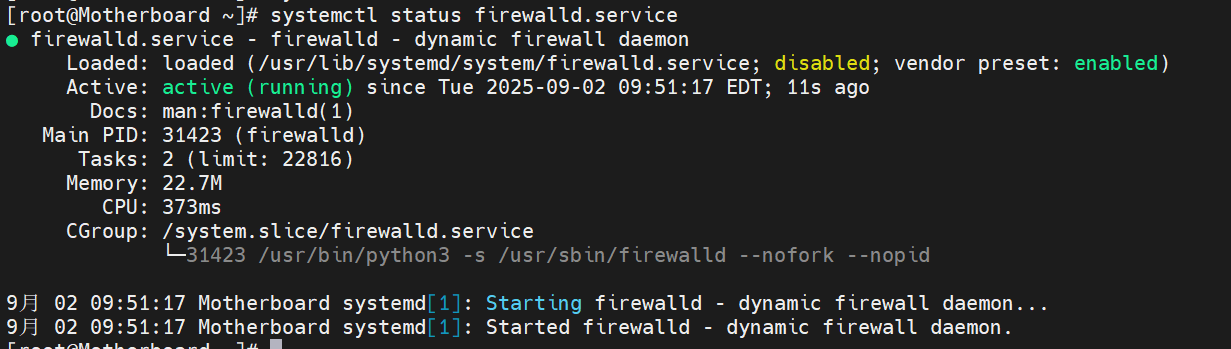
3.在火墙中放行web服务
# firewall-cmd --permanent --add-service=https
# firewall-cmd --permanent --add-service=http
# firewall-cmd --reload
# firewall-cmd --list-services


4.开启httpd服务
# systemctl enable --now httpd
5.生成默认测试页文件,并测试效果
# echo 192.168.36.100 > /var/www/html/index.html
# cat /var/www/html/index.html
# curl 192.168.36.100
3 Apache的基本配置信息
3.1 修改默认端口
1.修改端口
# 修改配置文件
# vim /etc/httpd/conf/httpd.conf
48 Listen 8080

# 刷新服务
# systemctl reload httpd.service

# 防火墙放行端口
# firewall-cmd --permanent --add-port=8080/tcp
# firewall-cmd --reload
# firewall-cmd --list-ports


2.检查端口
# ss -antlupe | grep httpd
3.访问服务
# curl 192.168.36.100:8080
3.2 修改默认发布目录
# 创建默认发布目录
# mkdir /web/html -p

# 修改主配置文件,并进行授权
# vim /etc/httpd/conf/httpd.conf
125 DocumentRoot "/web/html"
126 <Directory "/web/html">
127          Require all granted
128 </Directory>

# 重启httpd服务
# systemctl restart httpd
# 写入测试文件
# echo "默认目录" > /web/html/index.html
# curl 192.168.36.100:8080

3.3 添加默认发布文件
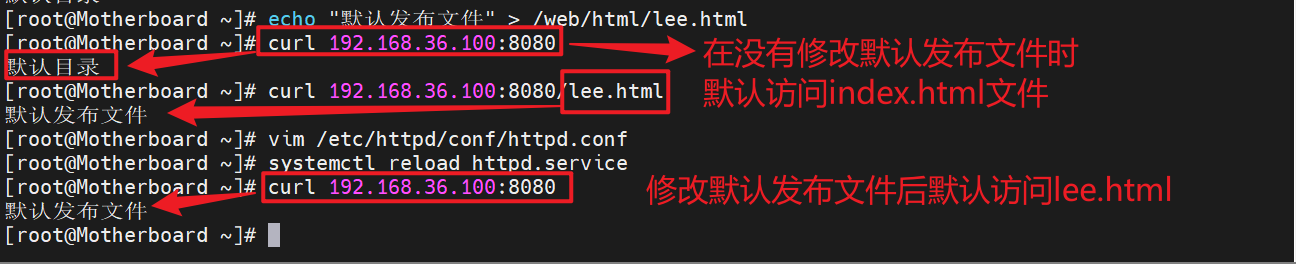
# 建立新的默认发布文件
# echo "默认发布文件" > /web/html/lee.html

# 当没有对配置进行修改时新默认发布文件不会被默认访问
# curl 192.168.36.100:8080
默认目录
# curl 192.168.36.100:8080/lee.html
默认发布文件

# 修改默认发布文件
# vim /etc/httpd/conf/httpd.conf
173 <IfModule dir_module>
174     DirectoryIndex lee.html index.html
175 </IfModule>
# systemctl reload httpd.service
# curl 192.168.36.100:8080
默认发布文件
4 https
4.1 安装mod_ssl模块
# yum install mod_ssl -y
4.2 建立证书
# 创建证书文件
# mkdir /etc/httpd/certs -p
# 建立证书
# openssl req -newkey rsa:2048 -nodes -sha256 -keyout /etc/httpd/certs/ceshi.key -x509  -days 365 -out /etc/httpd/certs/ceshi.crt
You are about to be asked to enter information that will be incorporated
into your certificate request.
What you are about to enter is what is called a Distinguished Name or a DN.
There are quite a few fields but you can leave some blank
For some fields there will be a default value,
If you enter '.', the field will be left blank.
-----
Country Name (2 letter code) [XX]:CN
State or Province Name (full name) []:shanxi
Locality Name (eg, city) [Default City]:XIAN
Organization Name (eg, company) [Default Company Ltd]:CG
Organizational Unit Name (eg, section) []:webserver
Common Name (eg, your name or your server's hostname) []:www.cg.org
Email Address []:cg@cg.org
# 查看证书
# ls /etc/httpd/certs/
ceshi.crt  ceshi.key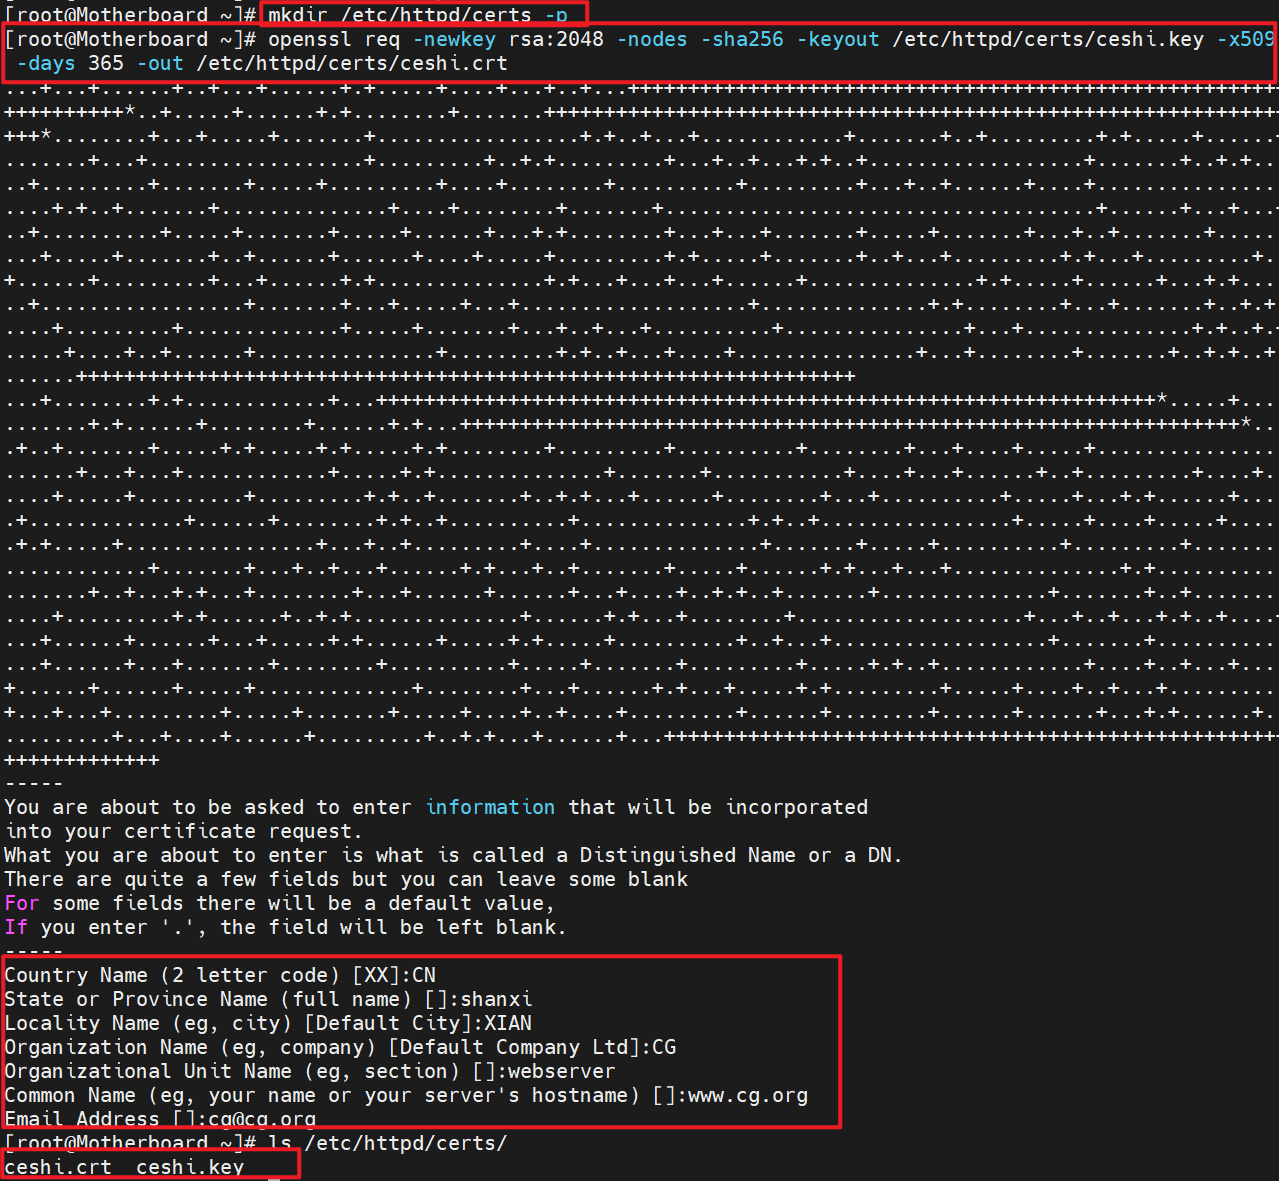
4.3 将生成的证书文件添加至子配置文件
# vim /etc/httpd/conf.d/ssl.conf
86 SSLCertificateFile /etc/httpd/certs/ceshi.crt
104 SSLCertificateChainFile /etc/httpd/certs/ceshi.key
# 重启服务
# systemctl reload httpd.service
# 查看https状态
# netstat -antlupe | grep httpd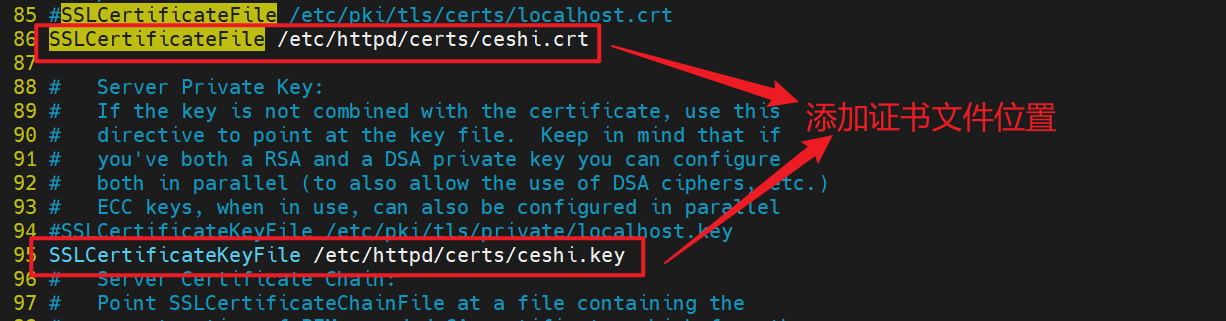

在浏览器访问https://IP:端口

5 Apache的虚拟主机
Apache 的虚拟主机(Virtual Host)是一项核心功能,允许在单台服务器上通过同一个 Apache 服务托管多个网站(域名),每个网站可以有独立的目录、配置和域名,实现 "一台服务器对应多个域名" 的效果。
虚拟主机的核心原理是:Apache 接收请求时,根据客户端请求的 域名(Host 头) 或 IP 地址,匹配对应的虚拟主机配置,返回该网站的内容。
# 为每个发布站点建立默认发布目录
# mkdir -p /var/www/virtual/ceshi.org/news
# mkdir -p /var/www/virtual/ceshi.org/bbs

# 为每个站点建立默认发布文件
# echo new.chshi.org > /var/www/virtual/ceshi.org/news/index.html
# echo bbs.chshi.org > /var/www/virtual/ceshi.org/bbs/index.html

# 创建子配置文件
# vim /etc/httpd/conf.d/vhosts.conf
<VirtualHost _default_:80>
        DocumentRoot /var/www/html
</VirtualHost>
<VirtualHost *:80>
        ServerName bbs.ceshi.org
        DocumentRoot /var/www/virtual/ceshi.org/bbs/
</VirtualHost>
<VirtualHost *:80>
        ServerName news.ceshi.org
        DocumentRoot /var/www/virtual/ceshi.org/news/
</VirtualHost>

# 刷新服务
# systemctl reload httpd.service
# 测试效果
# 1.编写本地解析
# vim /etc/hosts
192.168.36.100  Motherboard news.ceshi.org bbs.ceshi.org
# 2.测试效果
# 恢复实验环境
# vim /etc/httpd/conf/httpd.conf
47 Listen 80
124 DocumentRoot "/var/www/html"
125 #DocumentRoot "/web/html"
126 #<Directory "/web/html">
127 #        Require all granted
128 #</Directory>
173 <IfModule dir_module>
174     DirectoryIndex index.html
175 </IfModule>
# systemctl reload httpd.service

[root@Motherboard ~]# curl Motherboard
192.168.36.100
[root@Motherboard ~]# curl bbs.ceshi.org
bbs.chshi.org
[root@Motherboard ~]# curl news.ceshi.org
new.chshi.org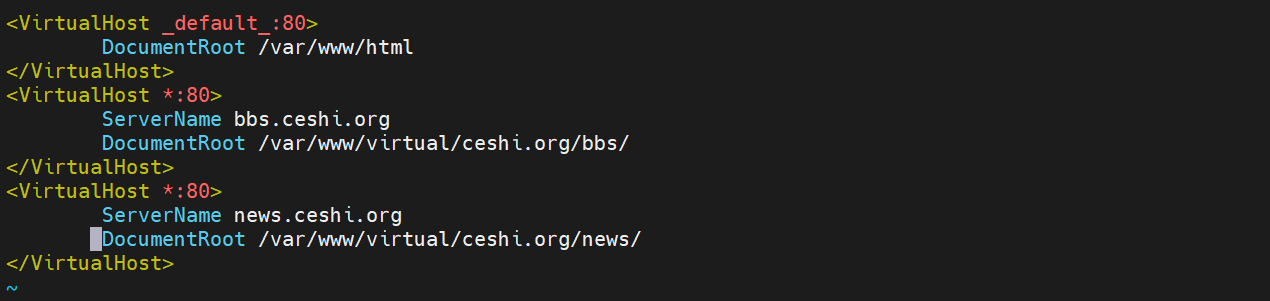


到此Apache的简单应用结束!