1. 安装依赖工具
# 安装Nginx
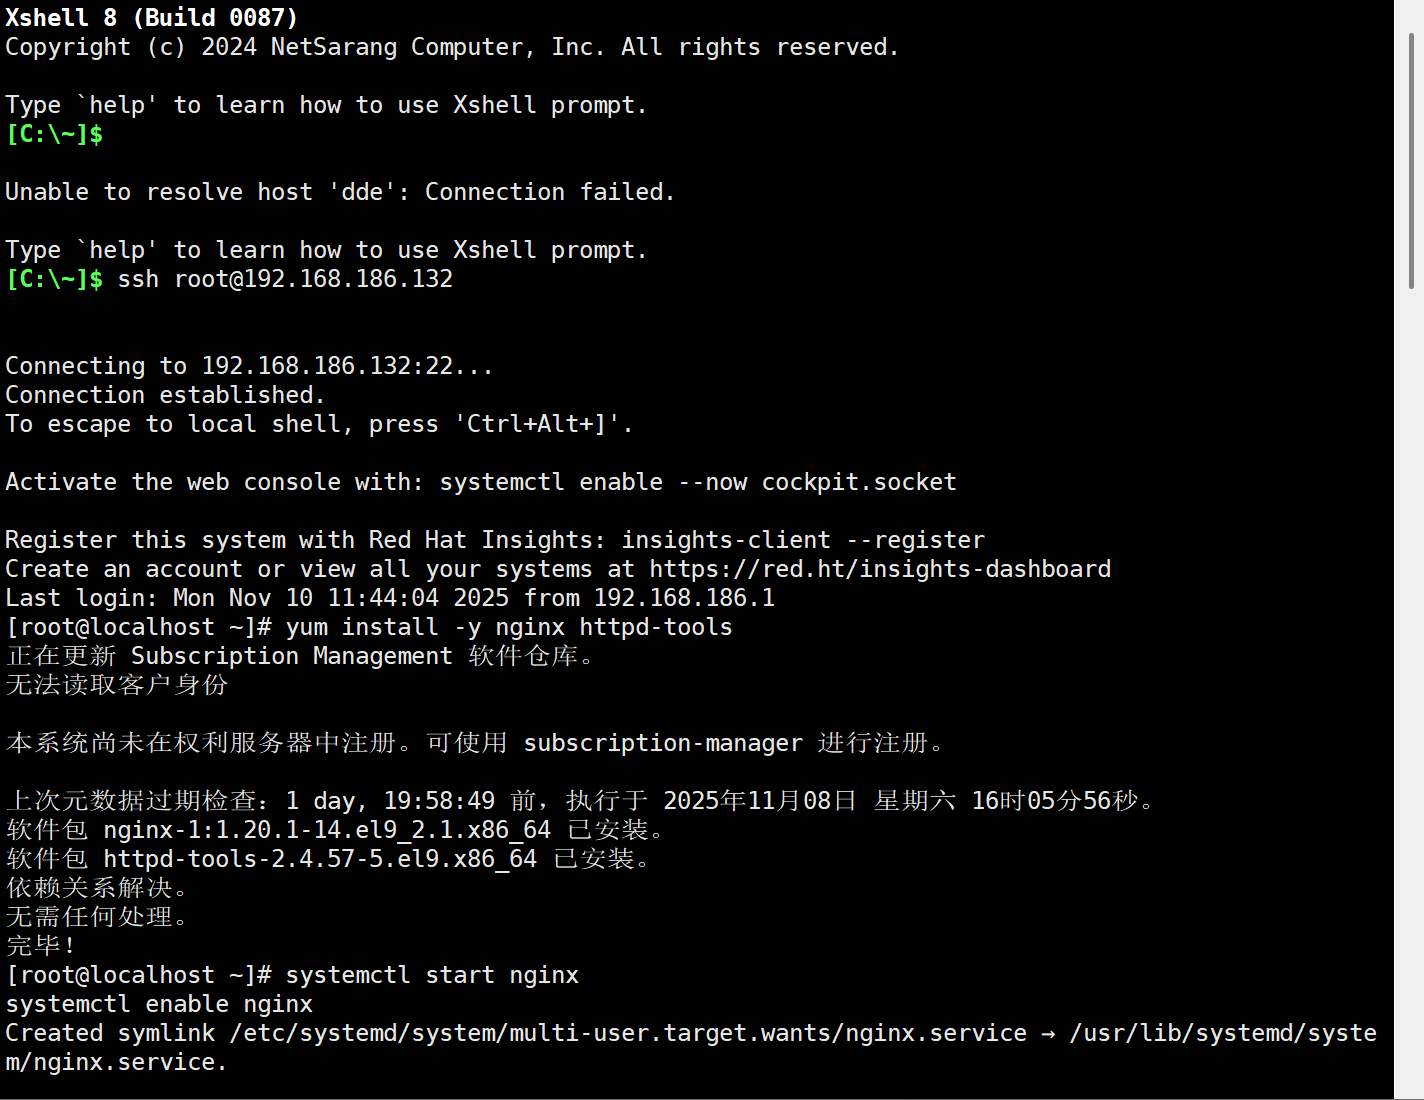
yum install -y nginx httpd-tools
systemctl start nginx
systemctl enable nginx
# 关闭防火墙(测试环境,生产环境需配置规则)
systemctl stop firewalld
systemctl disable firewalld2. 生成 SSL 证书(用于 HTTPS)
bash
# 创建证书目录
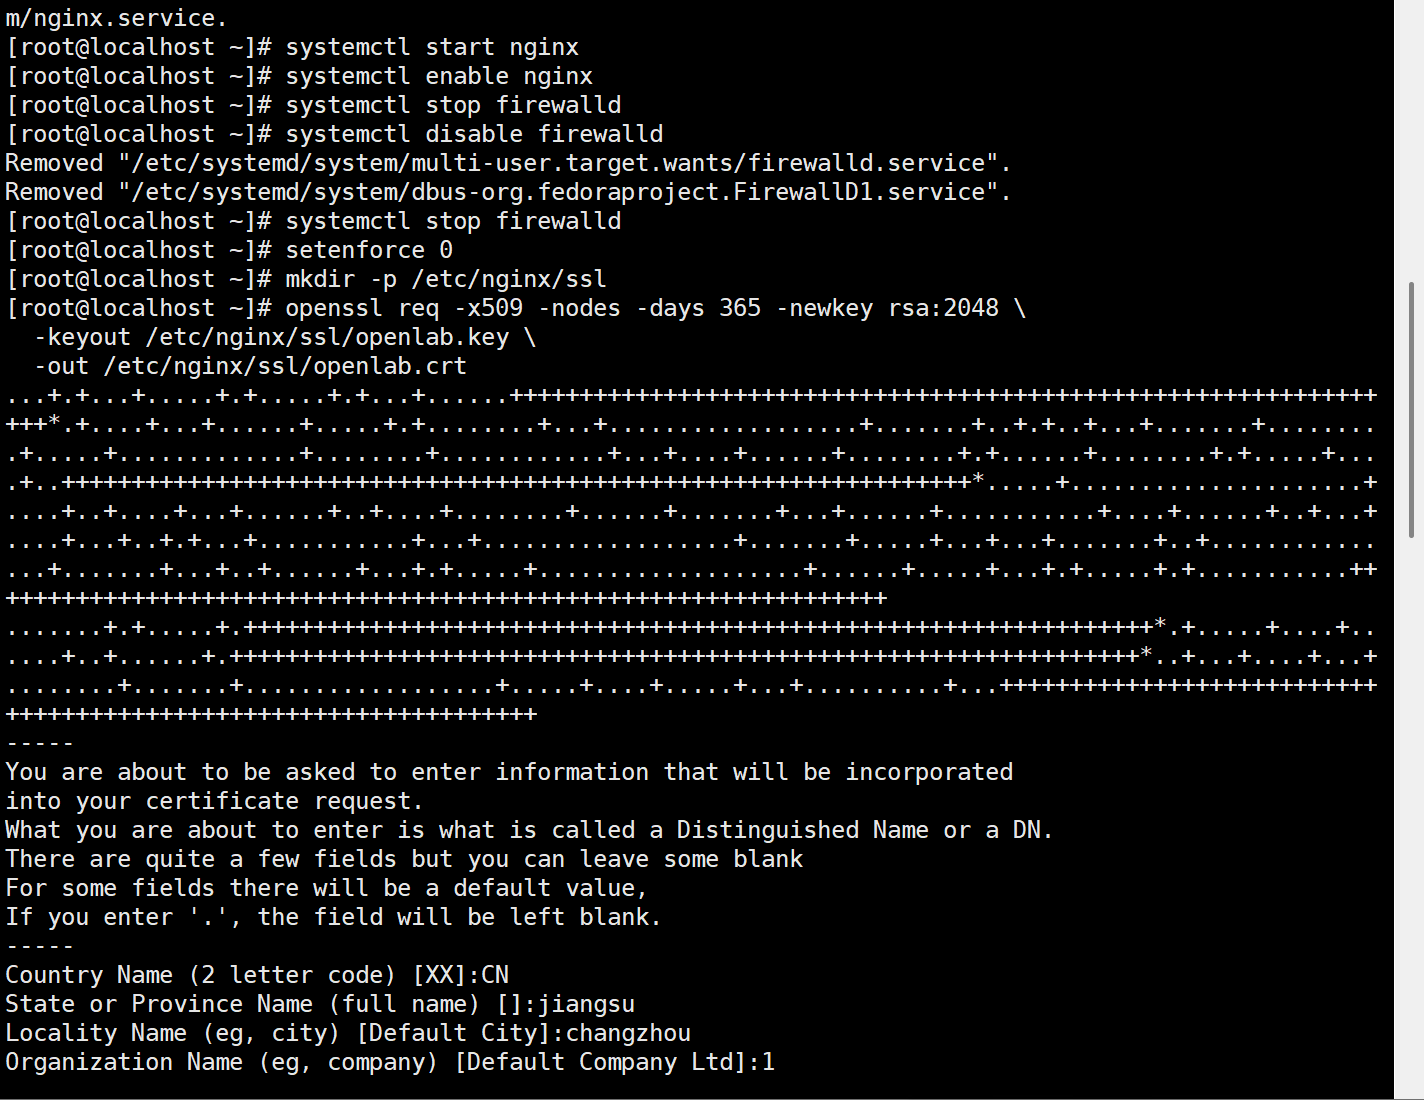
mkdir -p /etc/nginx/ssl
# 生成自签名证书(按提示输入信息,Common Name填www.openlab.com)
openssl req -x509 -nodes -days 365 -newkey rsa:2048 \
-keyout /etc/nginx/ssl/openlab.key \
-out /etc/nginx/ssl/openlab.crt3. 创建网站目录及页面文件
bash
# 创建目录结构
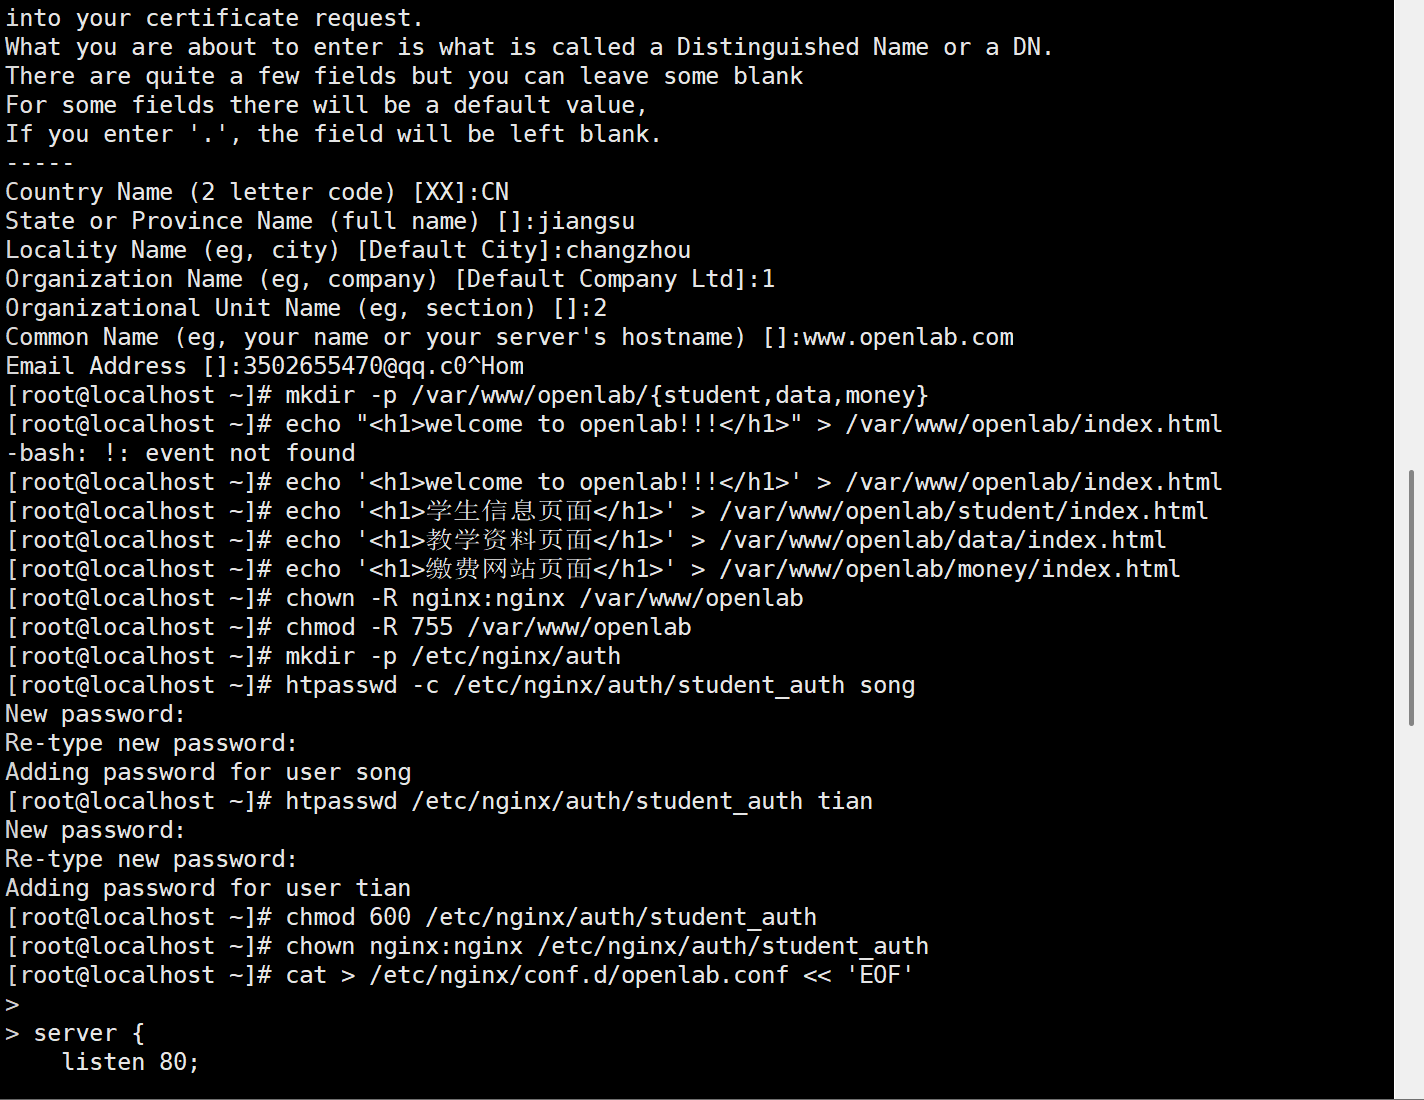
mkdir -p /var/www/openlab/{student,data,money}
# 编写根页面内容(www.openlab.com)
echo "<h1>welcome to openlab!!!</h1>" > /var/www/openlab/index.html
# 编写学生信息页面(/student)
echo "<h1>学生信息页面</h1>" > /var/www/openlab/student/index.html
# 编写教学资料页面(/data)
echo "<h1>教学资料页面</h1>" > /var/www/openlab/data/index.html
# 编写缴费网站页面(/money)
echo "<h1>缴费网站页面</h1>" > /var/www/openlab/money/index.html
# 设置目录权限
chown -R nginx:nginx /var/www/openlab
chmod -R 755 /var/www/openlab4. 创建用户认证(限制 student 访问)
bash
# 创建认证文件目录
mkdir -p /etc/nginx/auth

# 添加用户song和tian(执行后输入密码,例如123456)
htpasswd -c /etc/nginx/auth/student_auth song  # 首次创建用-c
htpasswd /etc/nginx/auth/student_auth tian     # 后续用户无需-c

# 设置认证文件权限
chmod 600 /etc/nginx/auth/student_auth
chown nginx:nginx /etc/nginx/auth/student_auth
5. 配置 Nginx 虚拟主机
bash
# 创建配置文件
cat > /etc/nginx/conf.d/openlab.conf << 'EOF'
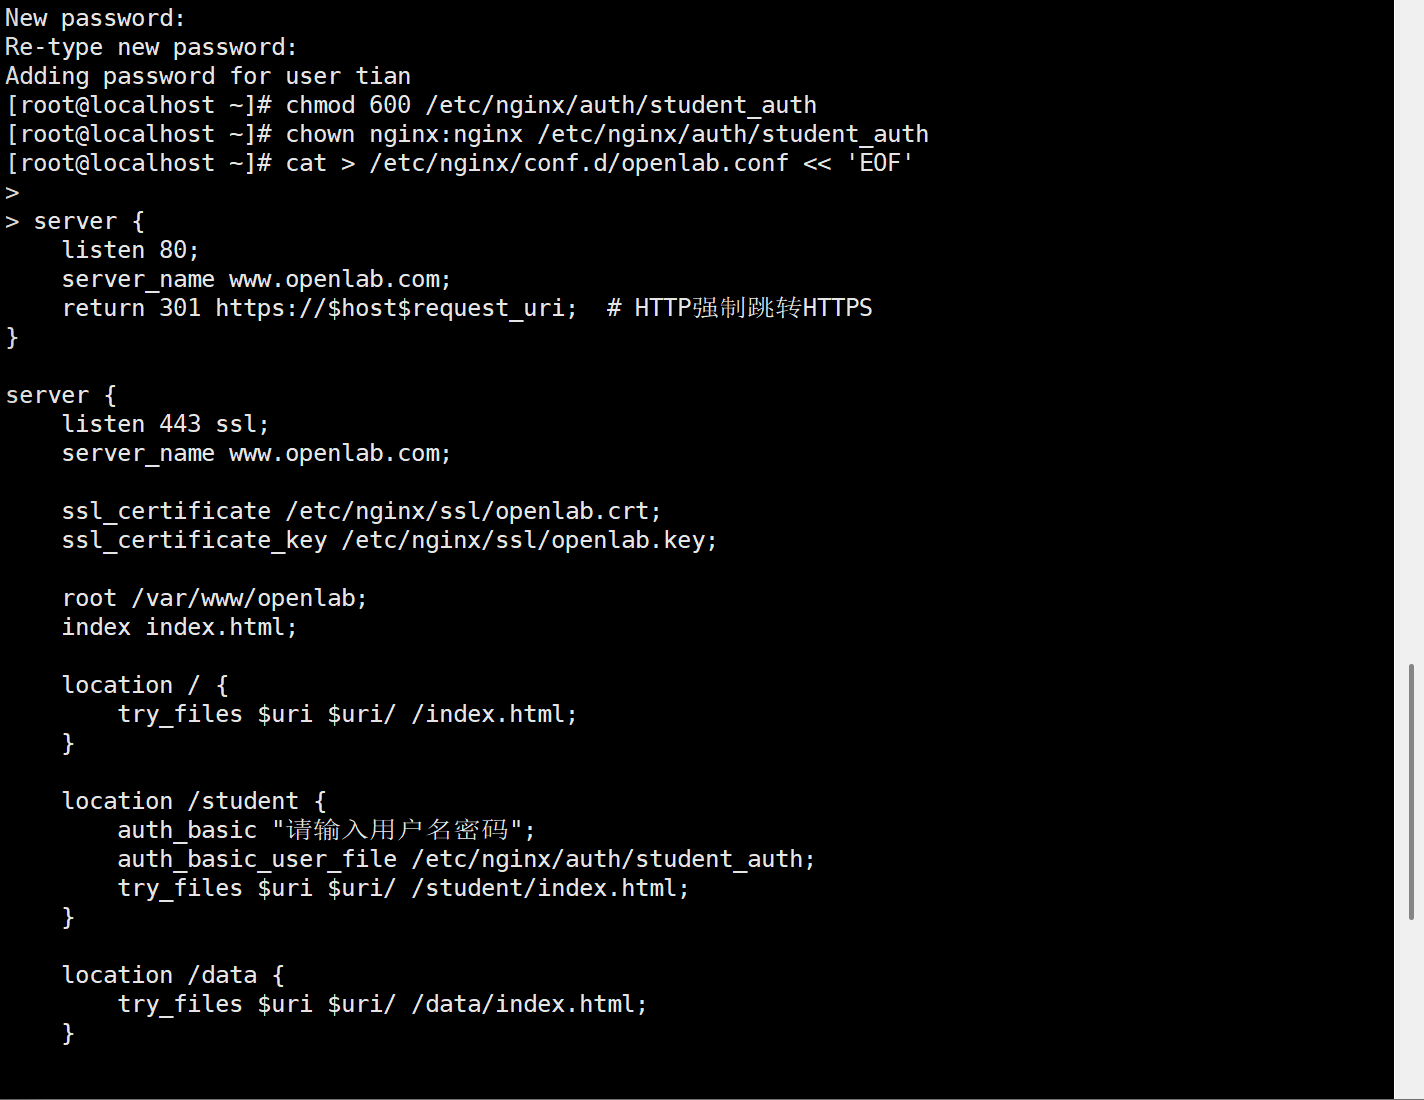
server {
listen 80;
server_name www.openlab.com;
return 301 https://$host$request_uri; # HTTP强制跳转HTTPS
}
server {
listen 443 ssl;
server_name www.openlab.com;
ssl_certificate /etc/nginx/ssl/openlab.crt;
ssl_certificate_key /etc/nginx/ssl/openlab.key;
root /var/www/openlab;
index index.html;
location / {
try_files $uri $uri/ /index.html;
}
location /student {
auth_basic "请输入用户名密码";
auth_basic_user_file /etc/nginx/auth/student_auth;
try_files $uri $uri/ /student/index.html;
}
location /data {
try_files $uri $uri/ /data/index.html;
}
location /money {
try_files $uri $uri/ /money/index.html;
}
}
EOF6. 验证配置并生效
bash
# 检查Nginx配置是否正确
nginx -t

# 重启Nginx使配置生效
systemctl restart nginx
7. 本地 hosts 解析(客户端操作)
在测试的电脑上修改 hosts 文件(需管理员权限):
-
Windows :编辑
C:\Windows\System32\drivers\etc\hosts,添加:plaintext
服务器IP www.openlab.com
- Linux/macOS :编辑
/etc/hosts,添加同上内容。
测试验证
- 访问
http://www.openlab.com→ 自动跳转至https://www.openlab.com,显示welcome to openlab!!!。 - 访问
https://www.openlab.com/data和https://www.openlab.com/money→ 直接显示对应页面。 - 访问
https://www.openlab.com/student→ 弹出登录框,输入song或tian及密码可访问,其他用户被拒绝。