目录
一、准备工作
1.1、准备两台虚拟机
服务器:192.168.80.186(jenkins)
客户端:192.168.80.183
1.2、配置文件
安装ansible
[root@jenkins ~]# yum -y install ansible修改配置文件
 #将107行的注释去掉
 [root@jenkins ~]# vim /etc/ansible/ansible.cfg
 107 remote_user = root
添加目标主机
cs
[root@jenkins ~]# vim /etc/ansible/hosts
[webServer]
192.168.80.183
生成jenkins用户的密码
cs
[root@jenkins ~]# su -s /bin/bash jenkins
bash-5.2$ ssh-keygen
Generating public/private ed25519 key pair.
Enter file in which to save the key (/var/lib/jenkins/.ssh/id_ed25519):
Created directory '/var/lib/jenkins/.ssh'.
Enter passphrase (empty for no passphrase):
Enter same passphrase again:
Your identification has been saved in /var/lib/jenkins/.ssh/id_ed25519
Your public key has been saved in /var/lib/jenkins/.ssh/id_ed25519.pub
The key fingerprint is:
SHA256:OYuvQOatCCe5YmcPc+xvJFdFY7TptUQJ+wQluaCfWOk jenkins@jenkins
The key's randomart image is:
+--[ED25519 256]--+
| oO+o. |
| ..oO. |
| . ++.+ |
| . =..= . |
| o S .. o |
| . +.o = E |
|+ .ooo* . |
|.* +=o o |
|+ + oo+o. |
+----[SHA256]-----+
将密钥拷给客户端root用户
bash-5.2$ ssh-copy-id root@192.168.80.183
bash-5.2$ ansible webServer -m ping
[WARNING]: Platform linux on host 192.168.80.183 is using the discovered Python interpreter at /usr/bin/python3, but future
installation of another Python interpreter could change this. See
https://docs.ansible.com/ansible/2.9/reference_appendices/interpreter_discovery.html for more information.
192.168.80.183 | SUCCESS => {
"ansible_facts": {
"discovered_interpreter_python": "/usr/bin/python3"
},
"changed": false,
"ping": "pong"
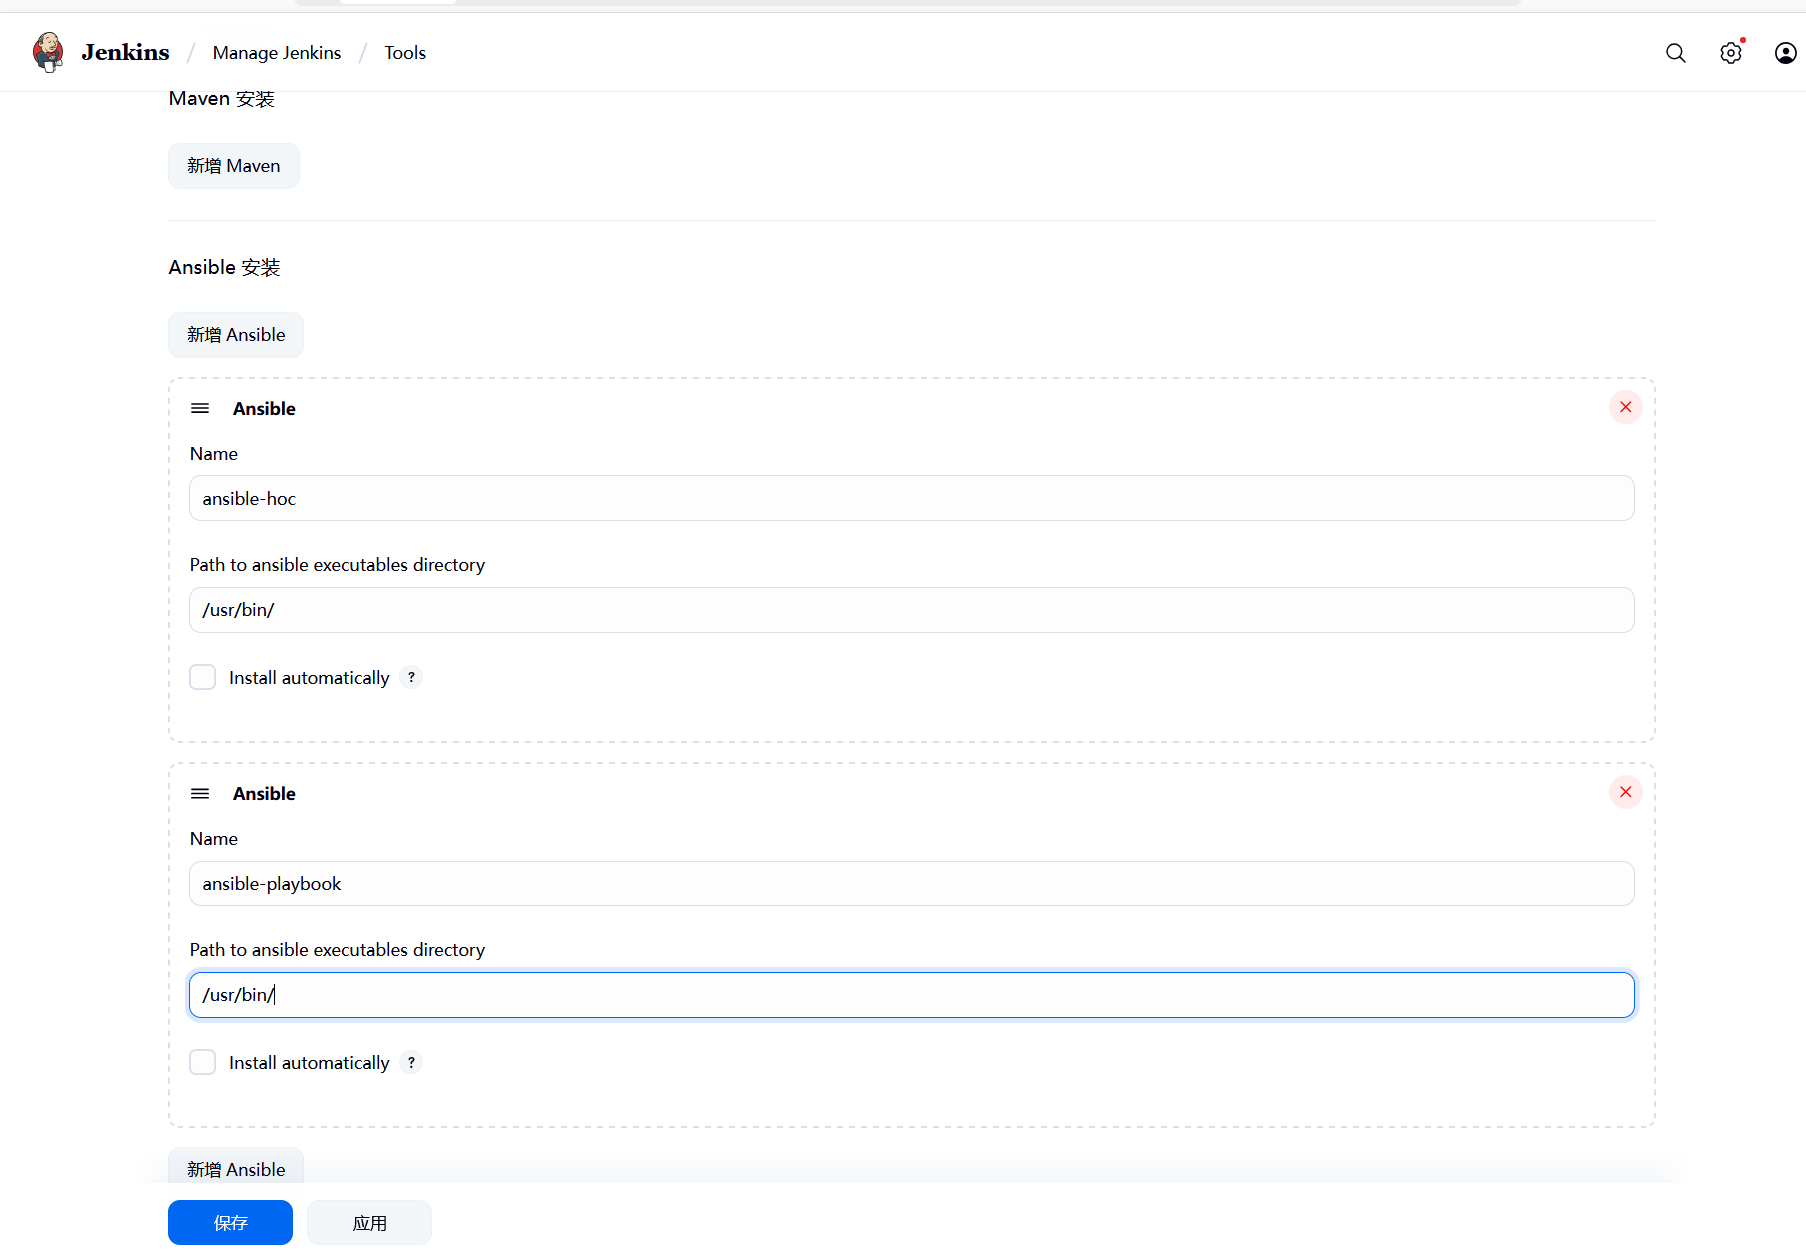
}1.3、Jenkins网页安装ansible插件
配置ansible
/usr/bin/ ansible命令存放位置
二、构建项目
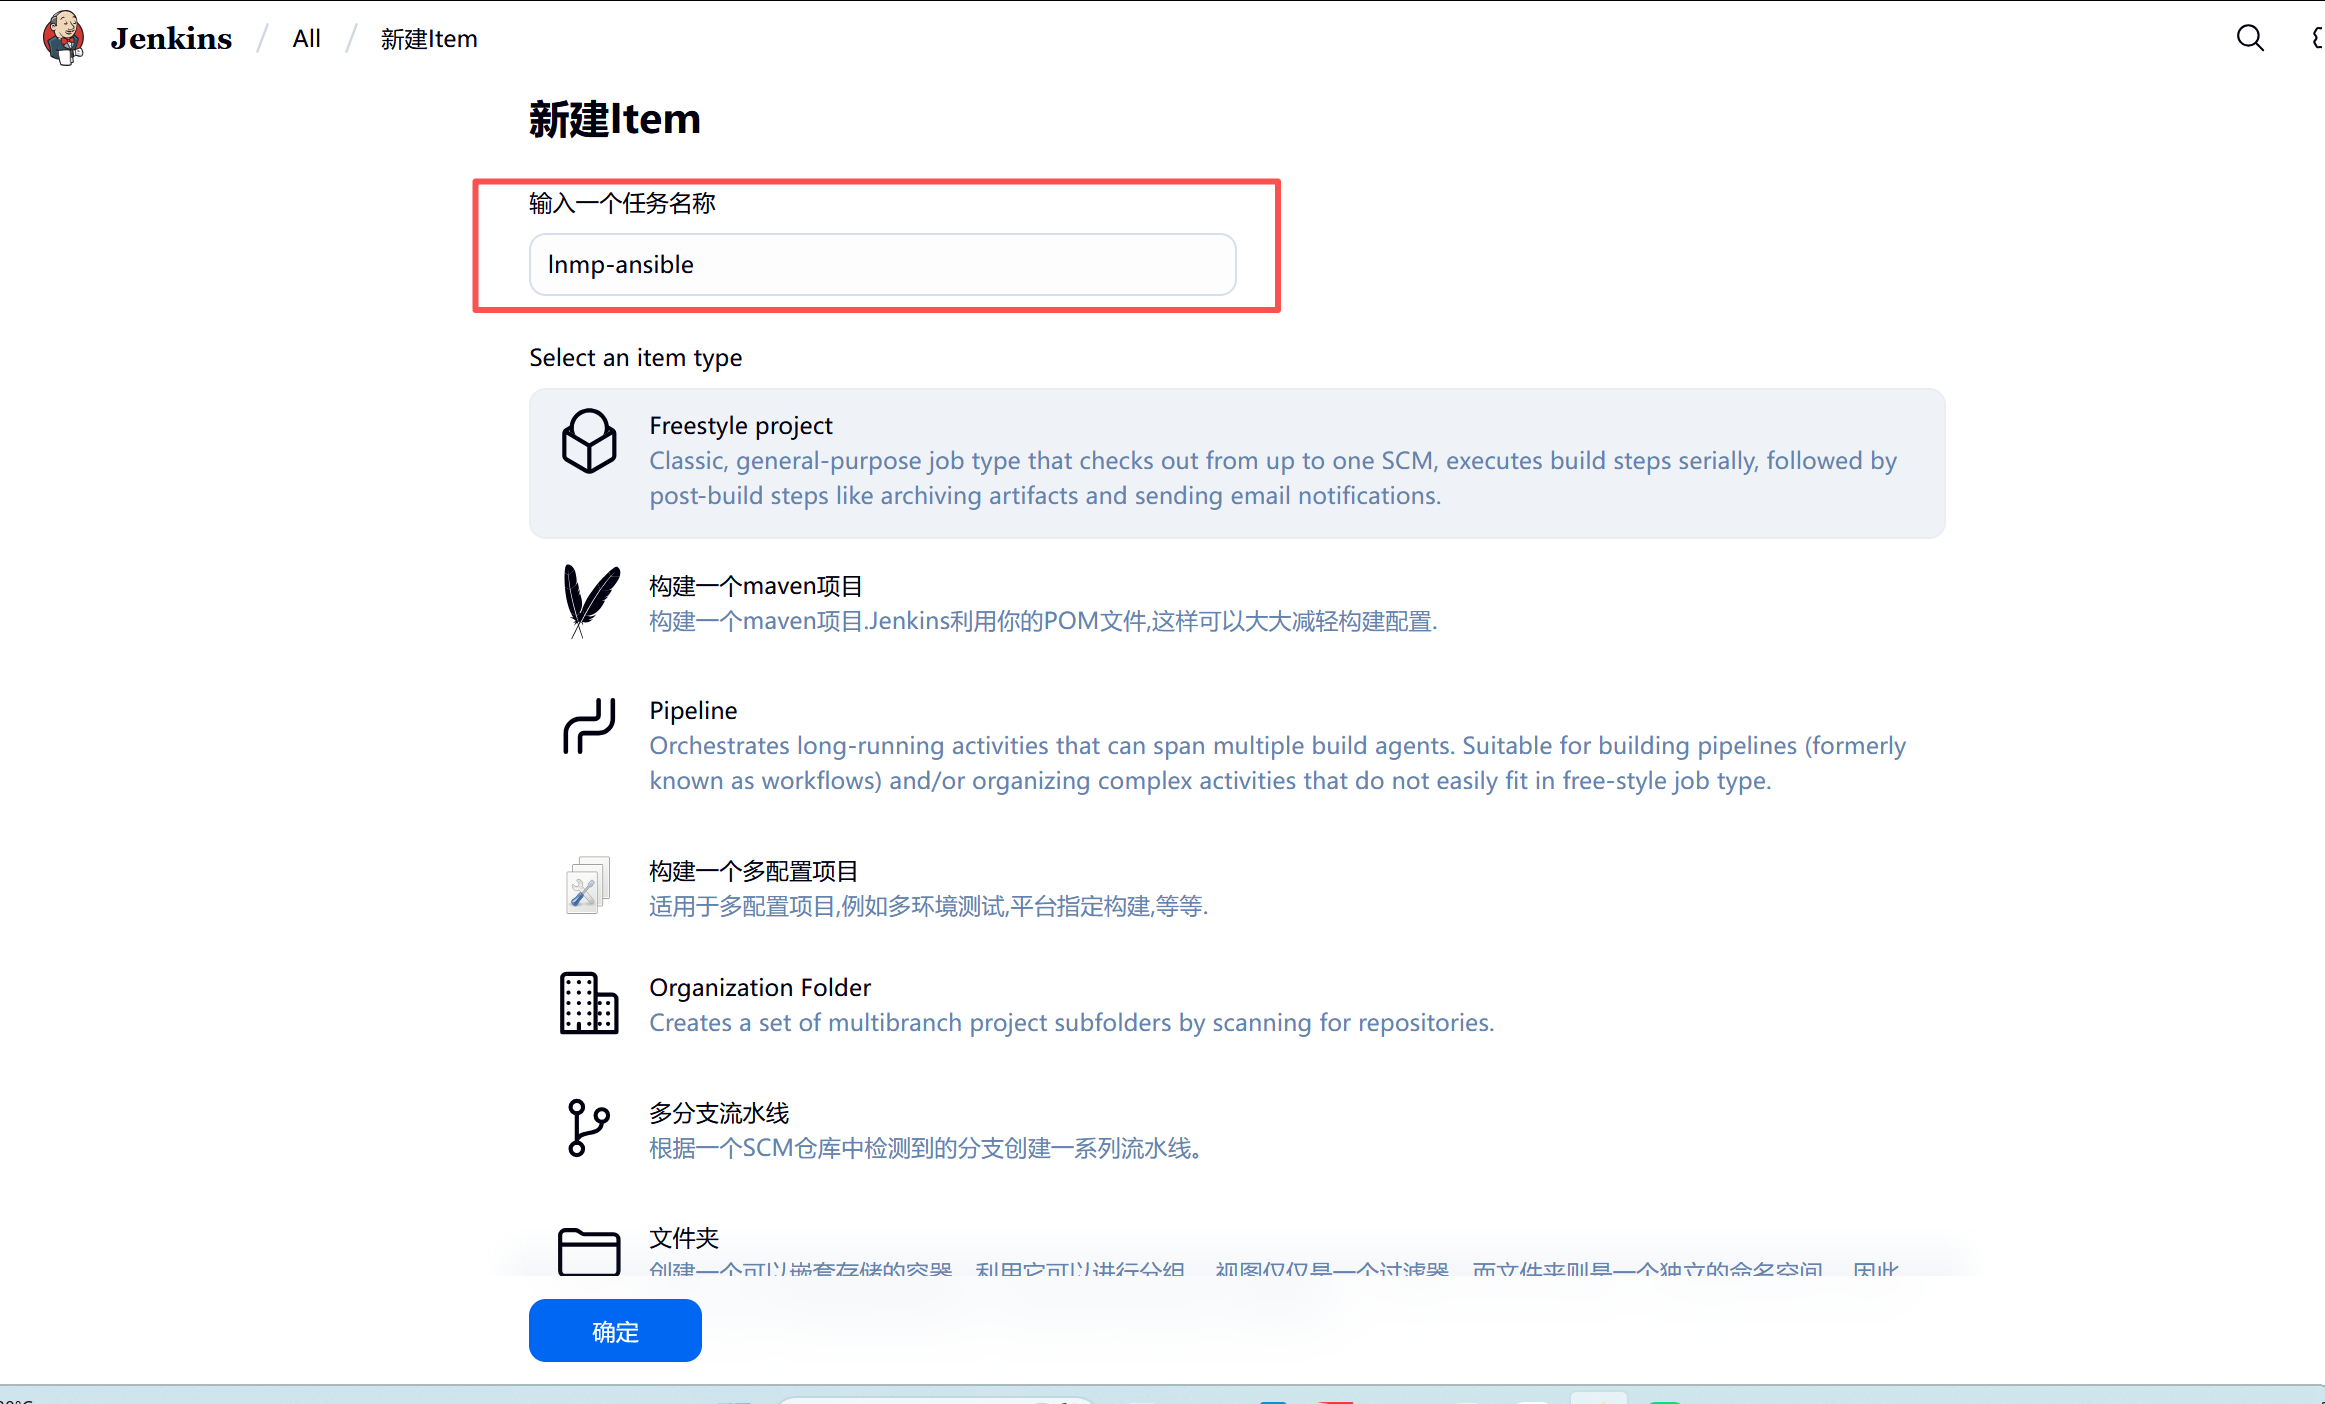
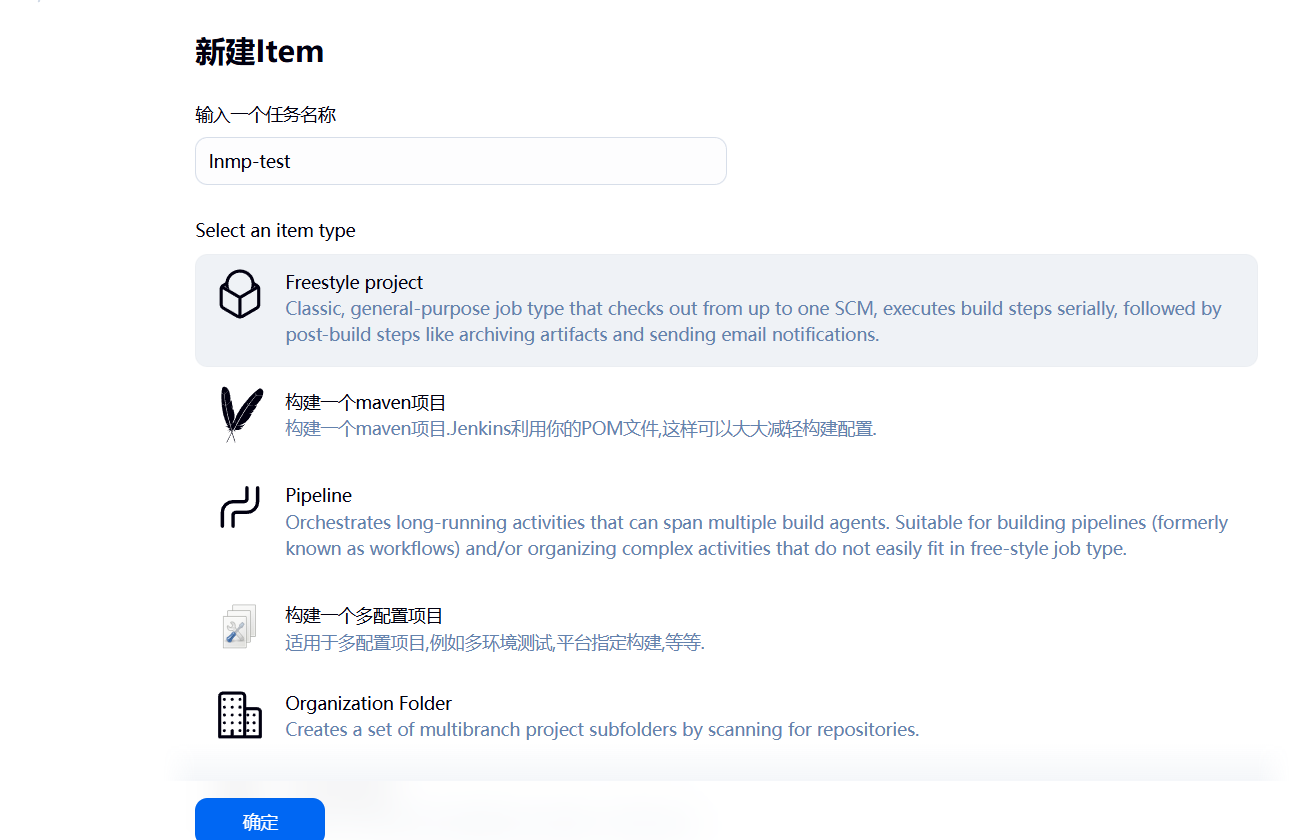
1.构建主item
新建item
env设置
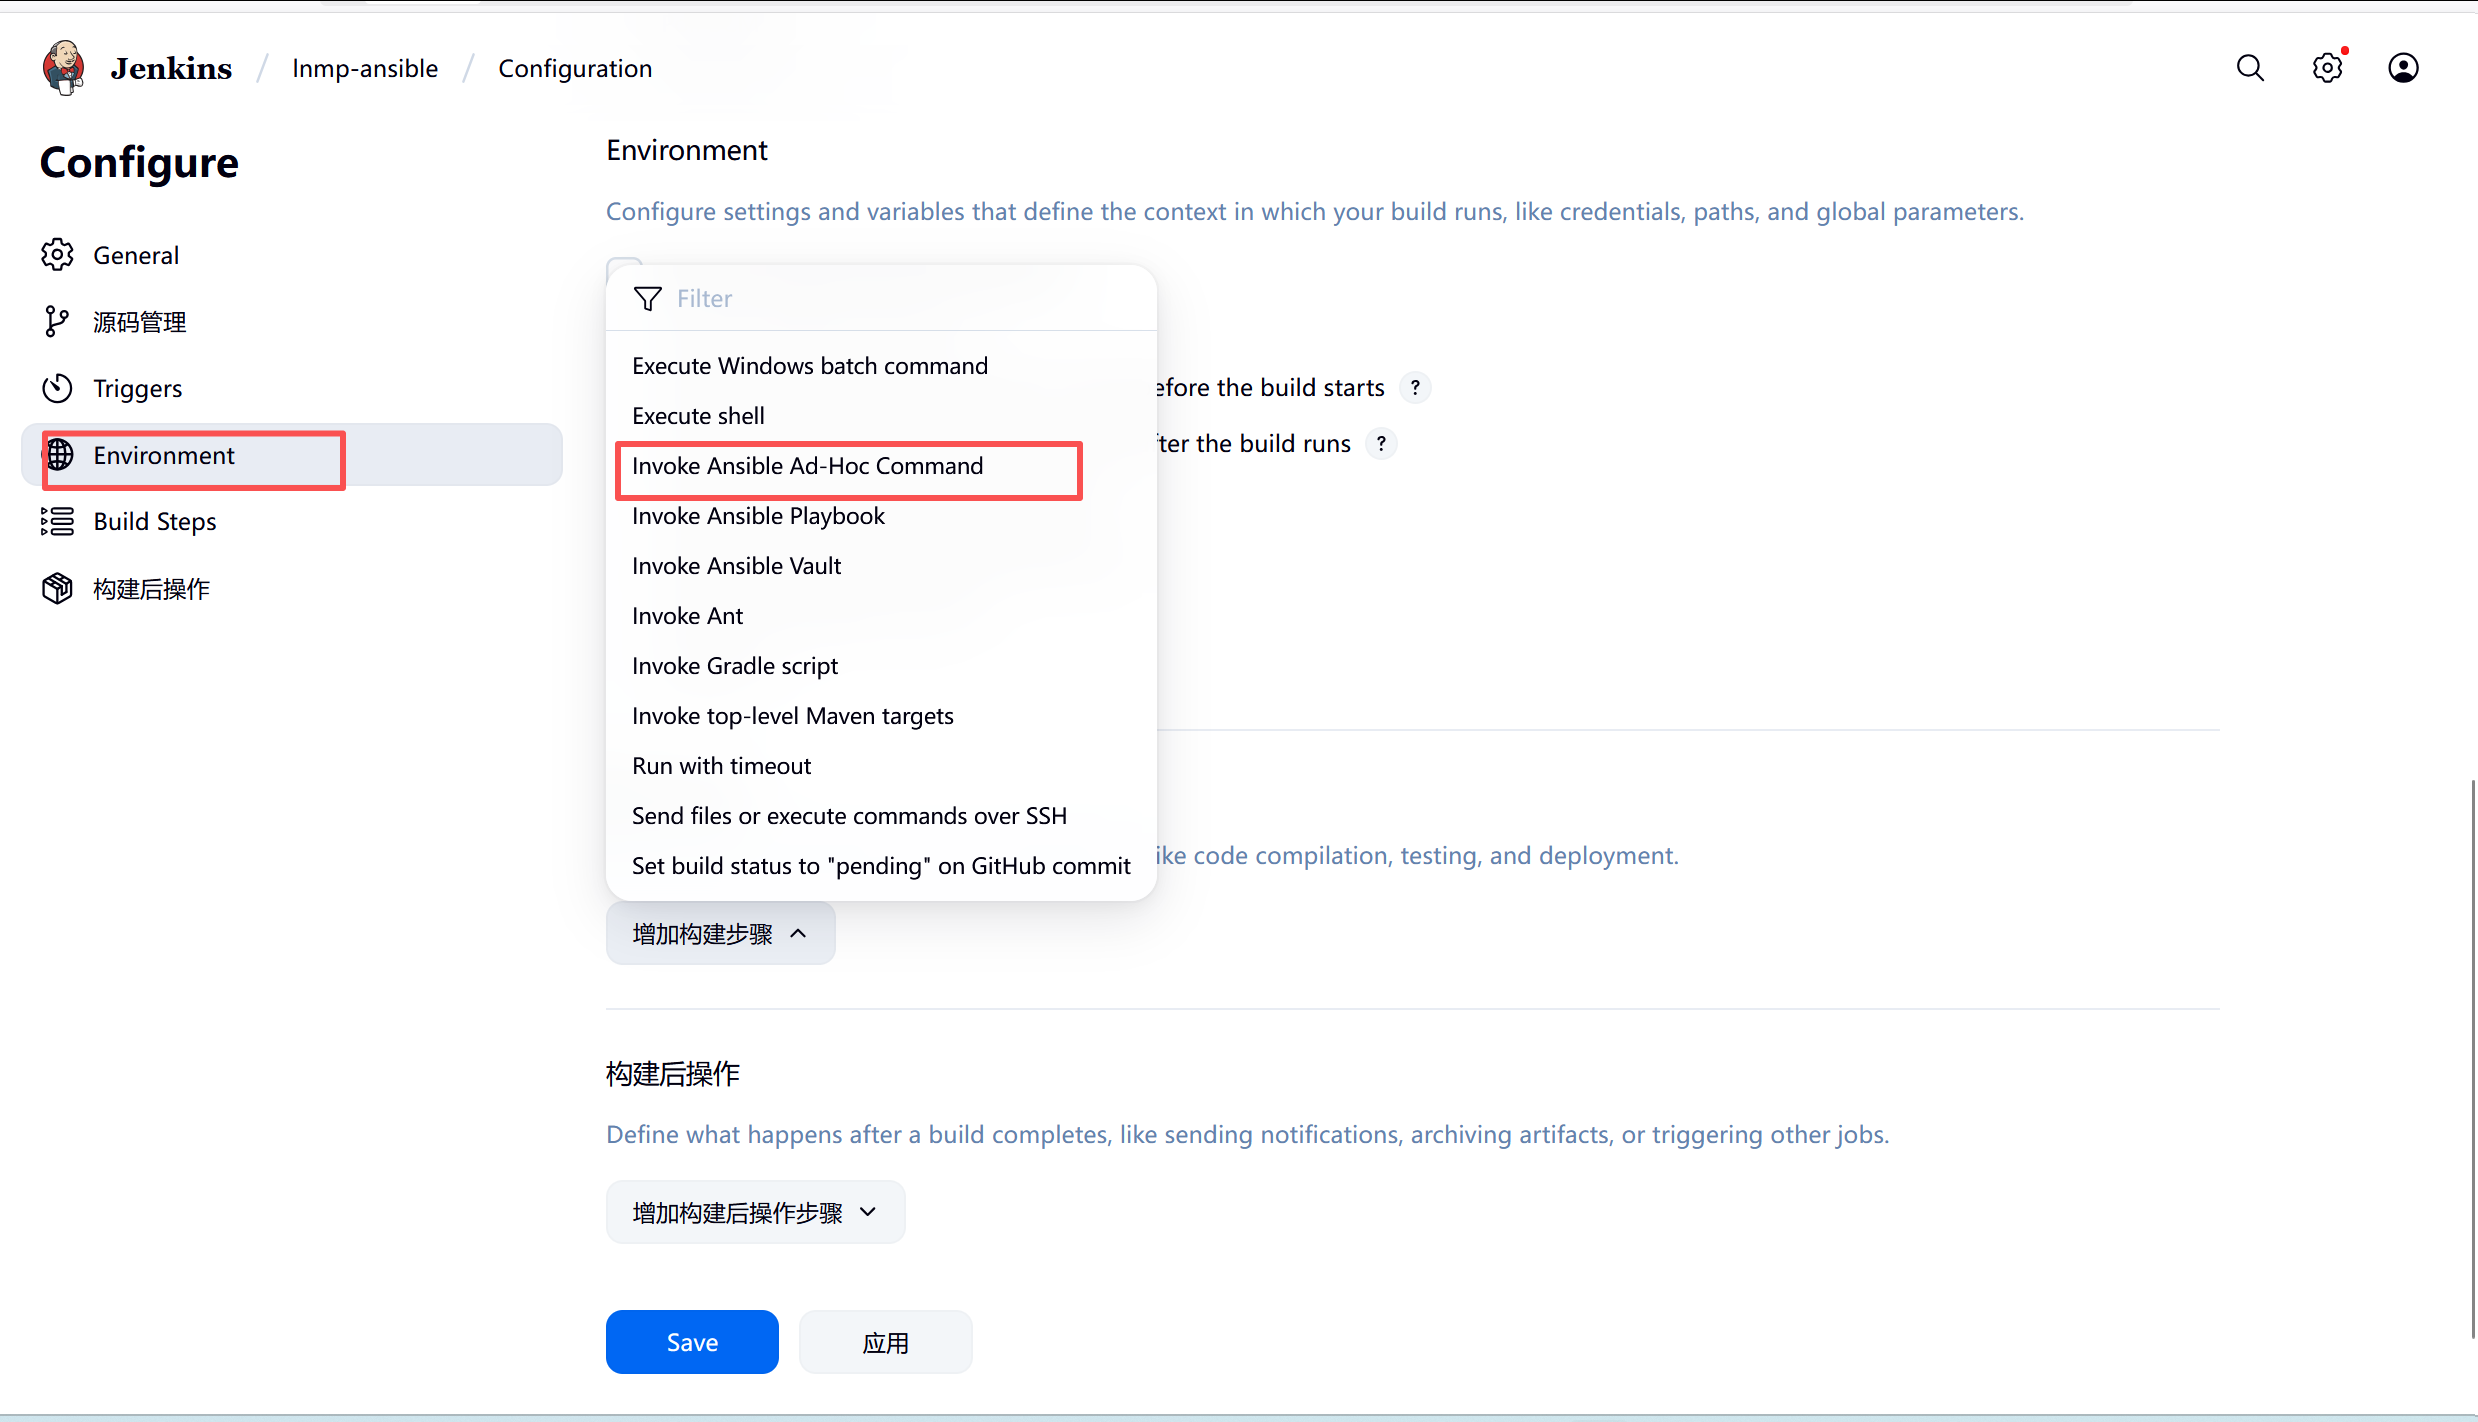
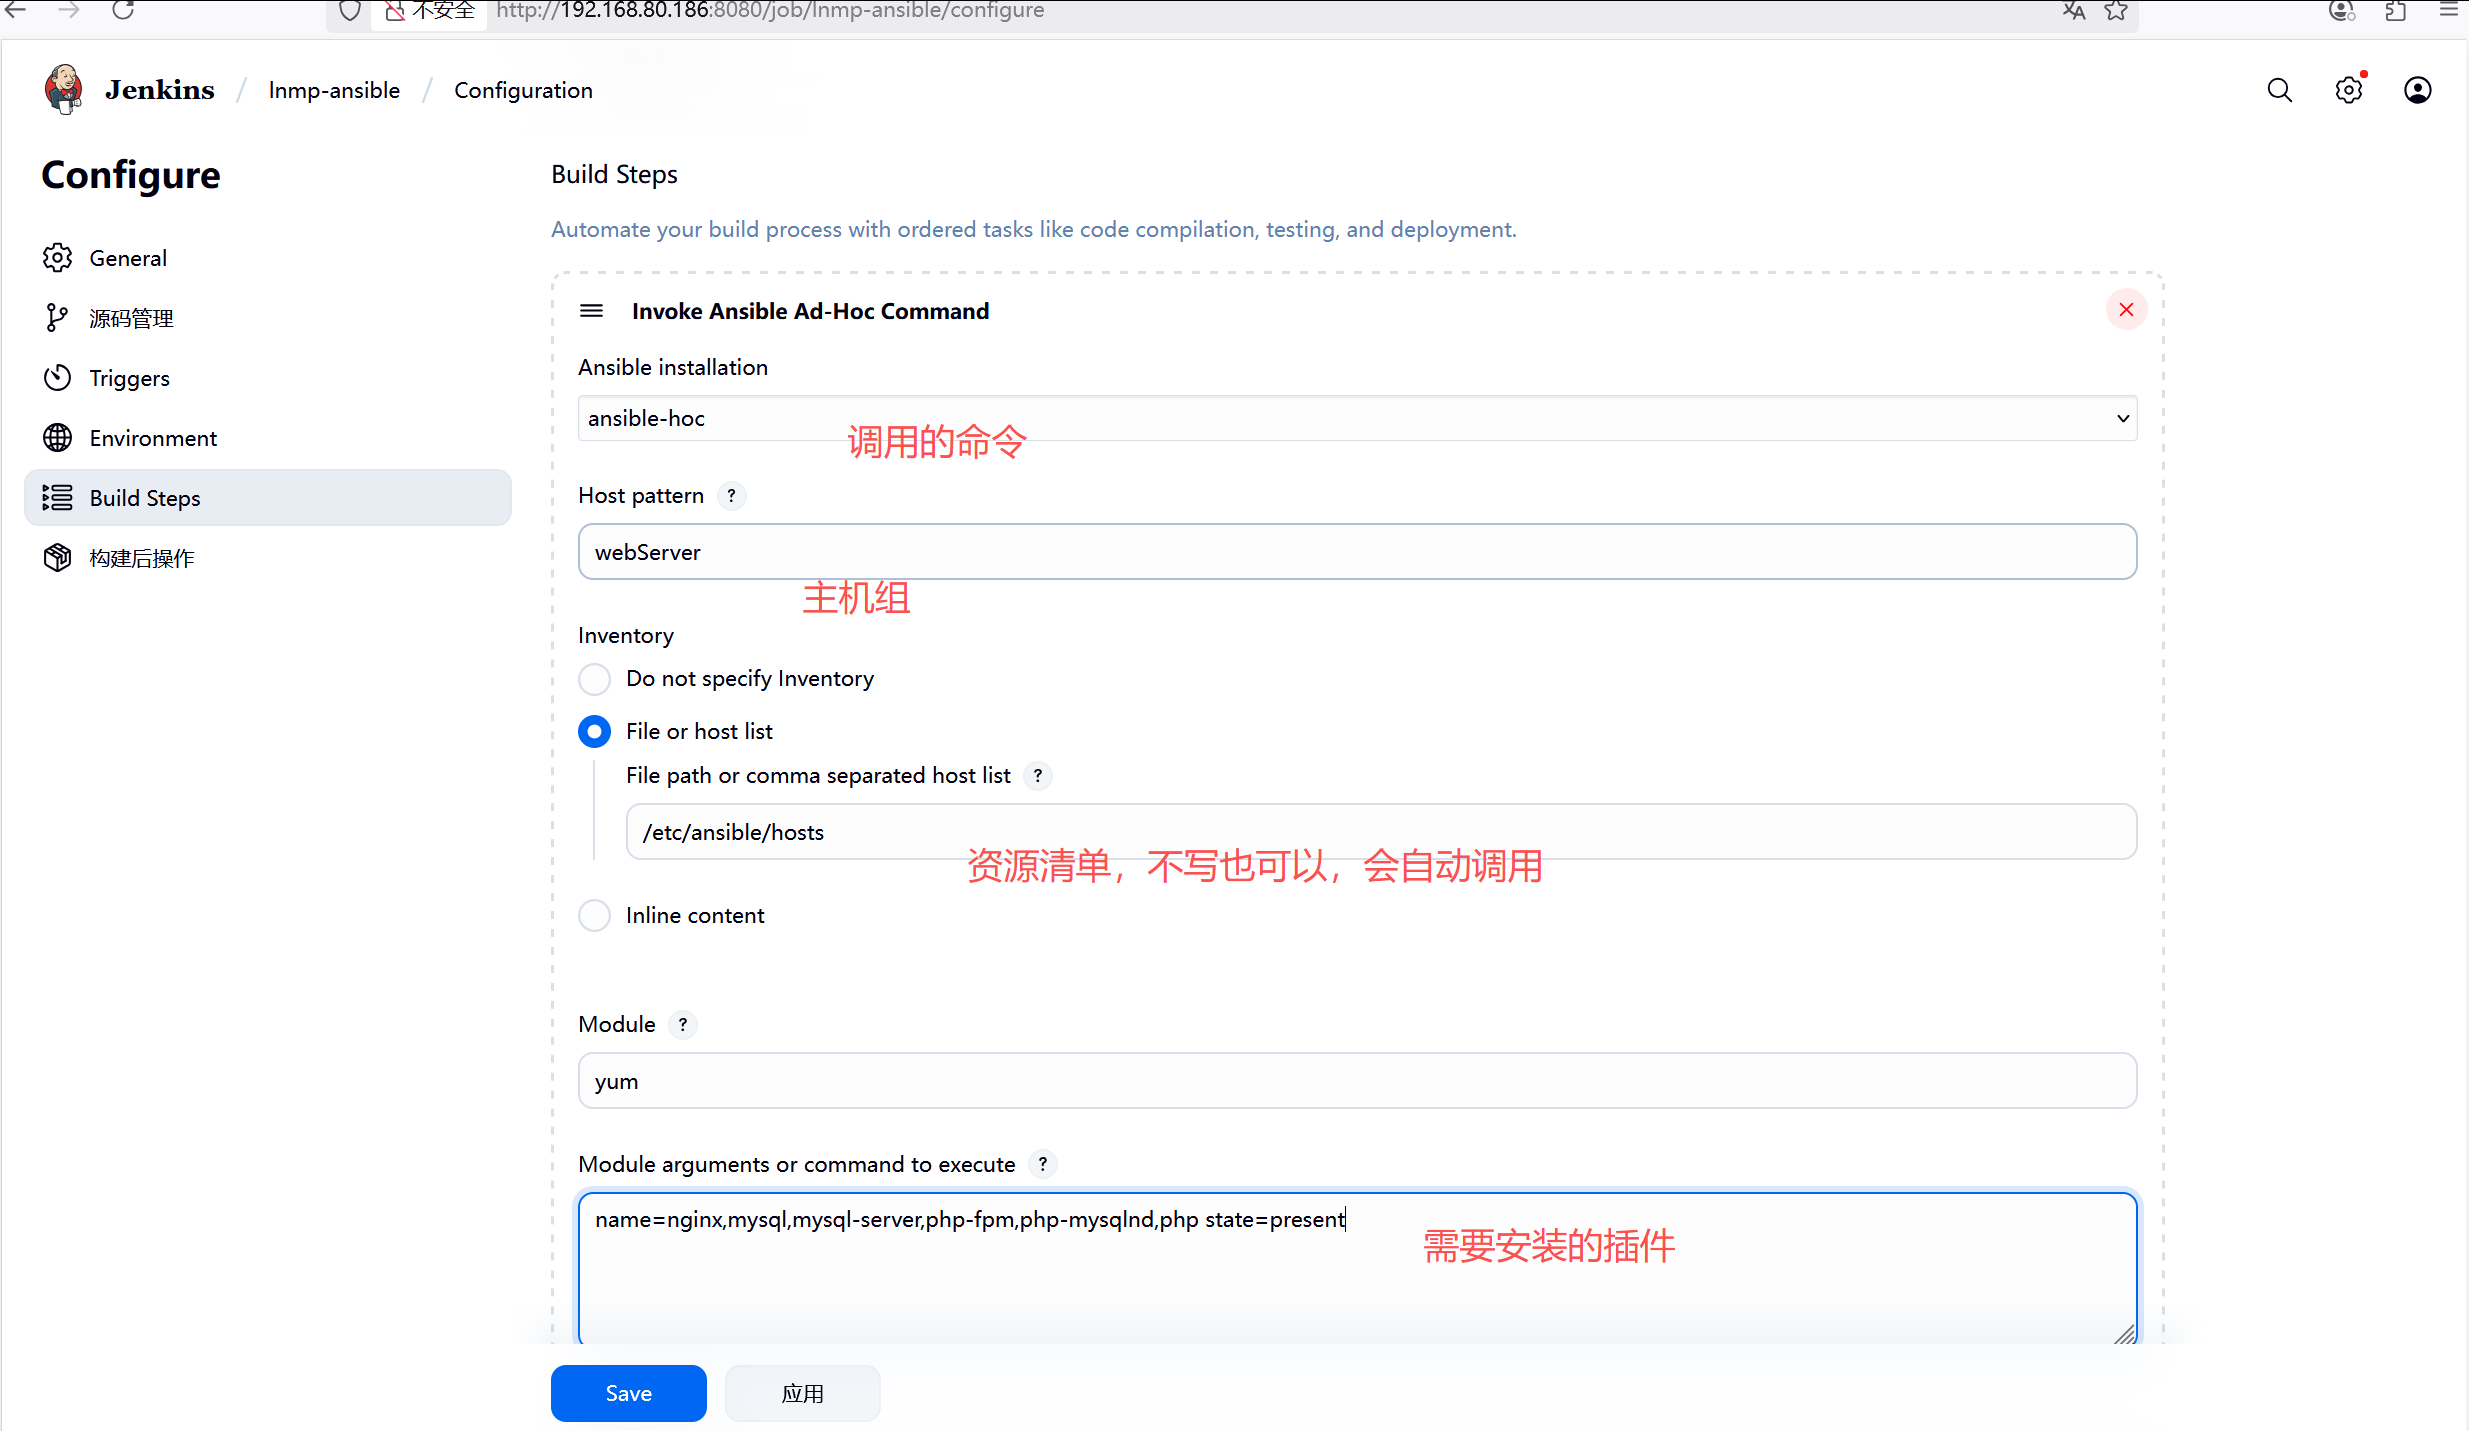
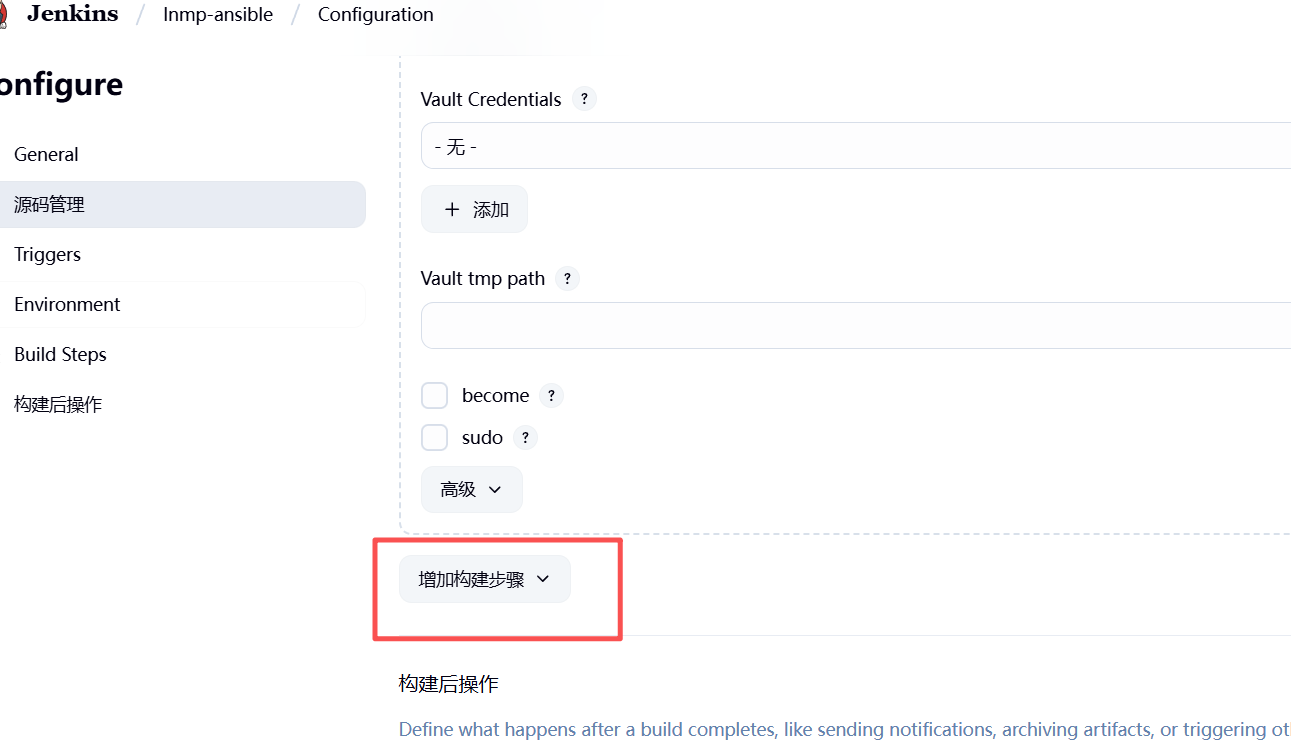
配置构建步骤
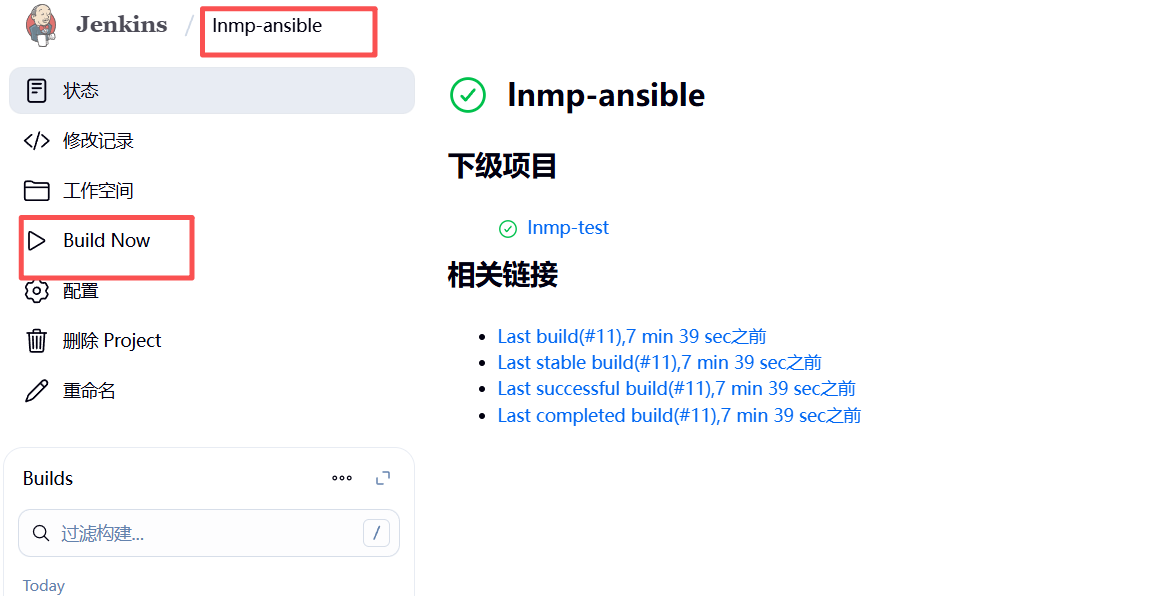
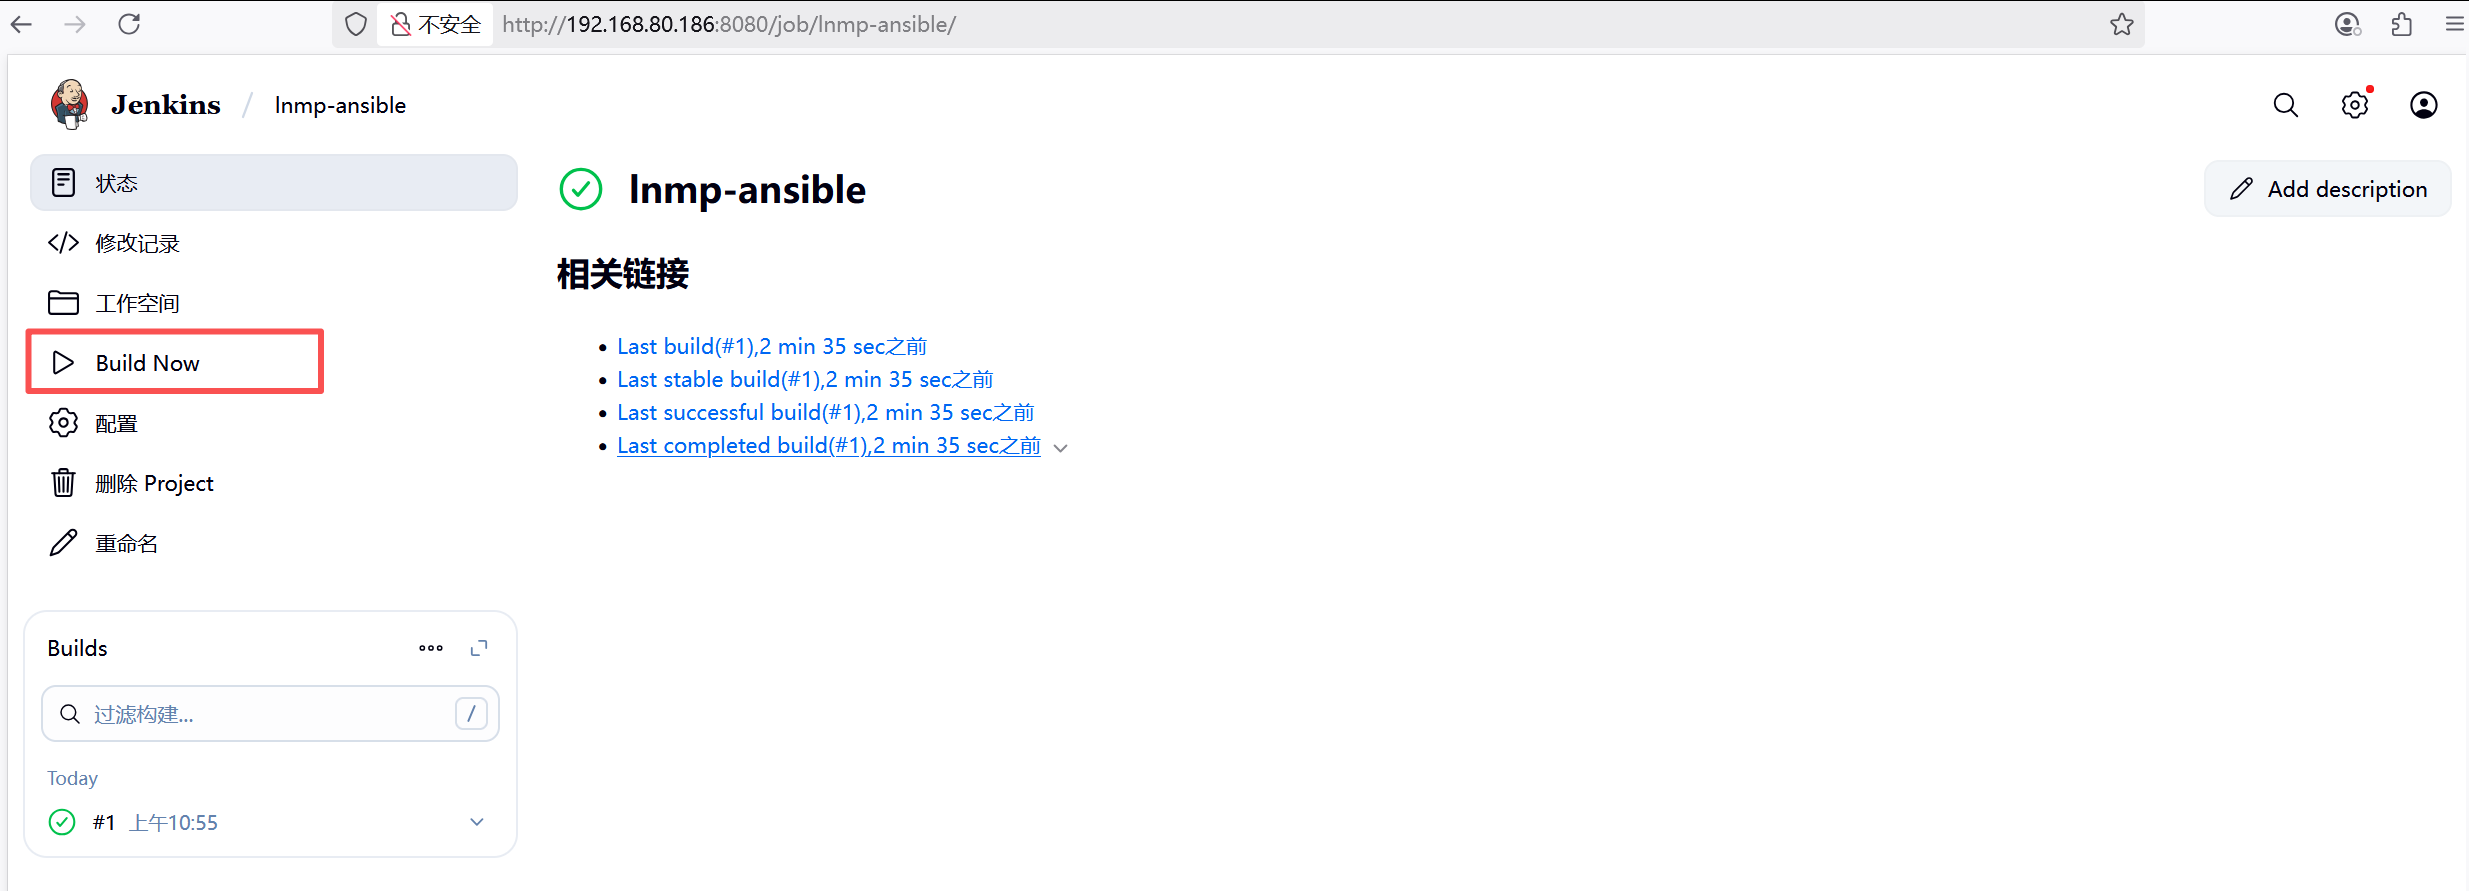
进行构建
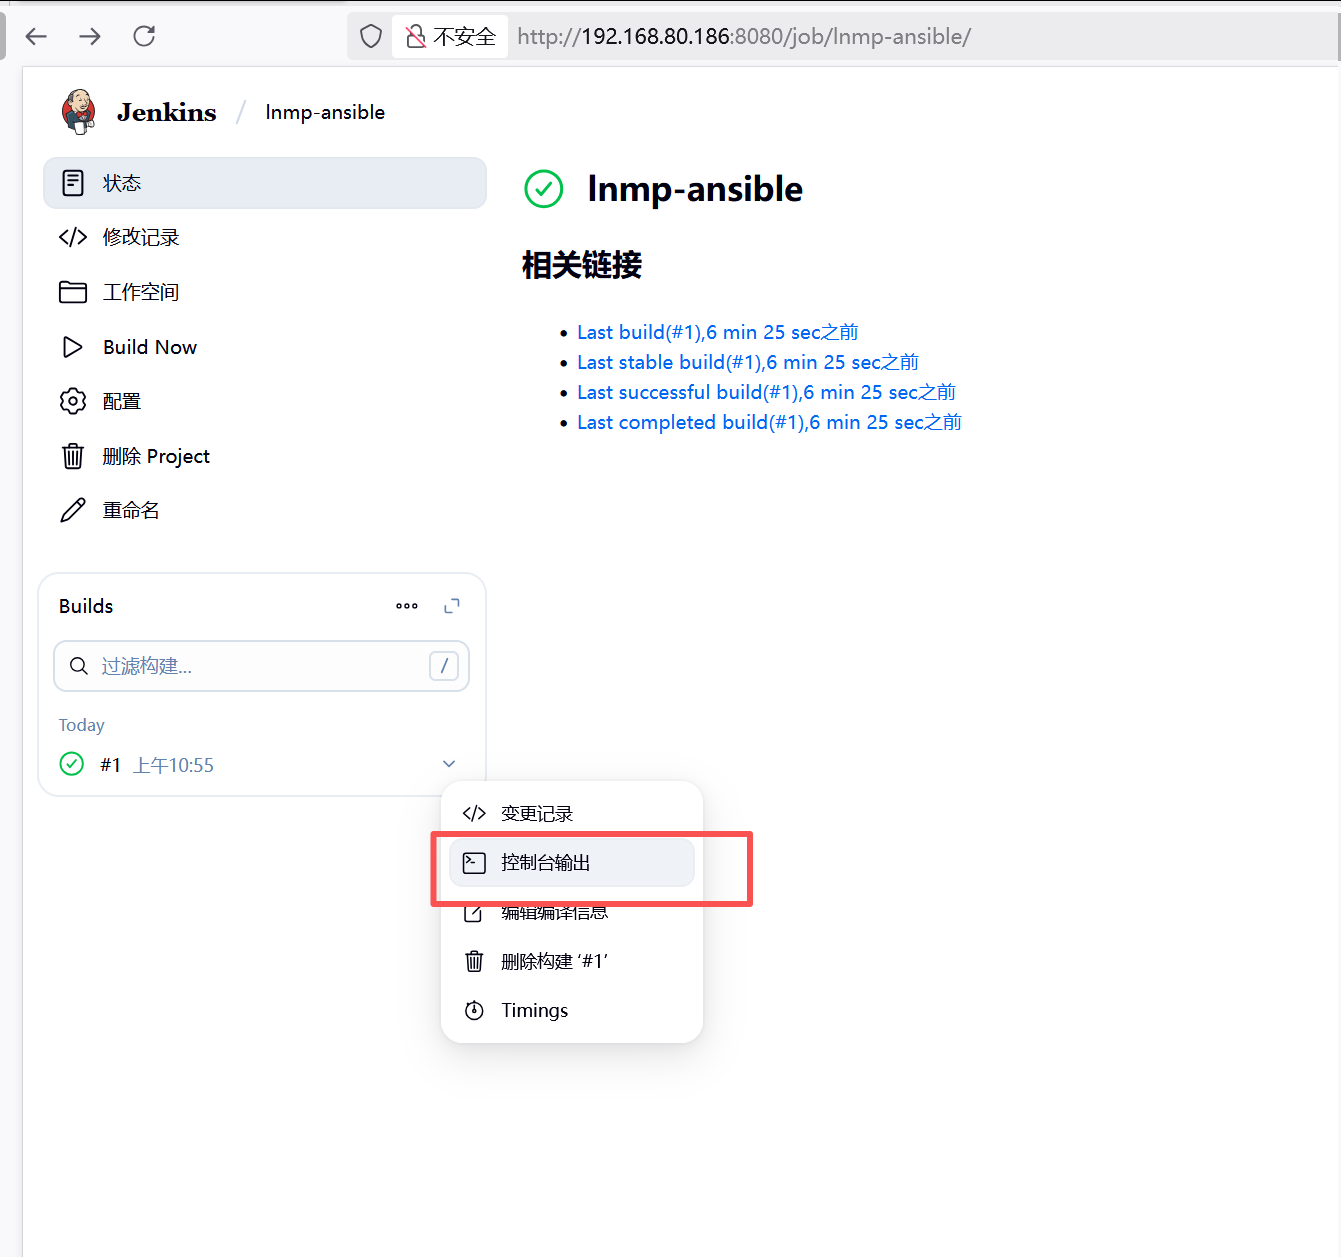
构建结果
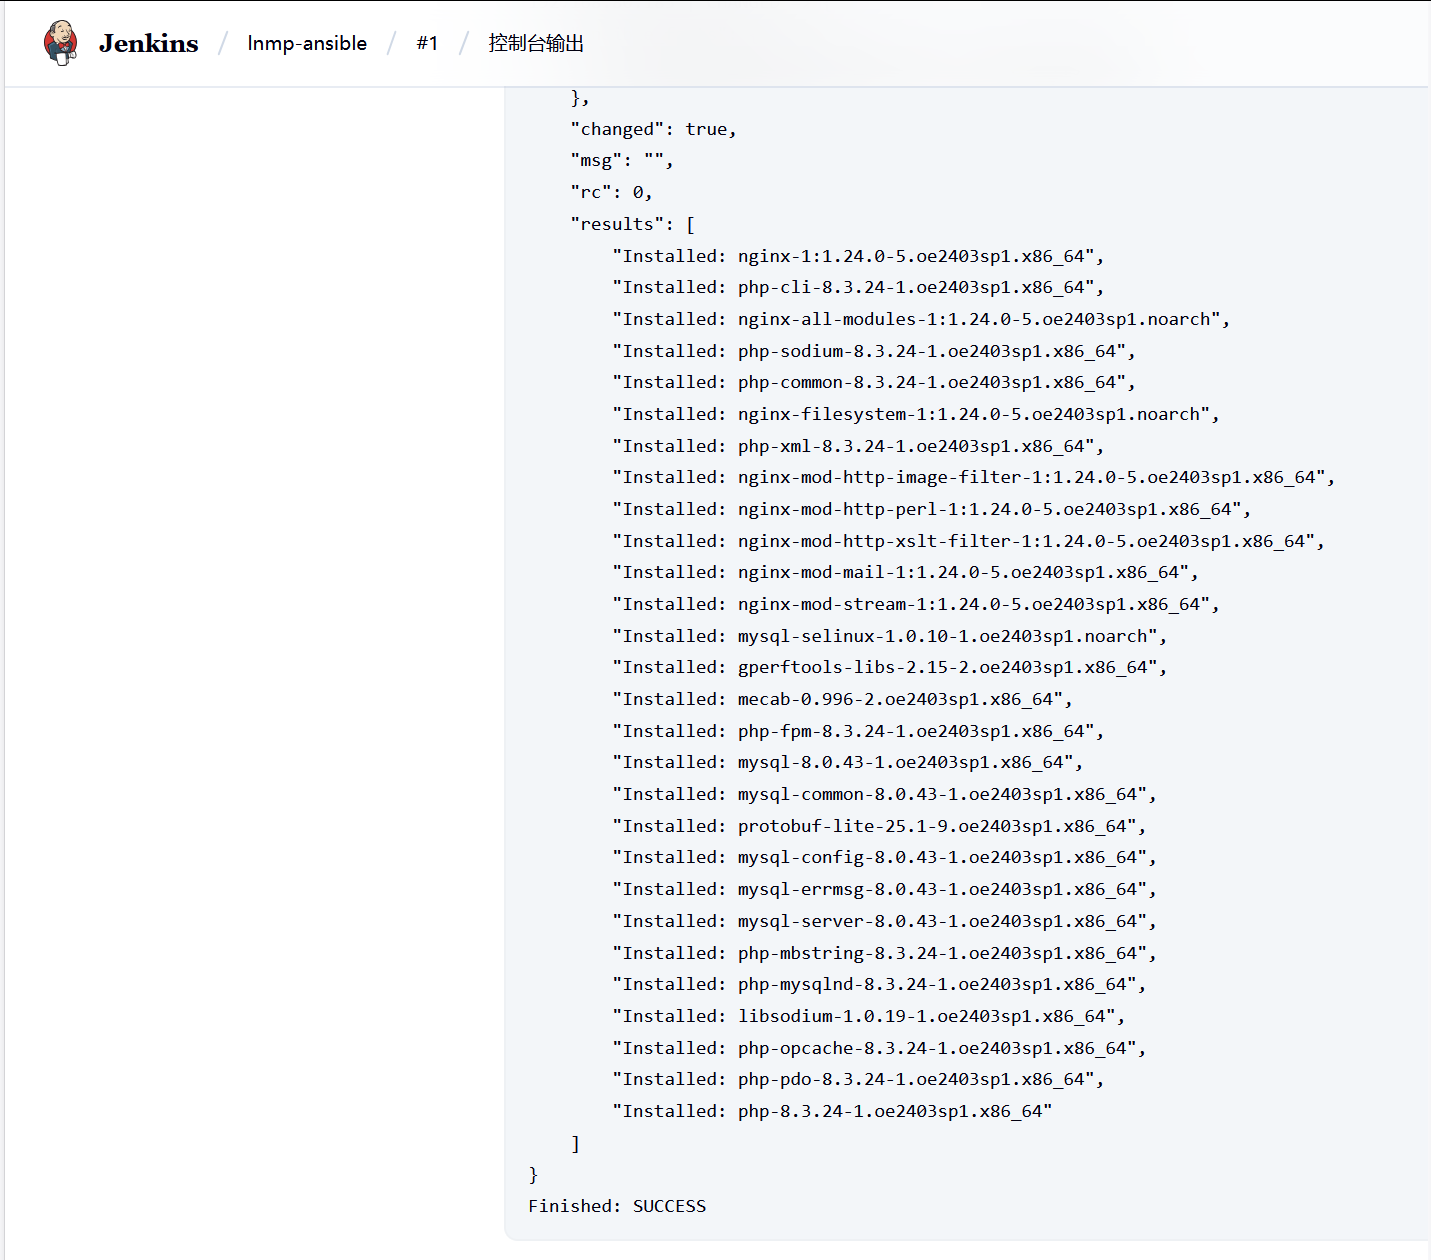
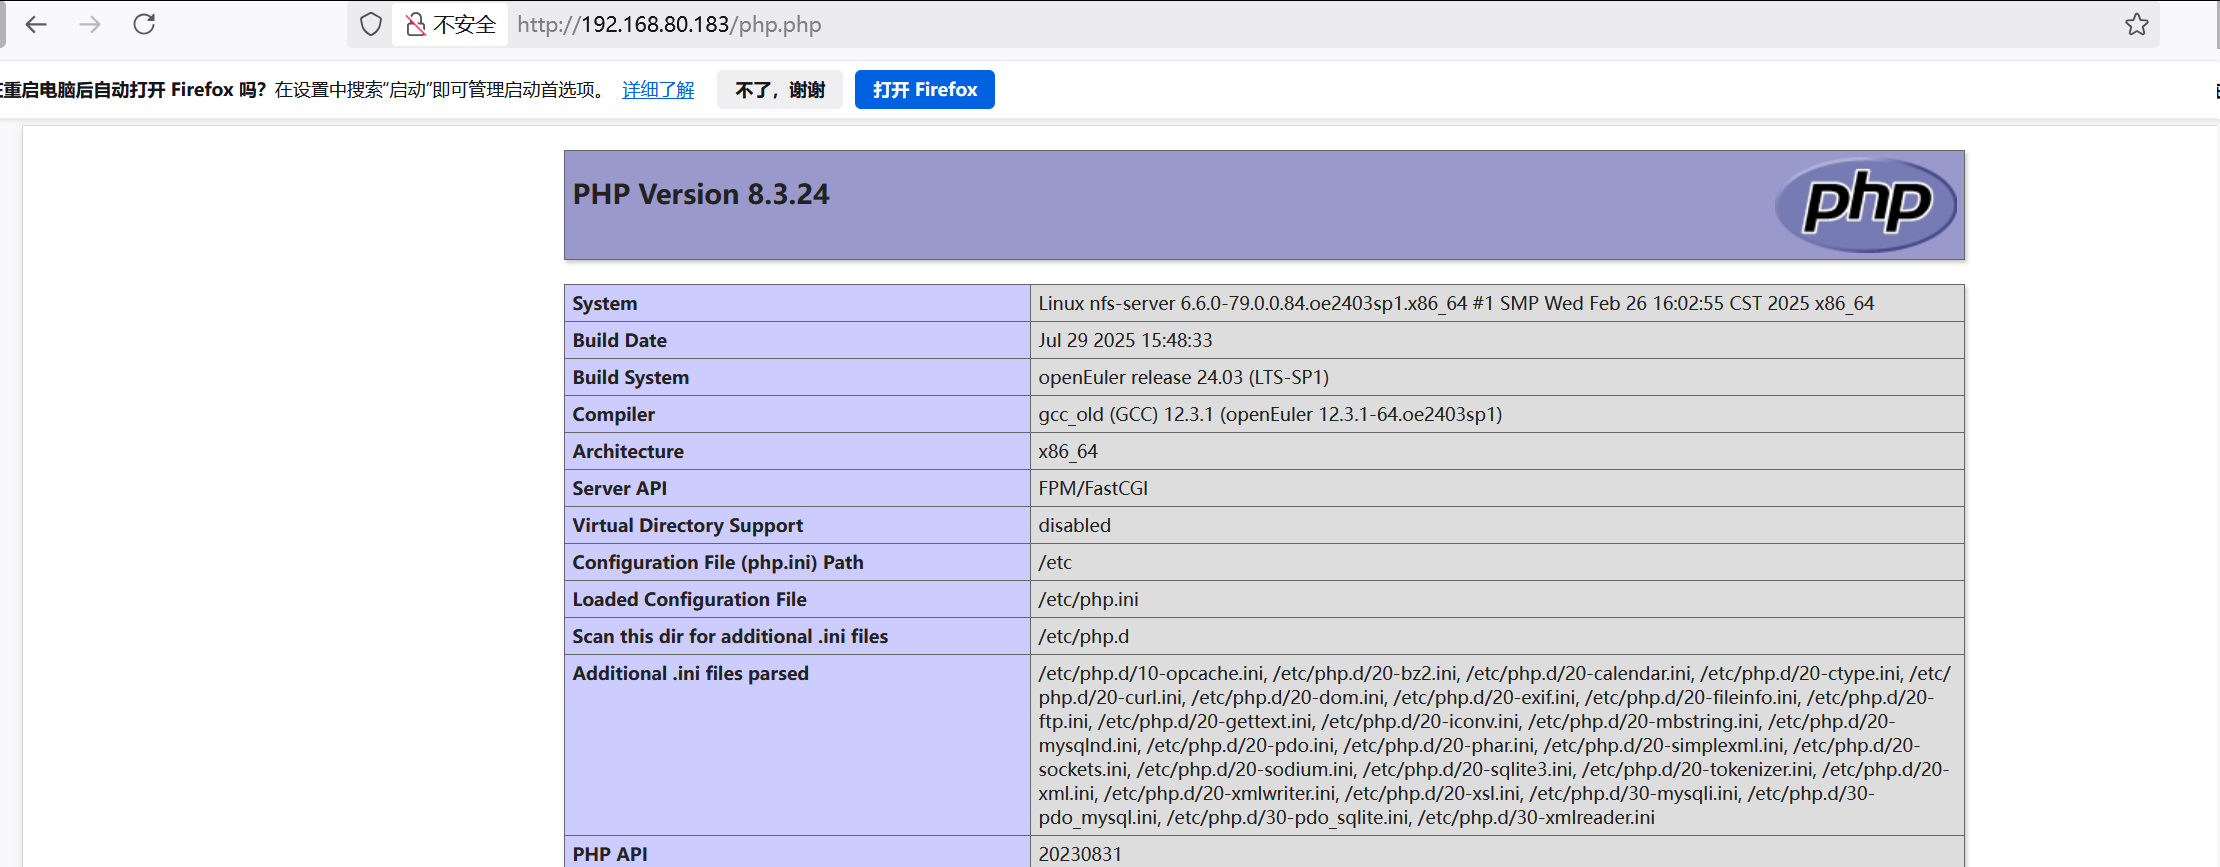
去客户机验证
cs
[root@nfs-server ~]#
[root@nfs-server ~]# rpm -q nginx
nginx-1.24.0-5.oe2403sp1.x86_64
[root@nfs-server ~]# rpm -q mysql
mysql-8.0.43-1.oe2403sp1.x86_64
[root@nfs-server ~]# rpm -q mysql-server
mysql-server-8.0.43-1.oe2403sp1.x86_64
[root@nfs-server ~]# rpm -q php-fpm
php-fpm-8.3.24-1.oe2403sp1.x86_64
[root@nfs-server ~]# rpm -q php
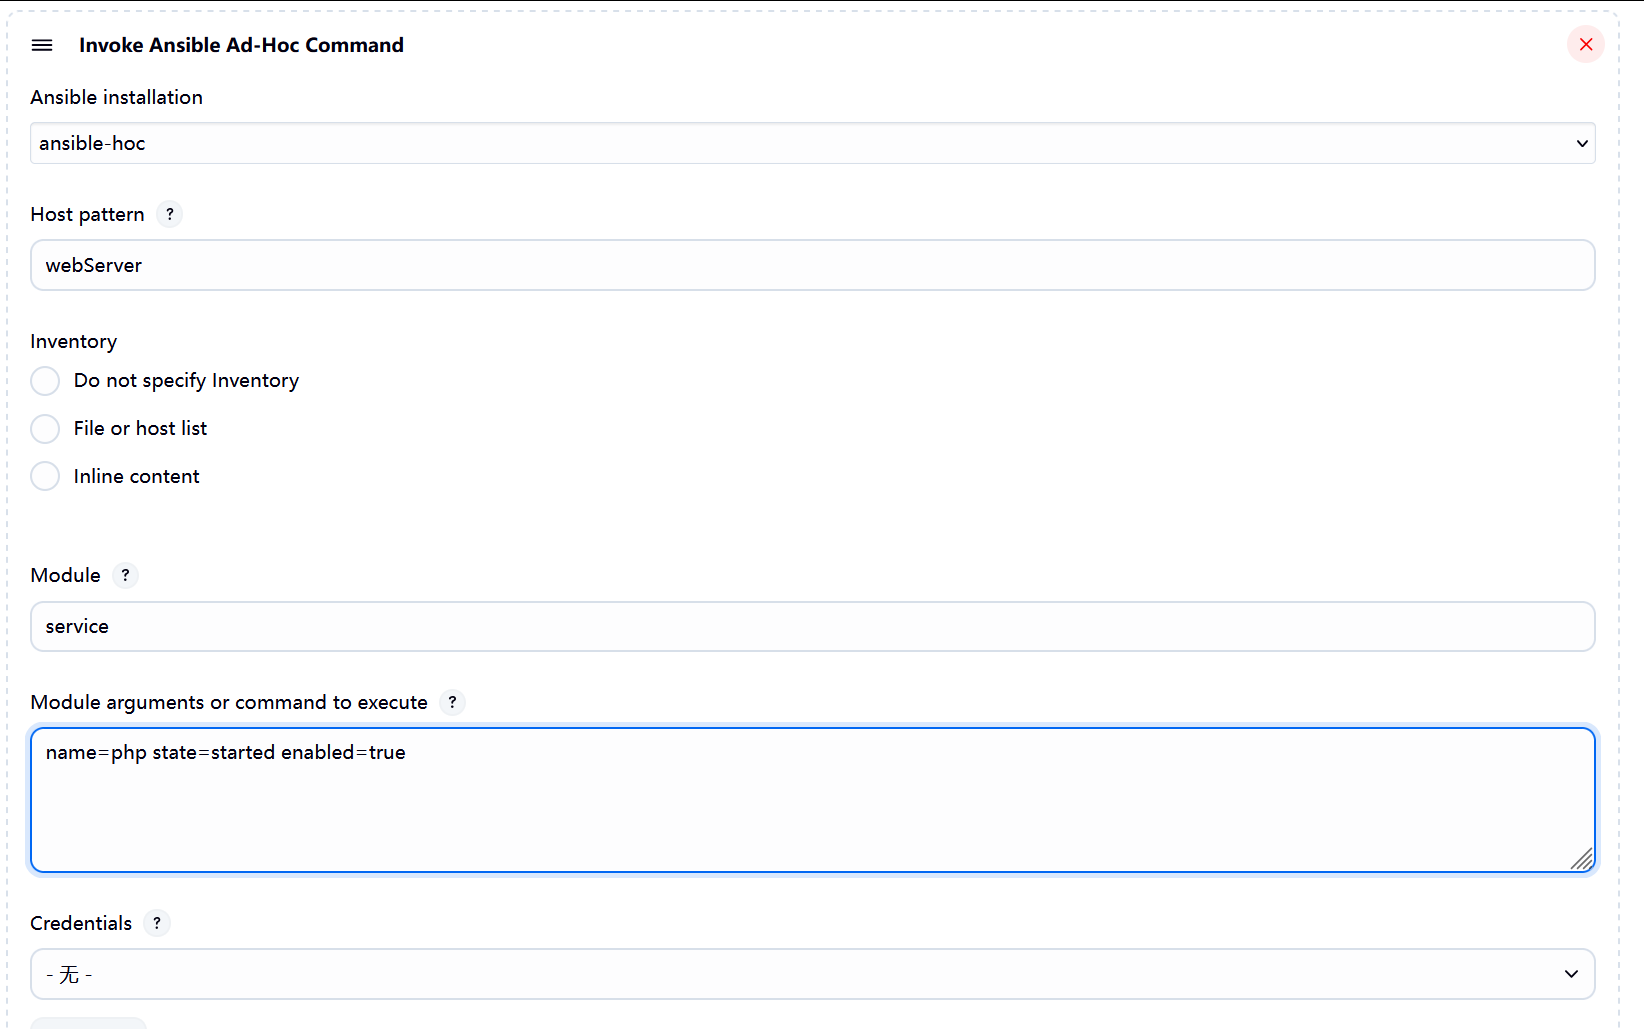
php-8.3.24-1.oe2403sp1.x86_642.添加步骤
必须分布执行否则不成功
开启php-fpm
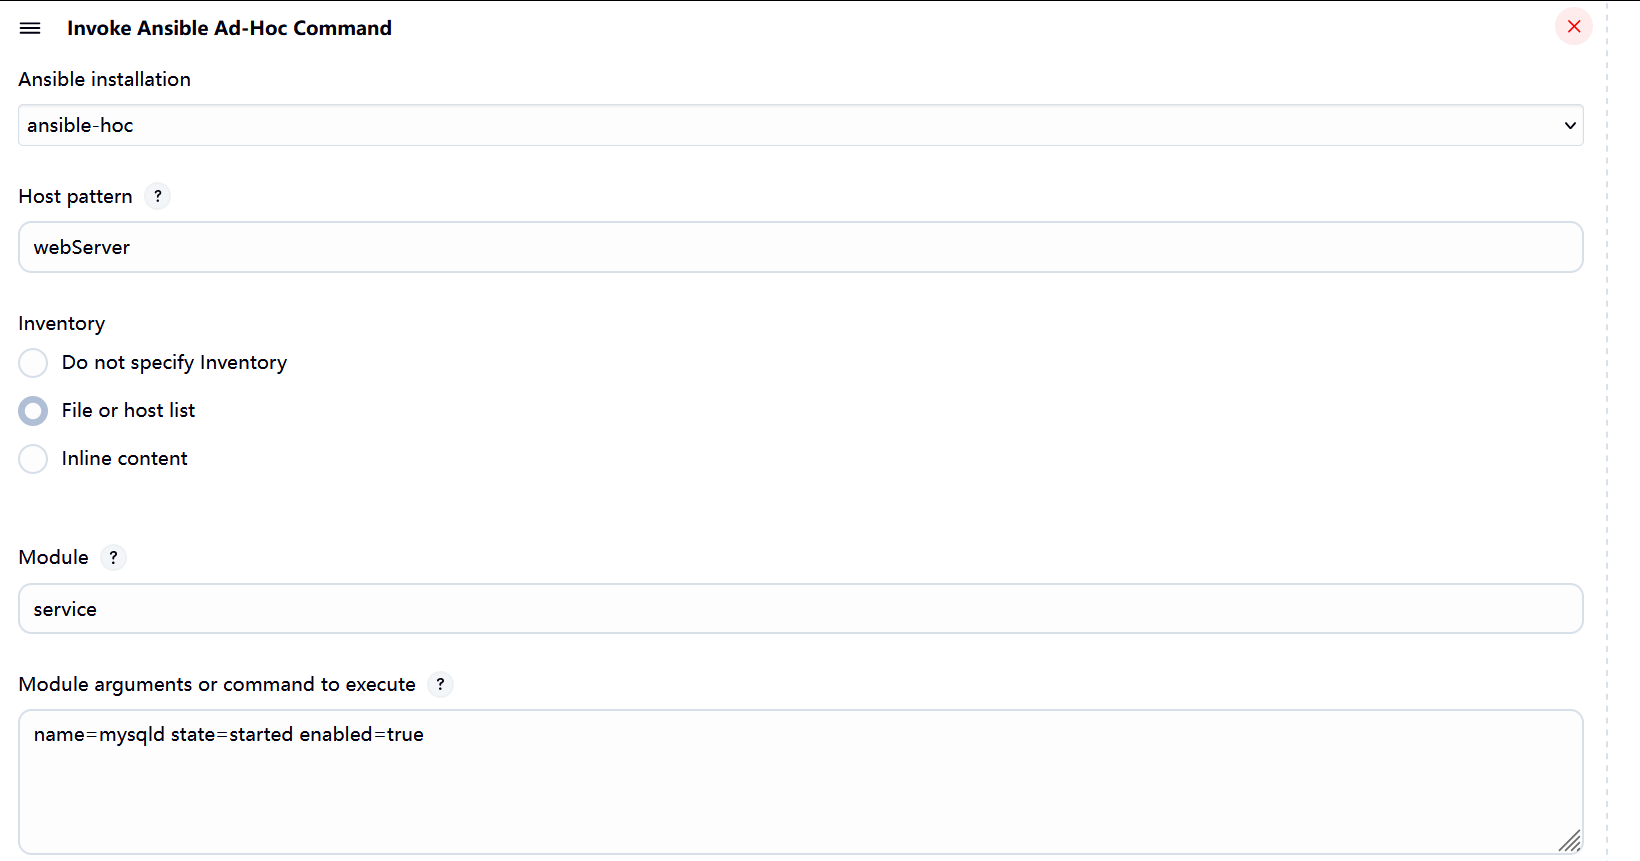
开启mysqld
开启nginx
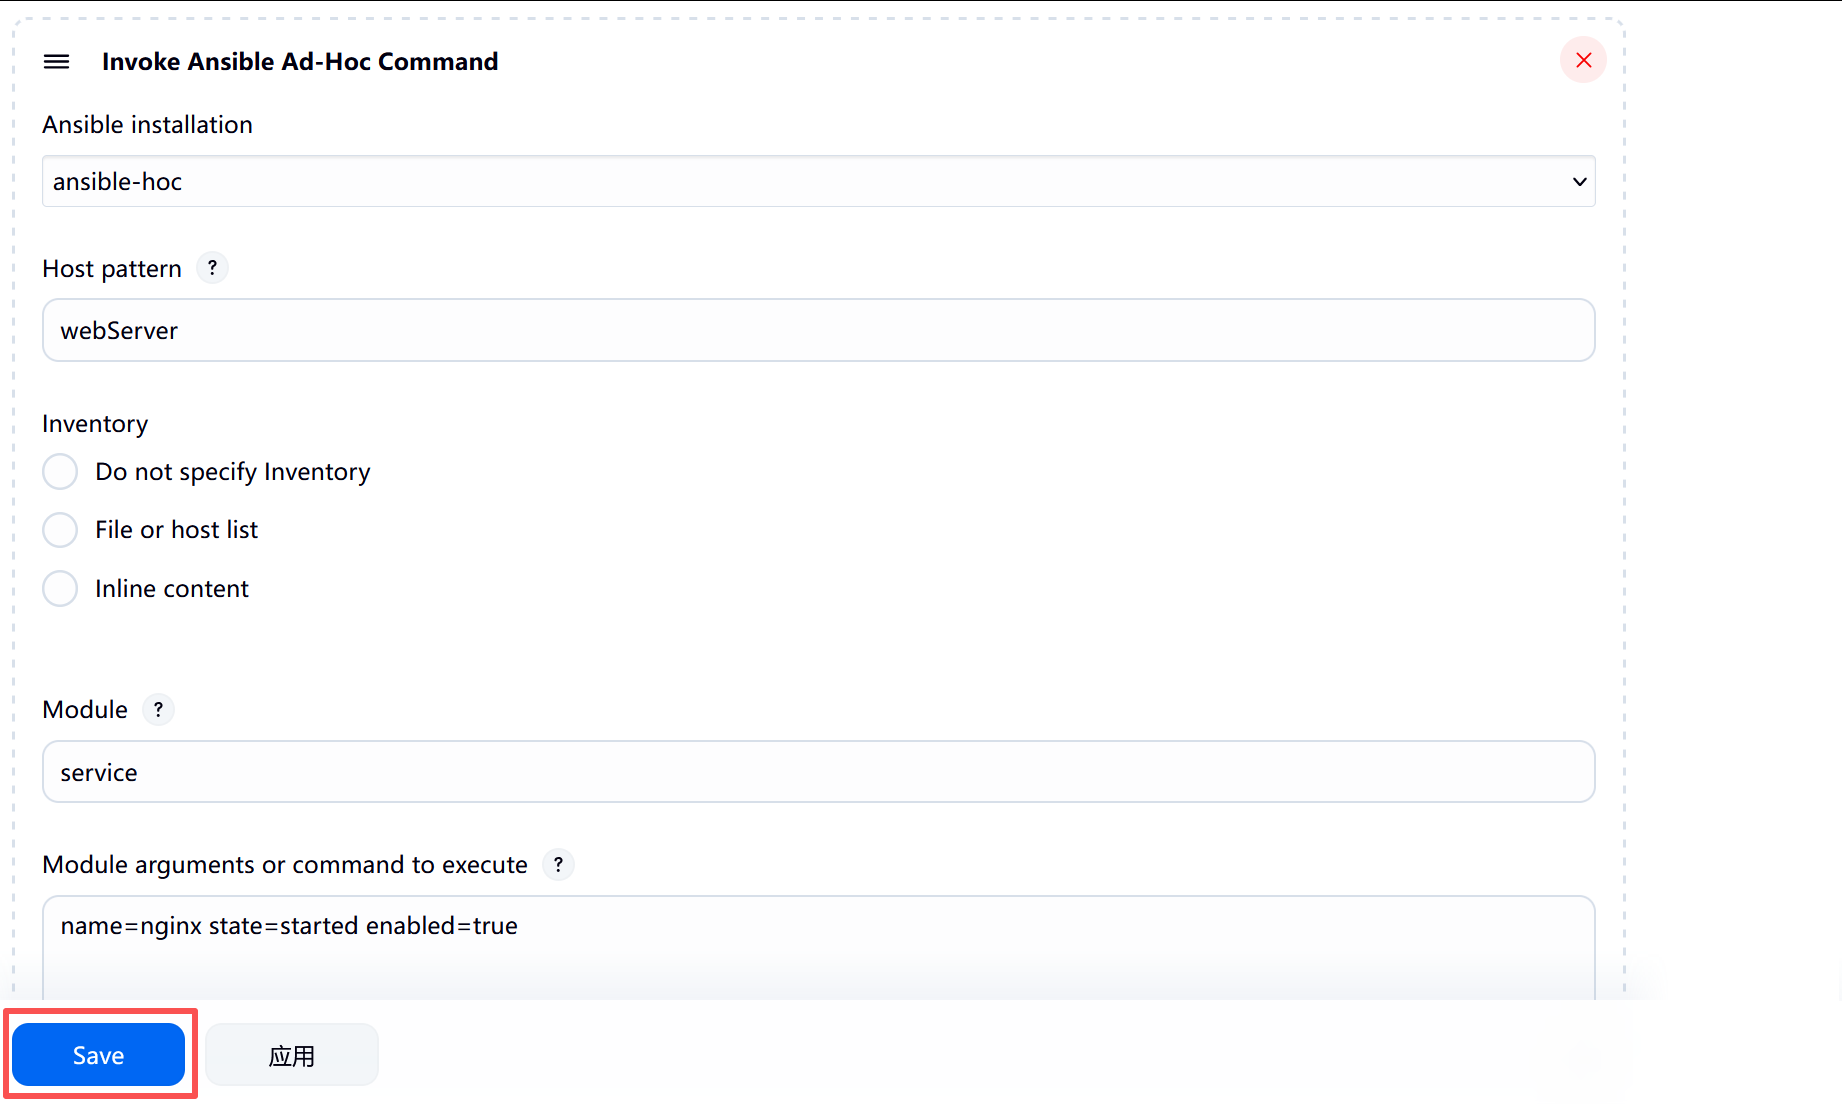
去客户端验证
cs
[root@nfs-server ~]# systemctl is-enabled nginx
enabled
[root@nfs-server ~]# systemctl is-enabled mysqld
enabled
[root@nfs-server ~]# systemctl is-enabled php-fpm.service
enabled
3.测试item
3.1新建item
php构建

cs
echo -e "<?php\nphpinfo();\n?>" > /usr/share/nginx/html/php.phpmysql配置
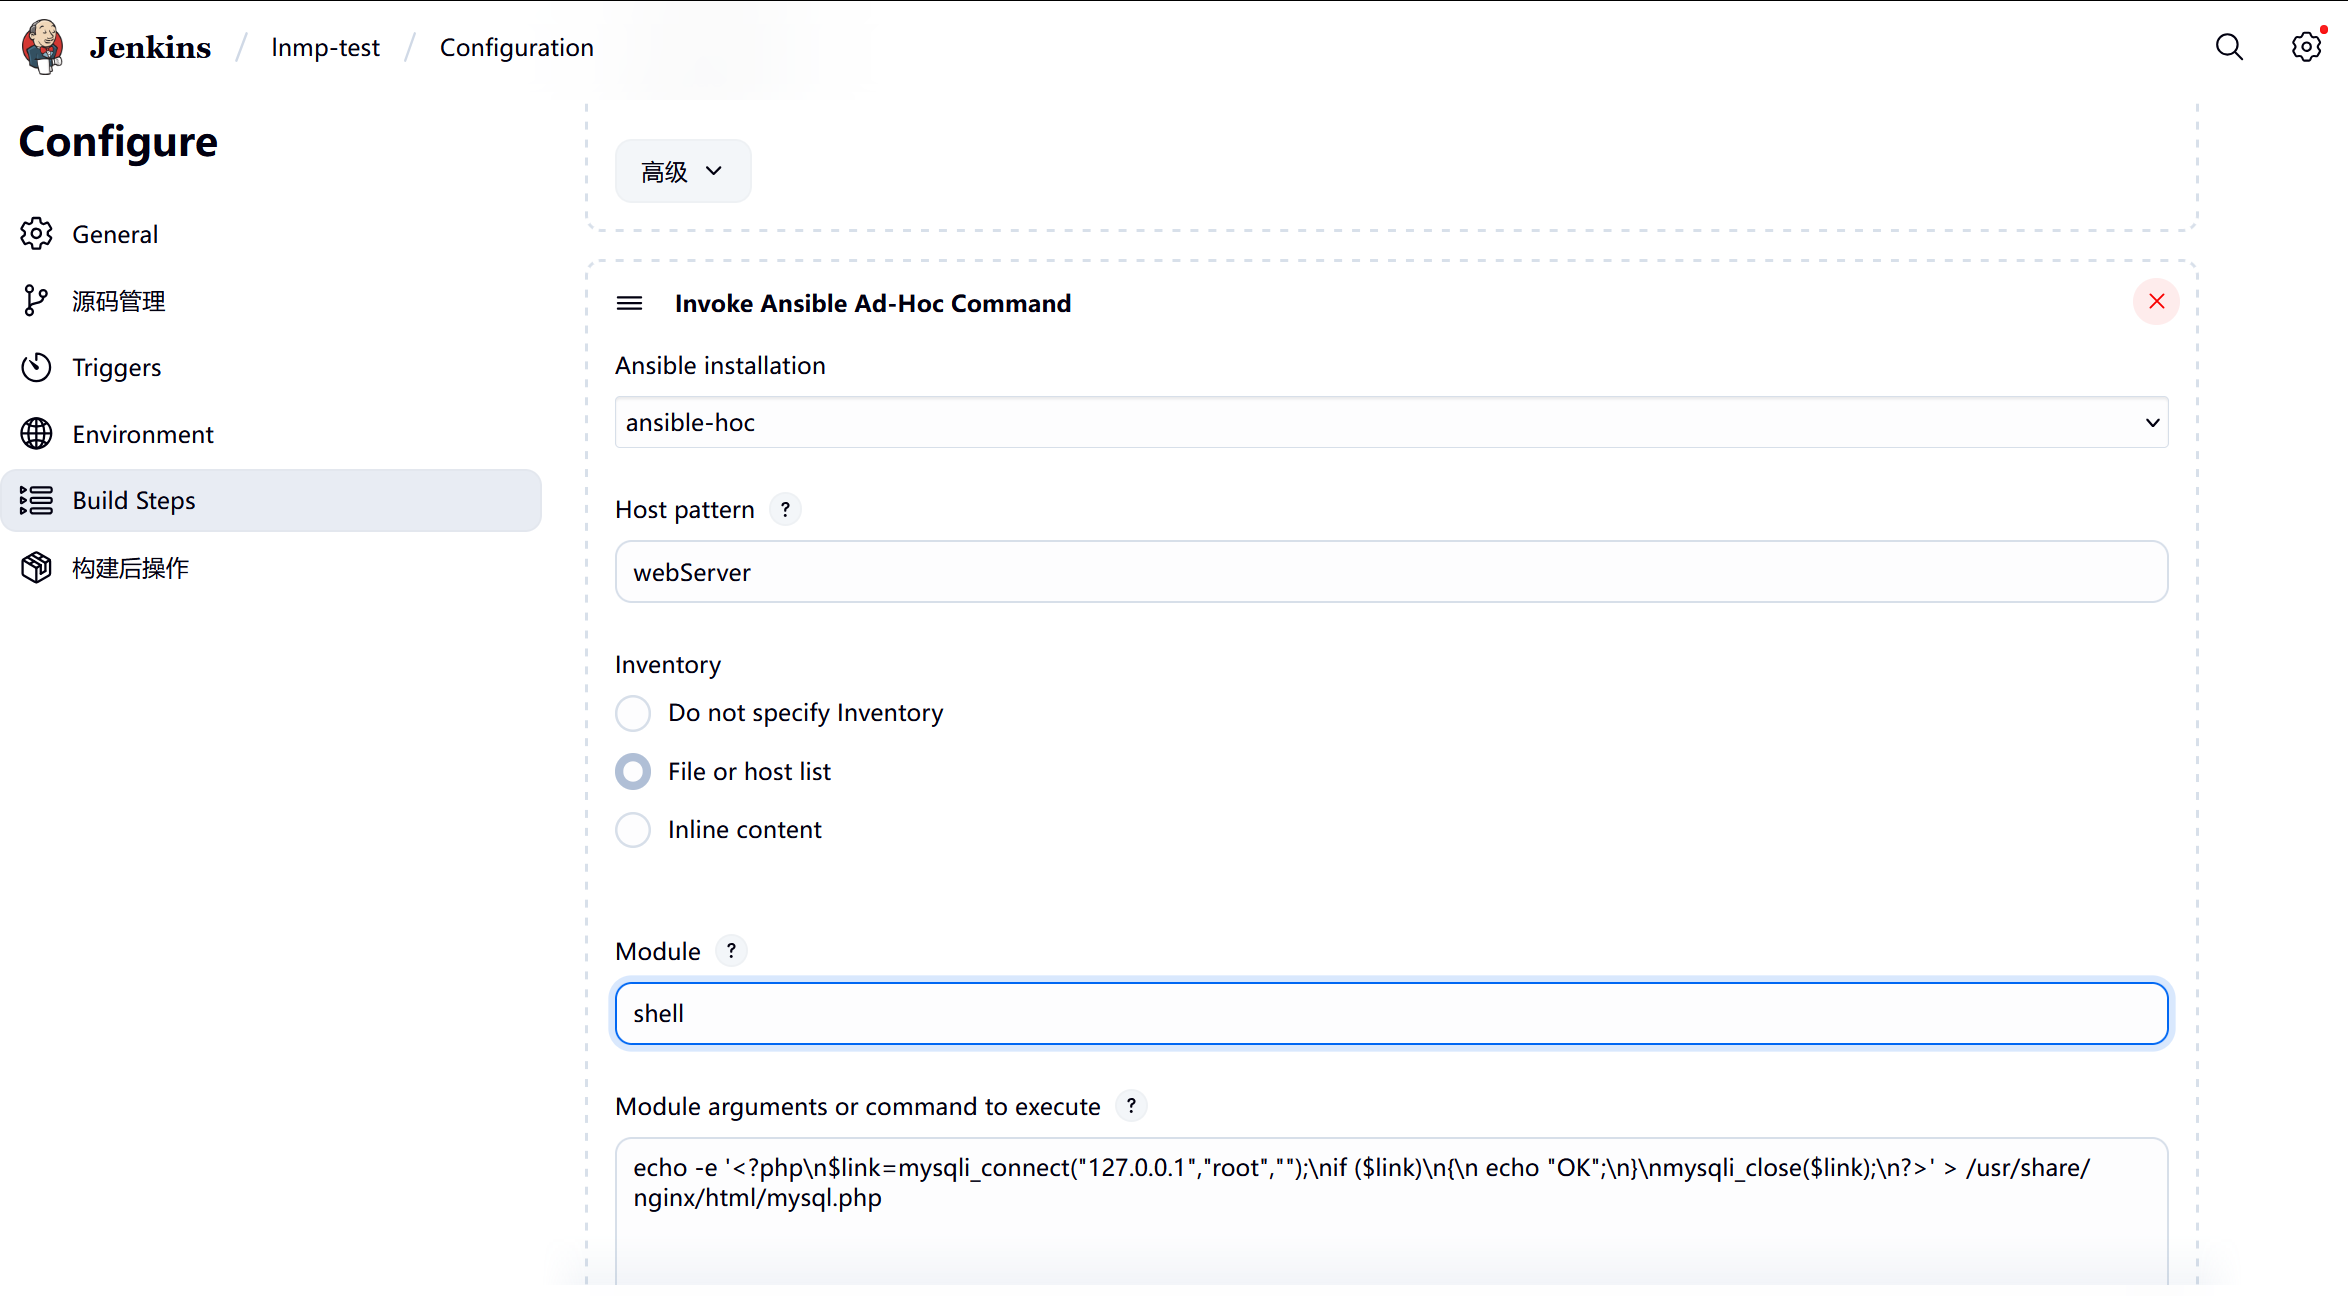
cs
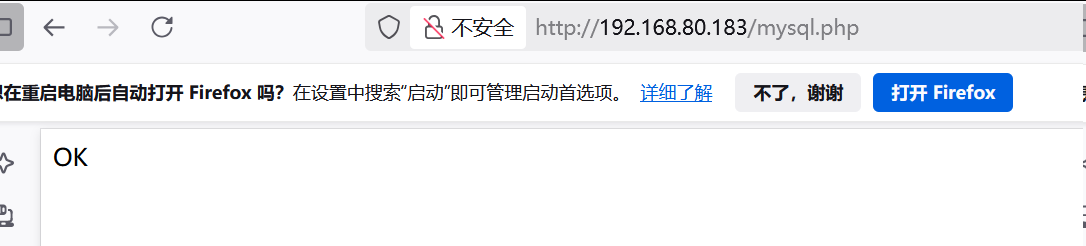
echo -e '<?php\n$link=mysqli_connect("127.0.0.1","root","");\nif ($link)\n{\n echo "OK";\n}\nmysqli_close($link);\n?>' > /usr/share/nginx/html/mysql.php3.2与主item关联
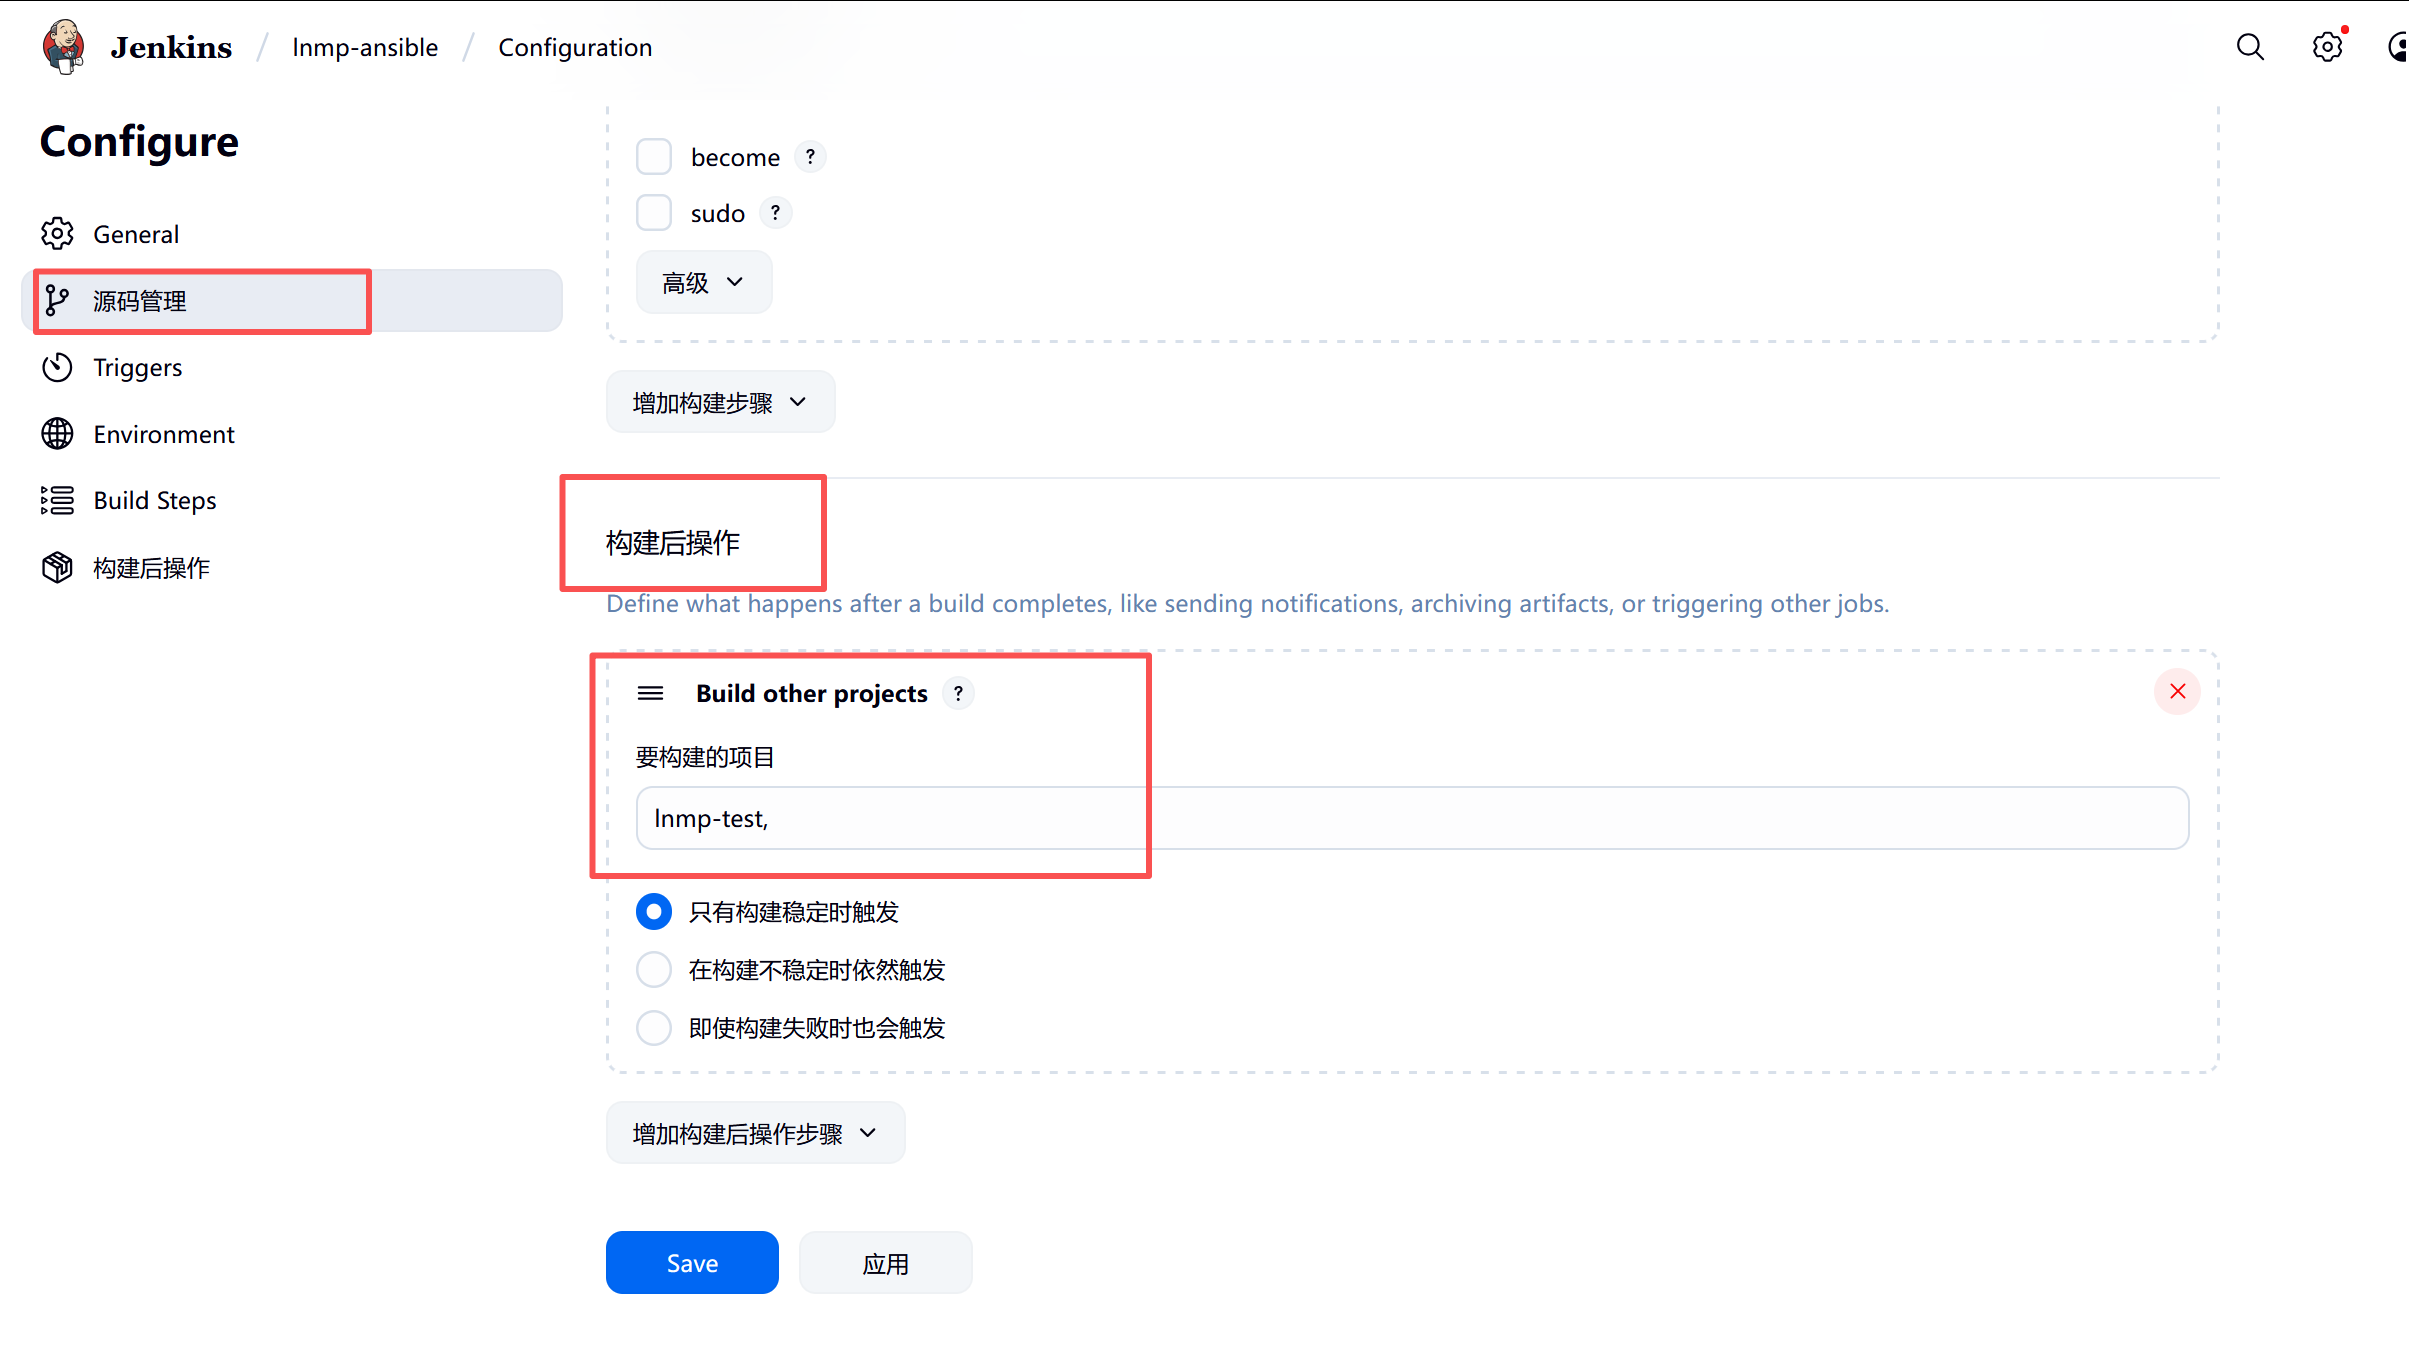
在lnmp-ansible里面操作
测试
4.部署item(dicuz)
cs
[root@jenkins ~]# mkdir /data
[root@jenkins data]# ls
discuz.zip
2.新建部署item
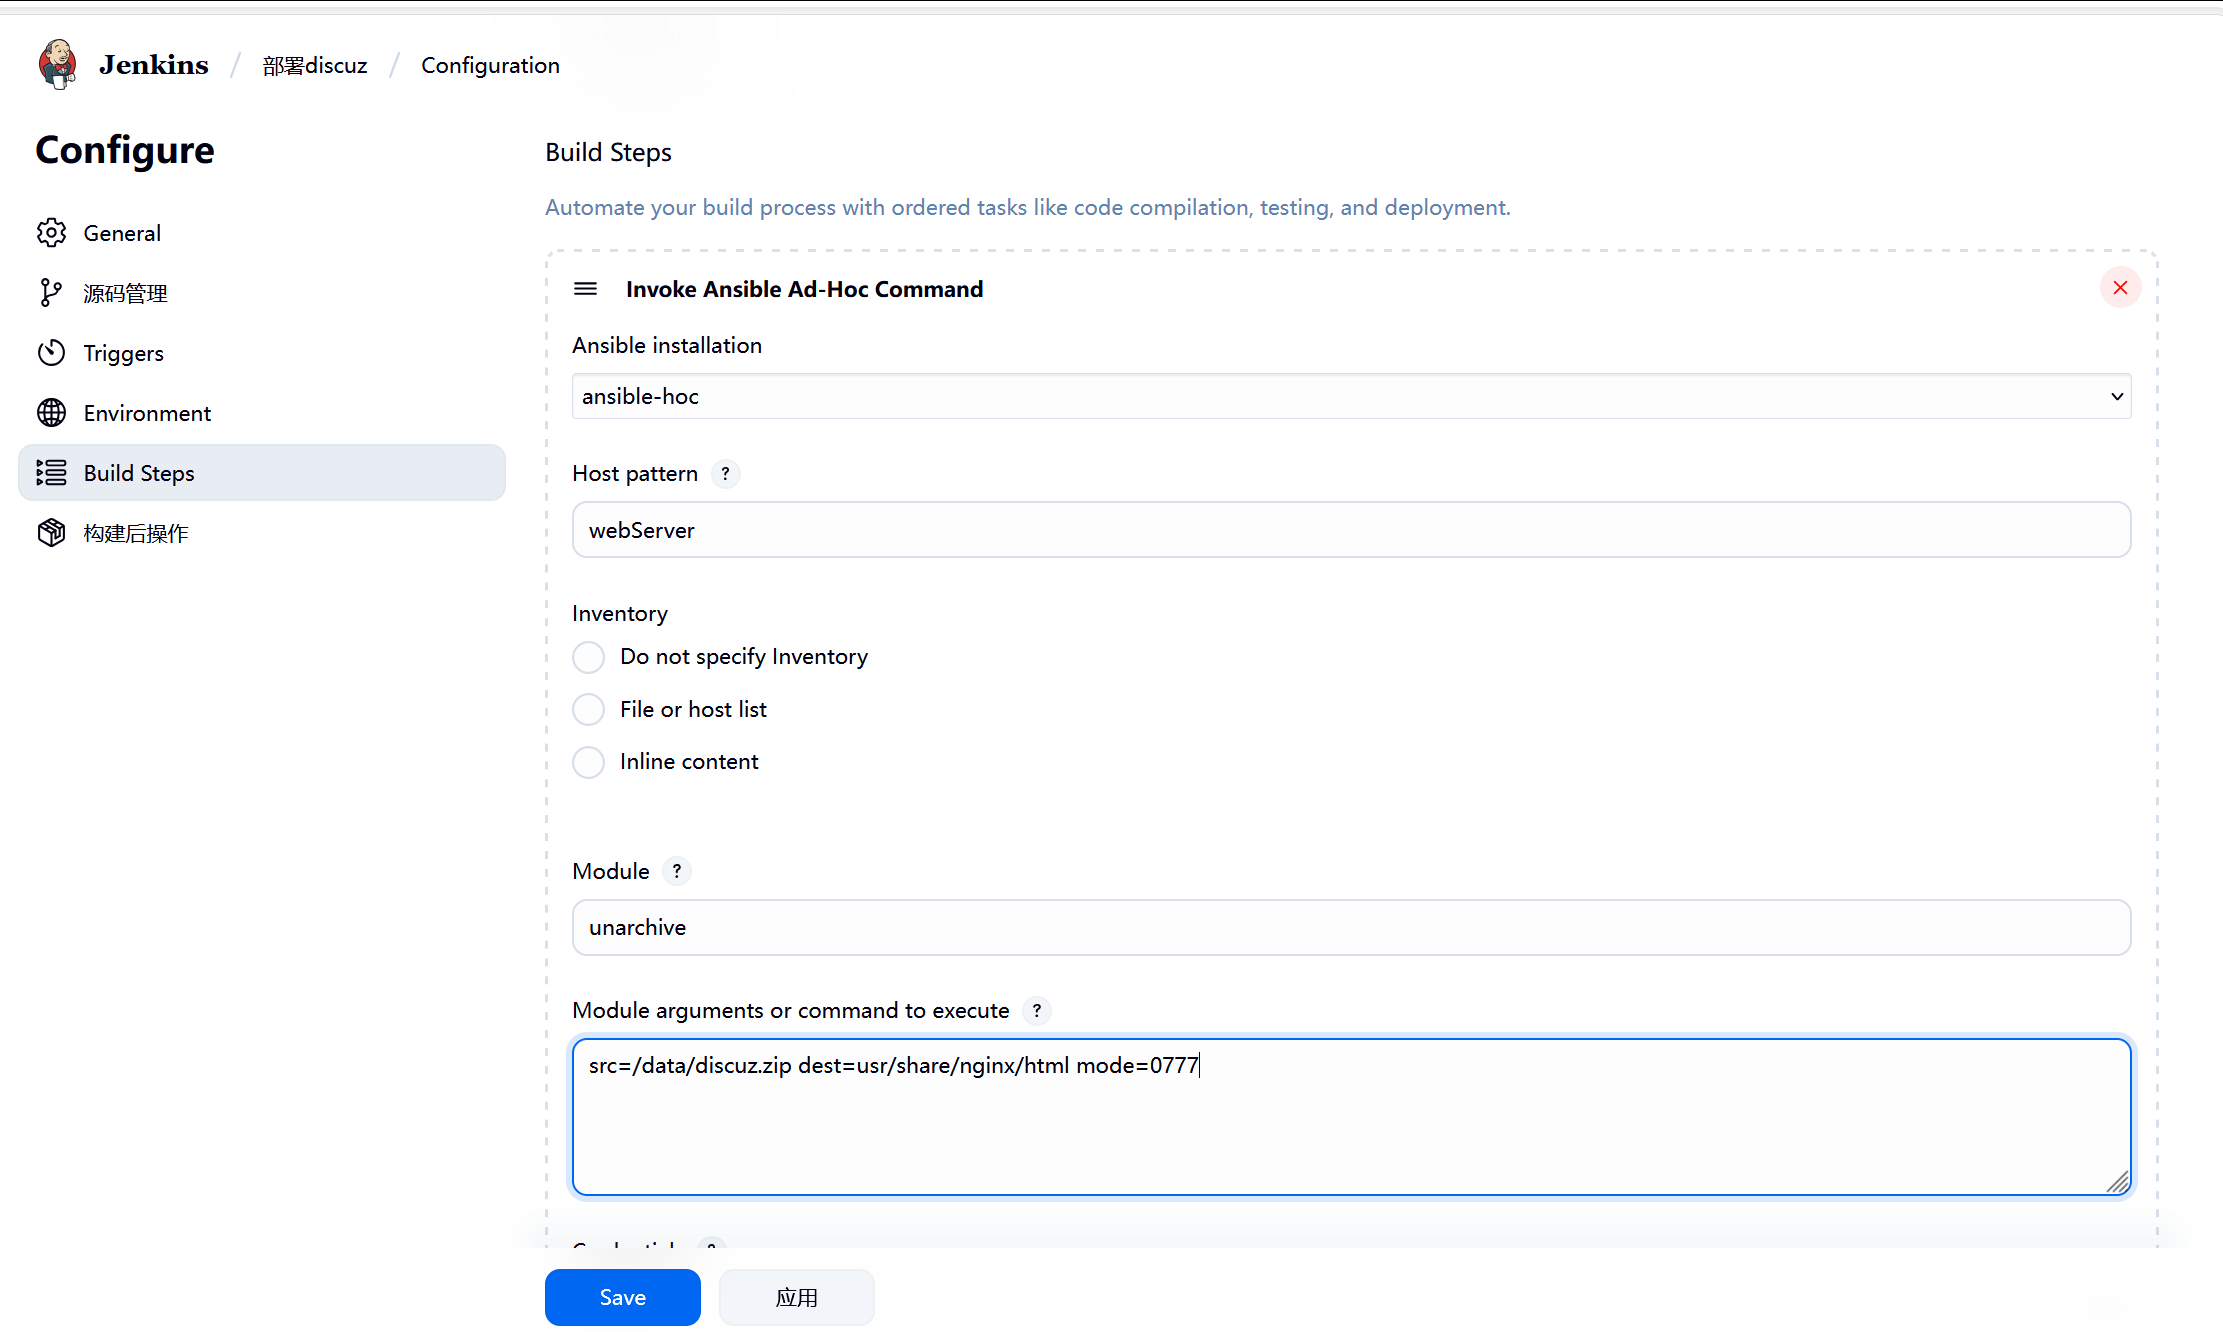
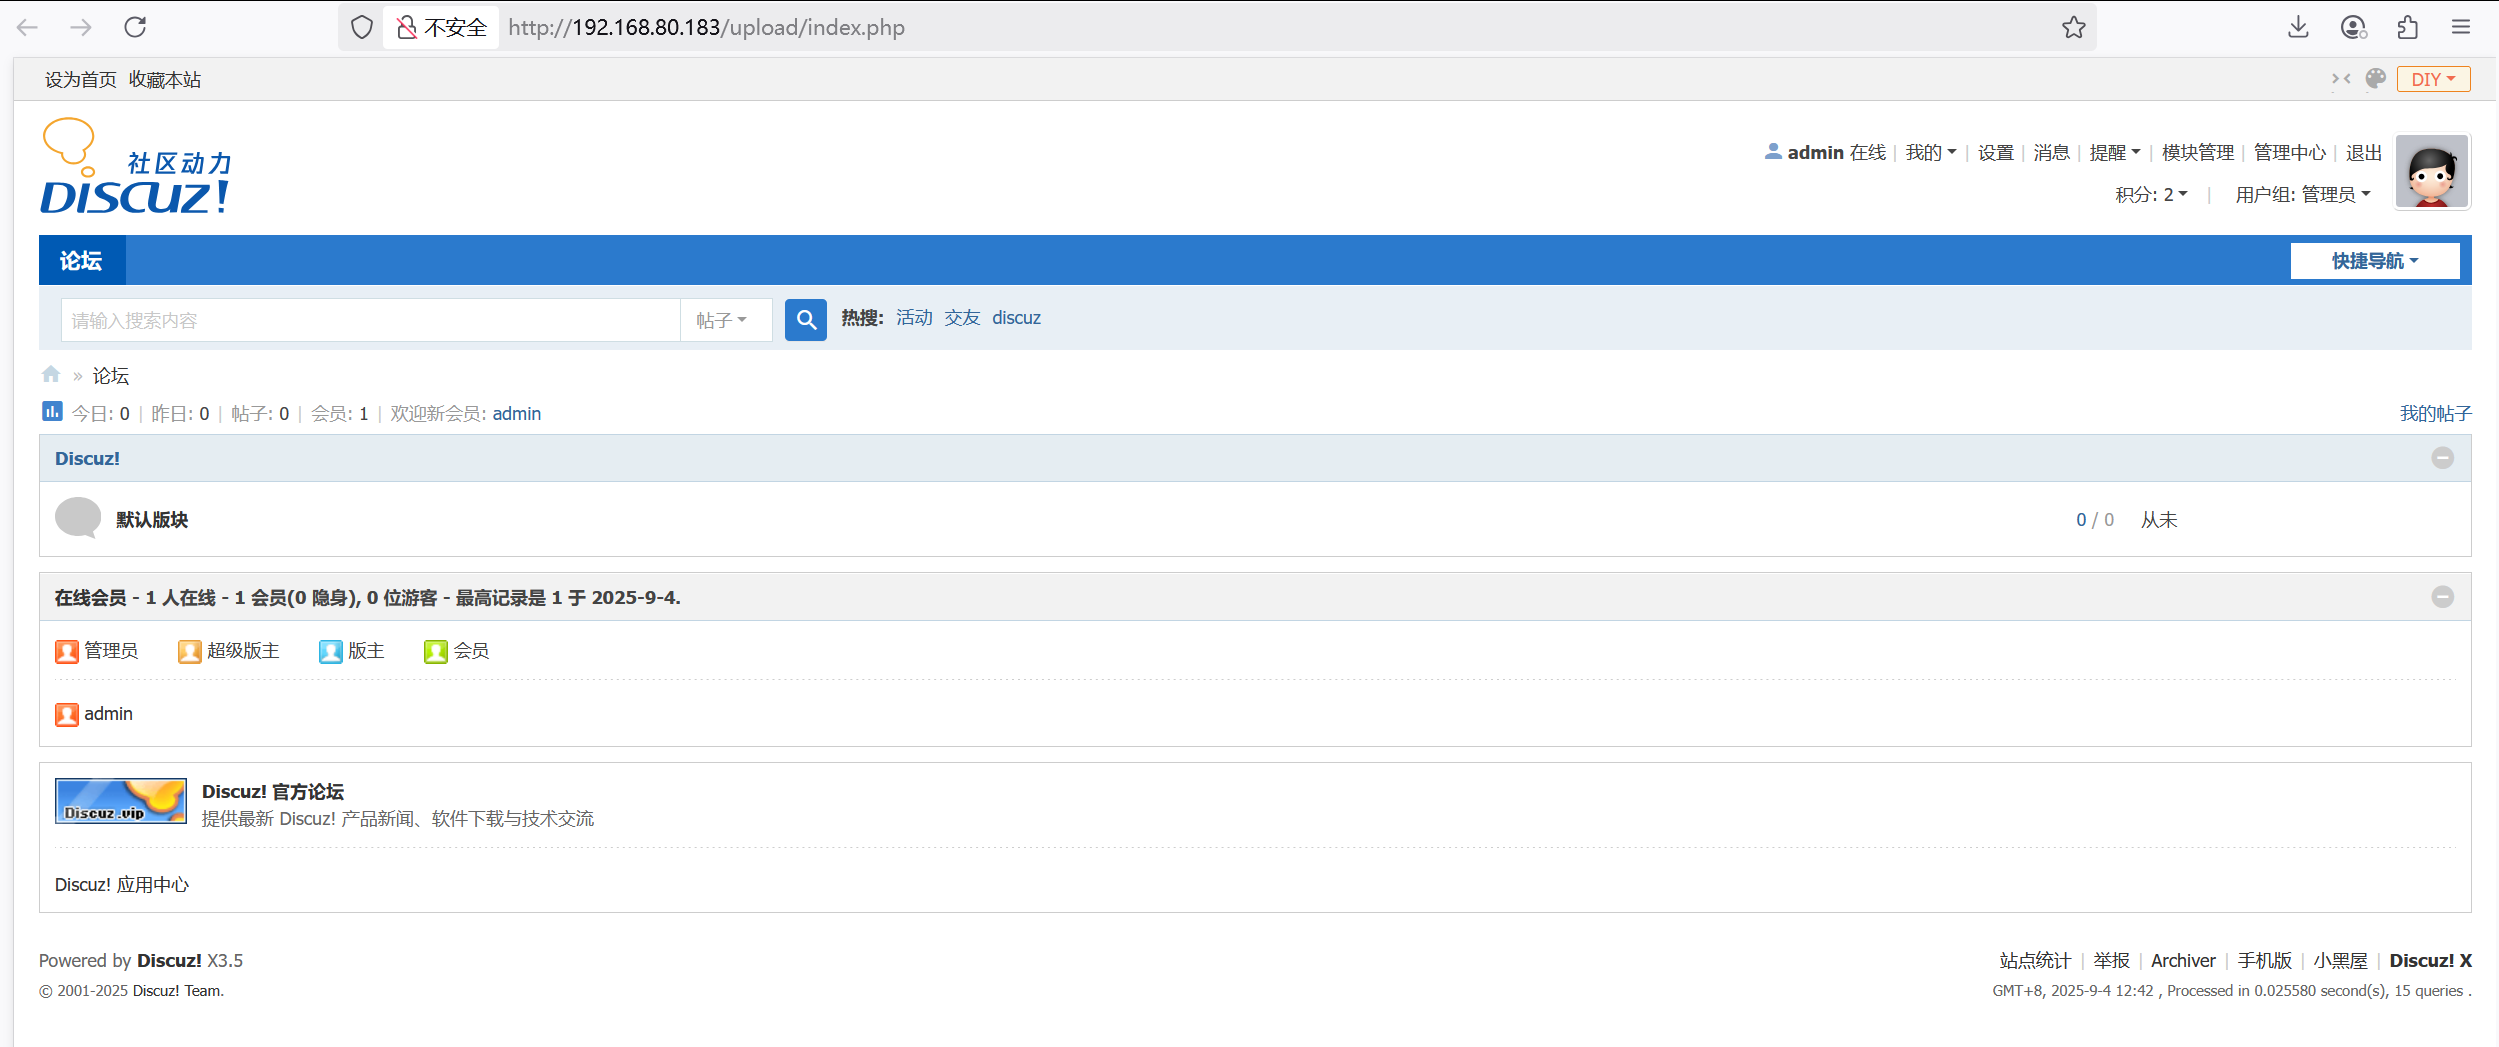
3.测试
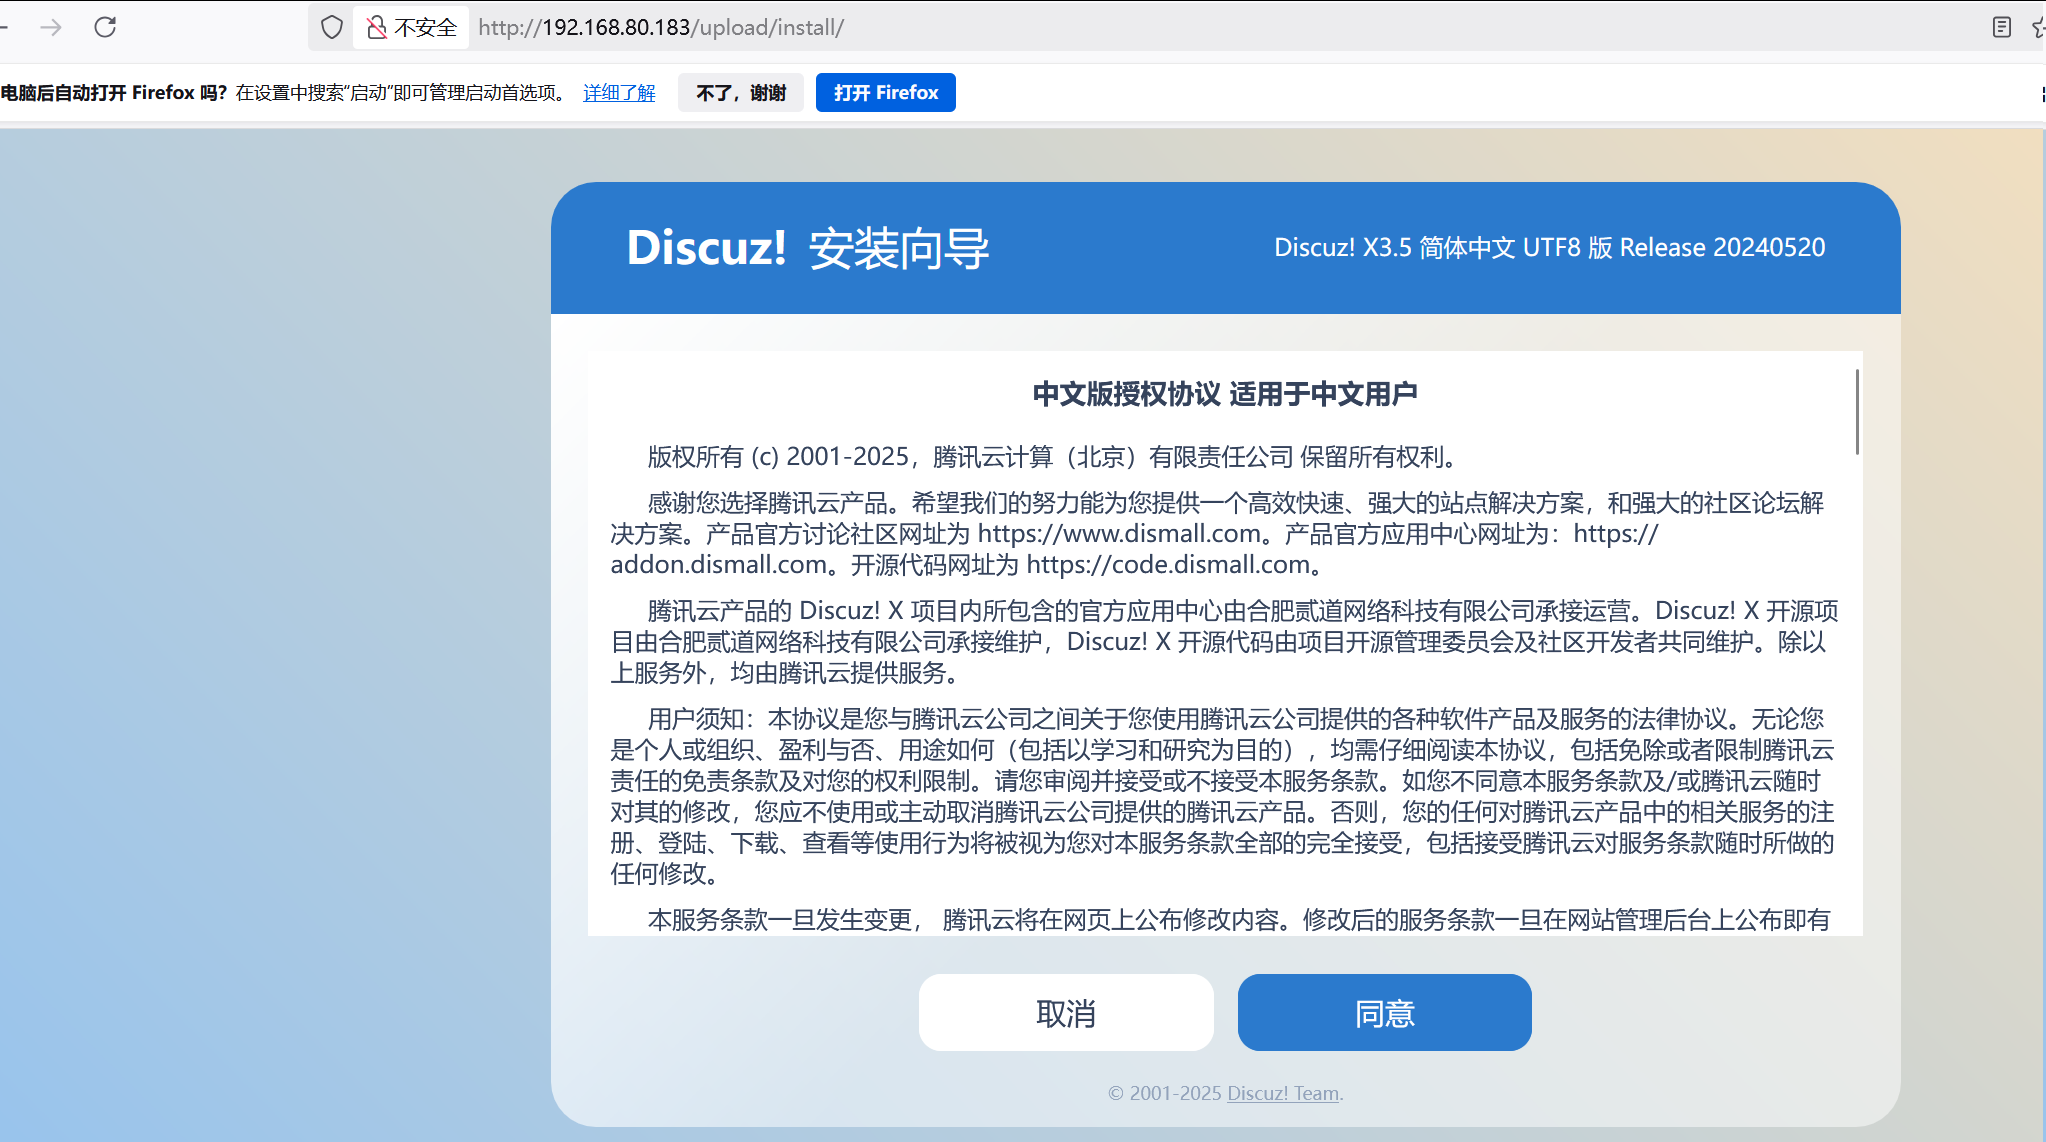
直接一直下一步,只设置admin密码即可
4.关联测试item
在lnmp-test中添加
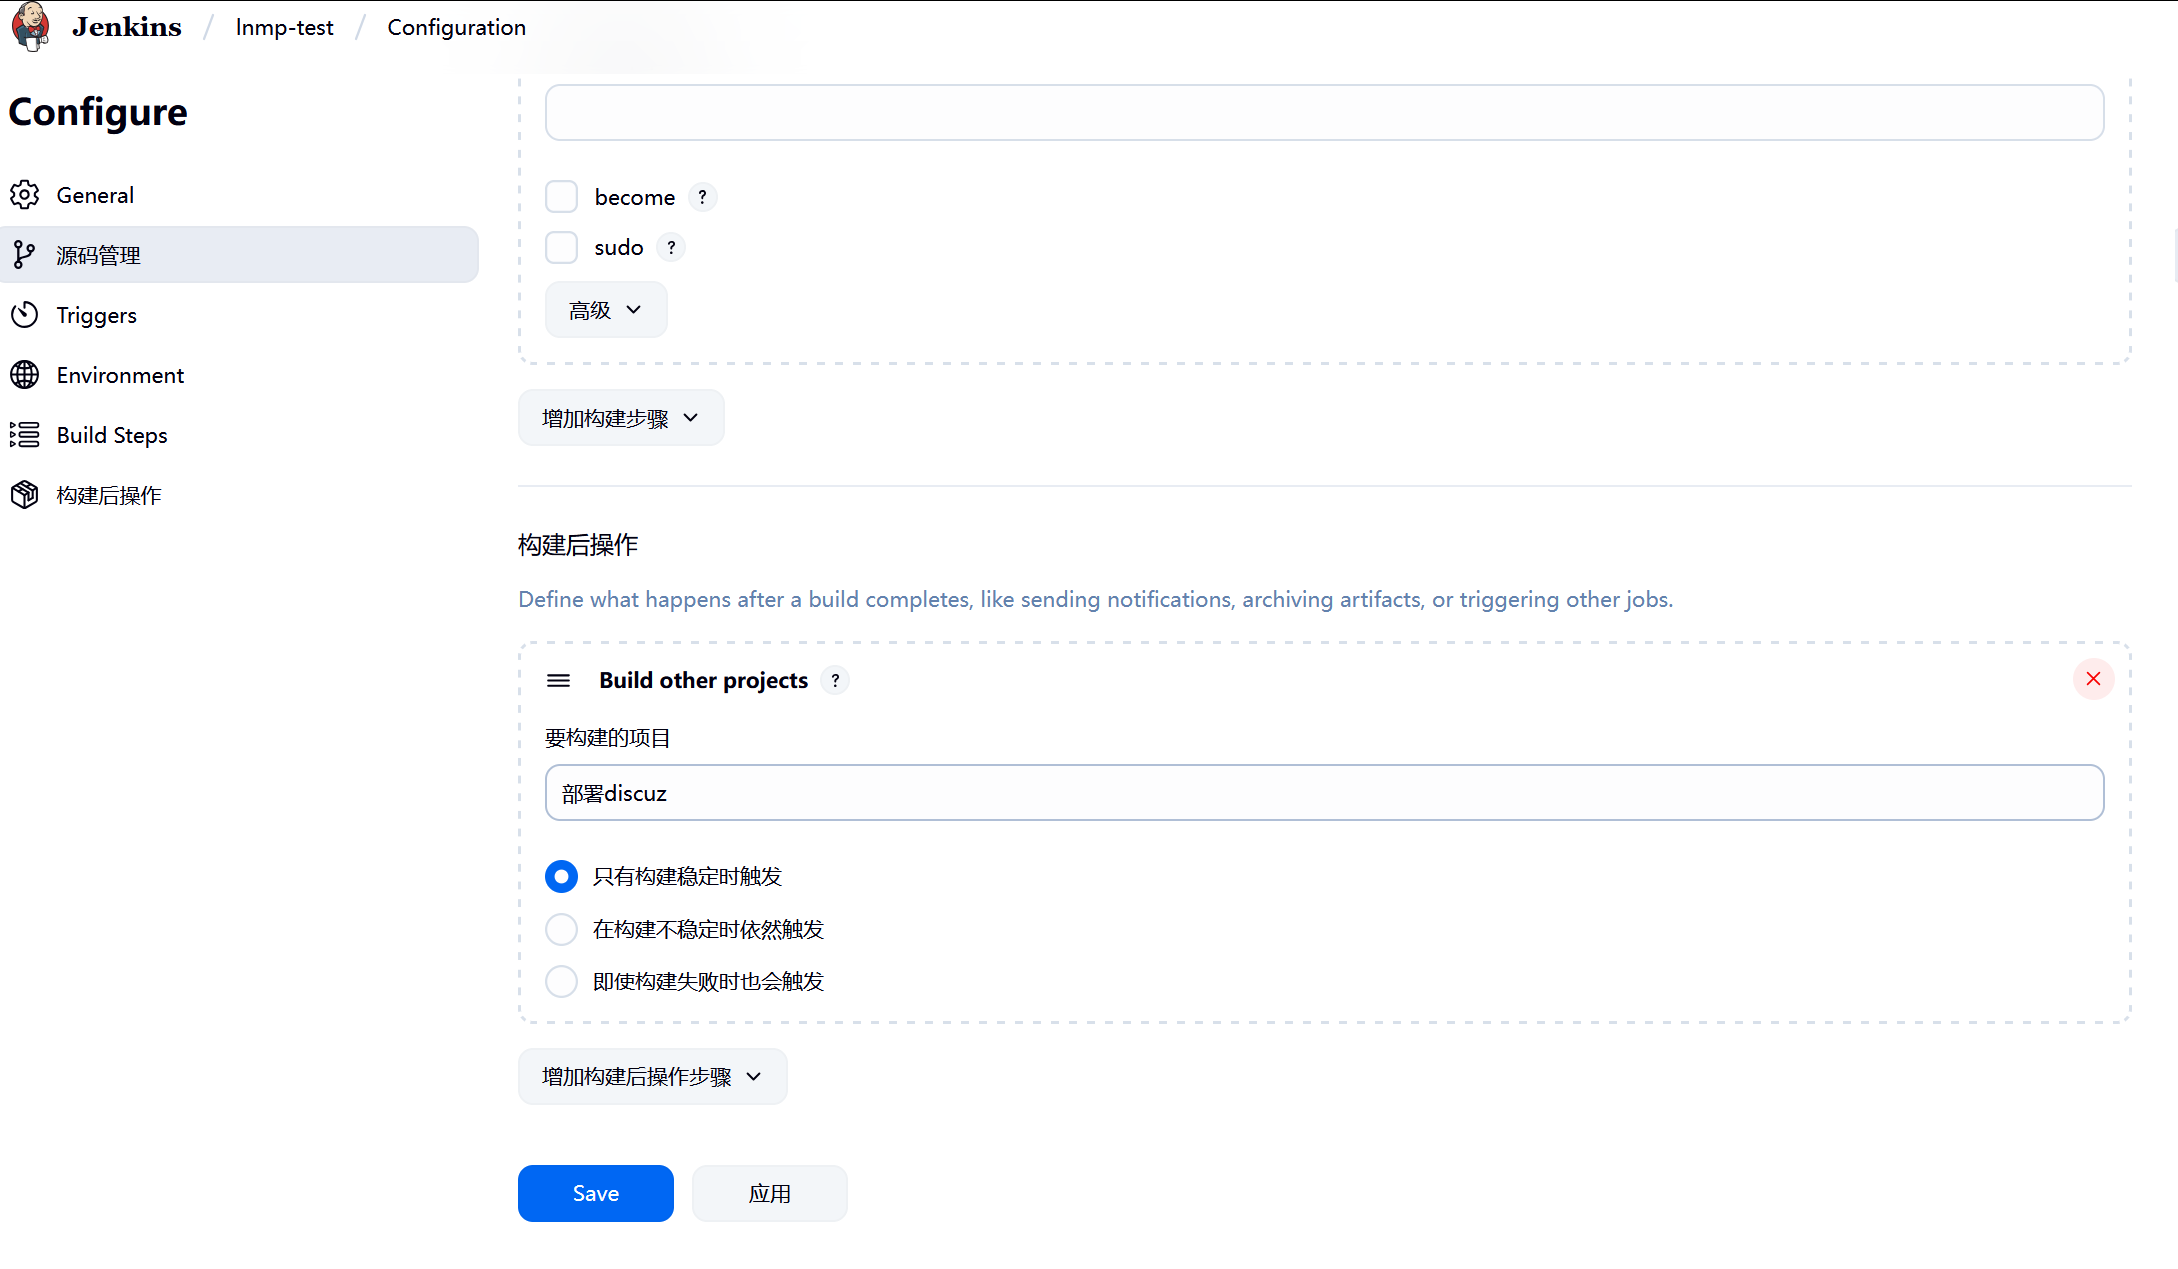
5.整体测试
后面只需要执行lmp-ansible 就完成整个部署了