下载官方预编译包后,怎么用呢。可以参考这个源码跑
测试环境:
ubuntu22.04
onnxruntime==1.18.0
测试代码:
CMakeLists.txt
cmake_minimum_required(VERSION 3.12)
project(onnx_test)
# 设置C++标准
set(CMAKE_CXX_STANDARD 17)
set(CMAKE_CXX_STANDARD_REQUIRED ON)
SET (ONNXRUNTIME_DIR /home/limrobot/onnxruntime-linux-x64-1.18.0)
# 查找ONNX Runtime
#find_package(ONNXRuntime REQUIRED)
# 添加可执行文件
add_executable(onnx_test main.cpp)
# 链接ONNX Runtime库
target_link_libraries(onnx_test PRIVATE ${ONNXRUNTIME_DIR}/lib/libonnxruntime.so)
# 包含目录
target_include_directories(onnx_test PRIVATE ${ONNXRUNTIME_DIR}/include)
# 复制模型文件到构建目录
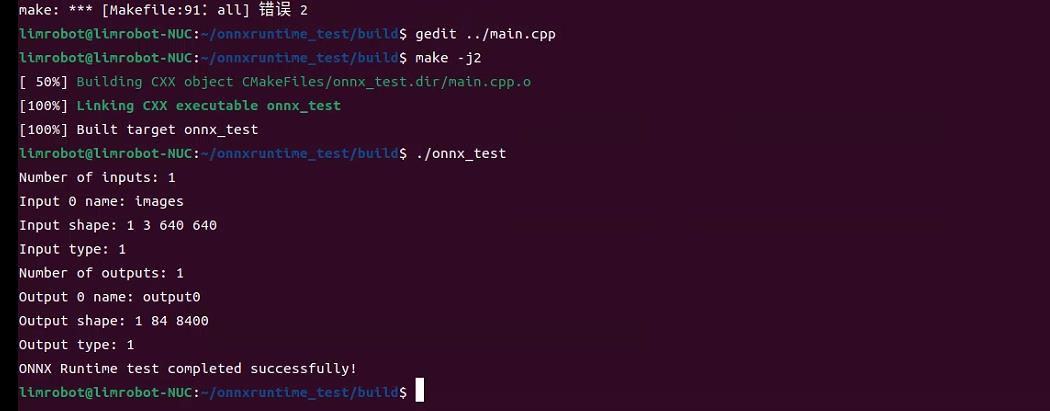
configure_file(yolov8n.onnx ${CMAKE_BINARY_DIR}/yolov8n.onnx COPYONLY)main.cpp
#include <onnxruntime_cxx_api.h>
#include <iostream>
#include <vector>
#include <stdexcept>

int main() {
    try {
        // 初始化ONNX Runtime环境
        Ort::Env env(ORT_LOGGING_LEVEL_WARNING, "test");
        Ort::SessionOptions session_options;

        // 设置线程数
        session_options.SetIntraOpNumThreads(1);
        session_options.SetInterOpNumThreads(1);

        // 加载模型
        Ort::Session session(env, "yolov8n.onnx", session_options);

        // 使用Allocator
        Ort::AllocatorWithDefaultOptions allocator;

        // 打印输入信息
        size_t num_input_nodes = session.GetInputCount();
        std::cout << "Number of inputs: " << num_input_nodes << std::endl;

        for(size_t i = 0; i < num_input_nodes; i++) {
            // 获取输入名称
            auto input_name = session.GetInputNameAllocated(i, allocator);
            auto input_type_info = session.GetInputTypeInfo(i);
            auto input_tensor_info = input_type_info.GetTensorTypeAndShapeInfo();

            auto input_dims = input_tensor_info.GetShape();
            std::cout << "Input " << i << " name: " << input_name.get() << std::endl;
            std::cout << "Input shape: ";
            for(auto dim : input_dims) {
                std::cout << dim << " ";
            }
            std::cout << std::endl;
            std::cout << "Input type: " << input_tensor_info.GetElementType() << std::endl;
        }

        // 打印输出信息
        size_t num_output_nodes = session.GetOutputCount();
        std::cout << "Number of outputs: " << num_output_nodes << std::endl;

        for(size_t i = 0; i < num_output_nodes; i++) {
            // 获取输出名称
            auto output_name = session.GetOutputNameAllocated(i, allocator);
            auto output_type_info = session.GetOutputTypeInfo(i);
            auto output_tensor_info = output_type_info.GetTensorTypeAndShapeInfo();

            auto output_dims = output_tensor_info.GetShape();
            std::cout << "Output " << i << " name: " << output_name.get() << std::endl;
            std::cout << "Output shape: ";
            for(auto dim : output_dims) {
                std::cout << dim << " ";
            }
            std::cout << std::endl;
            std::cout << "Output type: " << output_tensor_info.GetElementType() << std::endl;
        }

        std::cout << "ONNX Runtime test completed successfully!" << std::endl;

    } catch (const std::exception& e) {
        std::cerr << "Error: " << e.what() << std::endl;
        return 1;
    }

    return 0;
}
运行结果: