
最近项目需求,需要在iOS原生工程中嵌入Flutter应用。启动APP后,进入到原生iOS工程的启动页、登录页,登录后就进入到Flutter侧的页面;在Flutter侧的应用中又需要进入到原生iOS工程的内购页,以及策略模式下的H5页面;在Flutter侧应用退出登录、删除账号后返回到原生iOS的登录页。如下图所示流程。
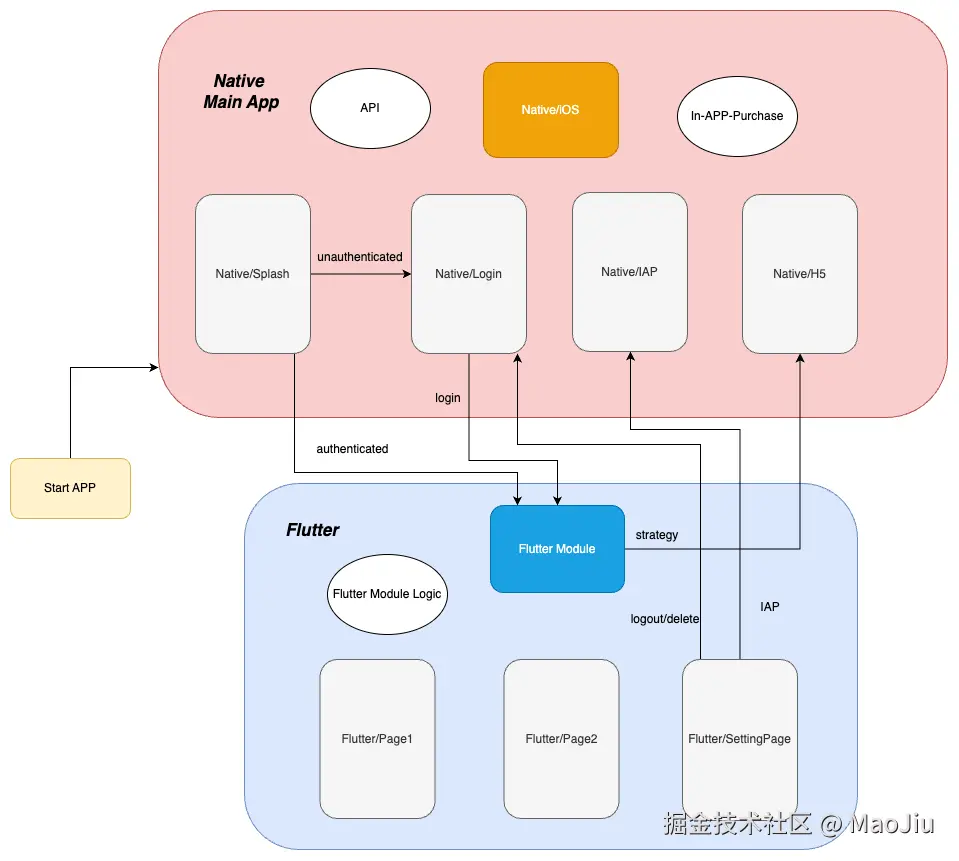
基于此需求,本文档将详细介绍如何创建Flutter Module并将其集成到iOS宿主工程中。
创建Flutter Module工程
1. 使用Flutter CLI创建项目
bash
flutter create flutter_module --template=module

cd flutter_module
2. Flutter Module项目结构
项目创建成功后,项目结构如下:
bash
flutter_module/
├── .ios/ # iOS相关配置文件
│ └── Flutter/
│ ├── podhelper.rb # CocoaPods集成脚本
│ └── Flutter.podspec # Pod规范文件
├── lib/ # Flutter Dart代码
│ └── main.dart # 入口文件
├── pubspec.yaml # 依赖配置
└── .metadata # Flutter元数据
3. 配置pubspec.yaml文件
因为我的是iOS工程,安卓的配置直接注释掉了,这里的iosBundleIdentifier和version,是这个Flutter Module的,并不会影响iOS宿主工程中BundleIdentifier和version的配置。
yaml
name: flutter_module
description: A Flutter module for iOS integration.

publish_to: 'none'
version: 1.0.0+1

environment:
  sdk: ^3.24.3

dependencies:
  flutter:
    sdk: flutter
  cupertino_icons: ^1.0.8

dev_dependencies:
  flutter_test:
    sdk: flutter
  flutter_lints: ^4.0.0

flutter:
  uses-material-design: true

  # 配置Module相关设置
  module:
   # androidX: true
   # androidPackage: com.example.flutter_module
    iosBundleIdentifier: com.example.flutterModule
创建iOS宿主工程
1. 创建iOS项目
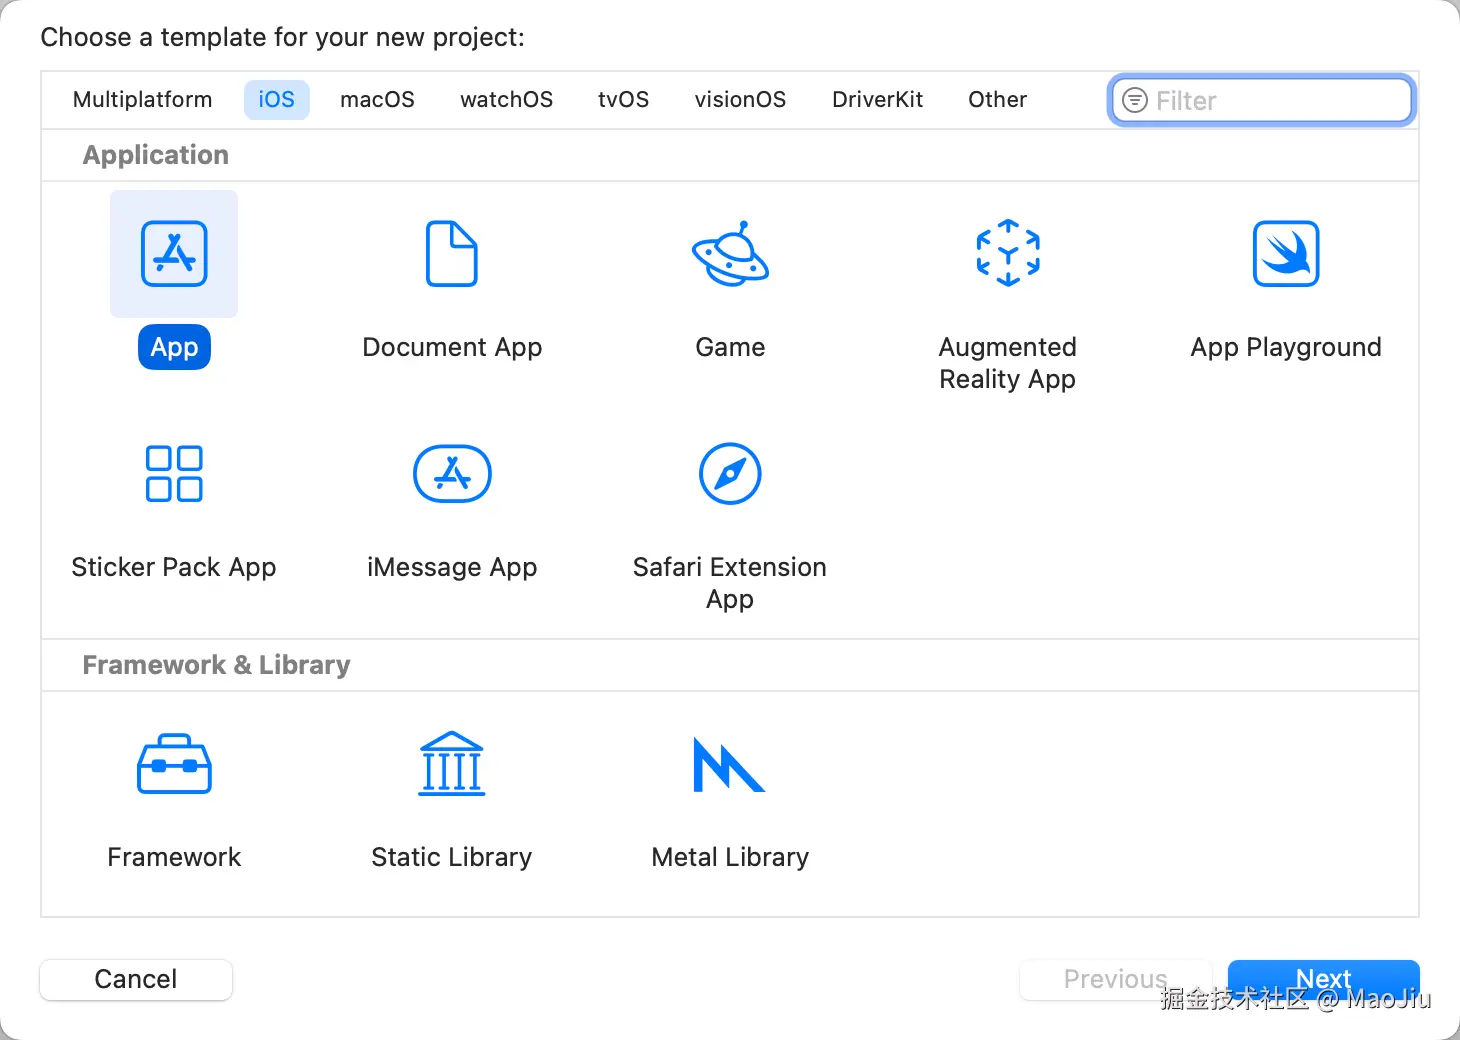
打开XCode,选择iOS App。
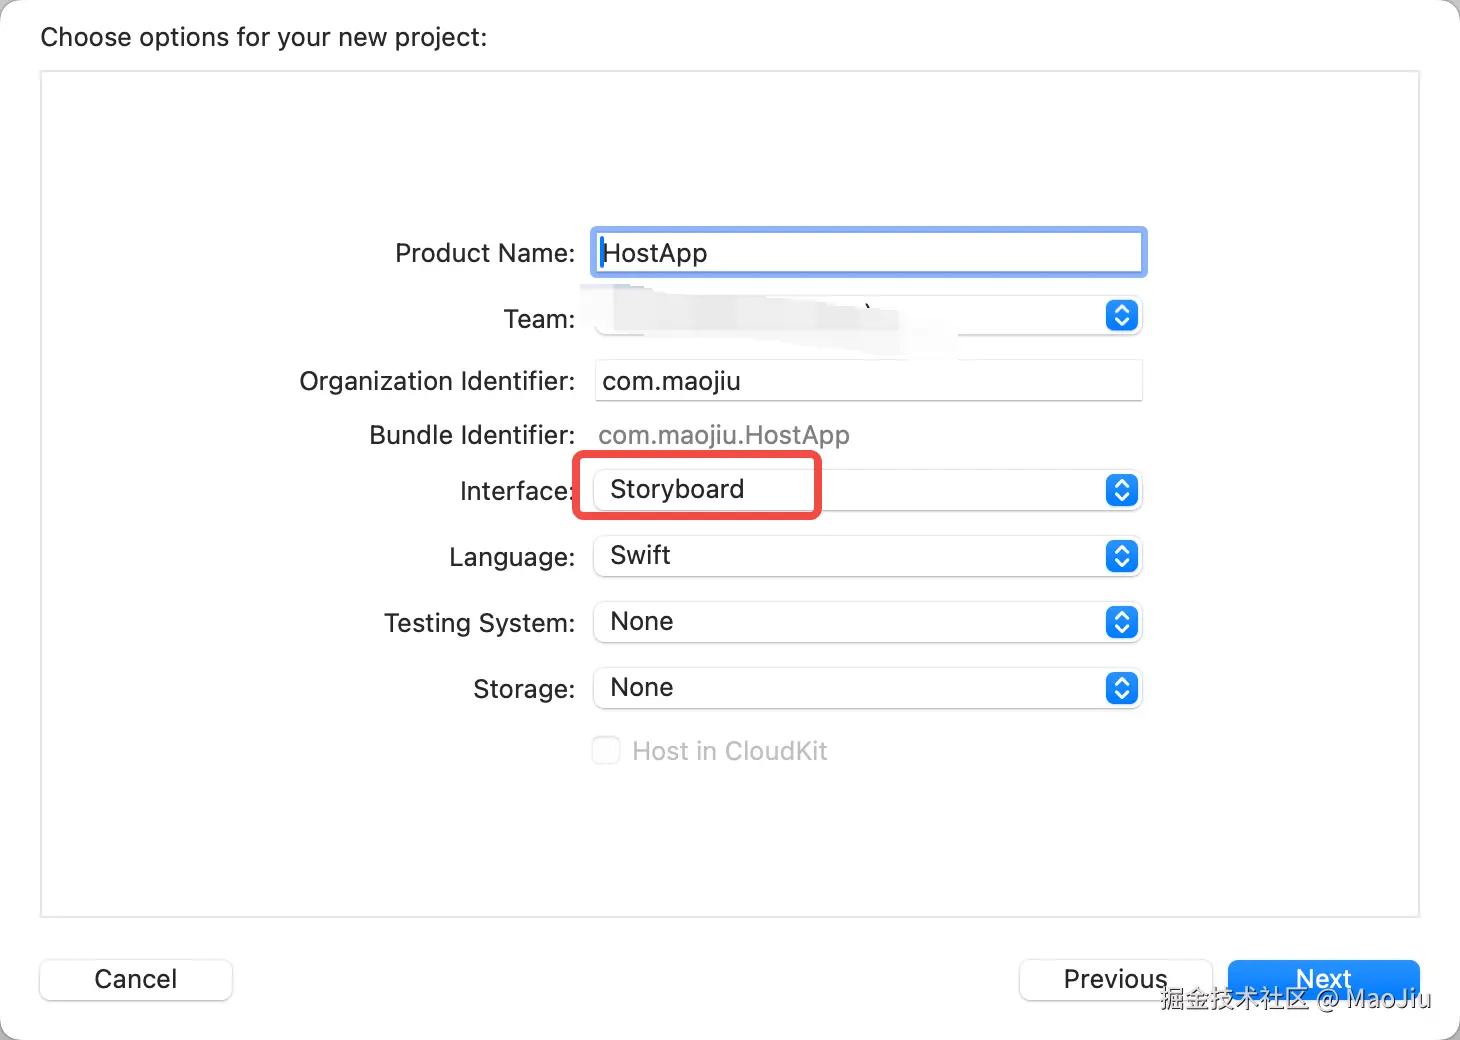
这里的Interface选择Storyboard,这样才会有AppDelegate文件。
2. iOS项目结构
创建完成后,得到下面的项目结构:
bash
HostApp/
├── HostApp/
│ ├── AppDelegate.swift
│ ├── SceneDelegate.swift
│ ├── ViewController.swift
│ ├── Main.storyboard
│ └── Info.plist
├── HostApp.xcodeproj
└── Podfile (将要创建)
3. 创建Podfile文件
使用CocoaPods命令创建。
bash
pod init添加上项目所需的依赖,这里举例添加一些iOS原生工程需要的依赖。
ruby
# Uncomment the next line to define a global platform for your project

platform :ios, '16.0'

target 'Foody' do
  # Comment the next line if you don't want to use dynamic frameworks
  use_frameworks!

  pod 'Alamofire'
  pod 'FBSDKCoreKit', '18.0.0'
  pod 'CodableWrapper'
  pod 'Adjust', '4.38.4'
  pod 'SnapKit', '~> 5.0'

end
使用CocoaPods命令安装依赖。
bash
pod install完成后使用.xcworkspace文件打开项目,注意是.xcworkspace,不是.xcproject,.xcproject不包含CocoaPods依赖。
bash
open HostApp.xcworkspace集成Flutter Module工程到iOS工程
1. 调整项目结构
将Flutter Module工程和iOS工程放在同一个根目录下,如下结构:
bash
MyApp/
  |-HostApp
  |-flutter_module
2. 修改Podfile
新增Flutter Module的配置,链接源码。同时在Flutter Module中可能需要使用permission_handler插件请求权限,所以在这里也需要配置需要的权限,注意是在这个iOS原生宿主工程中进行配置,而不是在Flutter Module中的.ios目录下的Podfile配置。
ruby
# Uncomment the next line to define a global platform for your project

platform :ios, '16.0'

# 新增配置,链接Flutter Module代码
flutter_application_path = '../foody_flutter'
load File.join(flutter_application_path, '.ios', 'Flutter', 'podhelper.rb')

target 'Foody' do
  # Comment the next line if you don't want to use dynamic frameworks
  use_frameworks!

  # 新增
  install_all_flutter_pods(flutter_application_path)

  pod 'Alamofire'
  pod 'IQKeyboardManagerSwift'
  pod 'FBSDKCoreKit', '18.0.0'
  pod 'CodableWrapper'
  pod 'Adjust', '4.38.4'
  pod 'SnapKit', '~> 5.0'
  pod 'SVProgressHUD'

end

# 新增
post_install do |installer|
  flutter_post_install(installer) if defined?(flutter_post_install)

  # 使用PermissionHandler处理Flutter侧的权限请求
  installer.pods_project.targets.each do |target|
    target.build_configurations.each do |config|
      config.build_settings['GCC_PREPROCESSOR_DEFINITIONS'] ||= [
        '$(inherited)',
        'PERMISSION_CAMERA=1',
        'PERMISSION_MICROPHONE=1',
        'PERMISSION_PHOTOS=1',
        'PERMISSION_SPEECH_RECOGNIZER=1',
        'PERMISSION_APP_TRACKING_TRANSPARENCY=1',
      ]
    end
  end
end
3. 修改Info.plist
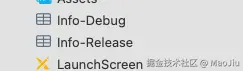
将iOS工程下的Info.plist拆分成Info-Debug.plist和Info.Release.plist两个,分别对应Debug和Release下的两种。
在Info-Debug.plist中新增Bonjour services,并新增Item值为_dartVmService._tcp。

对于需要使用到的权限,分别在Debug和Release下的文件进行配置即可。
4. 修改Target配置
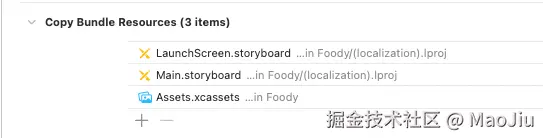
首先找到Build Phases下的Copy Bundle Resources,检查是否有Info-Release.plist文件,如果有的话就删除。
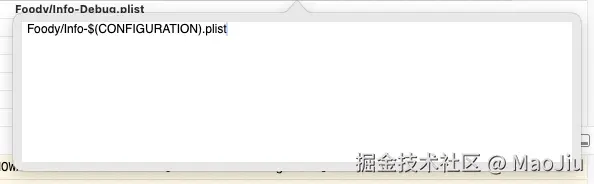
在Build Setting中找到Packing中修改配置,修改Info.plist File,将值修改成Foody/Info-$(CONFIGURATION).plist,分别对应刚才创建的不同环境下的Info.plist文件。这里的Foody是自己iOS项目的名称。

5. 修改AppDelegate
创建Flutter引擎实例,调用run()方法启动引擎,并通过GeneratedPluginRegistrant.registe来注册Flutter侧使用的插件。
swift
import UIKit
import Flutter
import FlutterPluginRegistrant

@main
class AppDelegate: UIResponder, UIApplicationDelegate {

    // Flutter引擎实例 - 全局单例,提高性能
    lazy var flutterEngine = FlutterEngine(name: "my flutter engine")

    func application(_ application: UIApplication,
                     didFinishLaunchingWithOptions launchOptions: [UIApplication.LaunchOptionsKey: Any]?) -> Bool {

        // 初始化Flutter引擎
        flutterEngine.run()

        // 注册Flutter插件
        GeneratedPluginRegistrant.register(with: self.flutterEngine)

        return true
    }

    // MARK: UISceneSession Lifecycle
    func application(_ application: UIApplication,
                     configurationForConnecting connectingSceneSession: UISceneSession,
                     options: UIScene.ConnectionOptions) -> UISceneConfiguration {
        return UISceneConfiguration(name: "Default Configuration", sessionRole: connectingSceneSession.role)
    }
}
通信机制及页面切换
1. 通信机制
对于Flutter Module和iOS工程的双向通信,主要是通过Channel通道来实现的。对于同一个通道,在Flutter侧和iOS侧中的通道名要保持一致。
- Flutter侧创建通道
dart
// 用于与原生iOS通信的MethodChannel
final channel = MethodChannel('channel_name');- iOS侧创建通道,需要使用刚才在AppDelegate中创建的FlutterEngine实例
swift
// MethodChannel用于与Flutter通信
private var methodChannel: FlutterMethodChannel?


// 设置MethodChannel
methodChannel = FlutterMethodChannel(
    name: "channel_name",
    binaryMessenger: flutterEngine.binaryMessenger
)
2. Flutter侧调用
- 在iOS侧设置通道方法监听
swift
channel.setMethodCallHandler { (call, result) in
    switch call.method {
    case "signOut":
        signOut { isSuccess in
            result(isSuccess)
        }
    case "deleteAccount":
        deleteAccount { isSuccess in
            result(isSuccess)
        }
    case "toCoinView":
        navigateToCoinView()
        result(nil)
    default:
        result(FlutterMethodNotImplemented)
    }
}- Flutter侧调用通道方法
dart
// 调用通道方法退出登录
Future<void> logout() async {
  await channel.invokeMethod("signOut");
}
3. iOS侧调用
- 在Flutter侧设置通道方法监听
dart
channel.setMethodCallHandler((call) async {
  switch (call.method) {
    case "requireATT":

      await Future.delayed(const Duration(seconds: 1));
      await PermissionService.shared
          .checkAppTrackingTransparencyPermission();
  }
});- iOS侧调用通道方法
swift
// 进入Flutter侧后请求ATT权限
channel.invokeMethod("requireATT");
4. iOS原生到Flutter页面
- 创建FlutterViewController
swift
let flutterViewController = FlutterViewController(
    engine: flutterEngine,
    nibName: nil,
    bundle: nil
)

// 设置初始路由(可选)
flutterViewController.setInitialRoute("/")- 替换iOS根视图
swift
func switchRootViewController(_ viewController: UIViewController) {
    // 获取当前的 UIApplicationDelegate
    if let appDelegate = UIApplication.shared.delegate, let window = appDelegate.window ?? UIApplication.shared.windows.first(where: { $0.isKeyWindow }) {

        // 使用动画过渡切换根视图控制器
        UIView.transition(with: window, duration: 0.3, options: .transitionCrossDissolve, animations: {
            window.rootViewController = viewController
        })
    }
}

func navigateToFlutter() {
    DispatchQueue.main.async {
        let nav = UINavigationController(rootViewController: flutterViewController)
        nav.setNavigationBarHidden(true, animated: false)
        // 替换为flutterViewController
        switchRootViewController(nav)
    }
}
5. Flutter到iOS页面
- Flutter调用通道方法
dart
// 删除账号返回iOS登录页
Future<void> deleteAccount() async {
  await channel.invokeMethod("deleteAccount")
}

// 进入到iOS内购页面
Future<void> toCoinView () async {
  await channel.invokeMethod("toCoinView")
}- iOS侧处理页面跳转
swift
// iOS侧通道方法监听
case "deleteAccount":
    deleteAccount { isSuccess in
        result(isSuccess)
    }
case "toCoinView":
    navigateToCoinView()
    result(nil)


// 删除账号
func deleteAccount(completion: @escaping (Bool) -> Void){
    // 创建确认删除的弹窗
    let alertController = UIAlertController(
        title: "Delete Account",
        message: "Are you sure you want to delete your account? This action cannot be undone, and all data will be permanently deleted.",
        preferredStyle: .alert
    )

    // 取消按钮
    let cancelAction = UIAlertAction(title: "Cancel", style: .cancel, handler: nil)

    // 确认删除按钮
    let deleteAction = UIAlertAction(title: "Delete", style: .destructive) { _ in
        ProgressHUD.showNetworking(message: "Delecting....")
        Task{
            await UserRepository.deleteAccount { isSuccess in
                if isSuccess {
                    ProgressHUD.showSuccessAndDismiss()
                    backToLogin()
                }
                completion(isSuccess)
            }
        }
    }

    alertController.addAction(cancelAction)
    alertController.addAction(deleteAction)

    if let topVC = getTopViewController() {
        topVC.present(alertController, animated: true, completion: nil)
    }
}


// 处理页面跳转

// 返回到登录页面
func backToLogin() {
    DispatchQueue.main.async {
        let loginViewController = LoginViewController()
        switchRootViewController(loginViewController)
    }
}

// 进入到内购页,使用pushViewController
func navigateToCoinView() {
    DispatchQueue.main.async {
        let coinsViewController = CoinsViewController()

        if let currentNav = self.getCurrentNavigationController() {
            currentNav.pushViewController(coinsViewController, animated: true)
            // 获取动画协调器
            if let coordinator = currentNav.transitionCoordinator {
                coordinator.animate(alongsideTransition: nil) { _ in
                    // 动画完成后显示导航栏
                    currentNav.setNavigationBarHidden(false, animated: true)
                }
            } else {
                // 如果没有动画协调器,直接显示
                currentNav.setNavigationBarHidden(false, animated: true)
            }
        }
    }
}


// 获取当前的 NavigationController
func getCurrentNavigationController() -> UINavigationController? {
    if let flutterVC = currentFlutterViewController,
       let nav = flutterVC.navigationController {
        return nav
    }

    if let topVC = getTopViewController() {
        if let nav = topVC as? UINavigationController {
            return nav
        } else if let nav = topVC.navigationController {
            return nav
        }
    }

    if let window = UIApplication.shared.windows.first(where: { $0.isKeyWindow }),
       let rootVC = window.rootViewController {
        if let nav = rootVC as? UINavigationController {
            return nav
        } else if let nav = rootVC.navigationController {
            return nav
        }
    }

    return nil
}

// 获取顶层视图控制器
func getTopViewController() -> UIViewController? {
    guard let window = UIApplication.shared.windows.first(where: { $0.isKeyWindow }) else {
        return nil
    }

    var topViewController = window.rootViewController

    while let presentedViewController = topViewController?.presentedViewController {
        topViewController = presentedViewController
    }

    return topViewController
}
常见问题
1. 编译错误
问题: Xcode中import Flutter报错
解决方案:
bash
# 清理并重新安装
cd flutter_module
flutter clean
flutter pub get

cd ../HostApp
pod deintegrate
pod install
2. 运行时错误
问题: Flutter引擎初始化失败
解决方案:
- 确保Flutter引擎在AppDelegate中正确初始化
- 检查Flutter Module的路径是否正确
- 验证Podfile配置
3. 调试技巧
Flutter调试:
bash
# 在Flutter Module目录
flutter attach
iOS调试:
- 使用Xcode的调试工具
- 查看控制台日志
- 使用断点调试原生代码
总结
通过以上步骤,成功创建了一个Flutter Module并将其集成到iOS宿主应用中。这种混合开发模式允许:
- 渐进式迁移: 逐步将原生功能迁移到Flutter
- 团队协作: iOS和Flutter团队可以并行开发
- 代码复用: Flutter代码可以在多个平台间共享
- 性能优化: 关键功能保持原生实现
Flutter官方文档参考:docs.flutter.dev/add-to-app/...