Ubuntu 24.04 Server 版安装及配置
文章目录
- Ubuntu 24.04 Server 版安装及配置
-
- 一、获取安装文件
- 二、虚拟机配置
- 三、安装界面
- 四、配置网络
- 五、扩容根分区
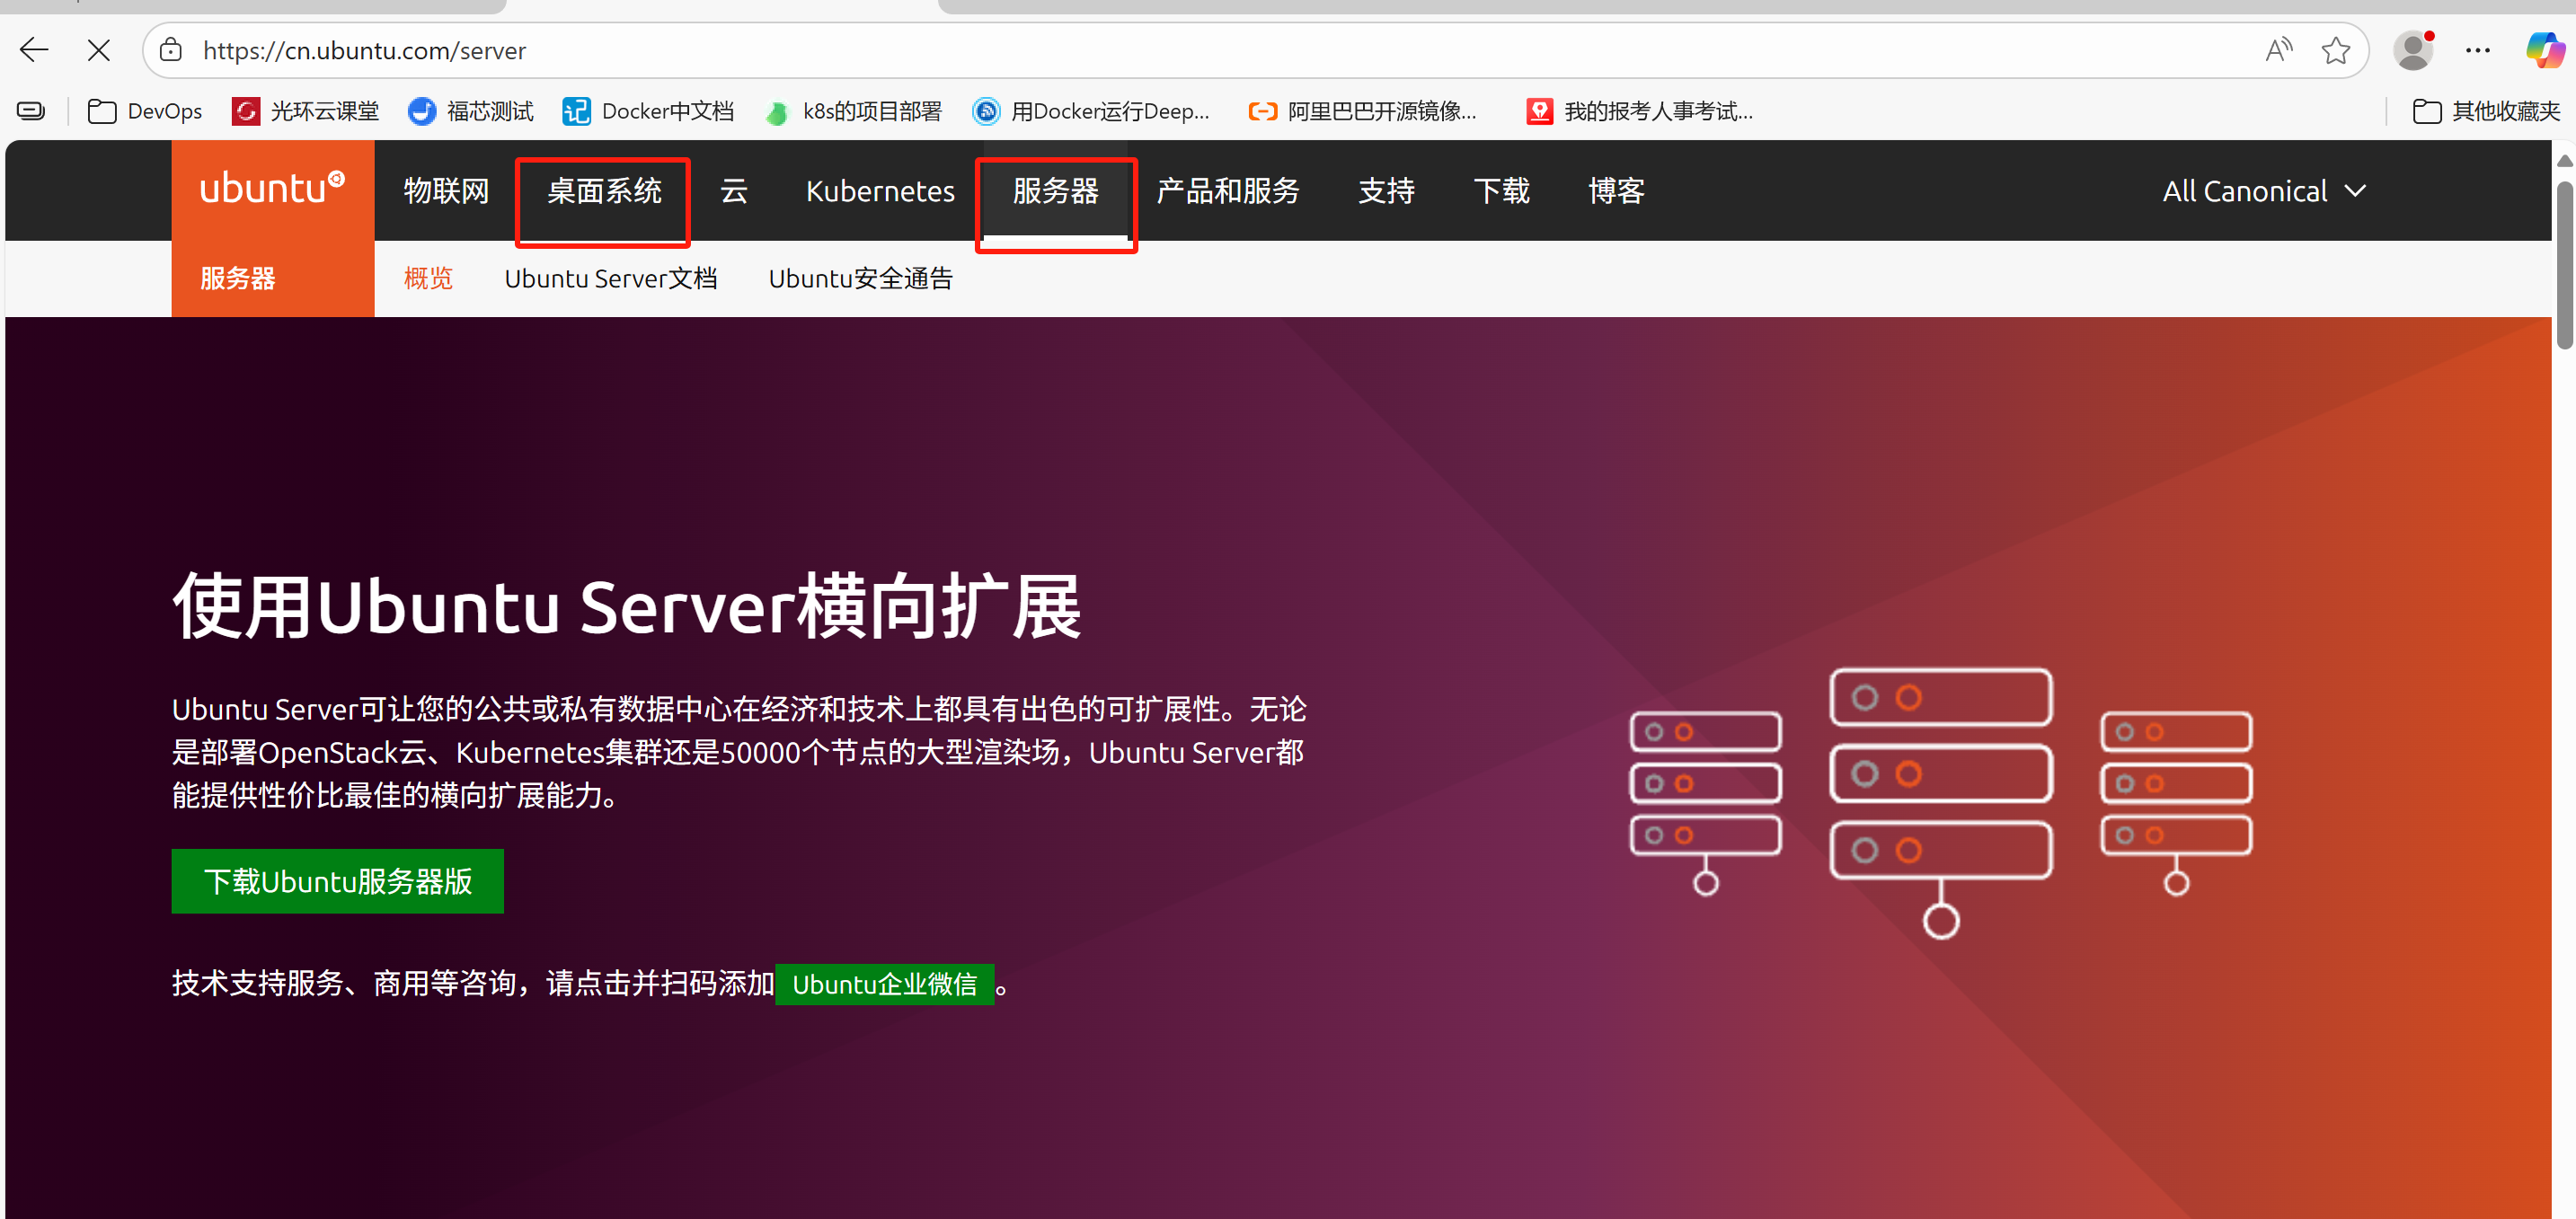
一、获取安装文件
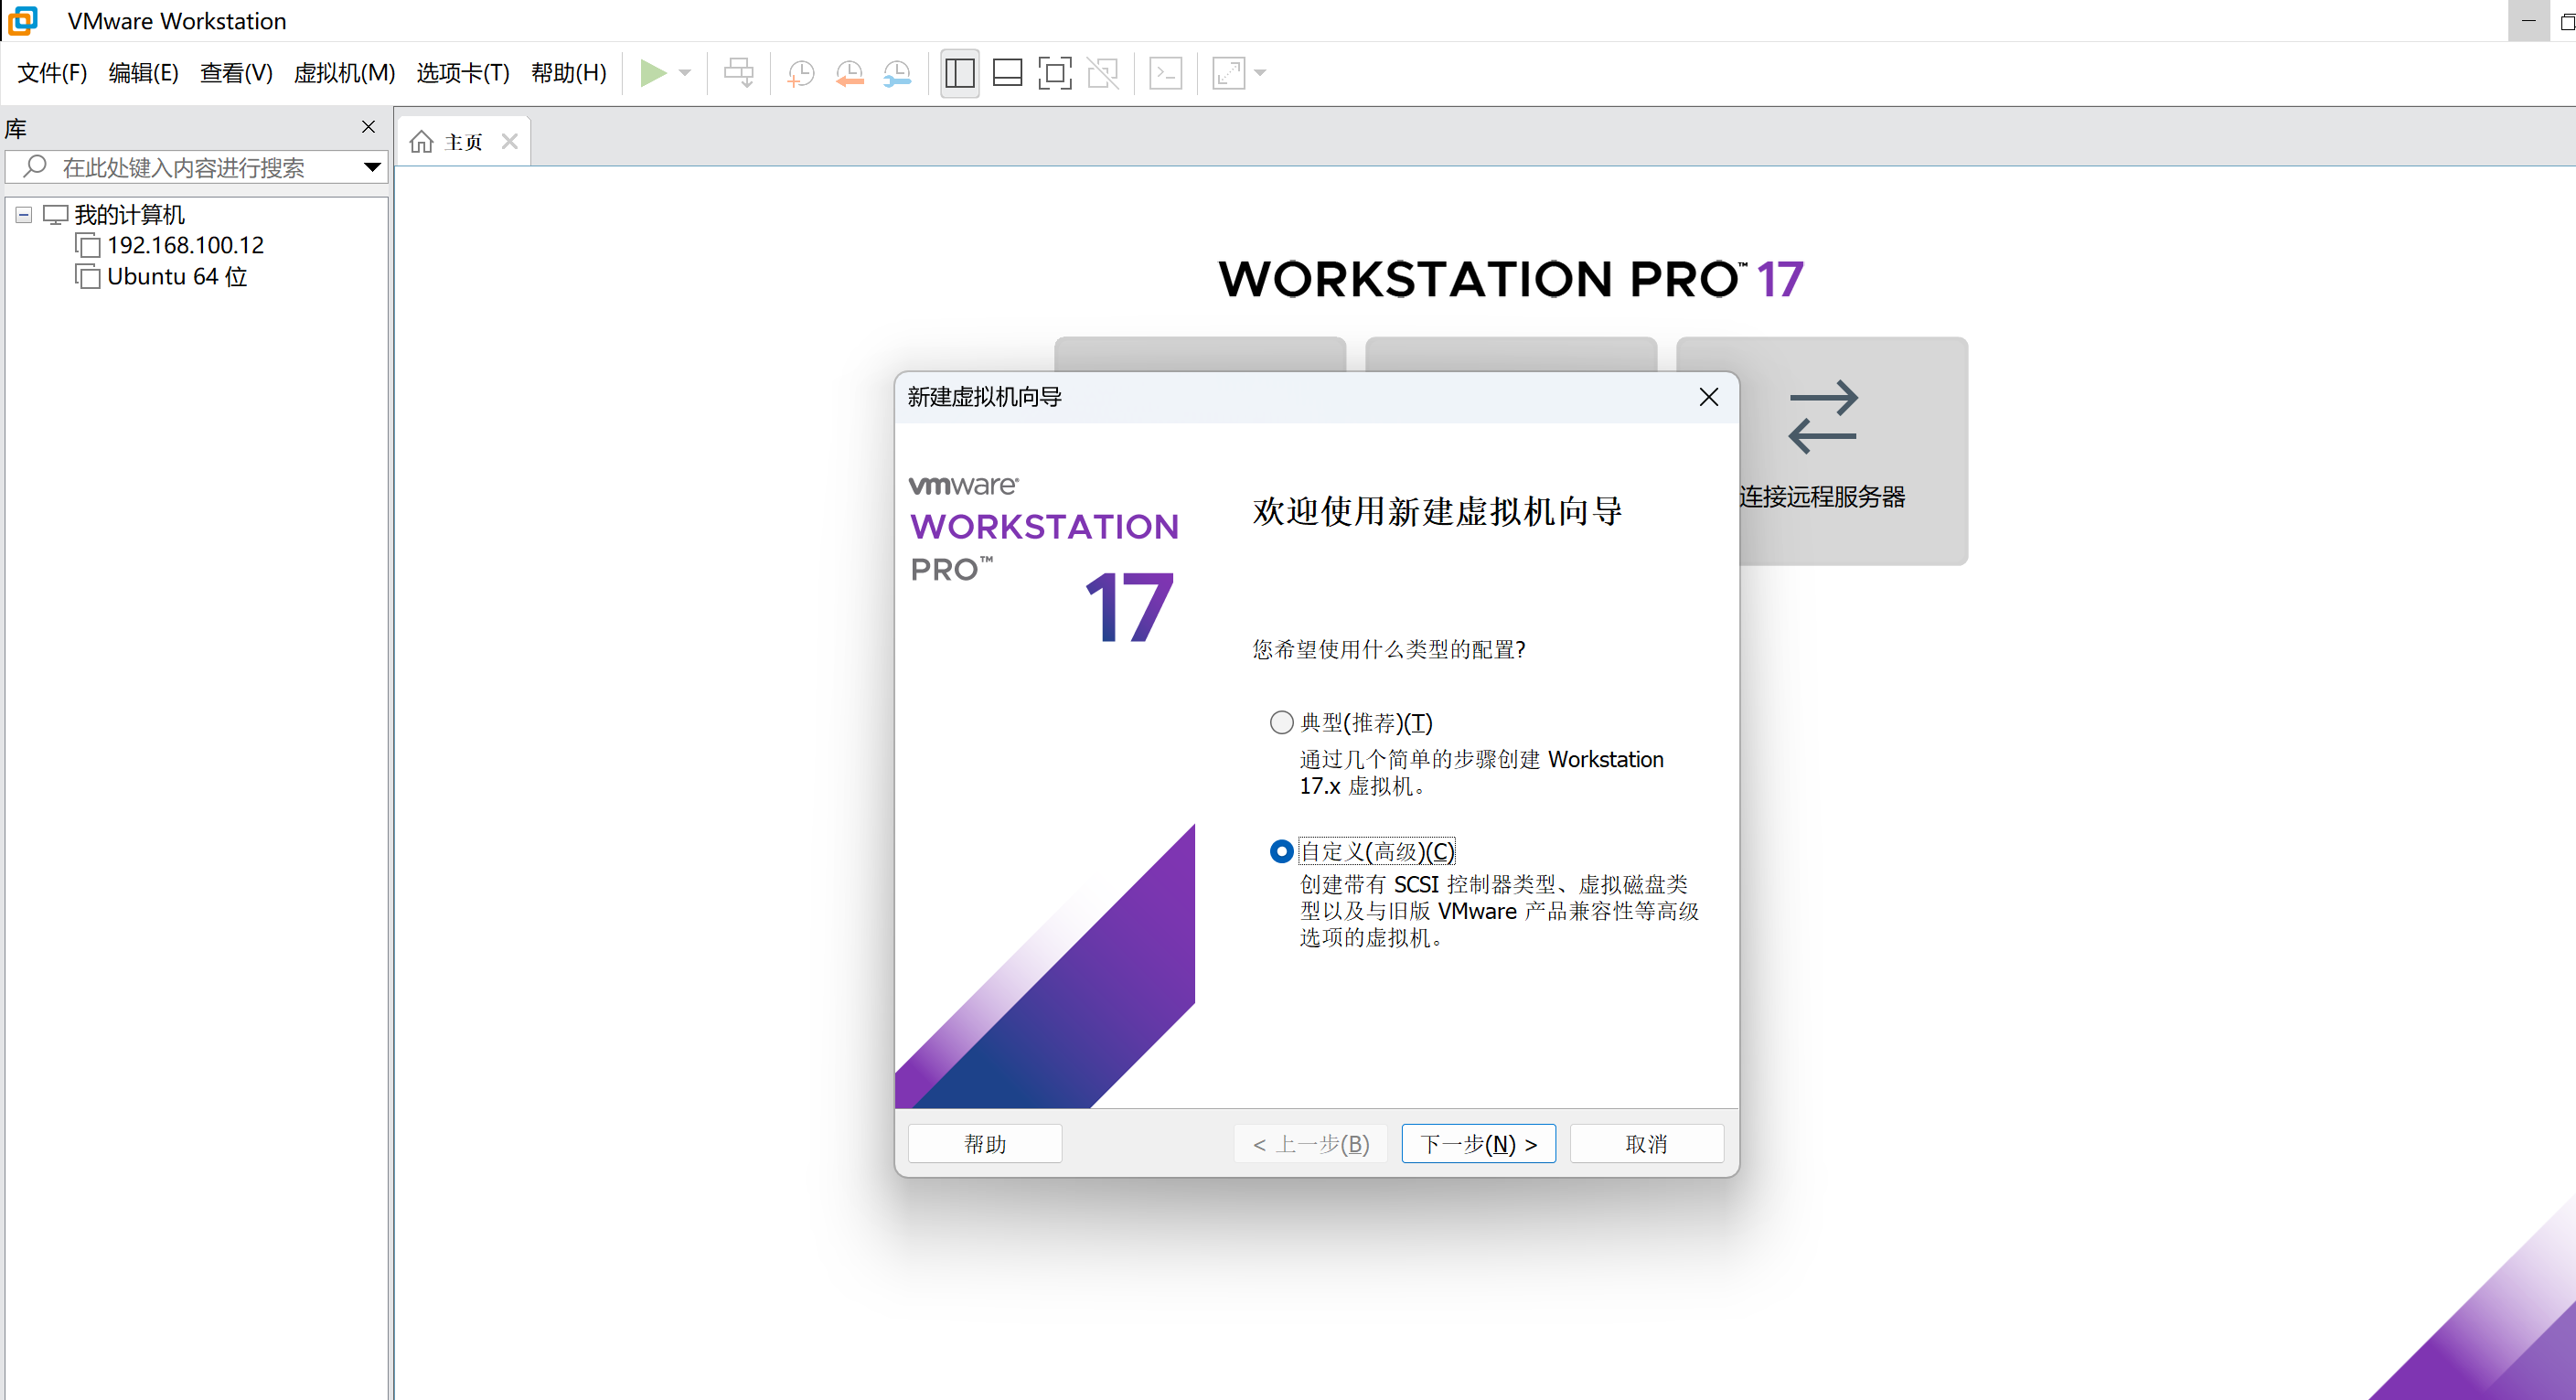
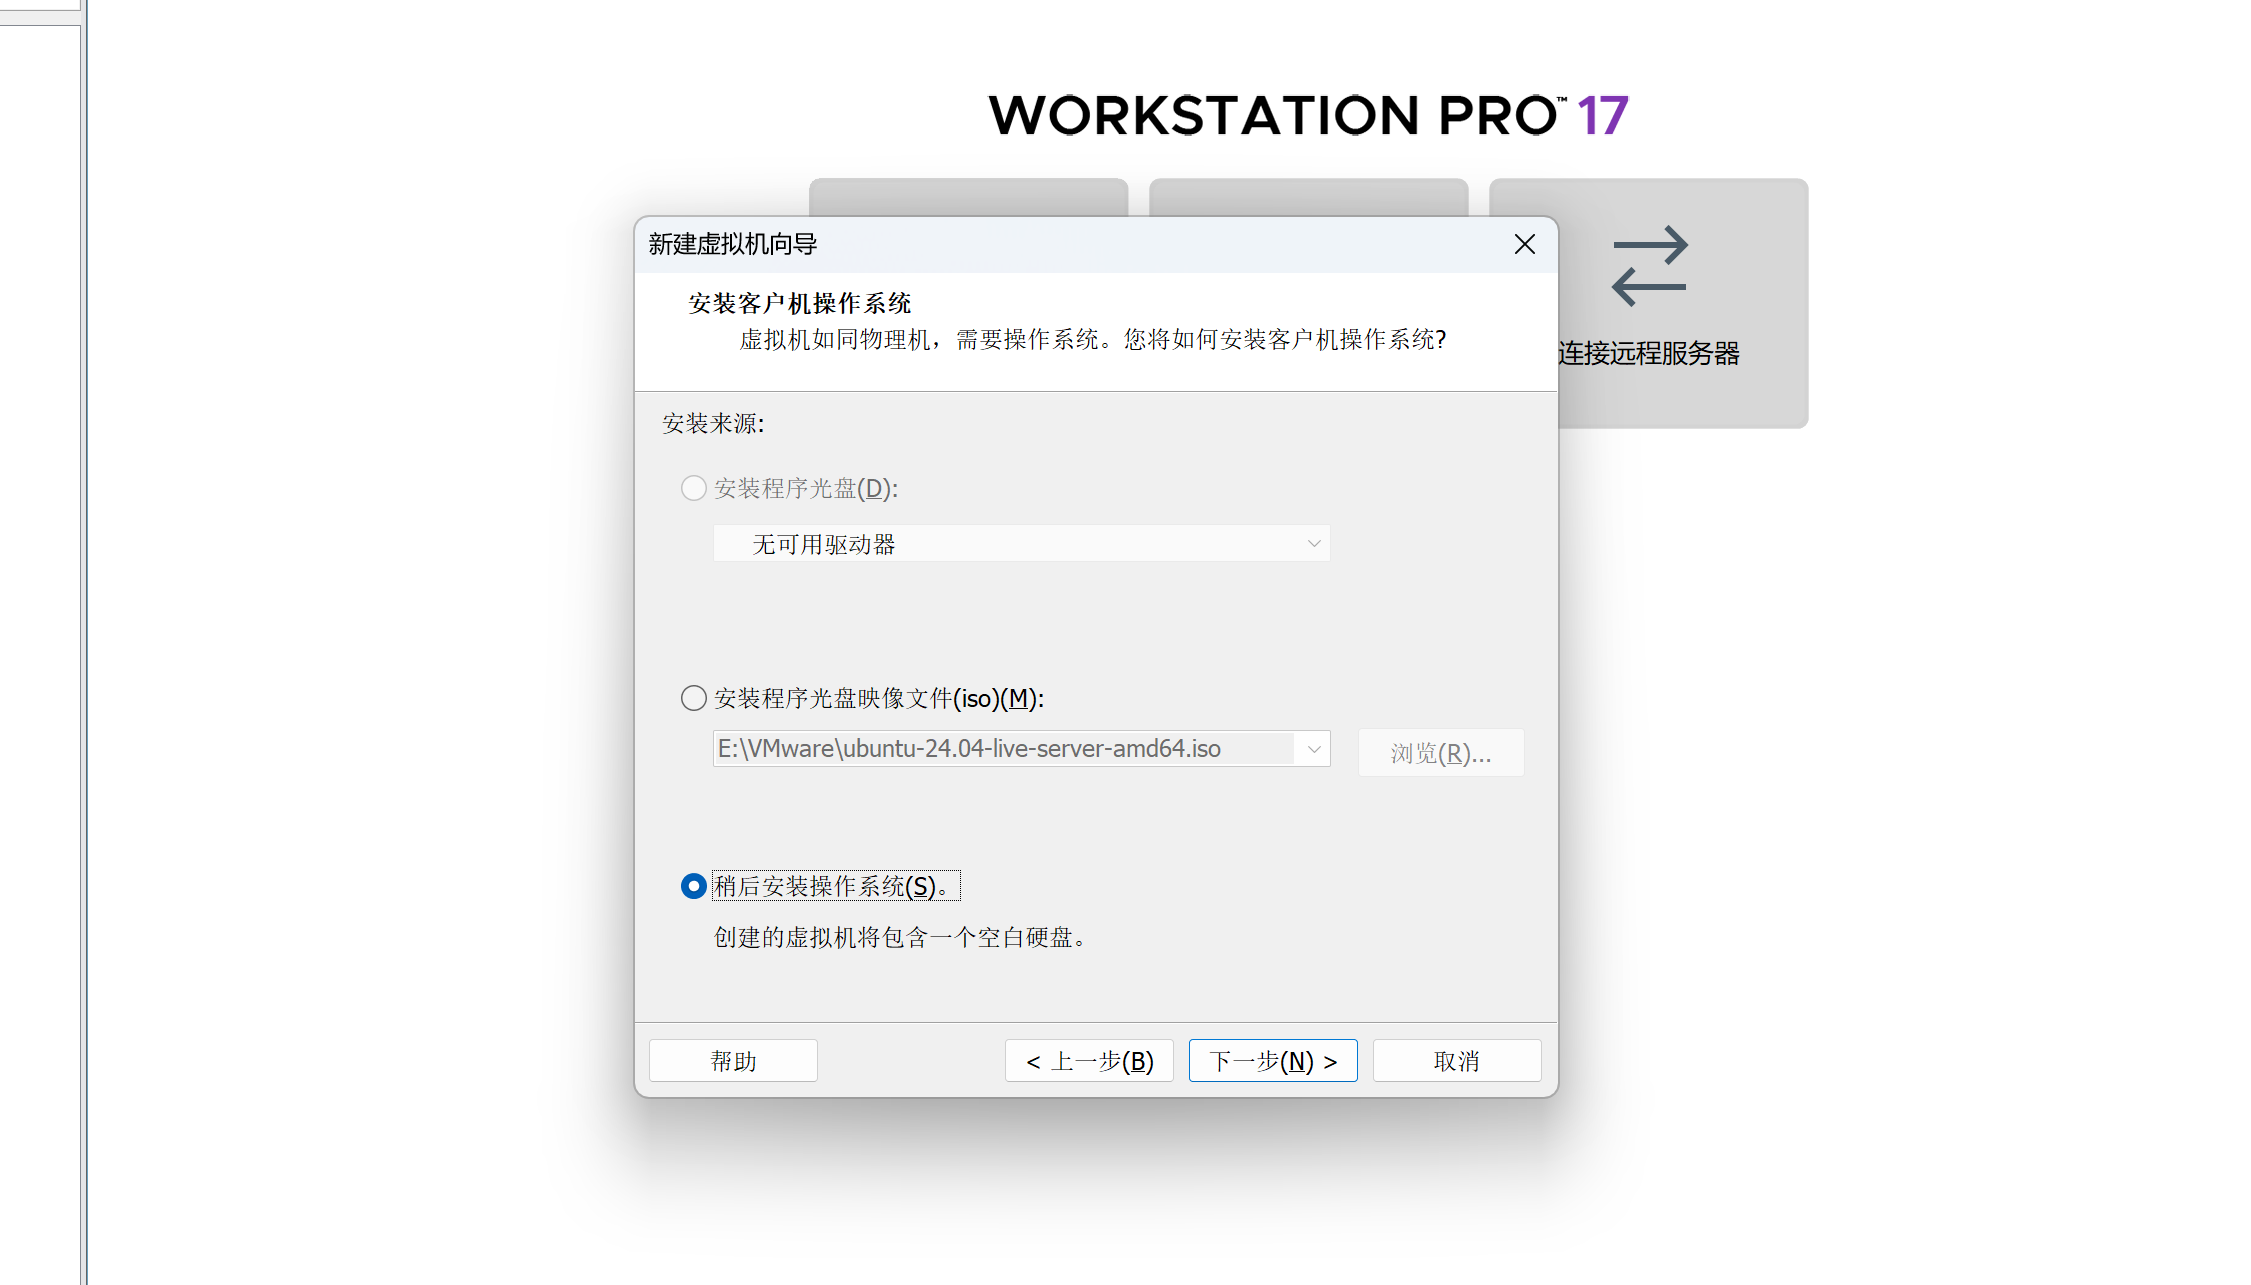
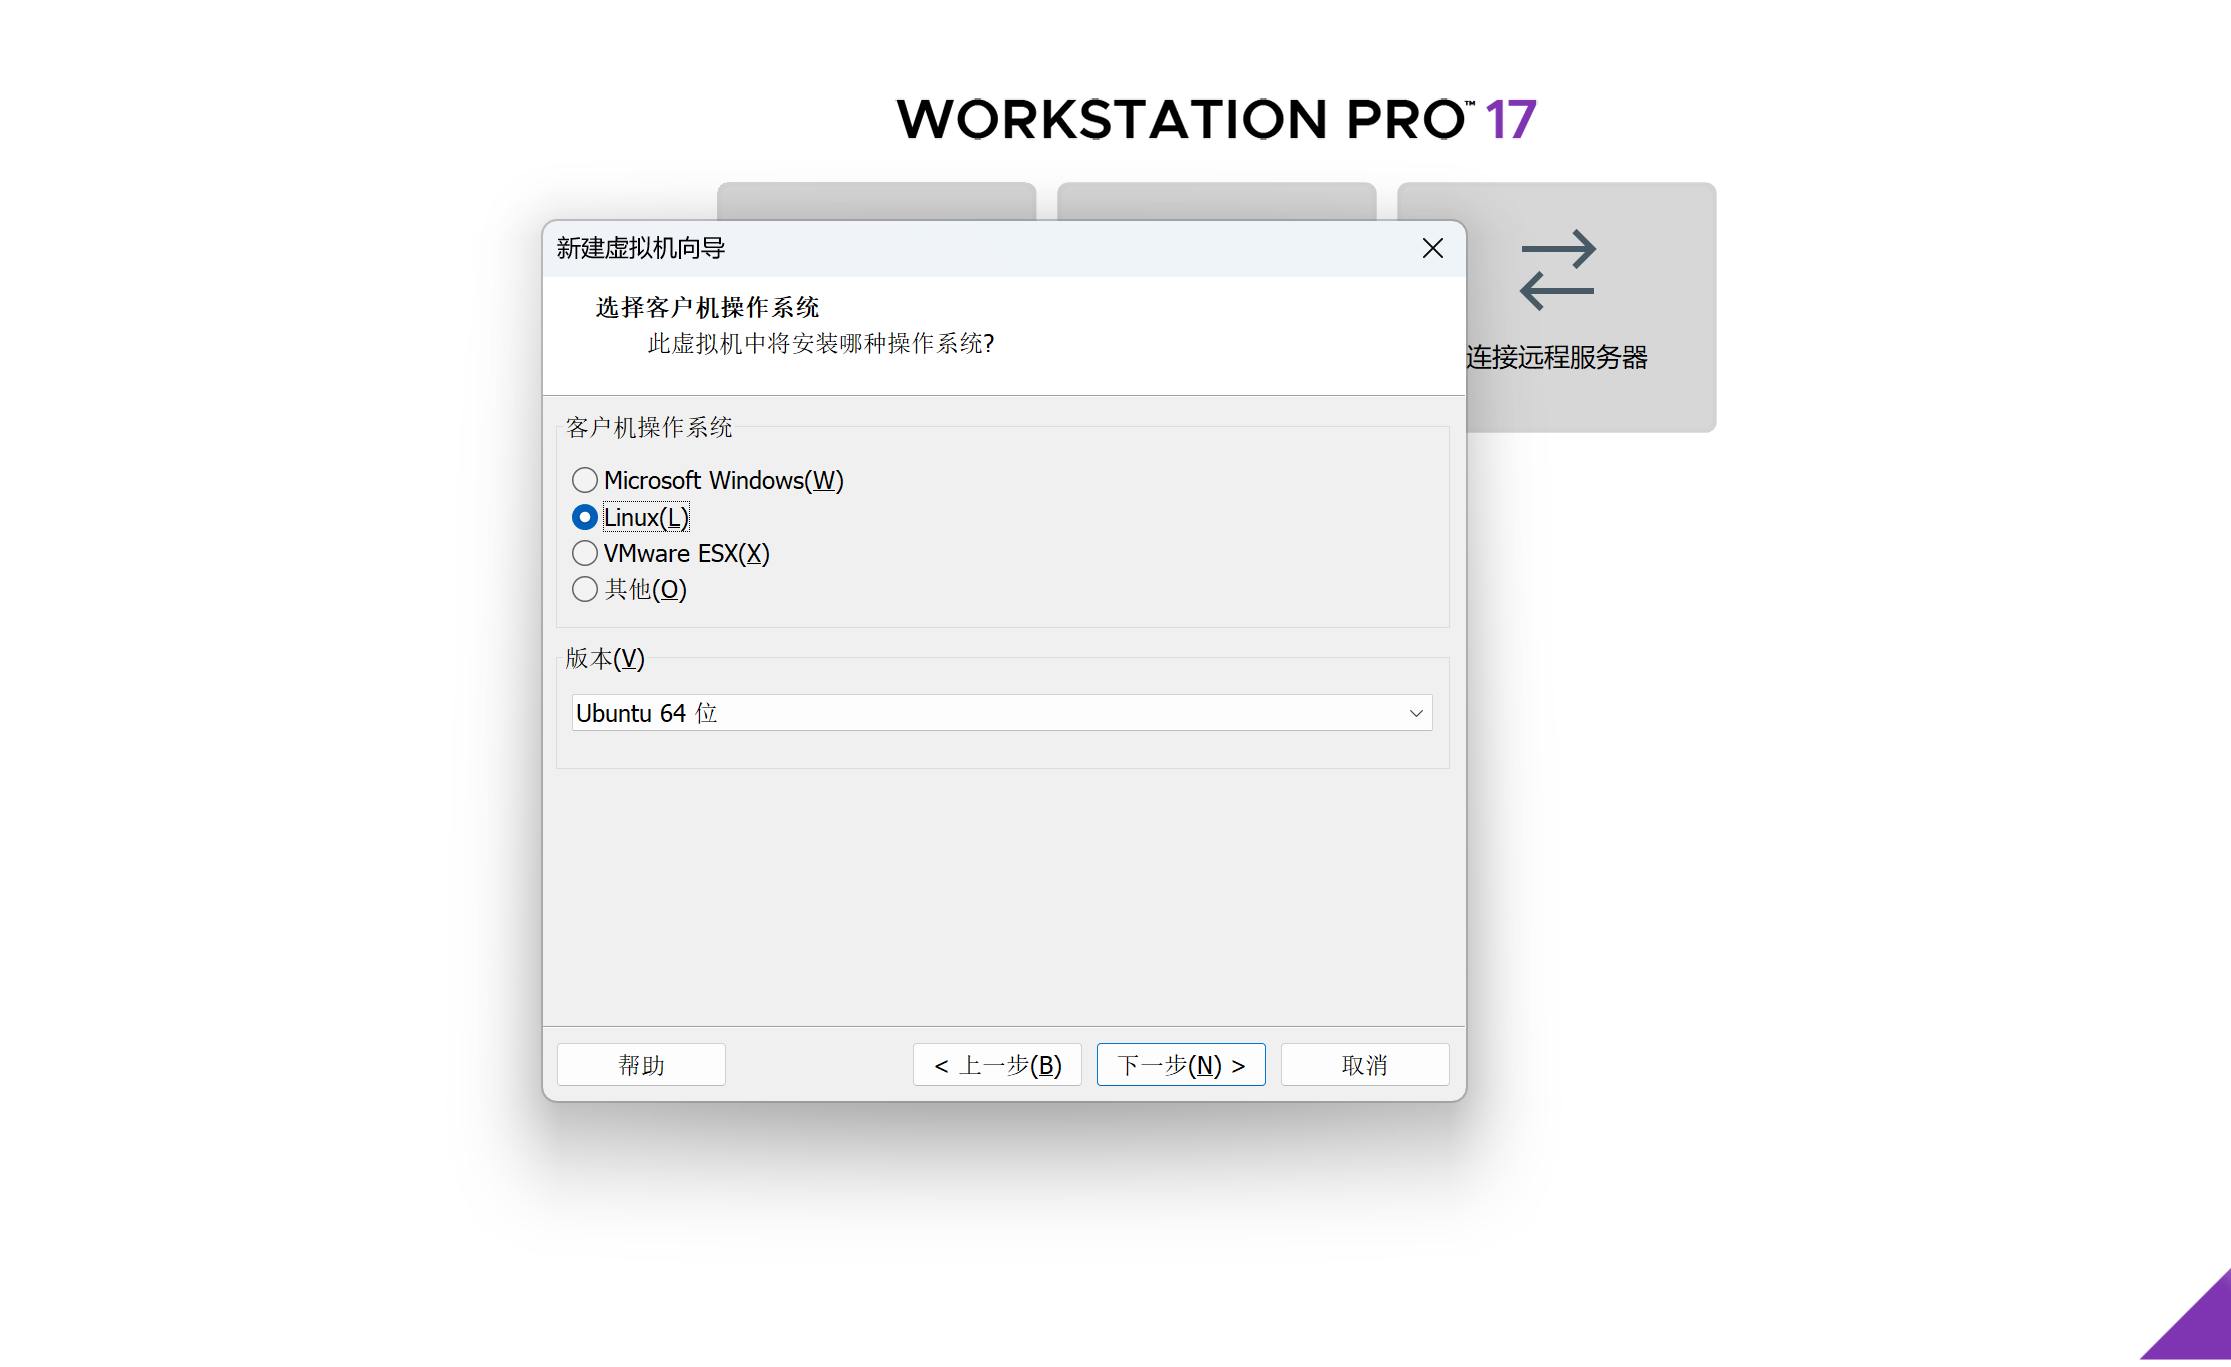
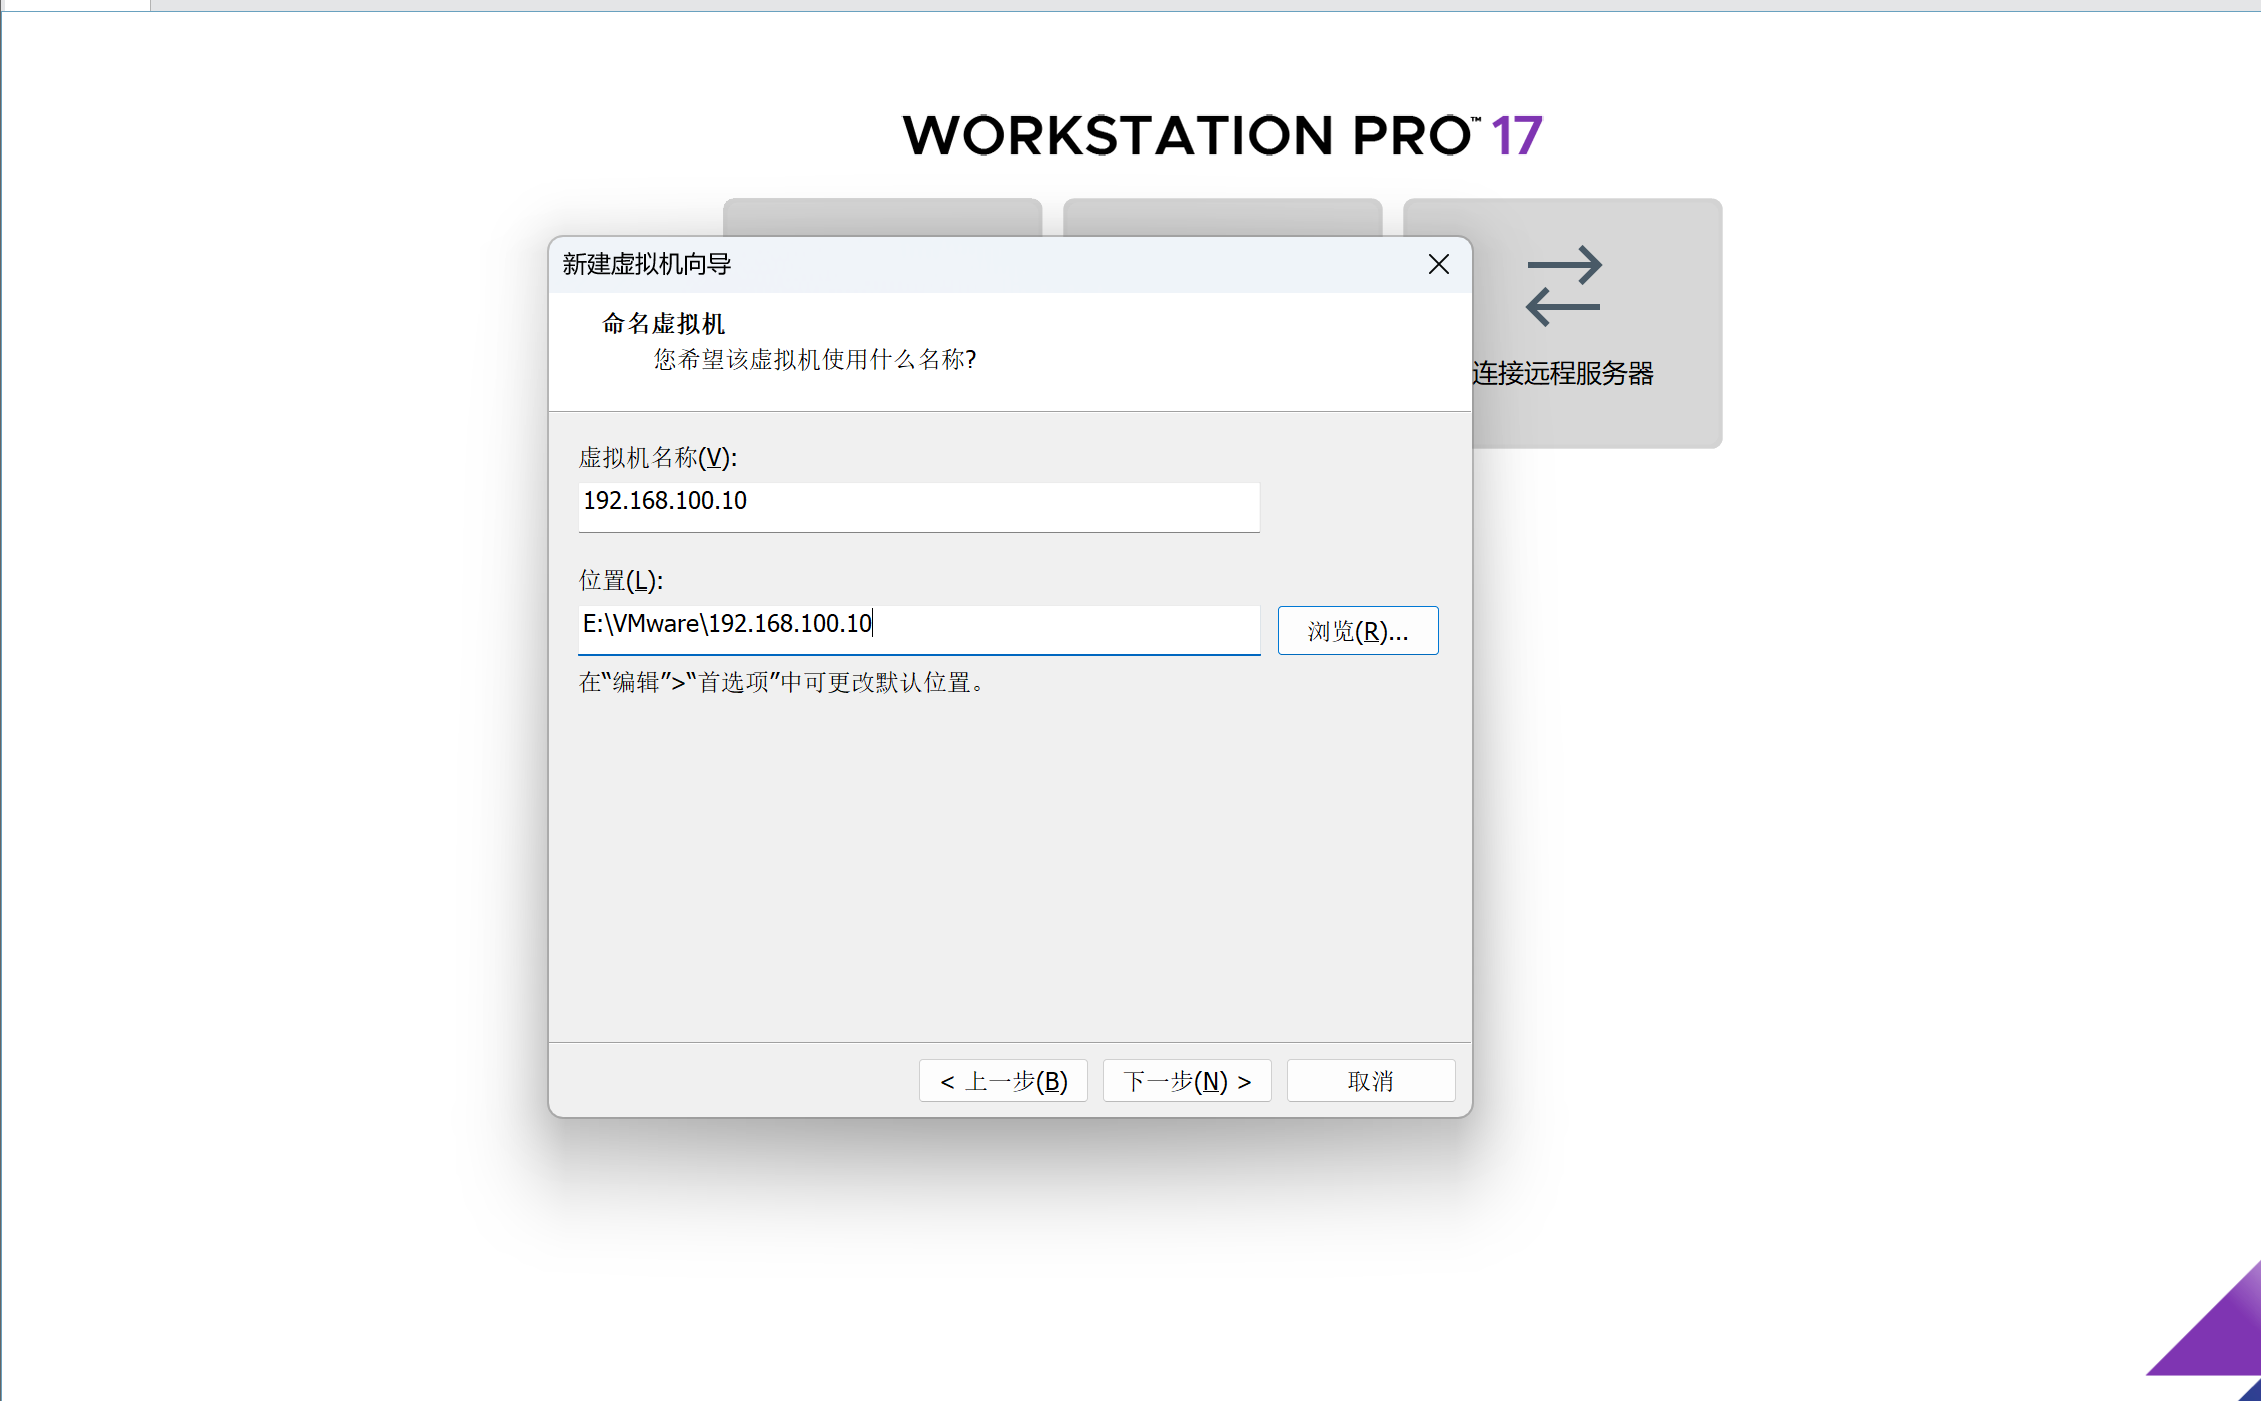
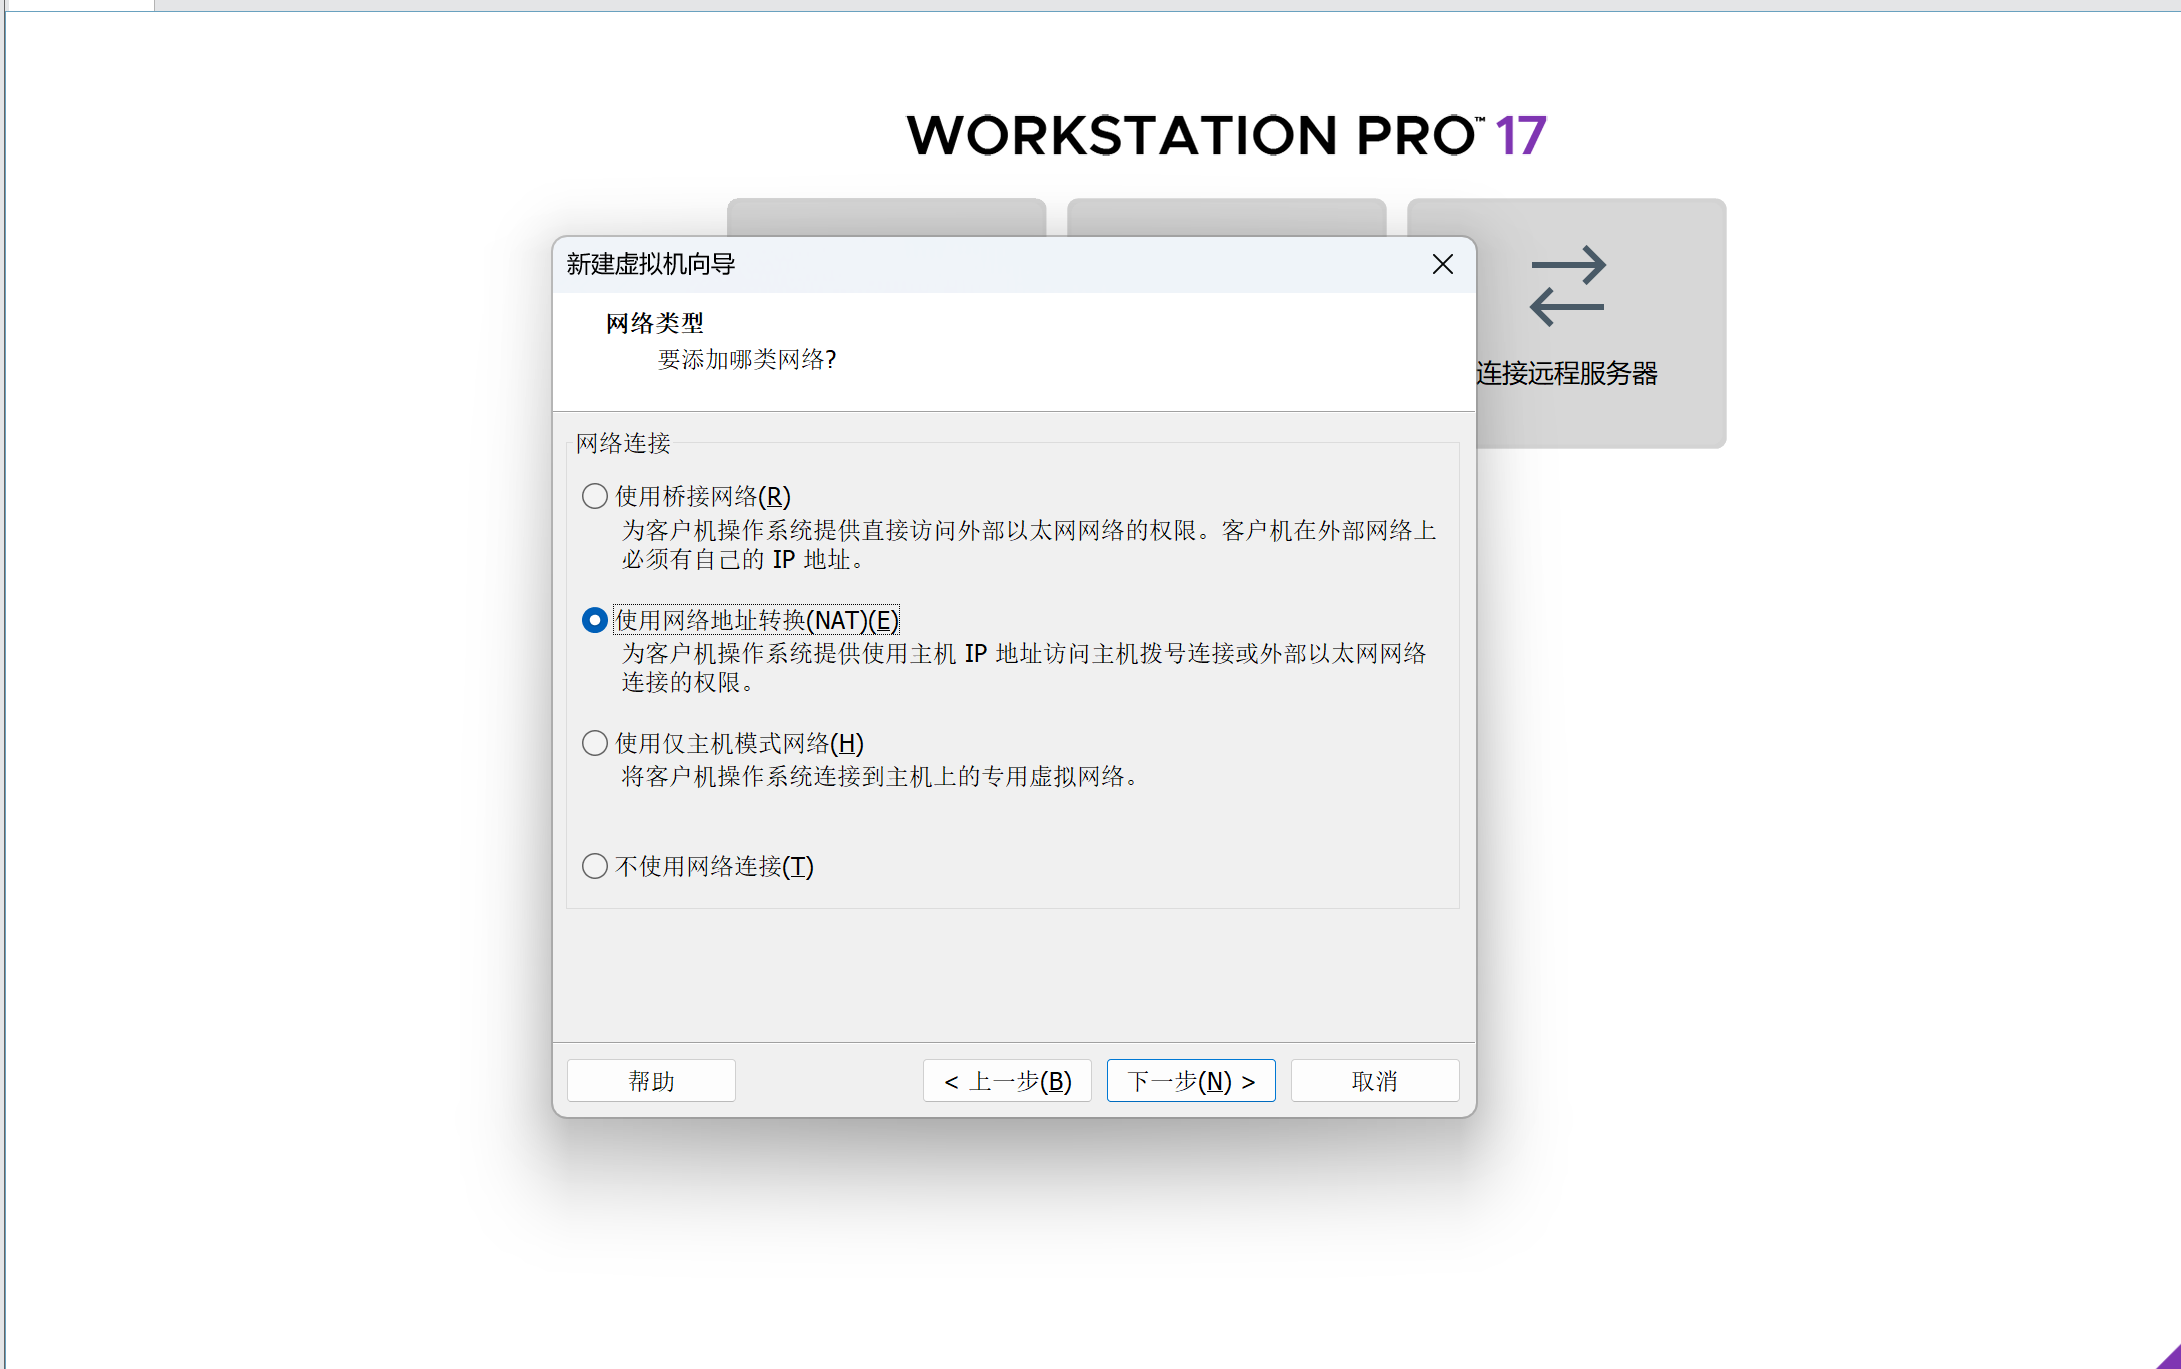
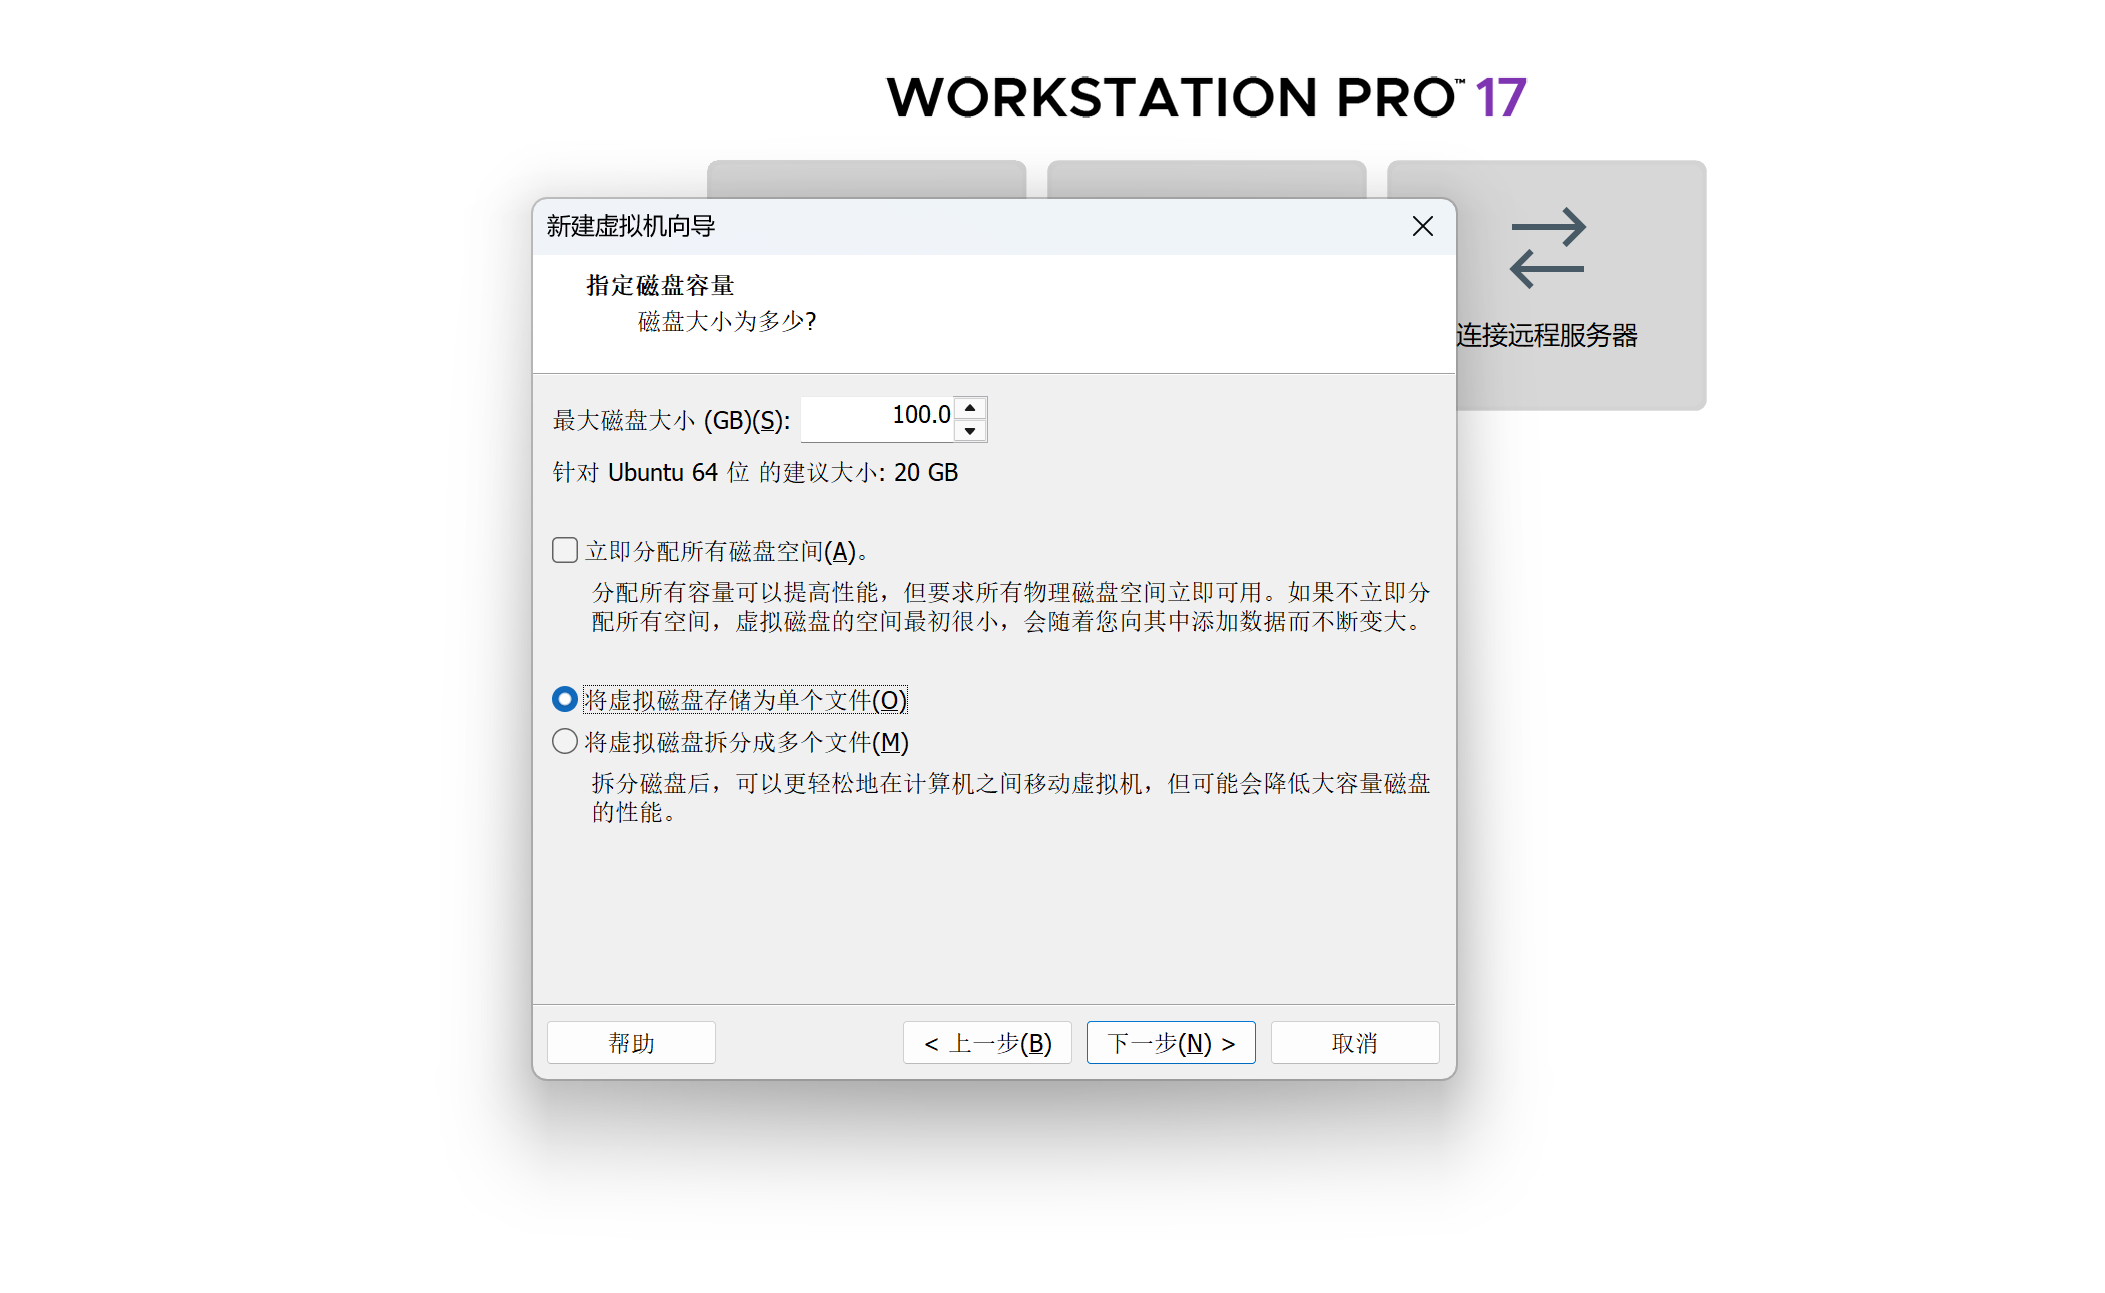
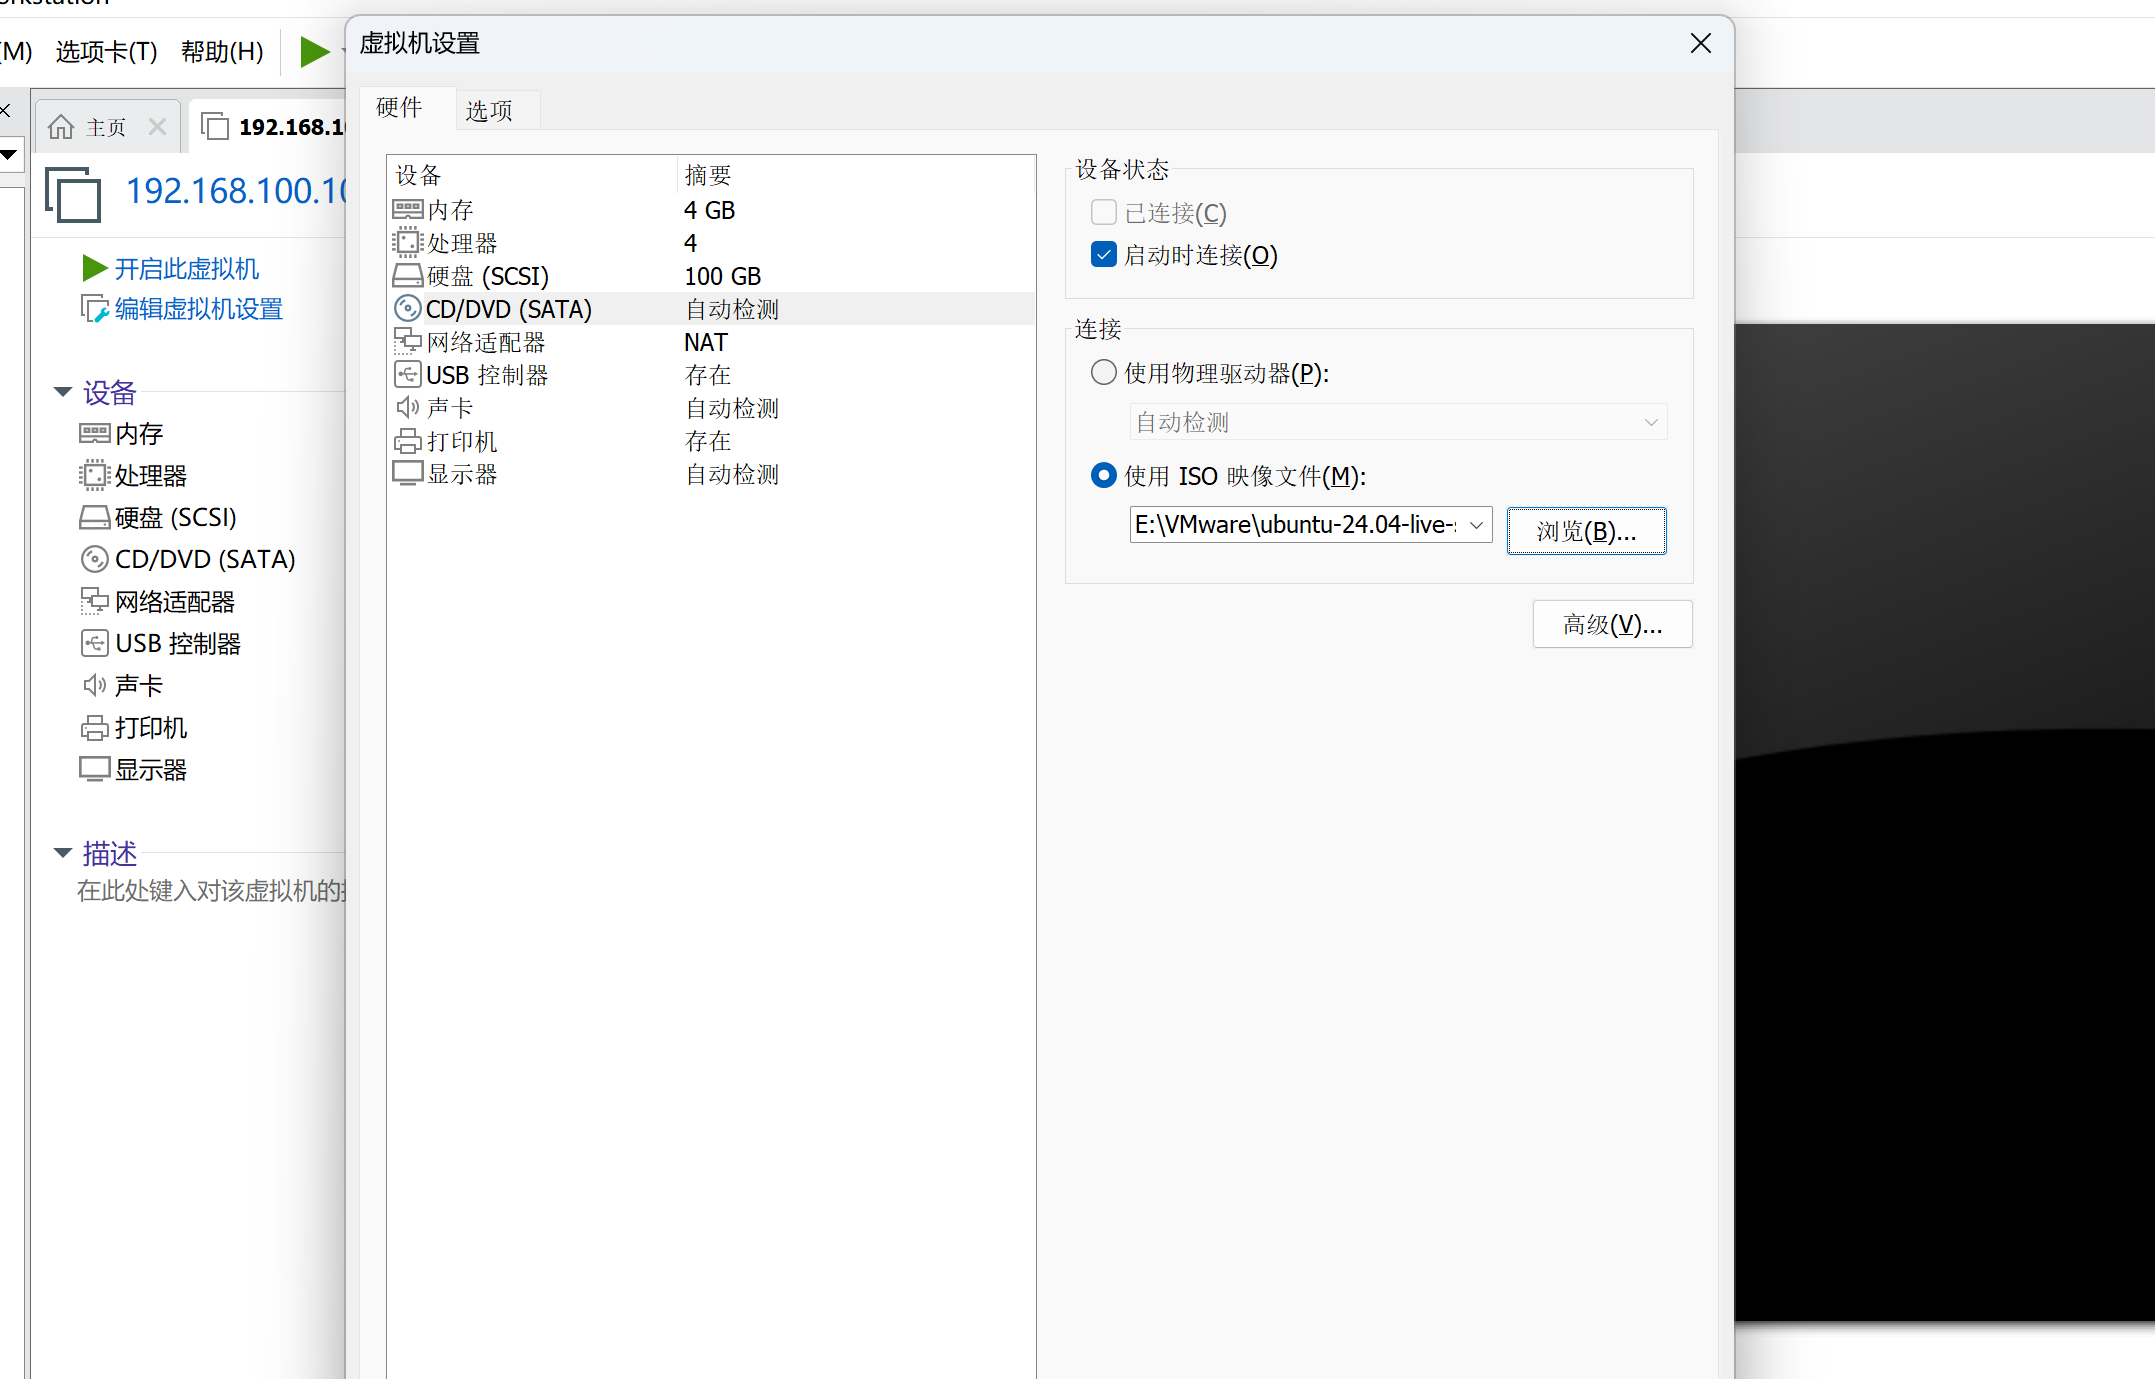
二、虚拟机配置
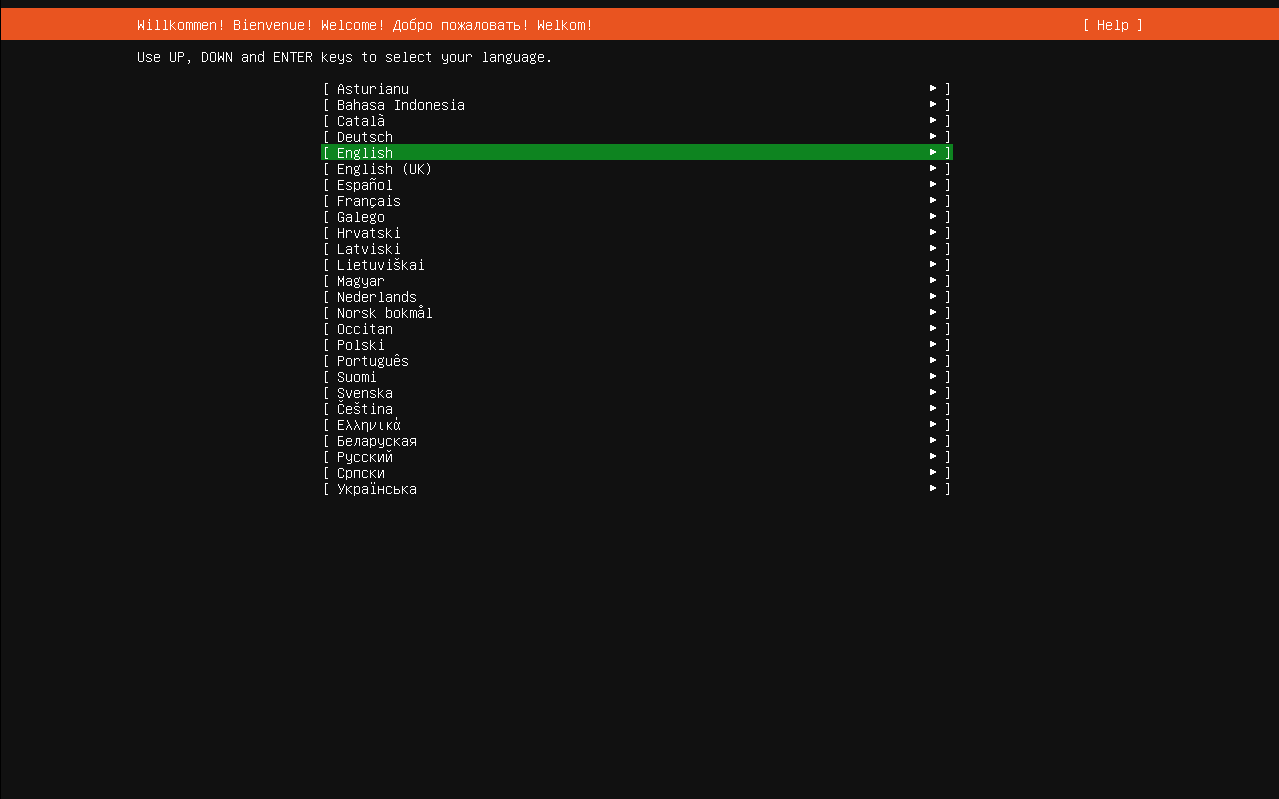
三、安装界面
选择English(US)
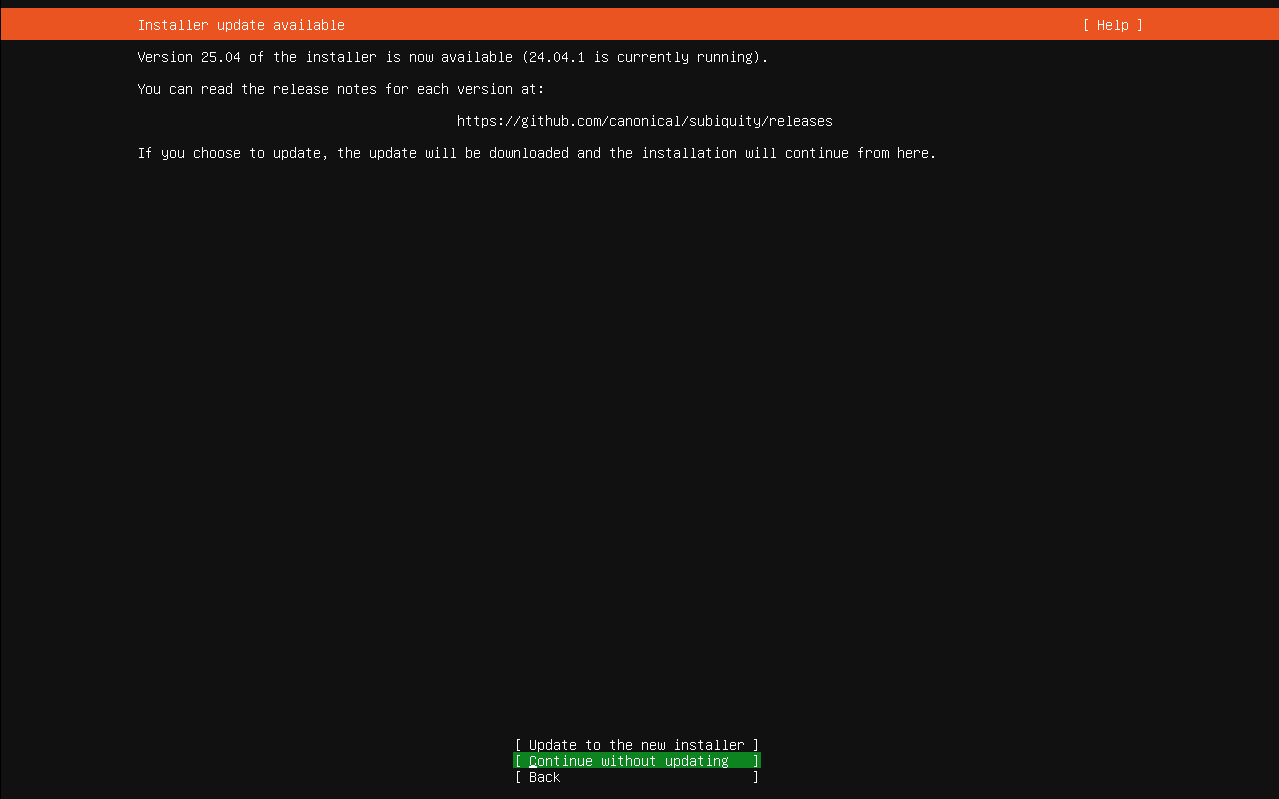
问是否升级内核

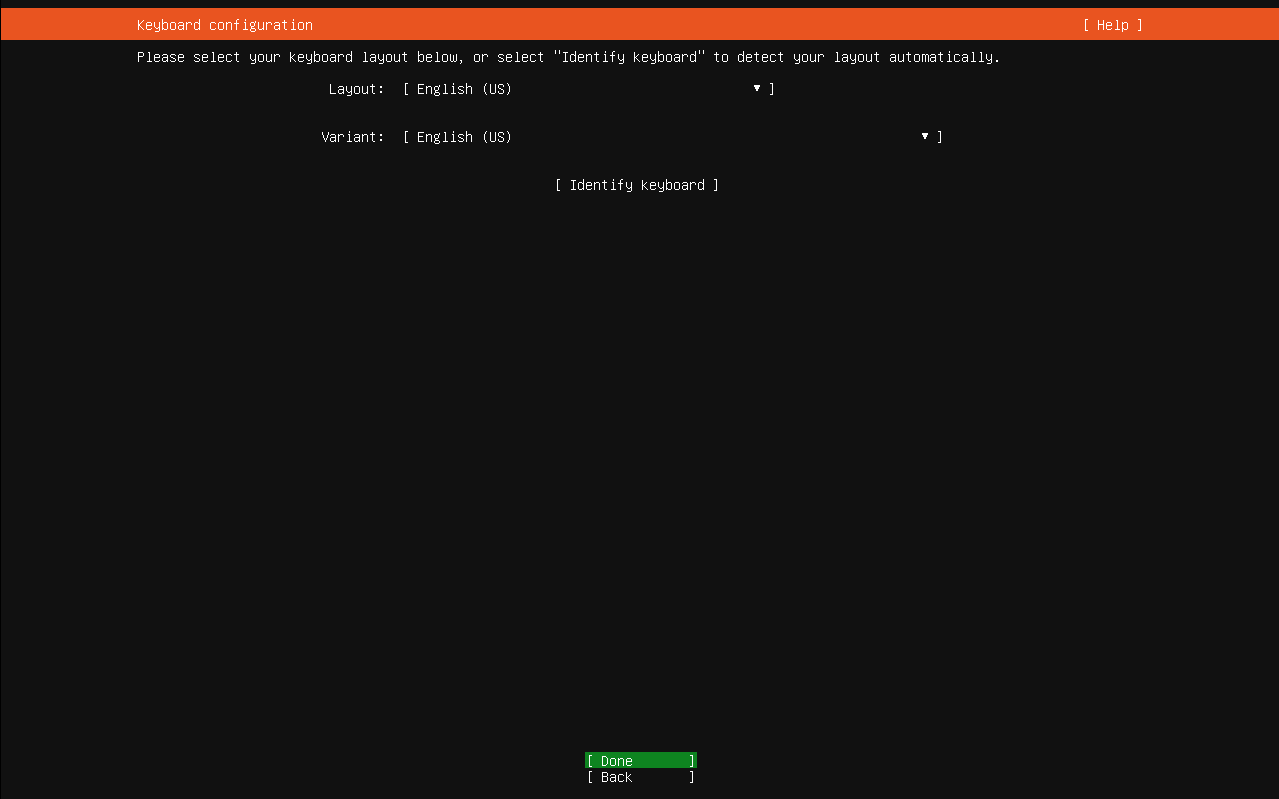
配置键盘
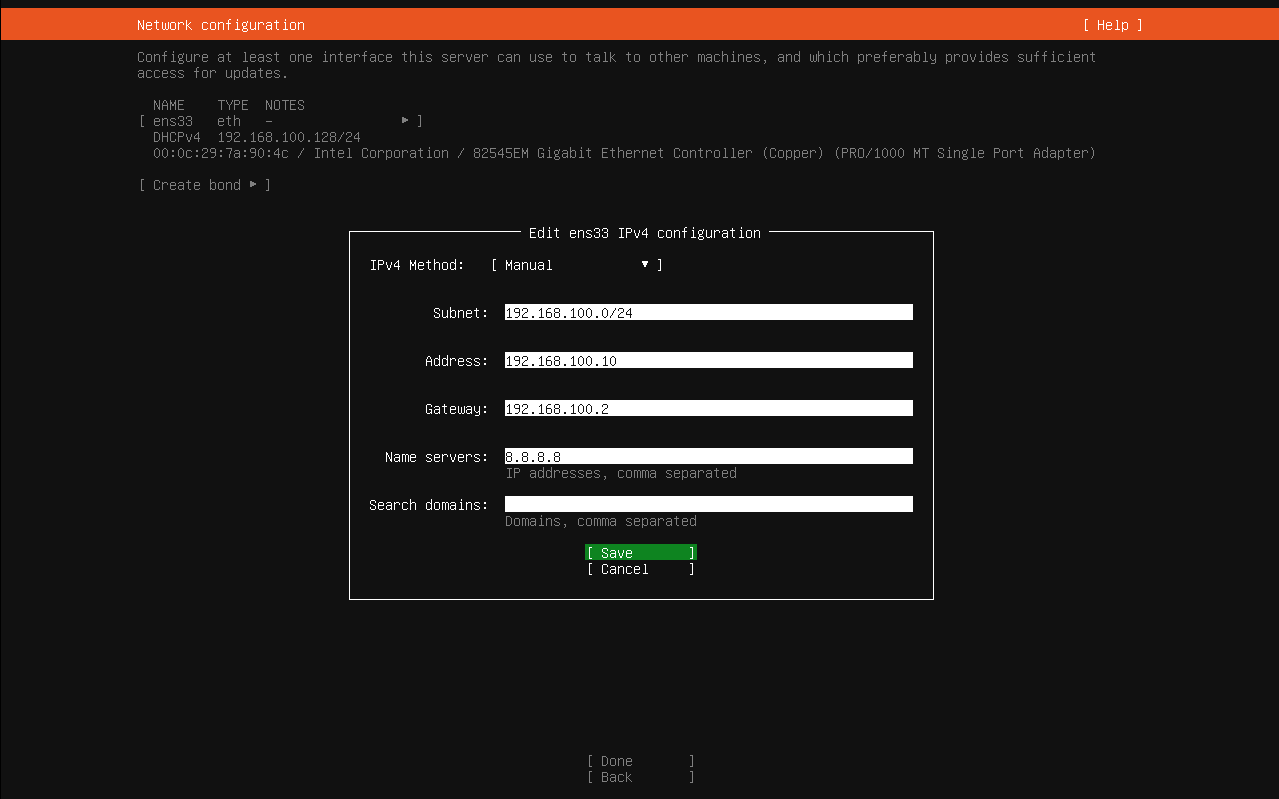
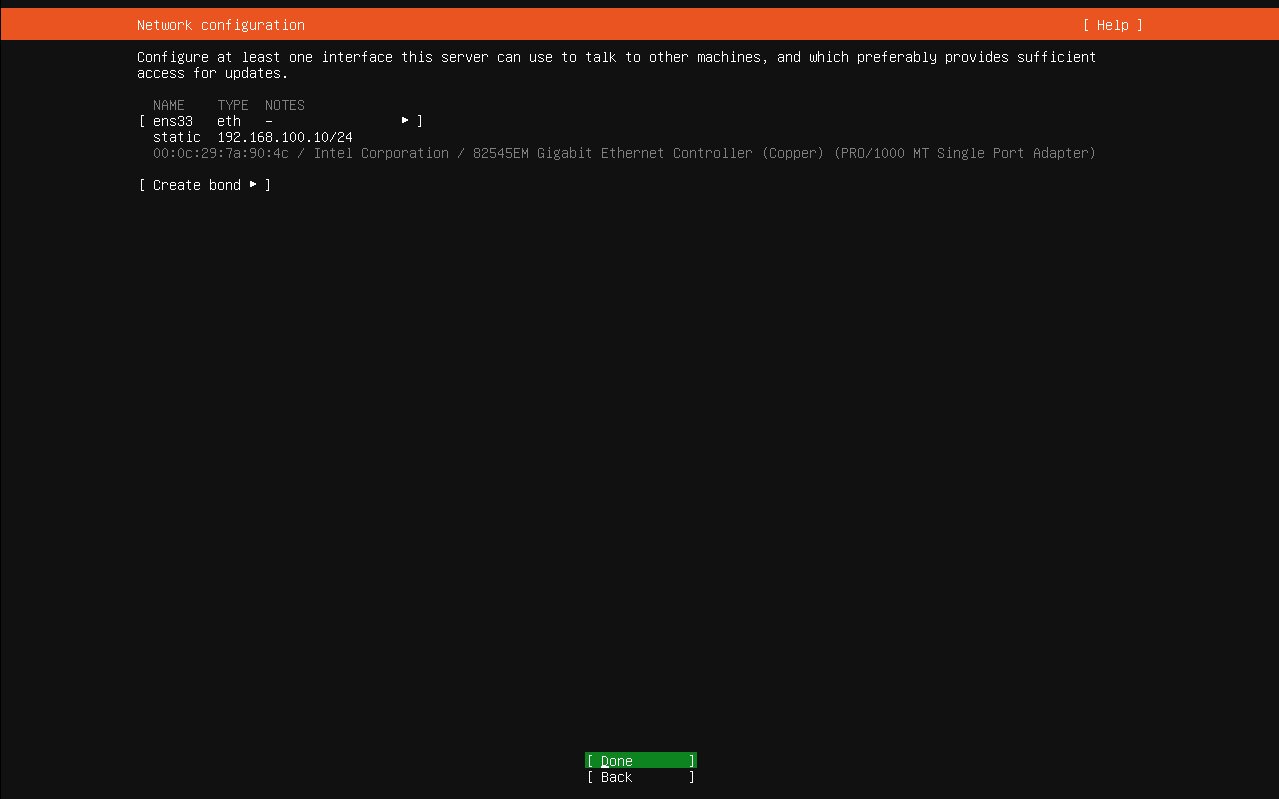
手动配置ipv4网络(可选)
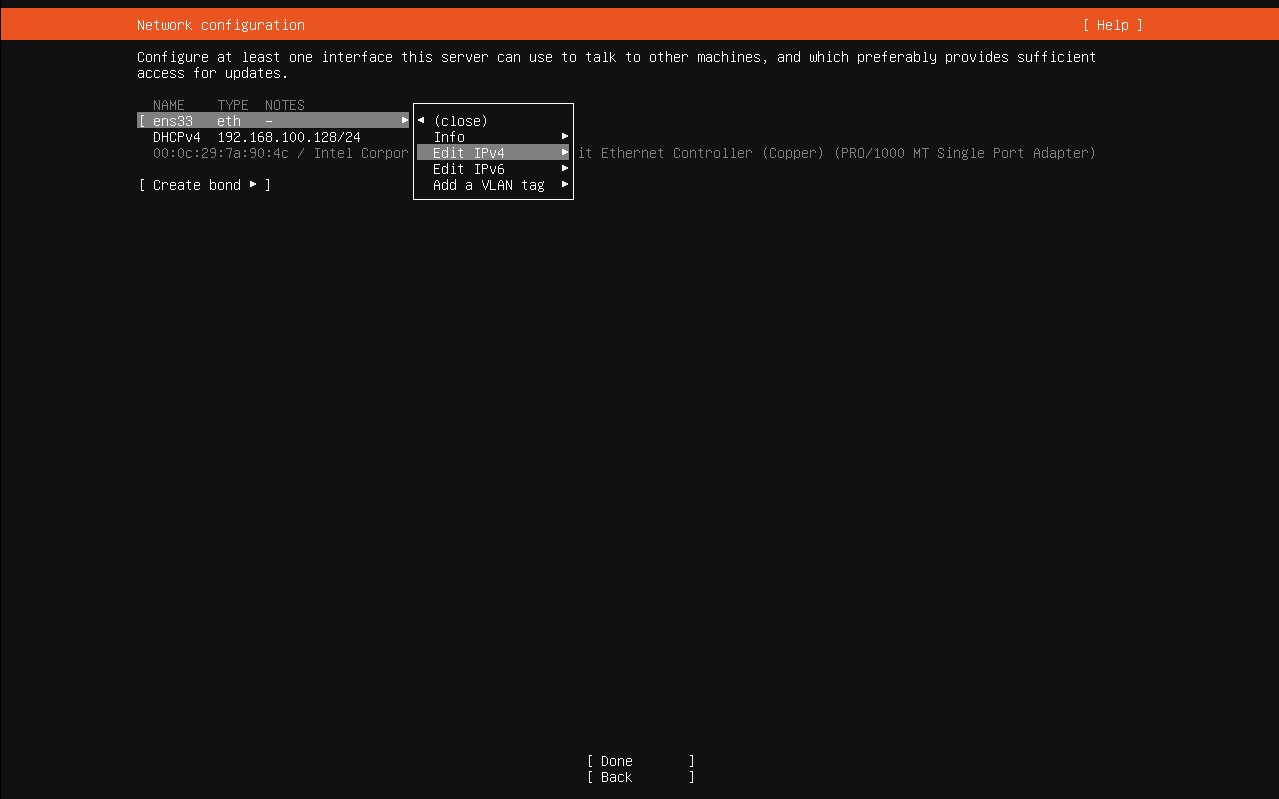
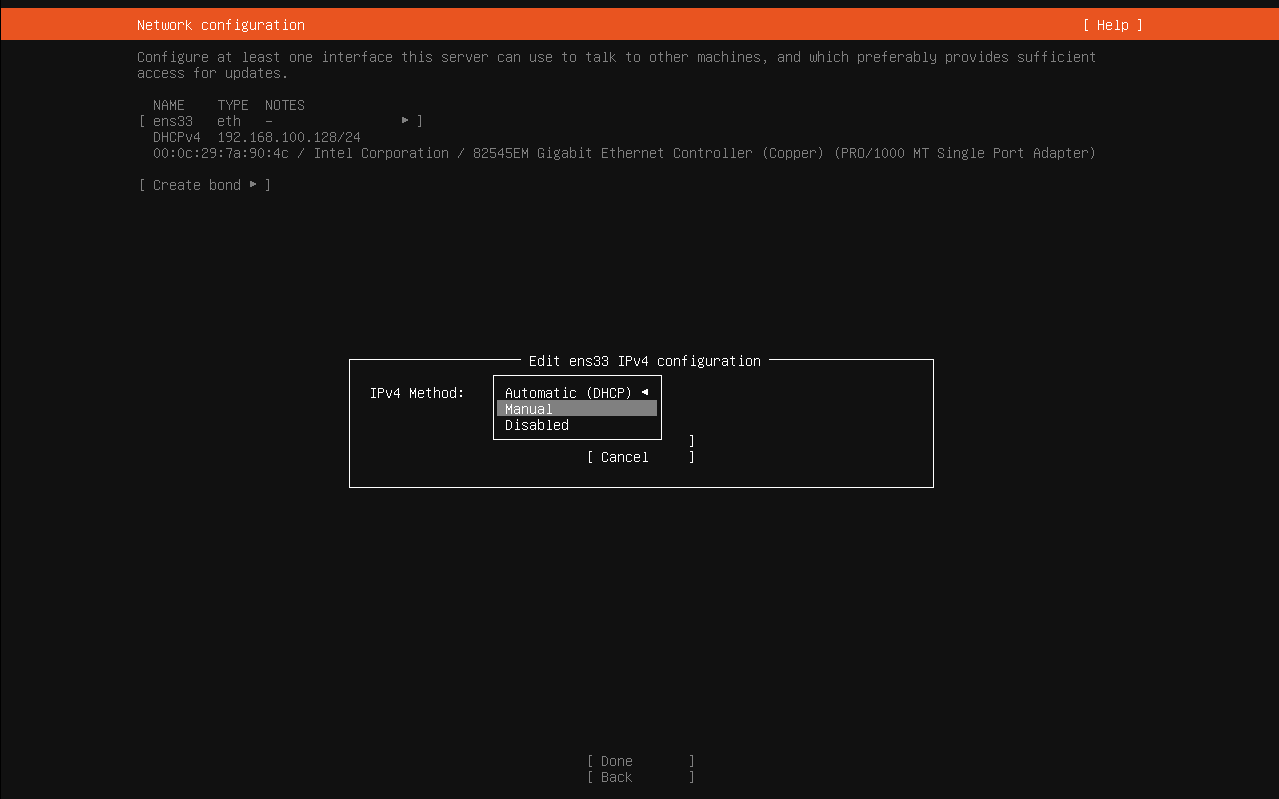
子网、IP、网关、DNS
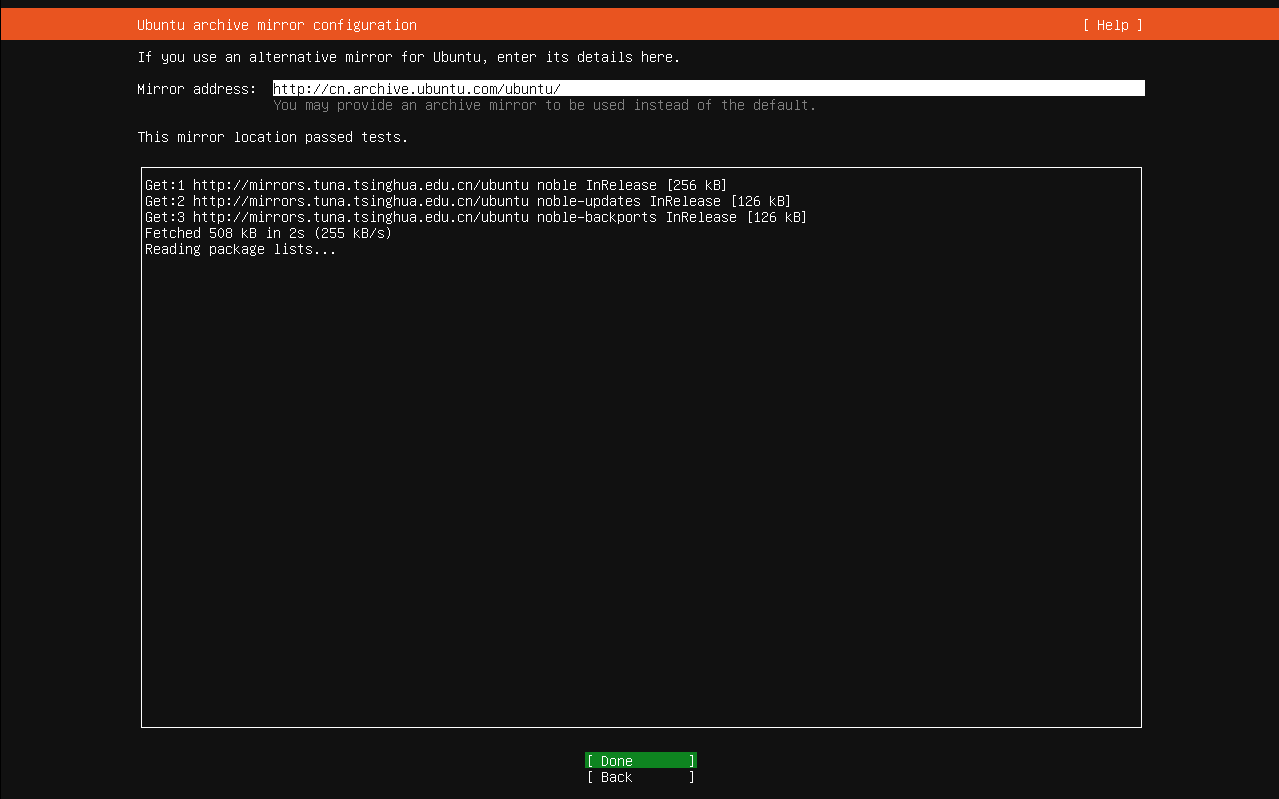
是否配置静像源
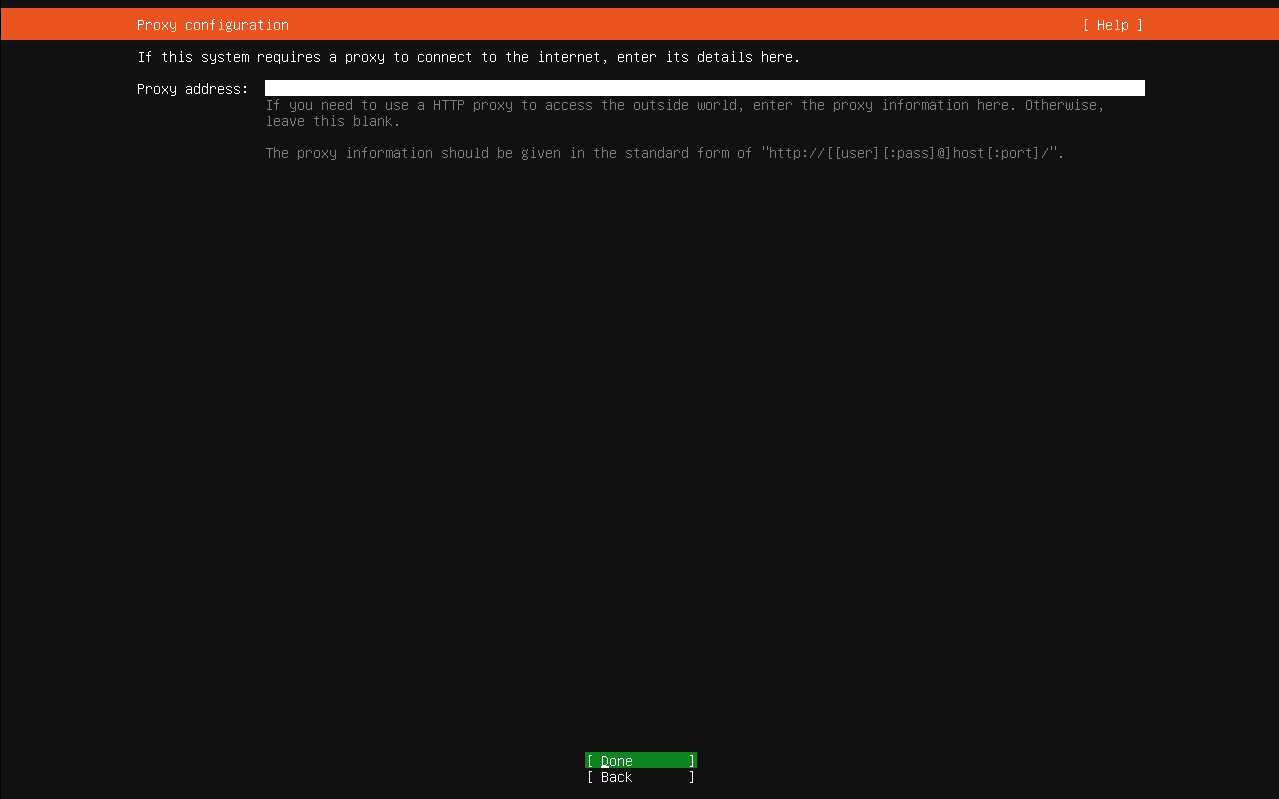
系统使用默认静像源
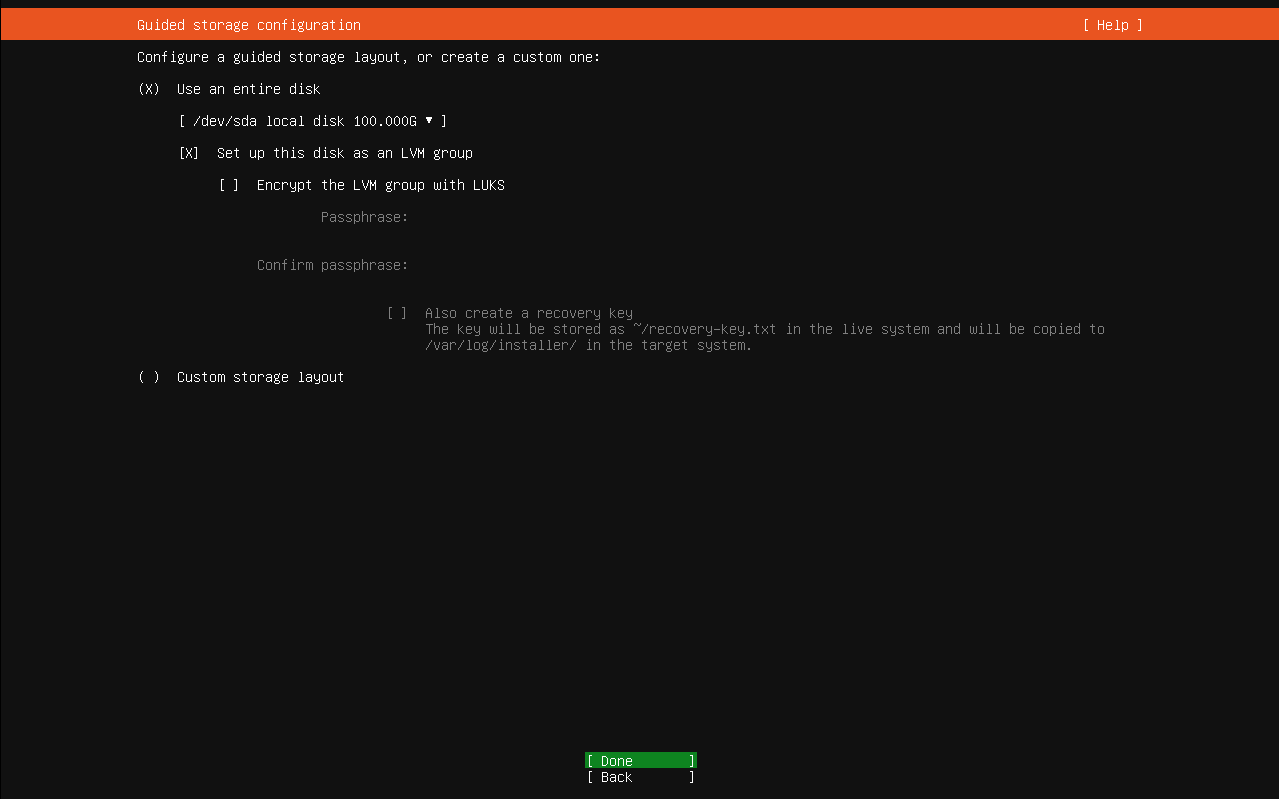
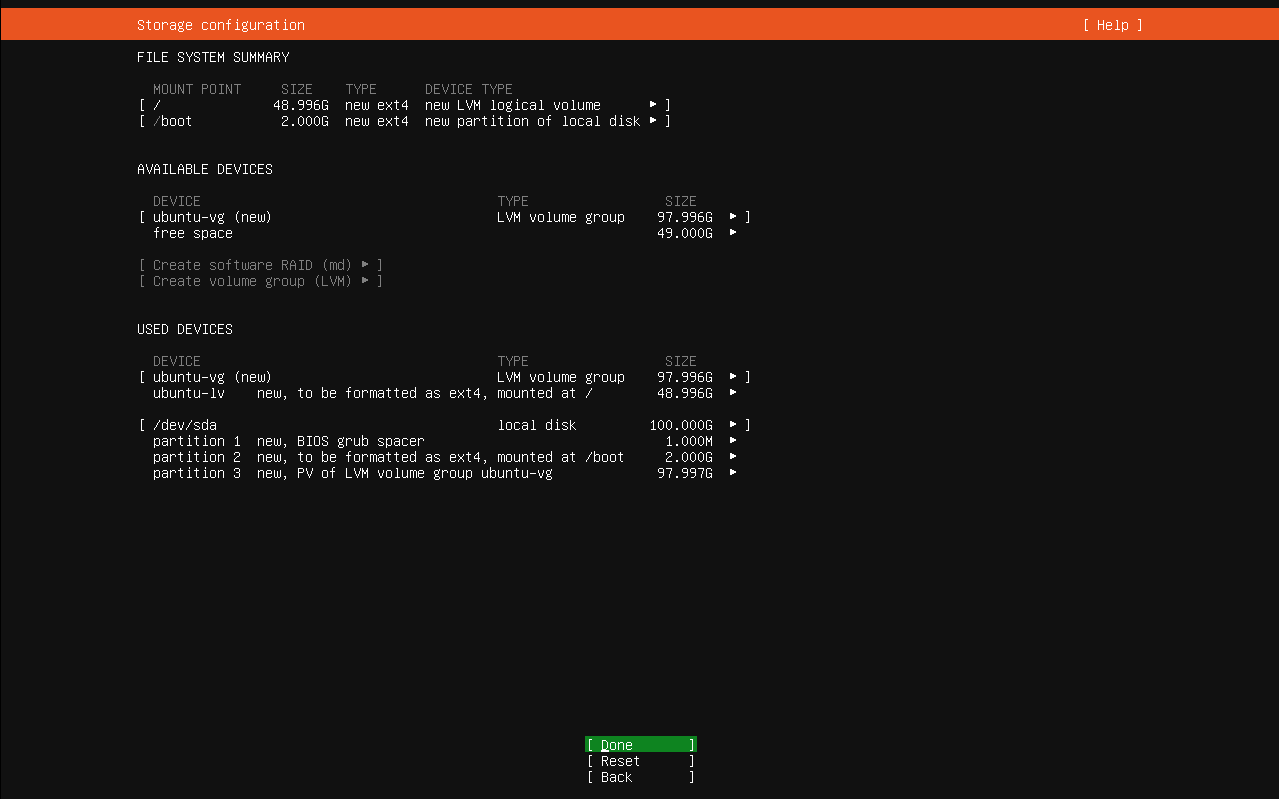
使用默认磁盘分区

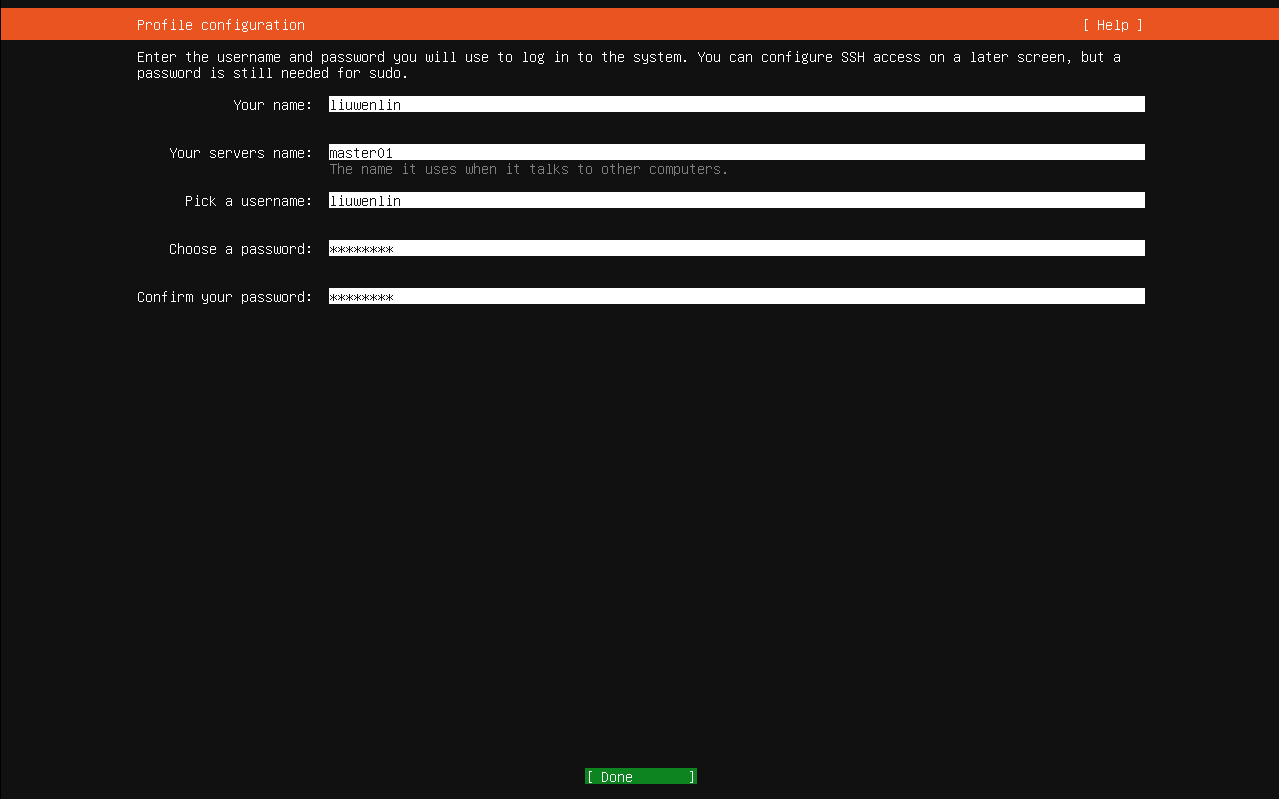
设置服务器用户及账号信息
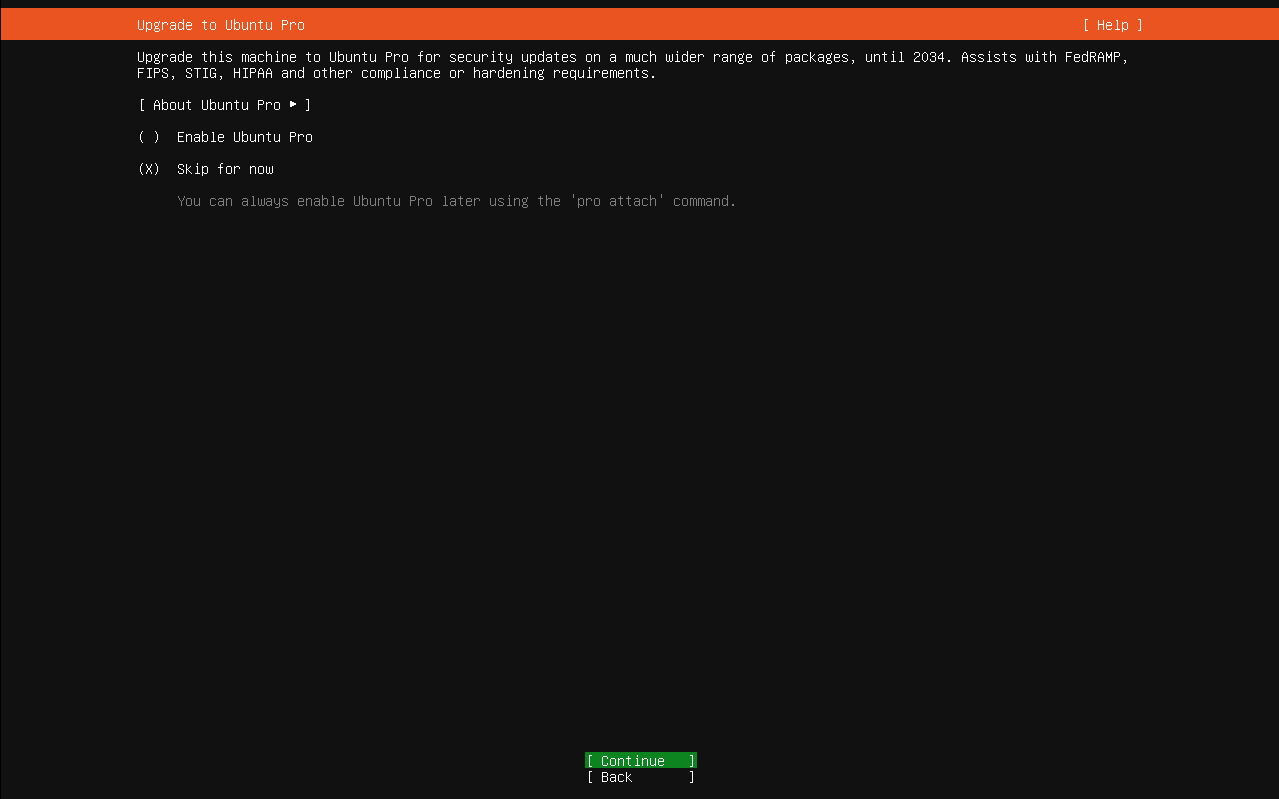
不升级,默认的LTS版本维护周期5年
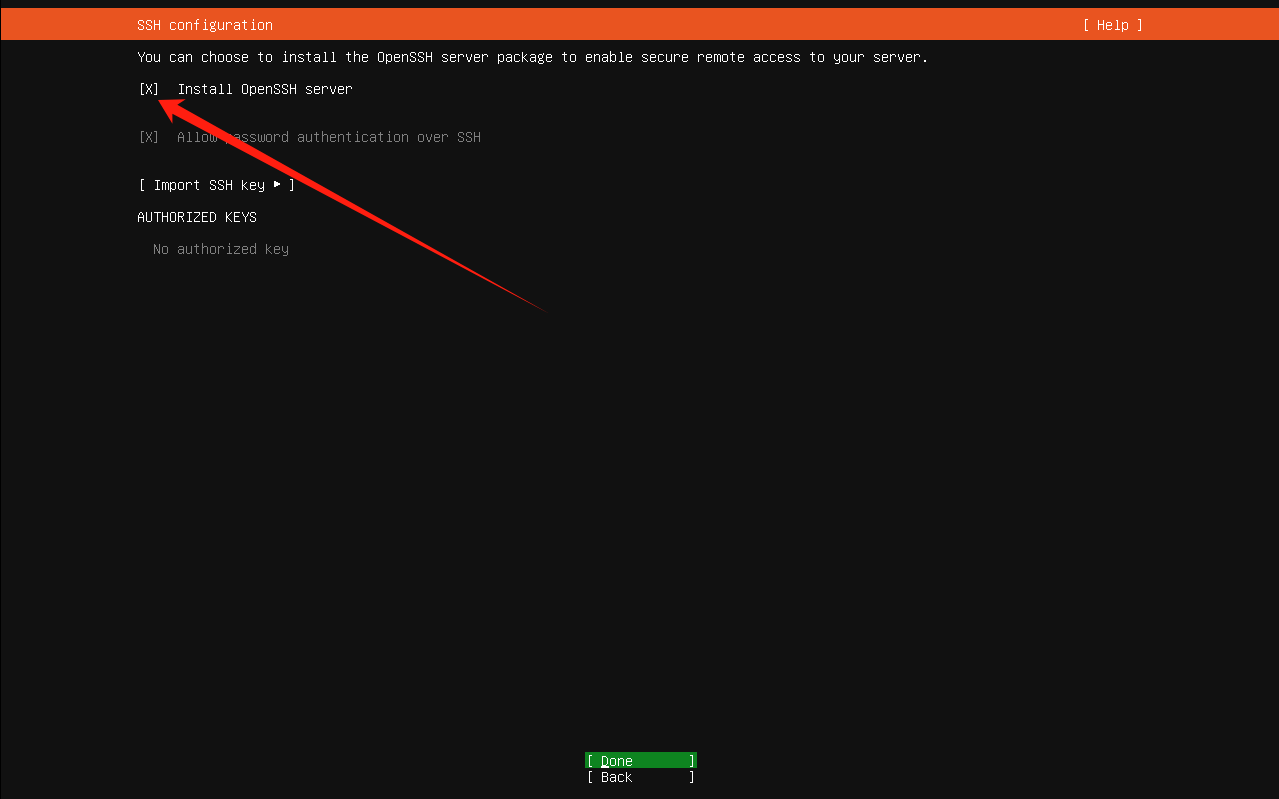
安装SSH服务!!按空格选择它
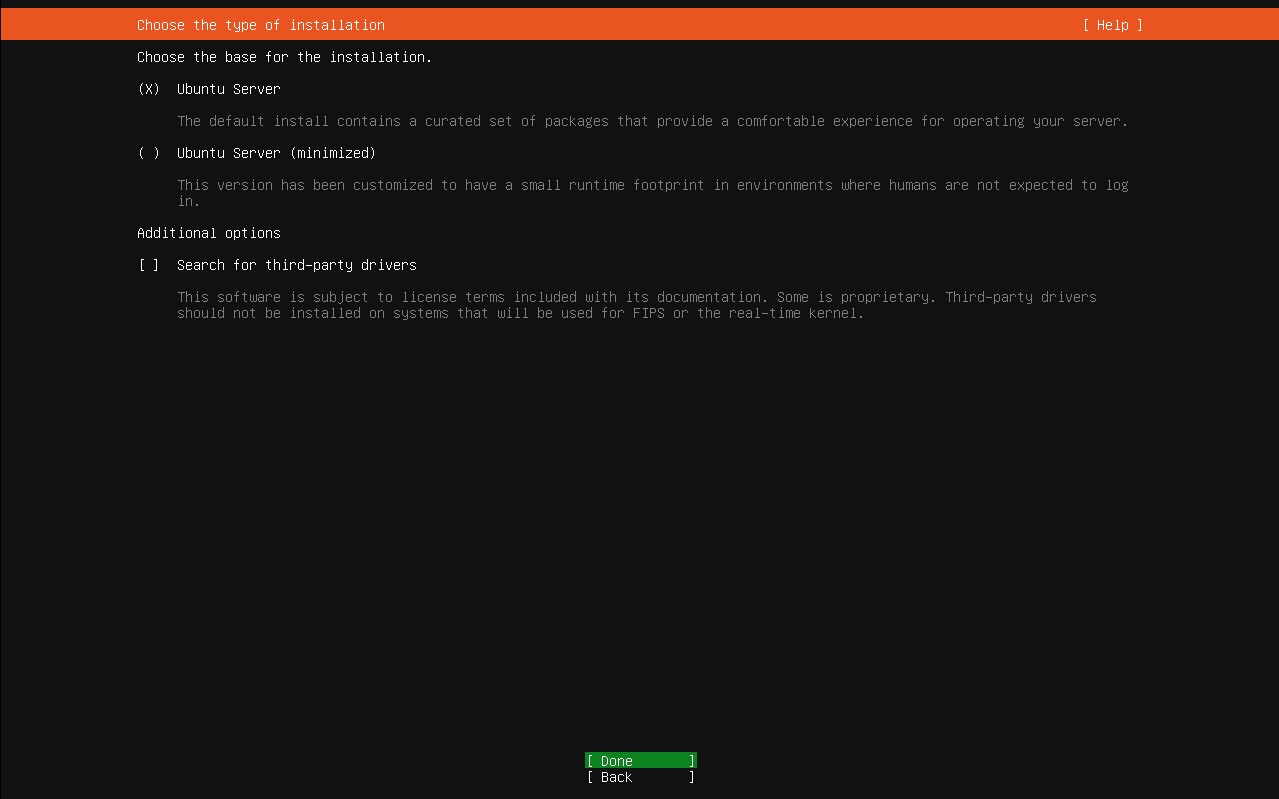
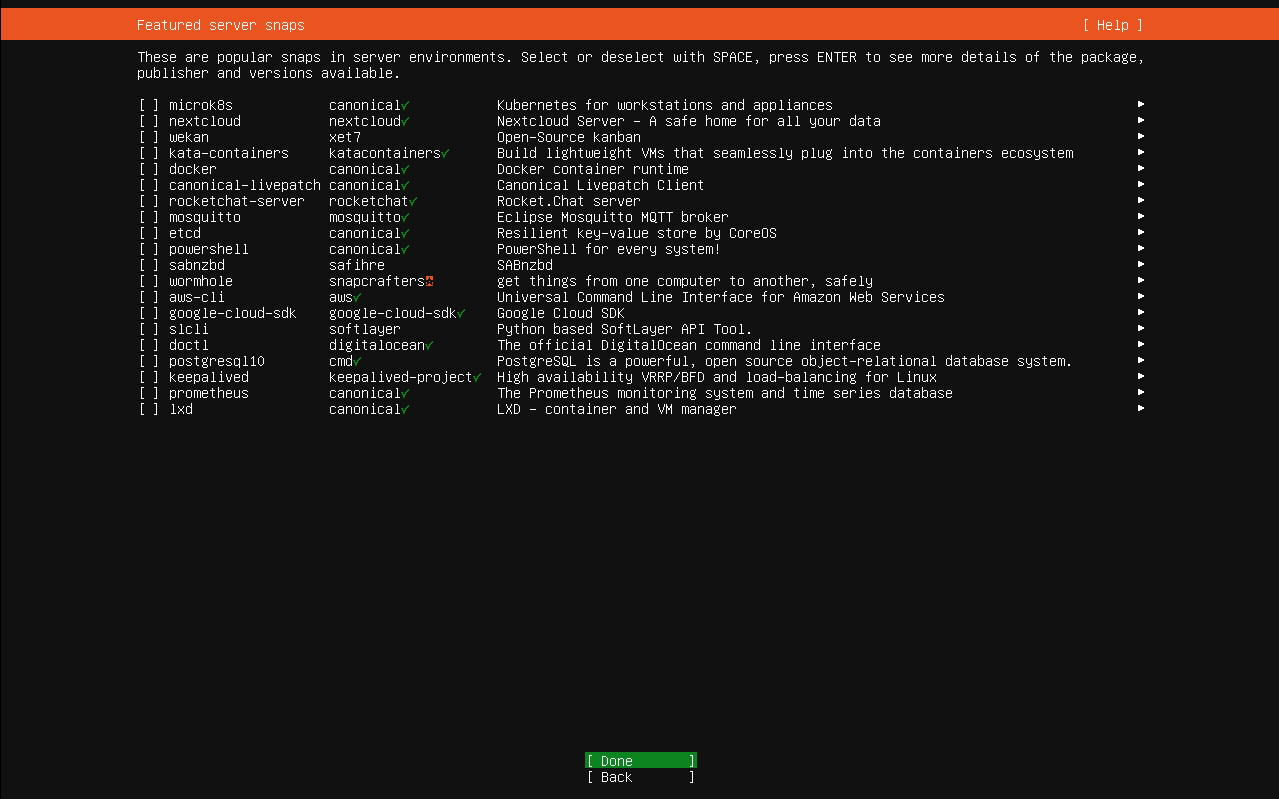
不安装系统应用
系统安装中
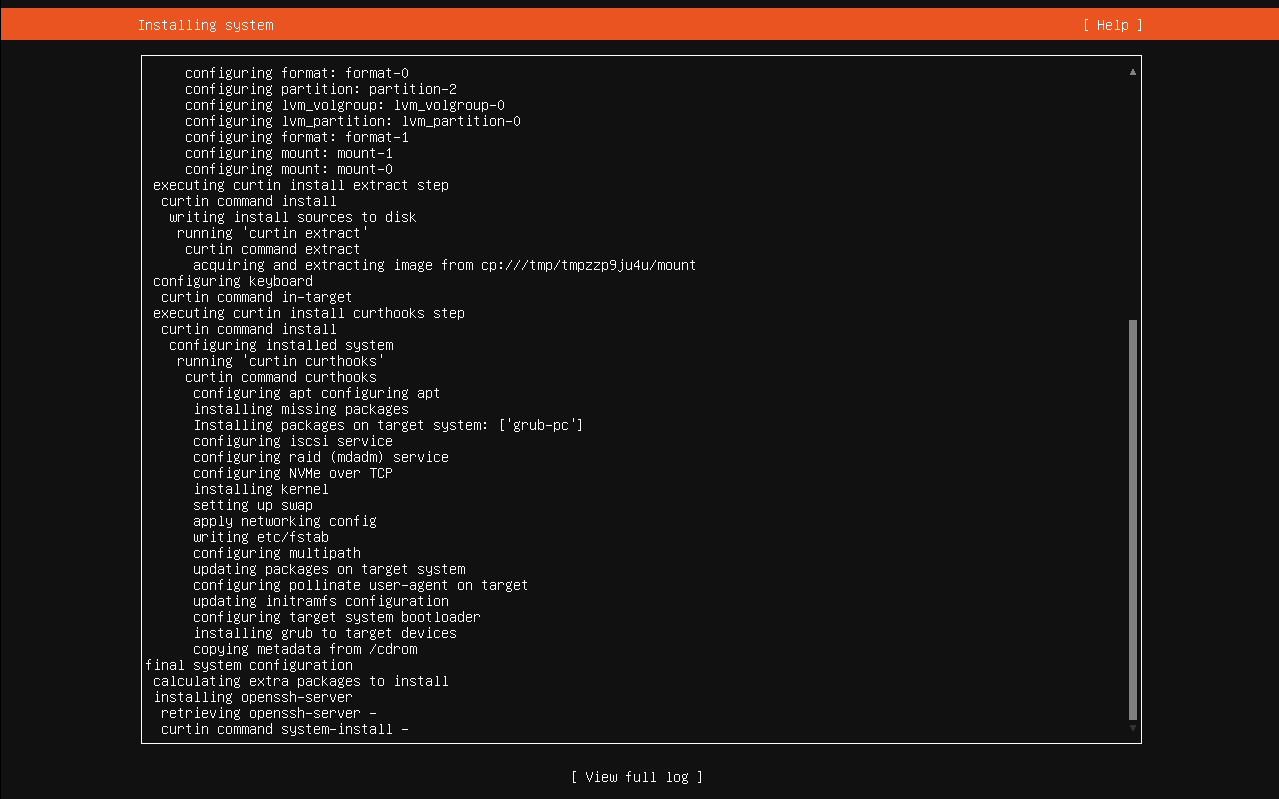
一定要等到这个状态,才算安装完成

系统重启时,提示这个,敲回车,确认卸载光盘

四、配置网络
bash
[root@master01:/etc/netplan]# vi /etc/netplan/50-cloud-init.yaml
bash
`这个是原先在安装界面时,配置好的IP地址,打开配置文件显示的内容`
# This file is generated from information provided by the datasource.  Changes
# to it will not persist across an instance reboot.  To disable cloud-init's
# network configuration capabilities, write a file
# /etc/cloud/cloud.cfg.d/99-disable-network-config.cfg with the following:
# network: {config: disabled}
network:
    ethernets:
        ens33:
            addresses:
            - 192.168.100.10/24
            nameservers:
                addresses:
                - 8.8.8.8
                search: []
            routes:
            -   to: default
                via: 192.168.100.2
    version: 2
✅ 推荐手动配置网络
bash
`在安装界面未配置IP时,可按视频教程手动配置以下内容`
# This file is generated from information provided by the datasource.  Changes
# to it will not persist across an instance reboot.  To disable cloud-init's
# network configuration capabilities, write a file
# /etc/cloud/cloud.cfg.d/99-disable-network-config.cfg with the following:
# network: {config: disabled}
network:
    ethernets:
        ens33:
            dhcp4: no
            addresses:此外冒号后不要有空格
              - 192.168.100.10/24
            routes:
              - to: default
                via: 192.168.100.2
            nameservers:
              addresses: [119.29.29.29,8.8.8.8,114.114.114.114]
    version: 2
bash
[root@master01:/etc/netplan]# netplan apply
五、扩容根分区
🚨 为什么只用了 49G?不是应该用满 100G 吗?
这是因为:
✅ Ubuntu 安装程序默认设置有限制
-
默认只给根分区分配 48~50G 左右(取决于版本和安装选项)
-
即使你给了 100G 磁盘,它也不会自动把全部空间都用掉
-
除非你手动调整分区大小
✅ 如何解决?扩展根分区到 100G?
你可以通过以下步骤 扩大逻辑卷并扩容文件系统:
🔧 步骤一:检查当前 LVM 结构
bash
sudo lvdisplay🔧 步骤二:扩展逻辑卷(LV)
bash
sudo lvextend -l +100%FREE /dev/ubuntu-vg/ubuntu-lv
-l +100%FREE表示使用剩余所有空间(这里是 49G)
🔧 步骤三:扩展文件系统(ext4)
bash
sudo resize2fs /dev/ubuntu-vg/ubuntu-lv注意:如果提示不支持,可能是文件系统类型不同,但 Ubuntu 默认是 ext4。
✅ 验证结果
bash
df -h