
PocketSphinx是Sphinx旗下一个开源的语音识别引擎,字如其名,pocket说明该引擎适用于一些资源受限的环境,比如嵌入式设备,移动设备。因为它对计算资源的需求相对较低,本文我们来使用这个工具来实现一下**STT(Speech to Text)**语音转文本。
环境配置
SpeechRecognition是Sphinx调用pocketsphinx的一个外部API接口,如果要正常使用,二者必须同时安装。
bash
pip install SpeechRecognition pocketsphinx下载完成后,使用os.startfile打开pocketsphinx-data这个目录
python
import os
import speech_recognition as sr
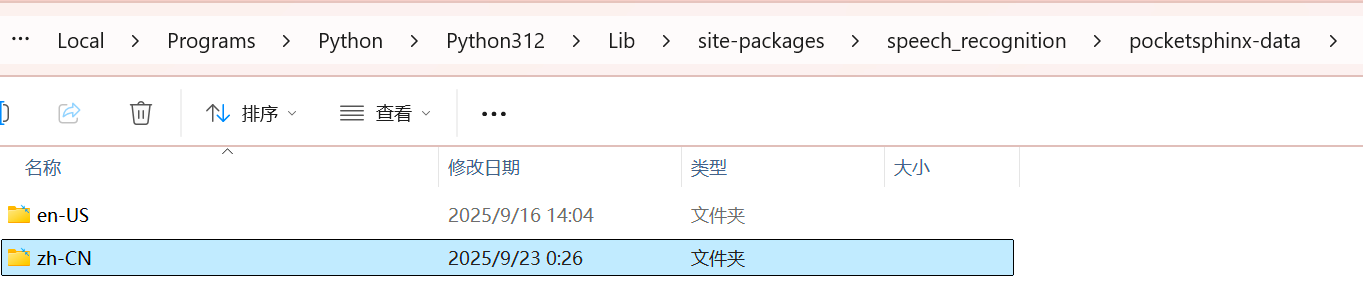
folder_path=os.path.join(os.path.dirname(sr.__file__),'pocketsphinx-data')
os.startfile(folder_path)不难发现,这里边除了en-US这个模型以外毛都没有,也就是说该库默认只支持英文

如果需要识别中文,需要我们前往官网额外下载中文的语言和声学模型,并放在该目录下。
中文语音识别模型下载
点击下方链接,前往Speech Recognition Toolkit官网
https://sourceforge.net/projects/cmusphinx/files/Acoustic%20and%20Language%20Models/
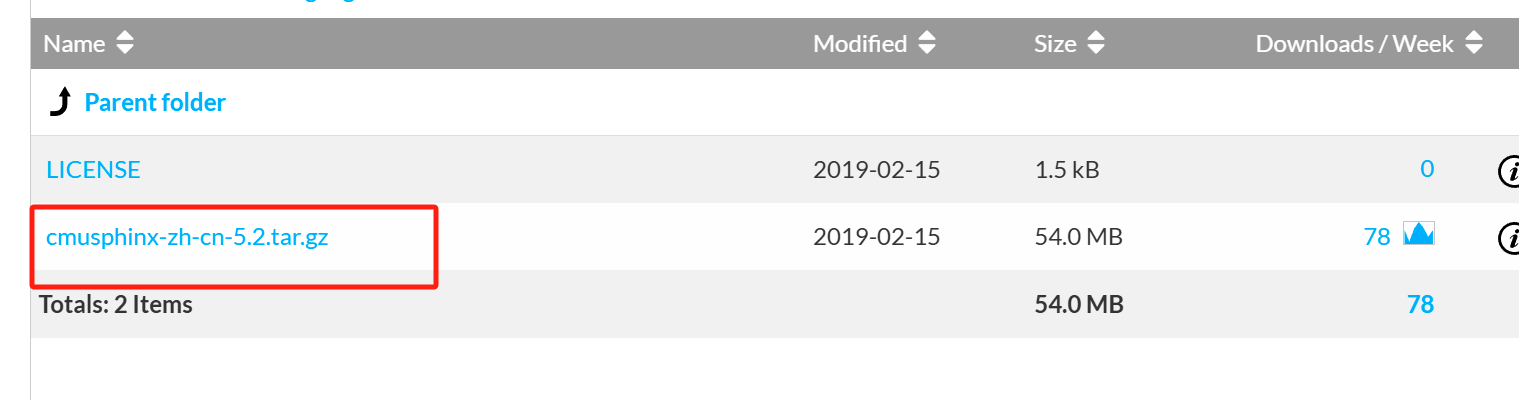
点击Mandarian
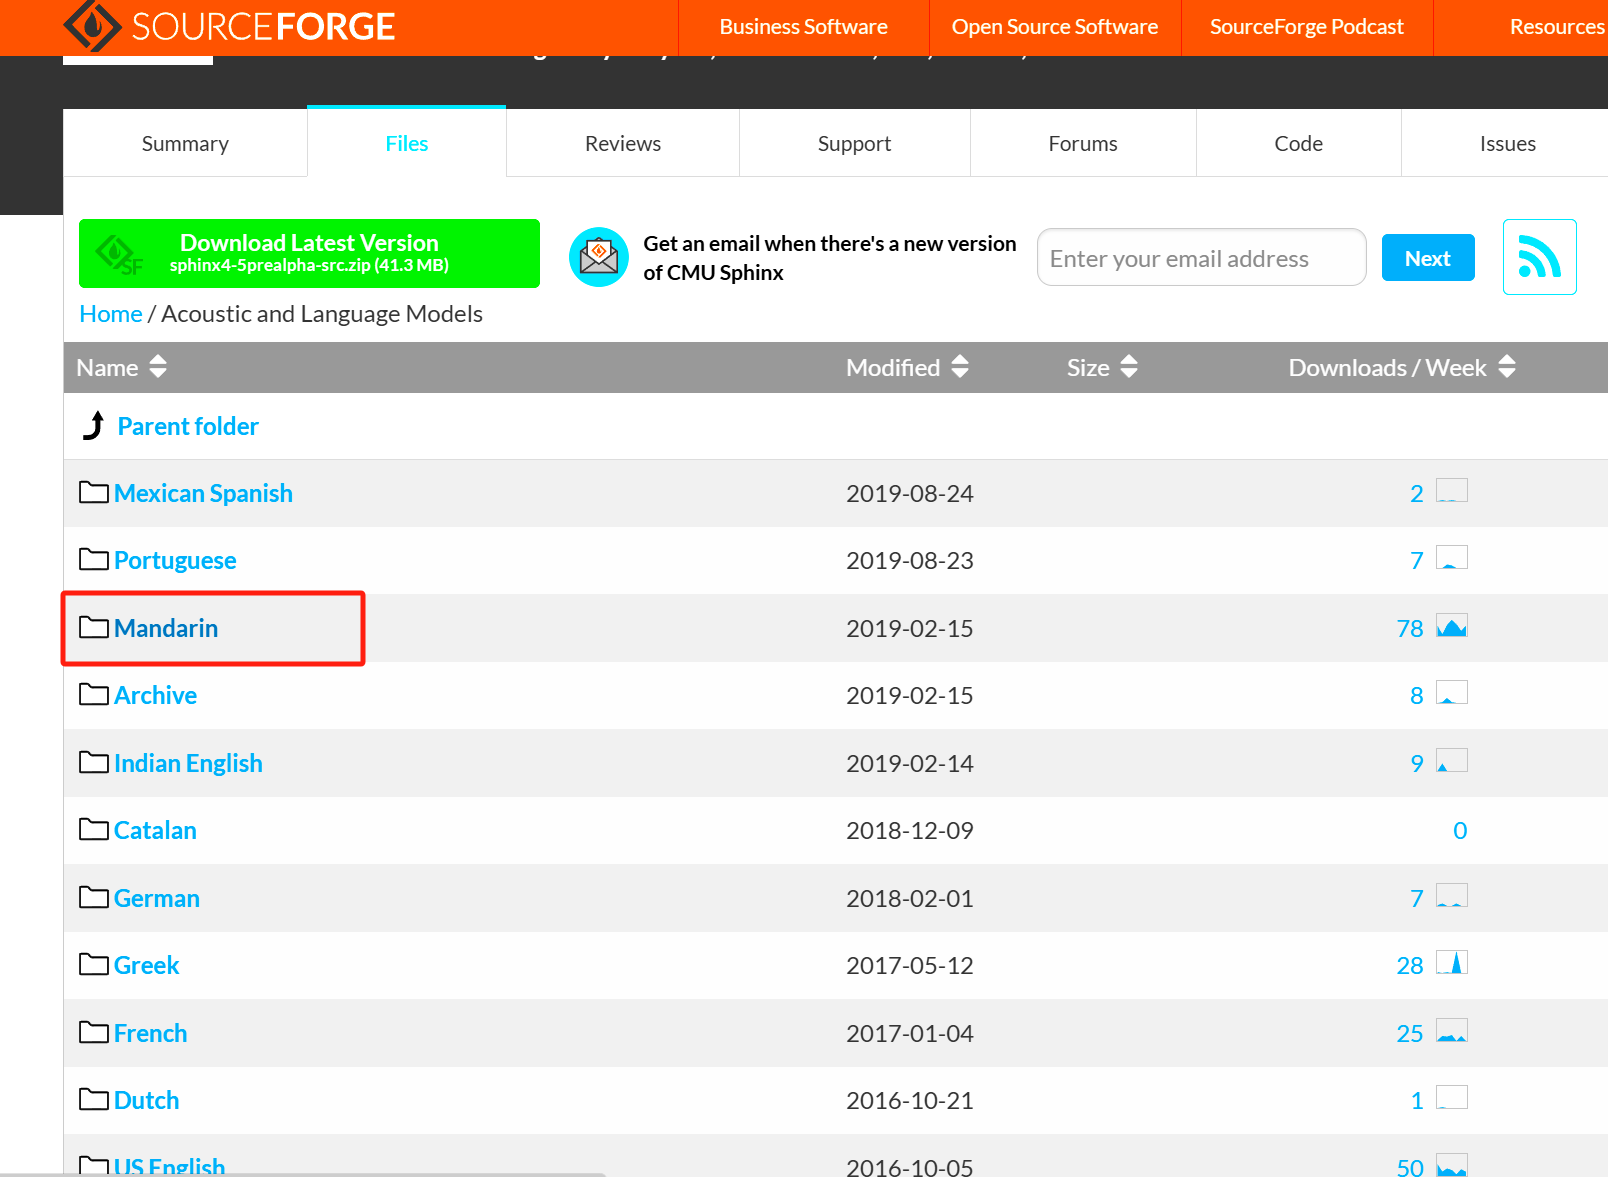
点击cmusphinx-zh-cn-5.2tar.gz
路径配置
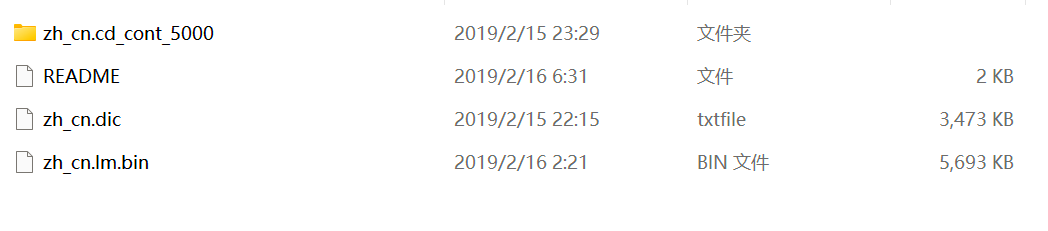
下载解压后的目录belike:
对比一下pocketsphinx-data内en-US内的目录:

显然,直接将解压得到的cmusphinx-zh-cn-5.2改名为zh-CN放到pocketsphinx-data内与en-US并列是不行的。这里,这里我们照猫画虎,将上边目录下的每个文件名都改成下边en-US内的格式,也就是:
zh-cn.dic----->pronounciation.dict
zh_cn.lm.bin---->language-model.lm.bin
zh_cn.cd_cont_5000---->acoustic-model
改名前:
改名后:
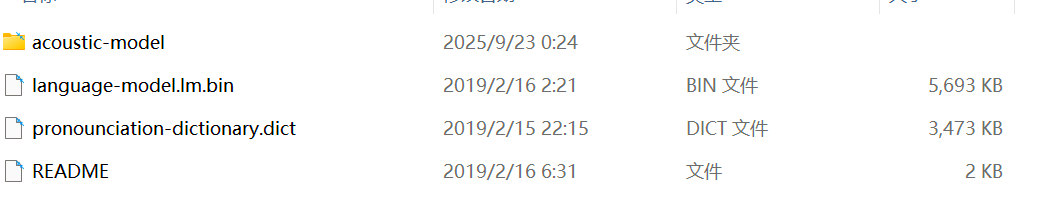
接着将文件夹改名为zh-CN,并将其移动到放在前边说到的pocketsphinx-data这个目录下,找不到直接运行下边的代码:
python
import os
import speech_recognition as sr
folder_path=os.path.join(os.path.dirname(sr.__file__),'pocketsphinx-data')
os.startfile(folder_path)
也就是这个样子,然后便可以正常使用了
输入音频文件
SpeechRecognition内的语音识别方法或函数所支持的输入音频的格式必须是.wav,一般我们使用手机或电脑采集的录音的格式是.mp3或.m4a,无法直接传入使用。需要进行转换,说到音视频格式转换,那就不得不提到ffmpeg了,关与ffmpeg的配置方法,可以看我之前的这篇博客:
ffmpeg环境配置![]() https://mrcrab.blog.csdn.net/article/details/148876751
https://mrcrab.blog.csdn.net/article/details/148876751
ffmpeg格式转换
环境配置好后,在cmd终端中运行下方命令便可以实现.m4a-.wav的格式转换,当然.mp3类型文件也是支持的:
bash
ffmpeg -i input.mp3 -ar 16000 -ac 1 output.wav命令行中每个参数的具体含义:
- -i :指定输入音频的文件路径
- -ar:指定采样频率
- -ac 1:指定输出音频通道为单通道
- output.wav:输出的wav音频路径
这里之所以设定采样率是160kHZ,主要是因为人类正常语音的主要频率范围 300Hz - 3400Hz根据奈奎斯特采样定理 :要准确重建信号,采样率必须至少是信号最高频率的2倍,3400Hz × 2 = 6800Hz, 而实际生活中常常采用 8kHz (电话质量)或 16kHz 来获得更好质量。
批量格式转换
经常看我博客的朋友肯定知道,对于这种频繁使用命令行的常见,完全可以直接写出一个python代码来实现批量的格式转换。实现思路很简单,使用subprocess即可:
python
import os
import subprocess
from concurrent.futures import ThreadPoolExecutor
def convert_mp3_to_wav(input_file,output_dir="",sample_rate=16000,channels=1):
'''使用ffmpeg转换单个mp3或m4a到WAV'''
os.makedirs(output_dir, exist_ok=True)
output_file = os.path.join(
output_dir,
os.path.splitext(os.path.basename(input_file))[0]+".wav"
)
command=[
"ffmpeg",
"-i", input_file,
"-ar", str(sample_rate),
"-ac", str(channels),
output_file
]
subprocess.run(command,check=True,capture_output=True)
return input_file
def batch_convert(input_dir,output_dir="output_wav"):
'''
Args:
input_dir:所有mp3或m4a类型文件存放文件夹路径
output_dir:转换格式后的wav类型文件存放路径
'''
input_files=[
os.path.join(input_dir, f)
for f in os.listdir(input_dir)
if f.lower().endswith(".mp3") or f.lower().endswith('.m4a')]
if input_files:
with ThreadPoolExecutor() as executor:
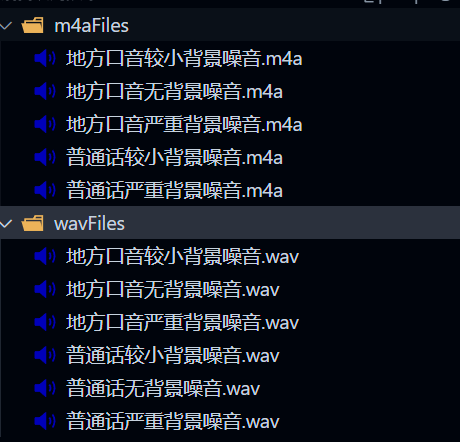
executor.map(lambda f: convert_mp3_to_wav(f, output_dir),input_files)
batch_convert(input_dir='m4aFiles',output_dir='wavFiles')转换结果:
语音识别
运行下方代码,即可调用sphinx的API实现语音识别
python
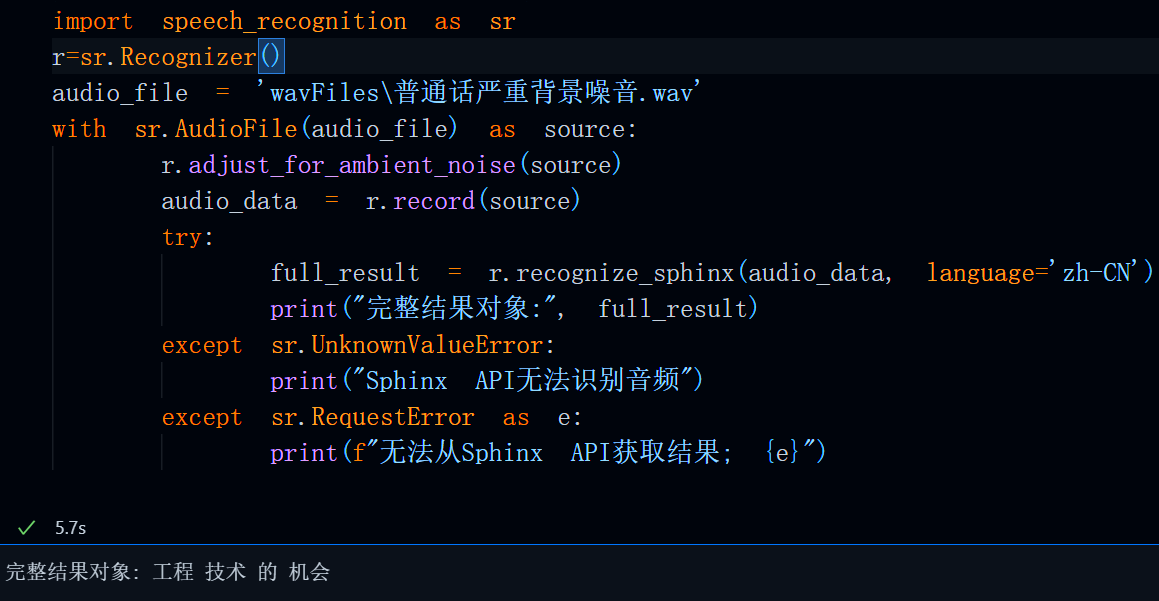
import speech_recognition as sr
r=sr.Recognizer()
audio_file = 'wavFiles\普通话严重背景噪音.wav'
with sr.AudioFile(audio_file) as source:
    r.adjust_for_ambient_noise(source)
    audio_data = r.record(source)
    try:
        full_result = r.recognize_sphinx(audio_data, language='zh-CN')
        print("完整结果对象:", full_result)
    except sr.UnknownValueError:
        print("Sphinx API无法识别音频")
    except sr.RequestError as e:
        print(f"无法从Sphinx API获取结果; {e}")
运行结果:
总结:

以上便是本文所有内容,后边有空还会继续分享语音识别相关内容,如果本文对你有用,还请一键三连支持一下博主!