haproxy负载均衡
一、负载均衡
二层负载均衡(mac)
用虚拟mac地址方式,外部对虚拟mac地址请求,负载均衡接收后分配给后端实际的mac地址响应。
三层负载均衡(ip)
一般用虚拟ip地址的方式,外部对虚拟ip地址请求,负载均衡接收后分配给后端实际的ip地址响应。
四层负载均衡(tcp)
在三层负载均衡的基础上,用ip+port接收请求,再转发到对应的机器上。
产品大概有:F5,lvs,nginx,haproxy...
七层负载均衡(http)
根据虚拟的url或者ip,主机名接收请求,再转发到相应的处理服务器上。
产品大概有:haproxy,nginx,apache,mysql proxy...
二层至七层负载均衡核心信息总结表
| 负载均衡层级 | 转发依据 | 请求接收标识 | 转发逻辑 | 典型产品/工具 |
|---|---|---|---|---|
| 二层(数据链路层) | MAC地址 | 外部请求指向虚拟MAC地址 | 负载均衡接收请求后,分配给后端实际MAC地址进行响应 | 支持二层转发的专用负载设备、部分交换机 |
| 三层(网络层) | IP地址 | 外部请求指向虚拟IP地址 | 负载均衡接收请求后,分配给后端实际IP地址进行响应 | 路由器、三层交换机、专用三层负载设备 |
| 四层(传输层) | IP + 端口(TCP/UDP) | 外部请求指向"虚拟IP+端口" | 在三层虚拟IP基础上,通过端口匹配,转发至后端对应IP+端口的服务 | LVS(Linux虚拟服务器)、HAProxy、Nginx |
| 七层(应用层) | 应用协议(HTTP、DNS、FTP 等)+ 内容(如 URL、Cookie) | 外部请求指向虚拟URL/主机名/IP | 解析应用层协议(如HTTP),根据URL、主机名等内容,转发至后端对应处理服务器 | HAProxy、Nginx、Apache、MySQL Proxy |
| 特性 | haproxy | LVS |
|---|---|---|
| 核心定位 | 高性能的 7 层(应用层)负载均衡器,兼顾 4 层(传输层) | 轻量级的 4 层(传输层)负载均衡器 |
| 工作 OSI 层级 | 主要工作于 7 层(HTTP/HTTPS 等),支持 4 层(TCP/UDP) | 仅工作于 4 层(基于 IP + 端口的转发) |
| 依赖内核 / 用户态 | 运行于用户态,通过内核的网络栈处理请求 | 基于 Linux 内核模块(IPVS)实现,完全在内核态工作 |
二、haproxy安装
1、yum安装(一般用源代码进行安装)
yum -y install haproxy
2、源代码安装
haproxy官方帮助文档:https://cbonte.github.io/haproxy-dconv/
下载安装包
haproxy源码包下载网站地址:https://src.fedoraproject.org/repo/pkgs/haproxy/
(1)先做好RS的网站部署(RS1、RS2)
以RS1为例:(RS1、RS2防火墙和selinux已关)
powershell
[root@stw2 ~]# cd /etc/yum.repos.d/
[root@stw2 yum.repos.d]# ls
CentOS-Base.repo  CentOS-Debuginfo.repo  CentOS-Media.repo    CentOS-Vault.repo
CentOS-CR.repo    CentOS-fasttrack.repo  CentOS-Sources.repo
[root@stw2 yum.repos.d]# rm -rf *
[root@stw2 yum.repos.d]# vim server.repo
[root@stw2 yum.repos.d]# cat server.repo
[aa]
name=aa1
baseurl=file:///mnt
enabled=1
gpgcheck=0
[root@stw2 yum.repos.d]# mount /dev/cdrom /mnt
mount: /dev/sr0 is write-protected, mounting read-only
[root@stw2 yum.repos.d]# yum -y install httpd
[root@stw2 yum.repos.d]# cd
[root@stw2 ~]# echo RS1 > /var/www/html/index.html
[root@stw2 ~]# cat /var/www/html/index.html
RS1
[root@stw2 ~]# systemctl restart httpd
[root@stw2 ~]# systemctl enable httpd
Created symlink from /etc/systemd/system/multi-user.target.wants/httpd.service to /usr/lib/systemd/system/httpd.service.
测试访问
powershell
[root@stw ~]# curl http://192.168.100.20
RS1
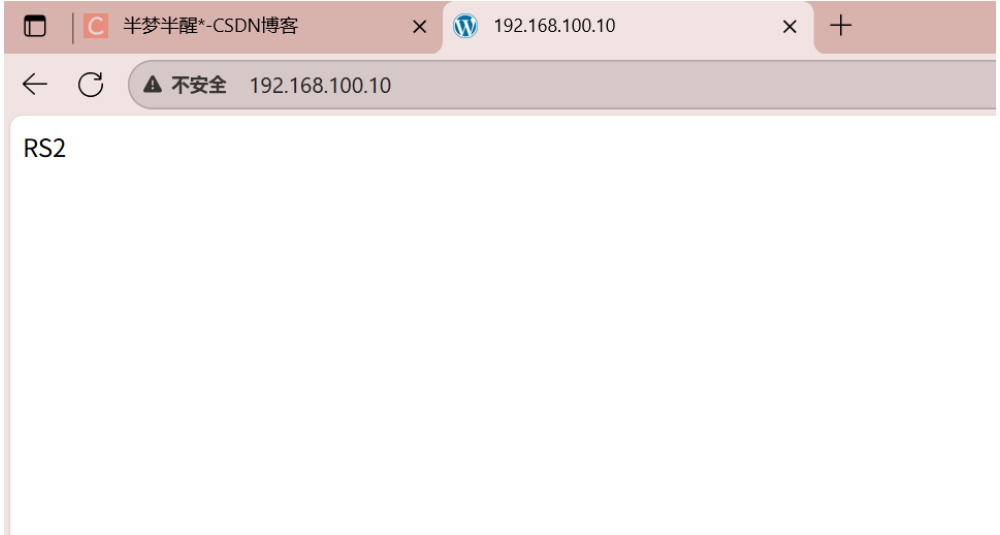
[root@stw ~]# curl http://192.168.100.30
RS2(2)haproxy服务器中安装编译环境
powershell
[root@stw ~]# cd /etc/yum.repos.d/
[root@stw yum.repos.d]# ls
CentOS-Base.repo  CentOS-Debuginfo.repo  CentOS-Media.repo    CentOS-Vault.repo
CentOS-CR.repo    CentOS-fasttrack.repo  CentOS-Sources.repo
[root@stw yum.repos.d]# rm -rf *
[root@stw yum.repos.d]# vim server.repo
[root@stw yum.repos.d]# mount /dev/cdrom /mnt
mount: /dev/sr0 is write-protected, mounting read-only
[root@stw yum.repos.d]# cd
[root@stw ~]# yum -y install make gcc pcre-devel bzip2-devel openssl-devel systemd-devel gcc-c++ zlib-devel lua
(3)创建haproxy用户
powershell
[root@stw ~]# useradd -r -M -s /sbin/nologin haproxy(4)解压安装依赖包
powershell
[root@stw ~]# rz -E
rz waiting to receive.
[root@stw ~]# ls
anaconda-ks.cfg  Documents  haproxy-2.1.3.tar.gz  Music     Public     Videos
Desktop          Downloads  initial-setup-ks.cfg  Pictures  Templates
[root@stw ~]# tar -xzf haproxy-2.1.3.tar.gz
[root@stw ~]# ls
anaconda-ks.cfg  Downloads             initial-setup-ks.cfg  Public
Desktop          haproxy-2.1.3         Music                 Templates
Documents        haproxy-2.1.3.tar.gz  Pictures              Videos
[root@stw ~]# cd haproxy-2.1.3/
[root@stw haproxy-2.1.3]# ls
BRANCHES   CONTRIBUTING  examples  LICENSE      README     scripts  tests
CHANGELOG  doc           include   MAINTAINERS  reg-tests  src      VERDATE
contrib    ebtree        INSTALL   Makefile     ROADMAP    SUBVERS  VERSION
[root@stw haproxy-2.1.3]# grep 'processor' /proc/cpuinfo |wc -l
4
//查看系统内核为几核:这里为两个CPU,每个CPU为两核
[root@stw haproxy-2.1.3]# make -j $(grep 'processor' /proc/cpuinfo |wc -l) \
> TARGET=linux-glibc \
> USE_OPENSSL=1 \
> USE_ZLIB=1 \
> USE_PCRE=1 \
> USE_SYSTEMD=1
  CC      src/ev_poll.o
  CC      src/ev_epoll.o
  CC      src/ssl_sock.o
  CC      src/namespace.o
  CC      src/mux_h2.o
  CC      src/stream.o
......
......
//对其进行编译安装的过程
[root@stw haproxy-2.1.3]# make install PREFIX=/usr/local/haproxy
install: creating directory '/usr/local/haproxy'
install: creating directory '/usr/local/haproxy/sbin'
'haproxy' -> '/usr/local/haproxy/sbin/haproxy'
install: creating directory '/usr/local/haproxy/share'
......
......
//PREFIX后面接要安装的路径
[root@stw haproxy-2.1.3]# ls
BRANCHES   CONTRIBUTING  examples  INSTALL      Makefile   ROADMAP  SUBVERS  VERSION
CHANGELOG  doc           haproxy   LICENSE      README     scripts  tests
contrib    ebtree        include   MAINTAINERS  reg-tests  src      VERDATE
[root@stw haproxy-2.1.3]# cp haproxy /usr/sbin/
//将编译安装得到的haproxy脚本(命令)复制到/usr/sbin中
[root@stw haproxy-2.1.3]# cd /usr/local/
[root@stw local]# ls
bin  etc  games  haproxy  include  lib  lib64  libexec  sbin  share  src
[root@stw local]# cd haproxy/
[root@stw haproxy]# ls
doc  sbin  share
(5)设置Linux内核参数
powershell
[root@stw ~]# vim /etc/sysctl.conf
[root@stw ~]# sysctl -p
net.ipv4.ip_nonlocal_bind = 1
net.ipv4.ip_forward = 1
(6)配置haproxy服务
global
- 作用:用于定义 haproxy 的全局配置参数,这些参数是对 haproxy 进程本身的全局设置,影响整个 haproxy 实例的运行
default
- 作用 :定义默认的配置参数,这些参数会被
frontend、backend、listen组件继承,除非这些组件自身定义了对应的参数来覆盖默认值
frontend(对应haproxy:面向客户端)
- 作用 :是接收请求的前端虚拟节点,用于接收客户端的请求,然后根据配置的规则将请求转发到对应的
backend或listen组件
backend(对应RS1、RS2:面向真实服务器)
- 作用 :定义后端服务器集群的配置,用于接收来自
frontend的请求,并将请求负载均衡地分发到后端的实际服务器上,一个backend对应一个或者多个实体服务器
listen
- 作用 :是
frontend和backend的组合,用于定义一个既包含前端又包含后端的配置,适用于一些简单的应用场景,当配置比较简单时,使用listen可以简化配置结构
powershell
[root@stw ~]# mkdir /etc/haproxy
[root@stw ~]# vim /etc/haproxy/haproxy.cfg    //手动写一个配置文件
powershell
global
    log 127.0.0.1 local0  info
    #log loghost local0 info
    maxconn 20480
#chroot /usr/local/haproxy
    pidfile /var/run/haproxy.pid
    #maxconn 4000
    user haproxy
    group haproxy
    daemon
#---------------------------------------------------------------------
#common defaults that all the 'listen' and 'backend' sections will
#use if not designated in their block
#---------------------------------------------------------------------
defaults
    mode http
    log global
    option dontlognull
    option httpclose
    option httplog
    #option forwardfor
    option redispatch
    balance roundrobin
    timeout connect 10s
    timeout client 10s
    timeout server 10s
    timeout check 10s
    maxconn 60000
    retries 3
#--------------统计页面配置------------------
listen admin_stats
    bind 0.0.0.0:8189
    stats enable
    mode http
    log global
    stats uri /haproxy_stats
    stats realm Haproxy\ Statistics
    stats auth admin:admin
    #stats hide-version
    stats admin if TRUE
    stats refresh 30s
#---------------web设置-----------------------
listen webcluster
    bind 0.0.0.0:80
    mode http
    #option httpchk GET /index.html
    log global
    maxconn 3000
    balance roundrobin
    cookie SESSION_COOKIE insert indirect nocache
server rs1 192.168.100.20:80 check
server rs2 192.168.100.30:80 check
(7)启动服务,配置haproxy.service服务单元文件
powershell
[root@stw ~]# vim /usr/lib/systemd/system/haproxy.service
[root@stw ~]# systemctl daemon-reload
[root@stw ~]# systemctl restart haproxy.service
[root@stw ~]# systemctl enable haproxy.service
Created symlink from /etc/systemd/system/multi-user.target.wants/haproxy.service to /usr/lib/systemd/system/haproxy.service.
powershell
[Unit]
Description=HAProxy Load Balancer
After=syslog.target network.target

[Service]
ExecStartPre=/usr/local/haproxy/sbin/haproxy -f /etc/haproxy/haproxy.cfg   -c -q
ExecStart=/usr/local/haproxy/sbin/haproxy -Ws -f /etc/haproxy/haproxy.cfg  -p /var/run/haproxy.pid
ExecReload=/bin/kill -USR2 $MAINPID

[Install]
WantedBy=multi-user.target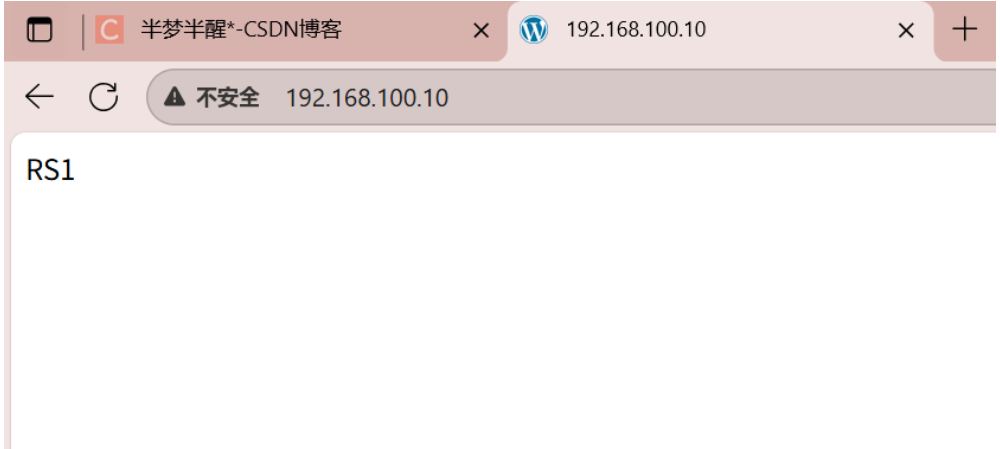

(8)配置日志信息
powershell
[root@stw ~]# vim /etc/rsyslog.conf
[root@stw log]# vim /etc/sysconfig/rsyslog
[root@stw log]# cat /etc/sysconfig/rsyslog
# Options for rsyslogd
# Syslogd options are deprecated since rsyslog v3.
# If you want to use them, switch to compatibility mode 2 by "-c 2"
# See rsyslogd(8) for more details
SYSLOGD_OPTIONS="-c 2 -r -m 0"
//启用远程日志记录功能,设置 SYSLOGD_OPTIONS="-c 2 -r -m 0" 可以启用兼容模式、远程日志记录以及禁用时间戳标记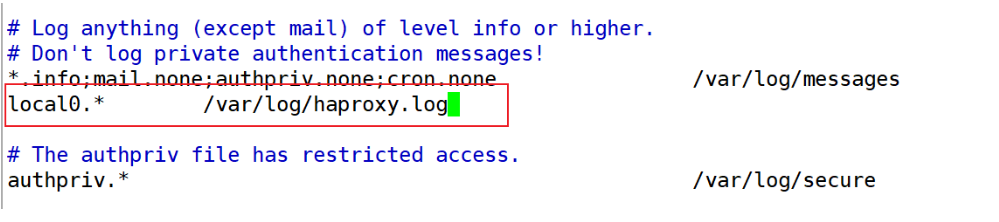

(9)启动服务
powershell
[root@stw ~]# systemctl restart rsyslog
[root@stw ~]# systemctl enable rsyslog
[root@stw haproxy]# cd /var/log
[root@stw log]# ls
anaconda   glusterfs           sa                    vmware-network.4.log
audit      grubby_prune_debug  samba                 vmware-network.log
boot.log   haproxy.log         secure                vmware-vgauthsvc.log.0
btmp       lastlog             speech-dispatcher     vmware-vmsvc.log
chrony     libvirt             spooler               vmware-vmusr.log
cron       maillog             swtpm                 wpa_supplicant.log
cups       messages            tallylog              wtmp
dmesg      pluto               tuned                 Xorg.0.log
dmesg.old  ppp                 vmware-network.1.log  Xorg.0.log.old
firewalld  qemu-ga             vmware-network.2.log  Xorg.9.log
gdm        rhsm                vmware-network.3.log  yum.log
[root@stw log]# cat haproxy.log
Sep 23 15:32:03 localhost haproxy[62692]: 192.168.100.1:63226 [23/Sep/2025:15:32:03.610] webcluster webcluster/rs1 0/0/0/2/2 200 235 - - --NI 1/1/0/0/0 0/0 "GET / HTTP/1.1"
[root@stw log]# tail -f /var/log/haproxy.log
Sep 23 15:32:03 localhost haproxy[62692]: 192.168.100.1:63226 [23/Sep/2025:15:32:03.610] webcluster webcluster/rs1 0/0/0/2/2 200 235 - - --NI 1/1/0/0/0 0/0 "GET / HTTP/1.1"