测试学习记录,仅供参考!
Pytest 框架
一、pytest 的简介
pytest 是一个流行的测试框架,广泛用于单元测试、集成测试和功能测试。它具有简单、灵活、可扩展的特点,提供了丰富的功能和插件生态系统,它简化了测试的编写和组织,pytest 通过提供丰富的功能和简洁的语法,让测试变得容易、灵活且易于理解。
二、安装
自行选择一种安装方法,例如:
命令行安装;
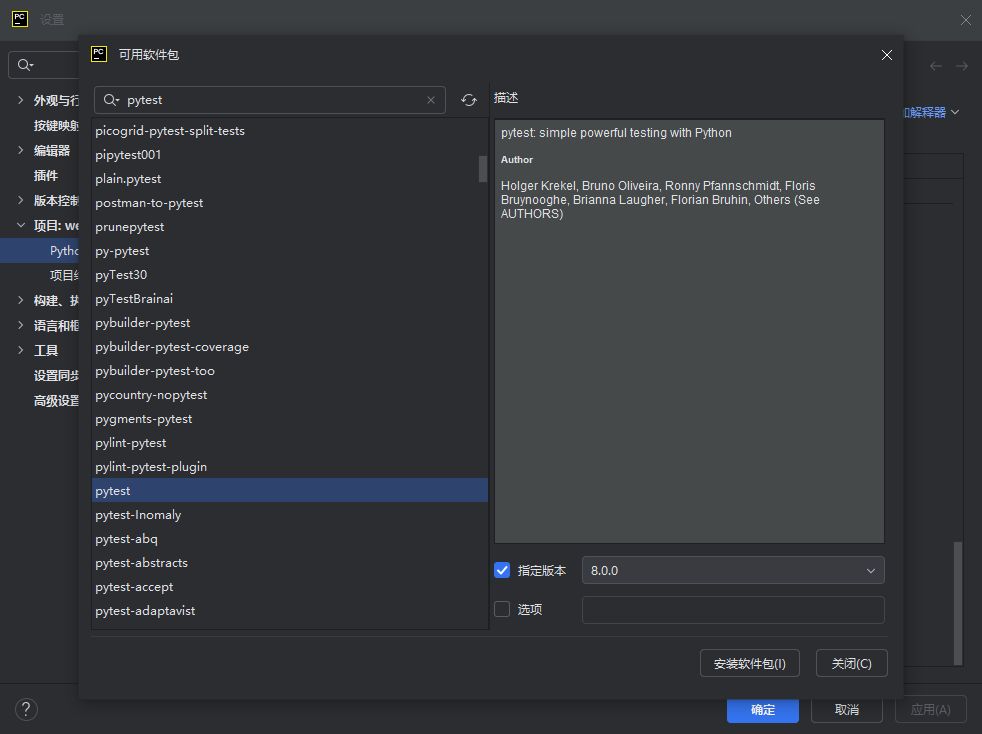
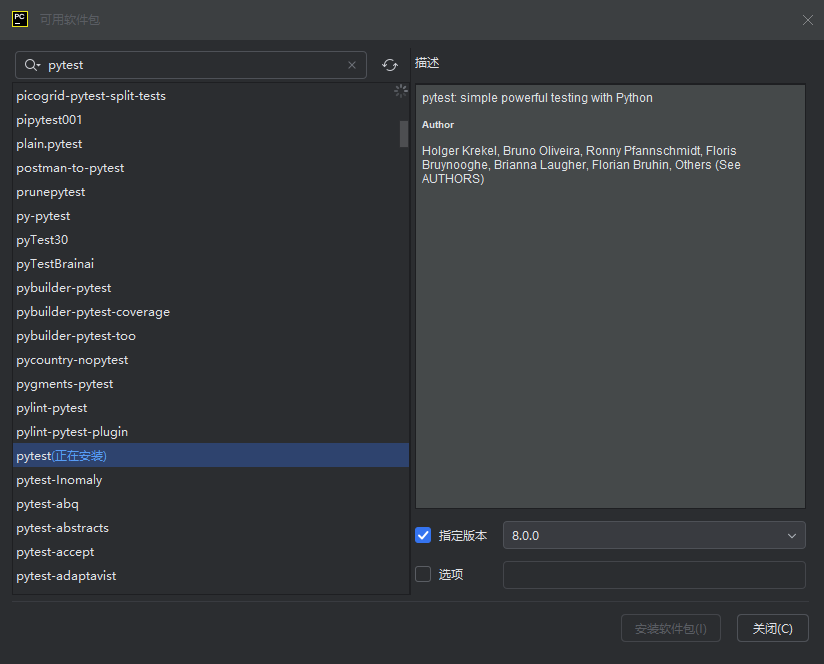
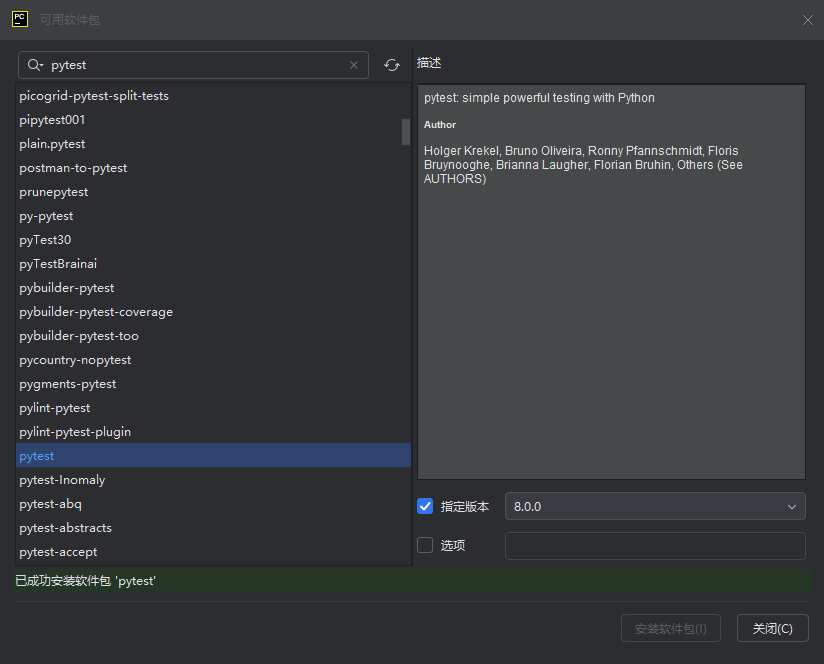
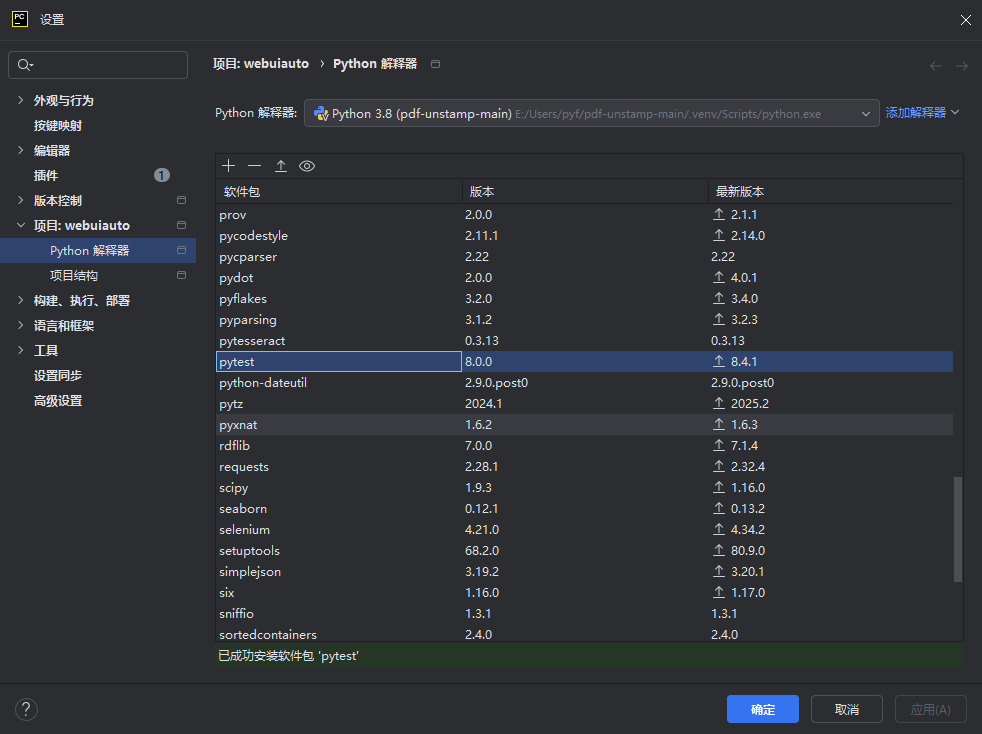
pip install pytestPython 解释器→软件包安装;
三、pytest 编写规则
1、测试文件以 test_ 开头或者以 _test 结尾;
2、测试类以 Test 开头,并且不能带有 init 初始化构造函数方法;
3、测试函数(在测试类里面要实现的方法)以 test_ 开头;
4、断言使用基本的 assert 即可;
import pytest

class TestLogin:

    def test_case_01(self):
        print("第一个case")
        assert 1 + 1 == 3

if __name__ == '__main__':
    pytest.main(['-v', '-s'])
四、pytest 的运行方式
1、主函数模式--用于完整框架完成之后,运行主函数时
import pytest

class TestLogin:

    def test_case_01(self):
        print("pytest主函数模式")
        assert 1 + 1 == 2

if __name__ == '__main__':
    pytest.main()
2、命令行模式--用于测试调试某个测试用例是否通过的,写代码脚本时,做调试用的;
运行某一个测试文件,直接调用 pytest 命令 + 测试文件名(注意文件目录路径层级)
pytest test_files.py运行一个测试文件里面的指定类,pytest 命令 + 测试文件名 + :: + 类名(注意里面是 两个冒号)
pytest test_files.py::TestClass01运行一个测试文件里面类中的指定测试方法,pytest 命令 + 测试文件名 + :: + 类名 + :: + 测试方法名
pytest test_files.py::TestClass01::test_case_01其他自行了解学习;
3、通过读取 pytest.ini 配置文件运行
一般用于企业自动化时推荐使用,做真实项目时推荐使用做配置文件运行;
当执行 pytest 框架后,pytest 框架它自己会去整个项目目录下查找是否存在 pytest.ini 配置文件,如果有的话,就会去读取 pytest.ini 文件里面的配置;
在项目根目录下新建一个名称为 pytest.ini 的文件,注意文件名称为固定写法,不能随意更改;
注意,在配置文件中不能书写'中文'注释
第一级:pytest
命令行默认参数:addopts = -vs
指定测试用例路径:testpaths = ./testcase (设置执行的路径,测试用例的目录设置)
测试文件的配置:python_files = test_*.py (执行 test_ 开头的所有文件)
约定测试文件的模块名称,通过 python_files 配置可以改变 pytest 的默认规则;
测试类的配置:python_classes = Test* (执行所有以 Test 开头的类)
约定测试类的命名规范
测试方法的配置:python_functions = test_* (执行所有以 test_ 开头的方法)
约定测试方法的命名规范
[pytest]
addopts = -vs

testpaths = ./testcase

python_files = test_*.py

python_classes = Test*

python_functions = test_*
在项目根目录下新建一个名称为 run.py(主函数) 的 Python 文件;
import pytest

if __name__ == '__main__':
pytest.main()当执行(run.py)主程序时,会去查找有木有 pytest.ini 配置文件,如果有的话,会读取配置文件中的配置;
五、断言
验证测试结果是否符合预期结果的一种方式;
断言是一种用于验证代码行为是否符合预期的方式。当测试执行时,如果断言失败,测试将被标记为失败。
这里简单介绍几种常用的断言方法,其他断言方式烦请自行了解学习;
import pytest

class TestAssert:

    # 相等断言
    def test_case01(self):
        assert 1 == 2

    # 不相等断言
    def test_case02(self):
        assert 1 != 2

    # 真假断言
    def test_case03(self):
        assert_bool = False
        assert assert_bool is True

    # 成员关系断言(是否包含)
    def test_case04(self):
        container = ['pytest', 'unittest', 'python']
        item = 'java'
        assert item in container

    # 集合断言(校验两个集合中的元素是否相同,而不必去考虑顺序)
    def test_case05(self):
        set_a = {1, 2, 3}
        set_b = {3, 2, 1}
        assert set_a == set_b

if __name__ == '__main__':
    pytest.main(['-vs'])
六、pytest 执行顺序
1、分组执行
分组执行在实际场景中,还是使用比较多的;
在 pytest 中,可以使用标记(mark)或参数化来实现测试用例的分组执行,分组执行是一种将测试用例按照特定的标记或条件进行组织和运行的方法。
import pytest

class TestAddUser:

    @pytest.mark.P1
    def test_add_user_01(self):
        print('测试新增用户01')

    def test_add_user_02(self):
        print('测试新增用户02')
    @pytest.mark.P2
    def test_add_user_03(self):
        print('测试新增用户03')

import pytest

class TestDeleteUser:

    @pytest.mark.P1
    def test_delete_user_01(self):
        print('测试删除用户01')

    def test_delete_user_02(self):
        print('测试删除用户02')

    def test_delete_user_03(self):
        print('测试删除用户03')
    @pytest.mark.P2
    def test_delete_user_04(self):
        print('测试删除用户04')

[pytest]
addopts = -vs --reruns 3

testpaths = ./testcase

python_files = test_*.py

python_classes = Test*

python_functions = test_*

markers =
    last
    first
    second
    P1
    P2
1)、 命令行
使用 -m 去执行分组的测试用例,使用 -m 参数加上标记分组名称'P1',运行时只执行 P1 级测试用例;执行多个时使用关键词'not、and、or'等;
pytest -vs -m 'P1'
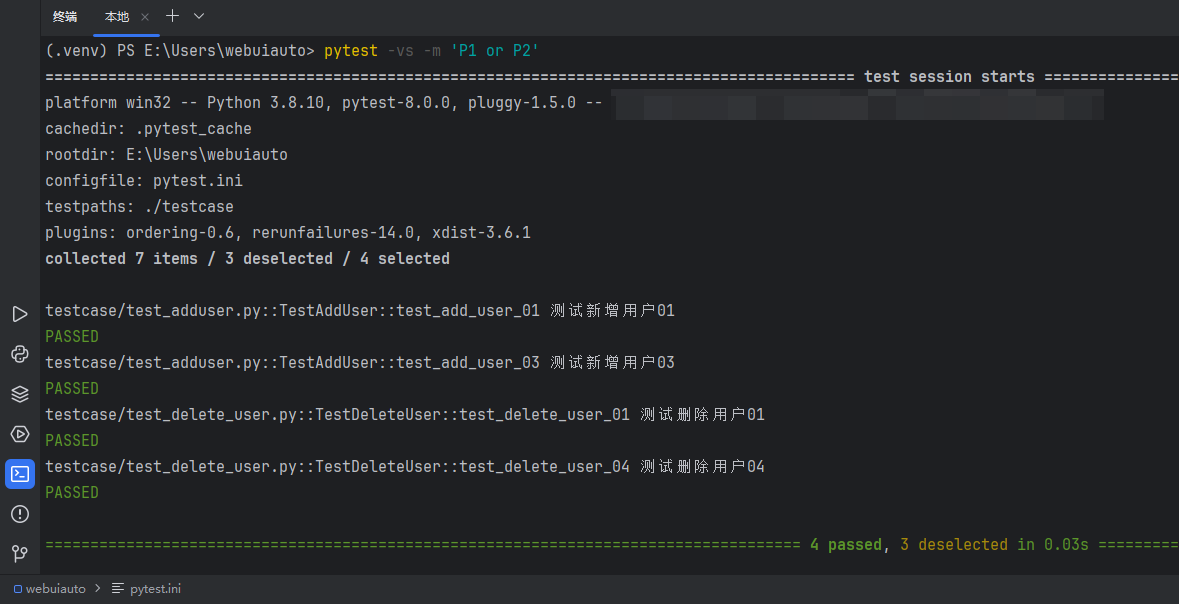
# 多个时需添加引号(单引号、双引号)括起来
pytest -vs -m 'P1 or P2'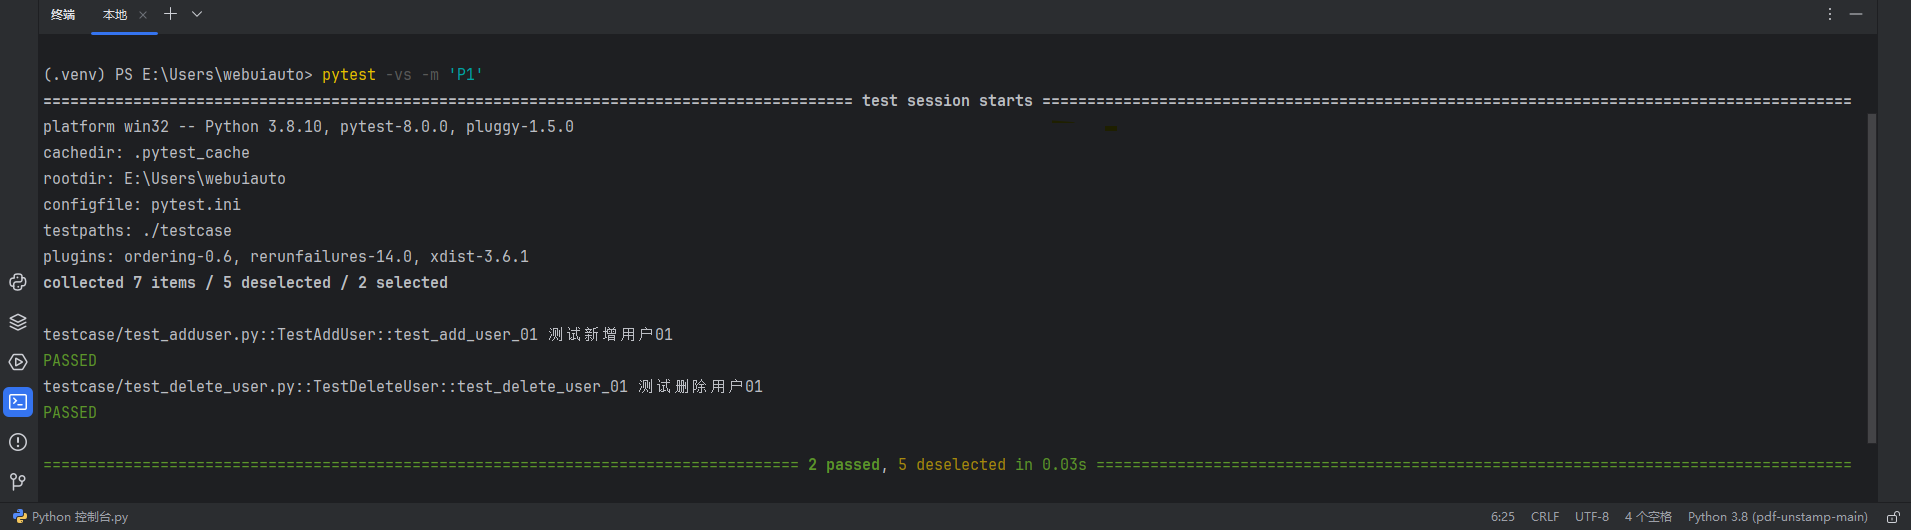
2)、 主函数入口
import pytest

if __name__ == '__main__':
    # 只单个 -m 参数时使用
    pytest.main(['-m P1'])

    pytest.main(['-m P1 or P2'])
3)、 配置文件
亦可更改 pytest.ini 配置文件,再使用 run.py 主函数;
[pytest]
addopts = -vs --reruns 3 -m P1
; addopts = -vs --reruns 3 -m 'P1 or P2'	# 多个分组时需要加引号

testpaths = ./testcase

python_files = test_*.py

python_classes = Test*

python_functions = test_*

markers =
    last
    first
    second
    P1

import pytest

if __name__ == '__main__':
    pytest.main()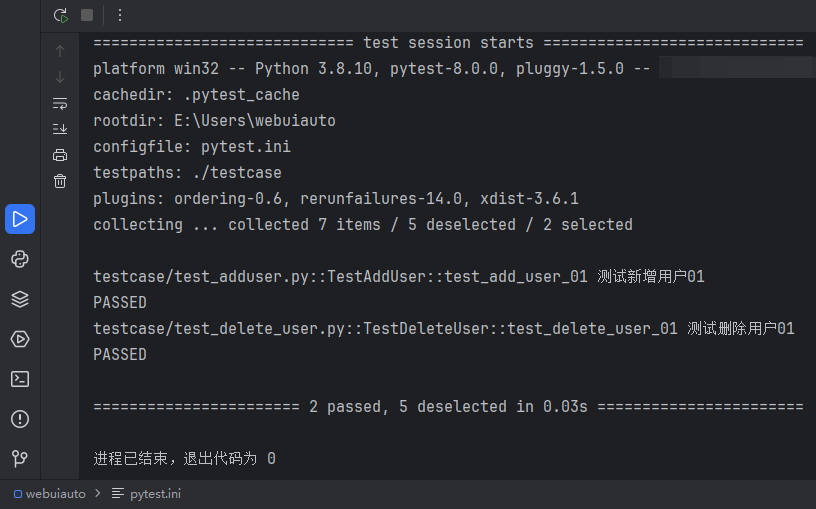
2、跳过执行
跳过执行在实际工作场景中,也是使用比较多的;有的测试用例不想执行,通过装饰器来跳过测试用例的执行;
在 pytest 中,可以使用装饰器的方式来跳过不想执行的某一个测试用例;
1)、使用 pytest.mark.skip 装饰器
用于无条件的跳过测试用例,若某个测试用例上面有 pytest.mark.skip 装饰器标记,则无条件跳过执行;
import pytest

class TestSkipTestCase:

    @pytest.mark.skip
    def test_skip_case_01(self):
        print('第一个测试用例')

    @pytest.mark.skip
    def test_skip_case_02(self):
        print('第二个测试用例')

    def test_skip_case_03(self):
        print('第三个测试用例')
2)、使用 pytest.mark.skipif 装饰器
用于根据指定的条件来跳过测试用例的执行,若某个测试用例上面有 pytest.mark.skipif 装饰器标记,则有指定条件跳过执行;里面需要跟上两个参数,第一个 condition= 就是要跳过测试用例的表达式的意思,还可以再跟上一个参数 reason= 是跳过测试用例的原因,说明一个原因,为什么要跳过这个测试用例;
通过一个表达式去判断测试用例是否跳过;
import pytest

class TestSkipTestCase:

    @pytest.mark.skip
    def test_skip_case_01(self):
        print('第一个测试用例')

    # 第一个参数 condition 是表达式,第二个参数 reason 是 跳过执行说明
    @pytest.mark.skipif(condition=True, reason='不符合条件')
    def test_skip_case_02(self):
        print('第二个测试用例')

    def test_skip_case_03(self):
        print('第三个测试用例')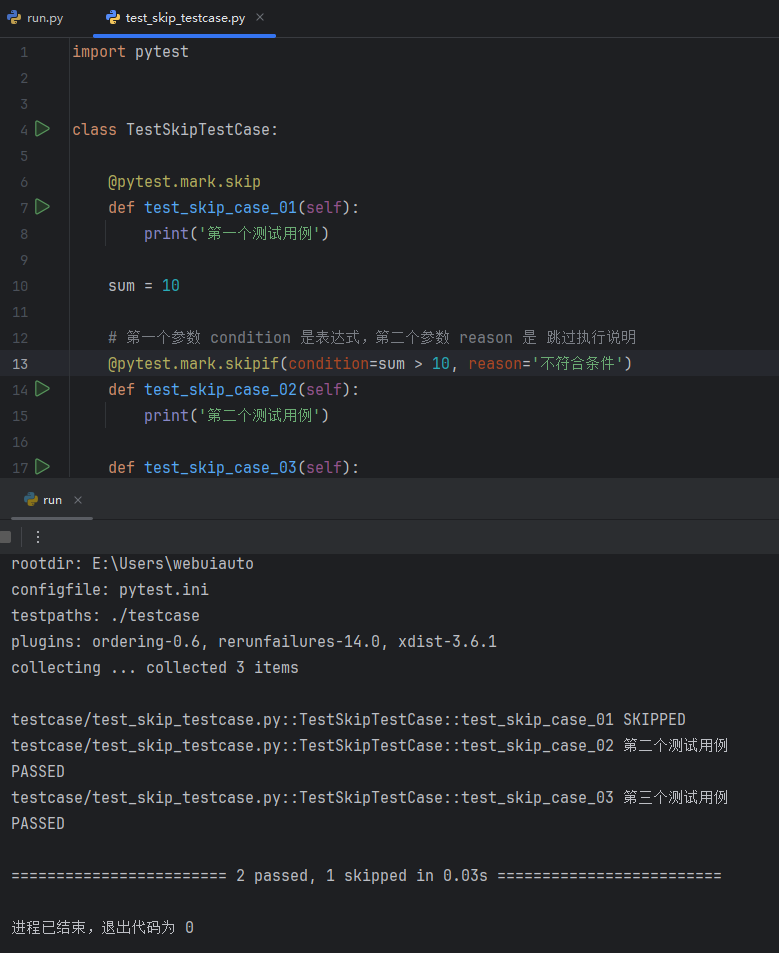
3)、 使用 pytest.mark.xfail 装饰器
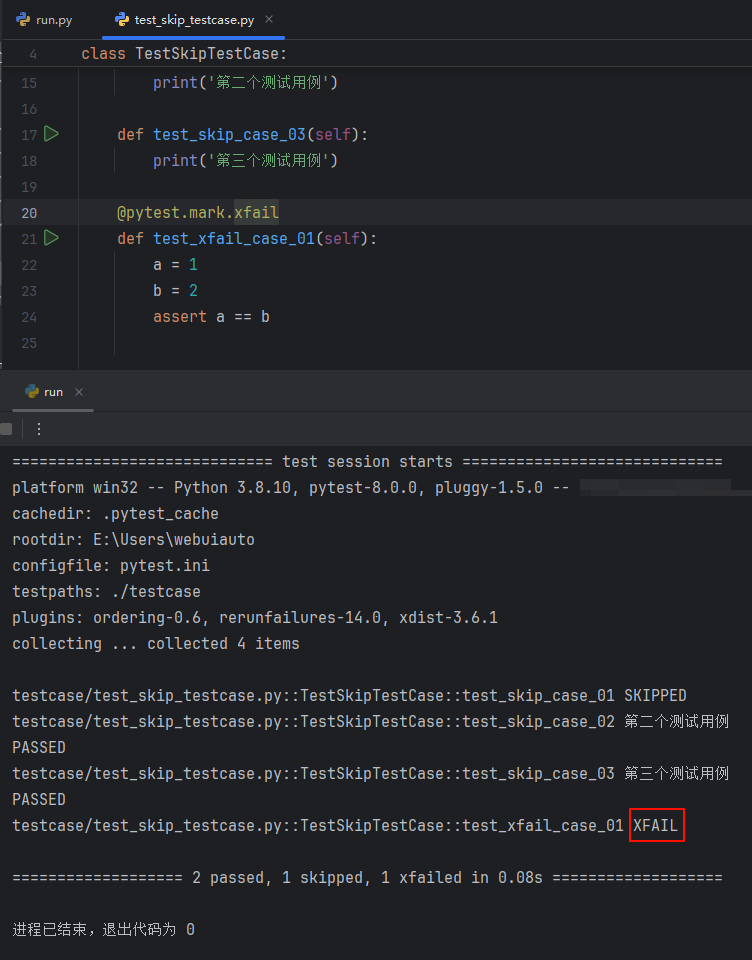
用于标记测试用例为预期失败,测试用例的执行不会被视为失败,而是作为预期失败的处理;会给这个测试用例打上一个 xfail 标签,它不是一个真正的失败;使用场景不是特别多,了解即可;
明确知道某一条测试用例肯定会失败,但是如果打上 pytest.mark.xfail 标签,这条测试用例仍然会去执行,不会导致整体测试用例运行失败,只是将测试结果打上 xfailed 标签,并不是真正意义上的测试失败;
import pytest

class TestSkipTestCase:

    @pytest.mark.skip
    def test_skip_case_01(self):
        print('第一个测试用例')

    sum = 10

    # 第一个参数 condition 是表达式,第二个参数 reason 是 跳过执行说明
    @pytest.mark.skipif(condition=sum > 10, reason='不符合条件')
    def test_skip_case_02(self):
        print('第二个测试用例')

    def test_skip_case_03(self):
        print('第三个测试用例')

    @pytest.mark.xfail
    def test_xfail_case_01(self):
        a = 1
        b = 2
        assert a == b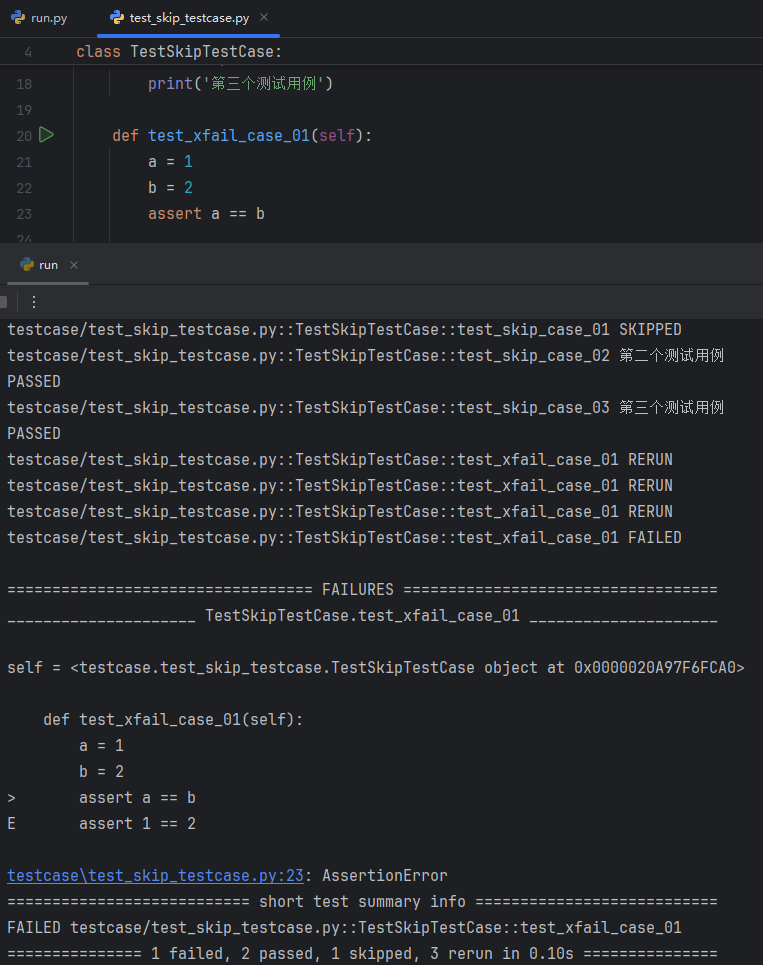
未完待续。。。