了解如何使用 Compose Animation API。我们将从最简单的值动画开始,并通过一些常见的动画模式学习其他 API。此外,我们还介绍了一些更高级的主题,例如动画自定义和轻触手势动画。
1. 简介
在此 Codelab 中,您将学习如何使用 Jetpack Compose 中的一些 Animation API。
学习内容
- 如何使用几个基础动画 API
2. 准备工作
下载 Codelab 代码。您可以按如下所示克隆代码库:
shell
$ git clone https://github.com/android/codelab-android-compose.git或者,您也能以 Zip 文件的形式下载该代码库:
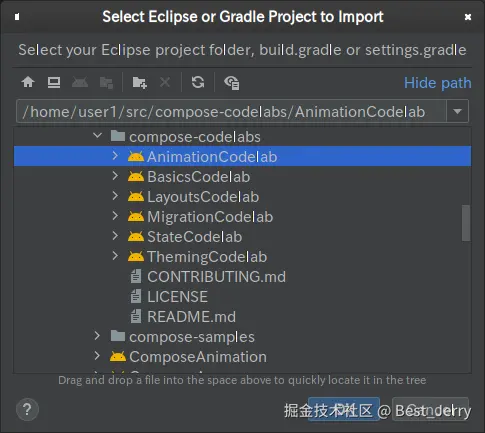
在 Android Studio 中导入 AnimationCodelab 项目。
注意:如果您运行的 Android Studio 版本比创建示例时使用的版本更高,您可能会看到一条通知,要求您更新 Gradle 版本。请放心地进行更新;如果时间有限,您也可以跳过这一步。
该项目包含多个模块:
start是此 Codelab 的起始状态。finished是完成此 Codelab 后应用的最终状态。
请务必在运行配置的下拉菜单中选择 start。

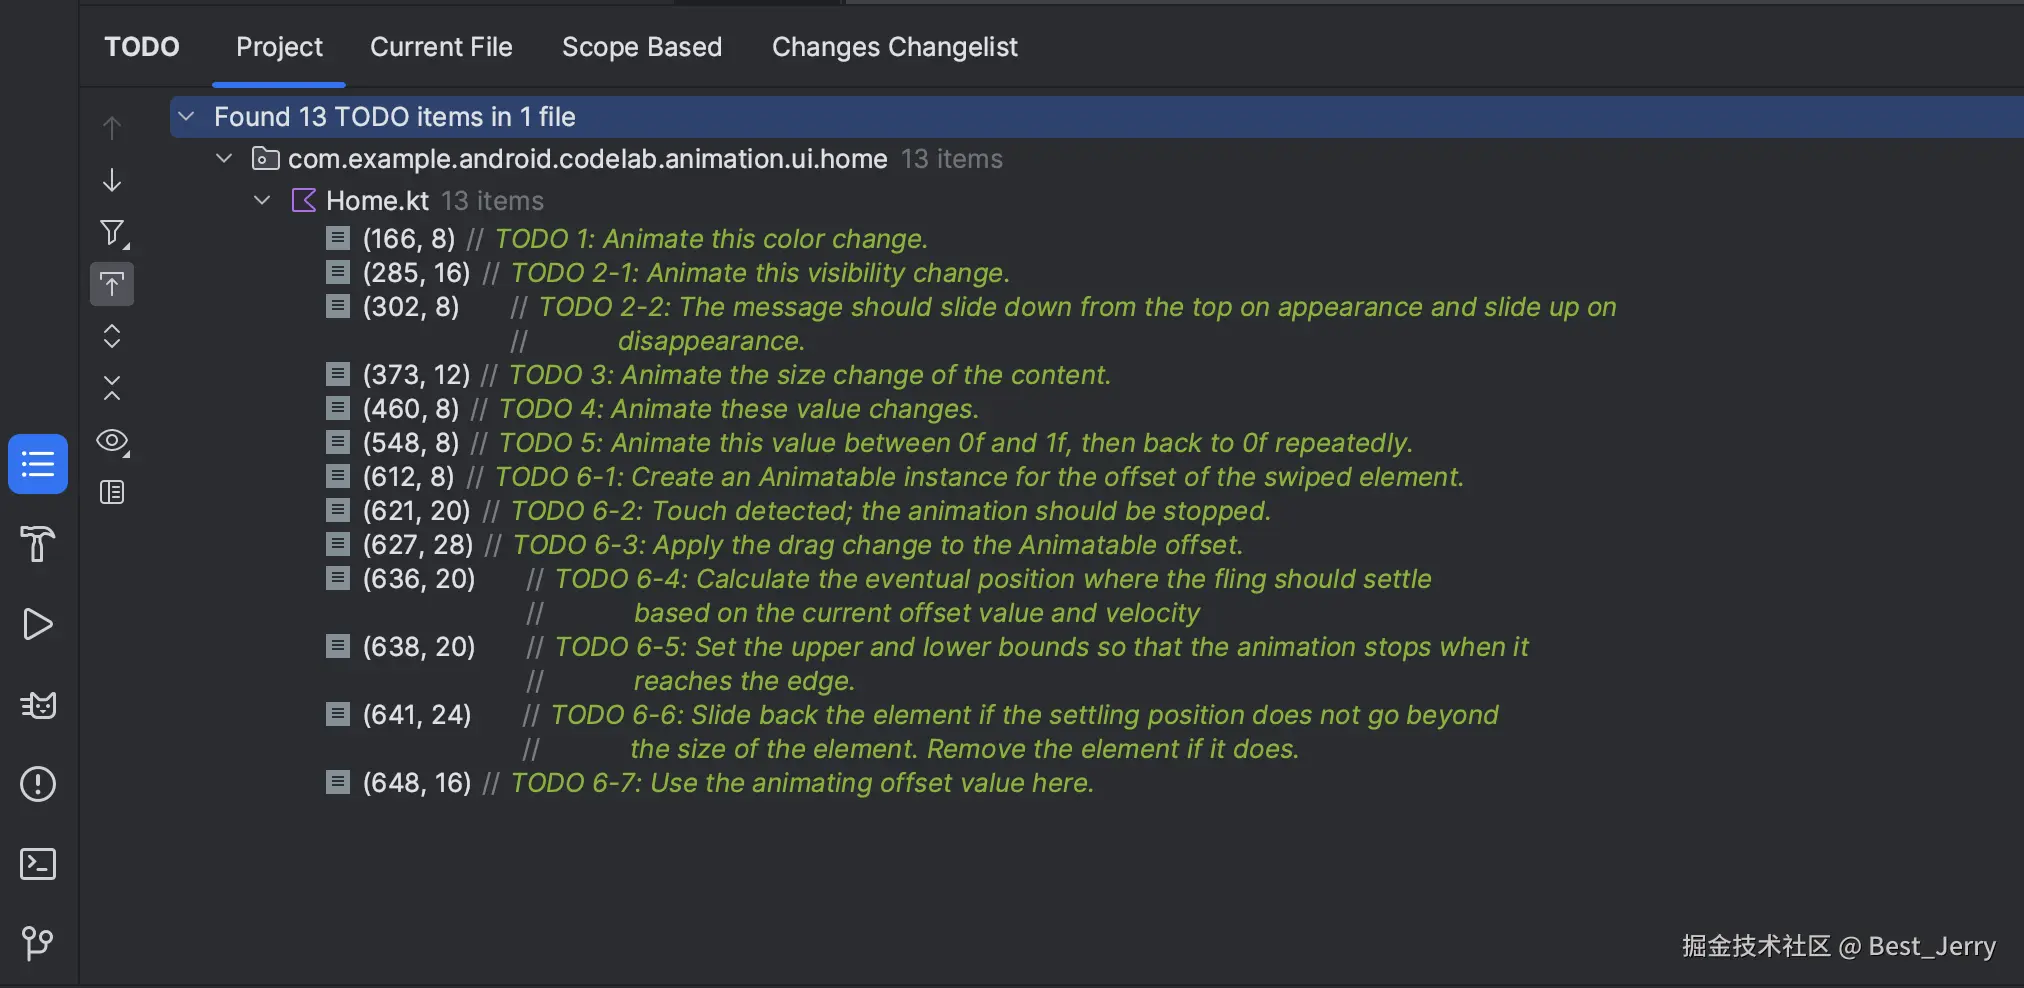
在下一章中,我们将处理几个动画场景。在本 Codelab 中,我们使用的每个代码段均标有 // TODO 注释。一个小技巧是在 Android Studio 中打开 TODO 工具窗口,然后浏览该章节的每个 TODO 注释。
3. 为简单的值变化添加动画效果
我们先来看看 Compose 中最简单的动画 API 之一,即 animate*AsState API。在为 State 更改添加动画效果时,应使用此 API。
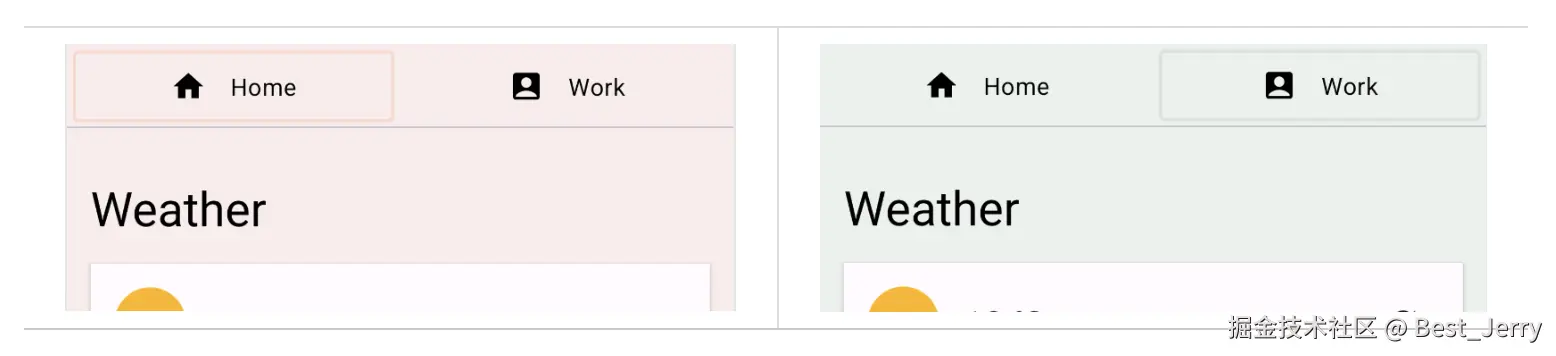
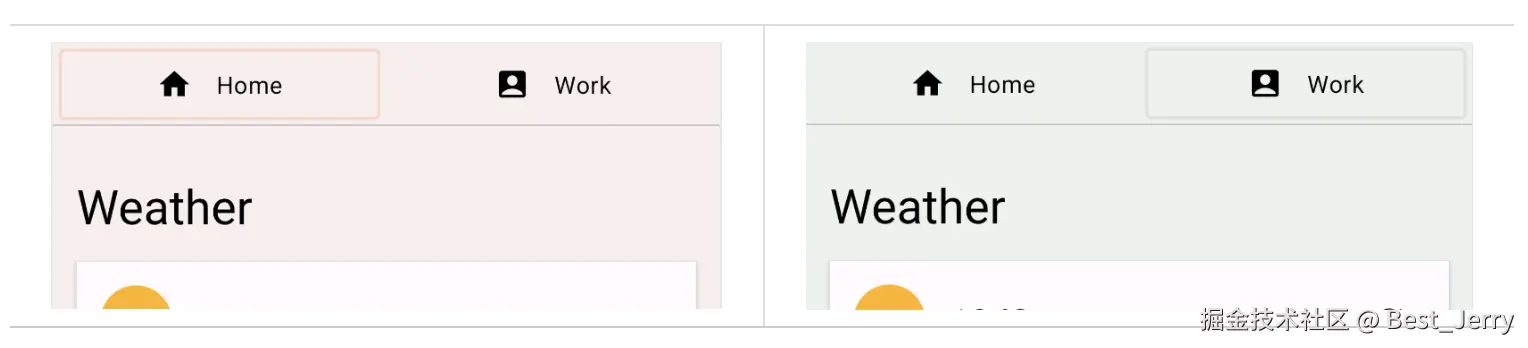
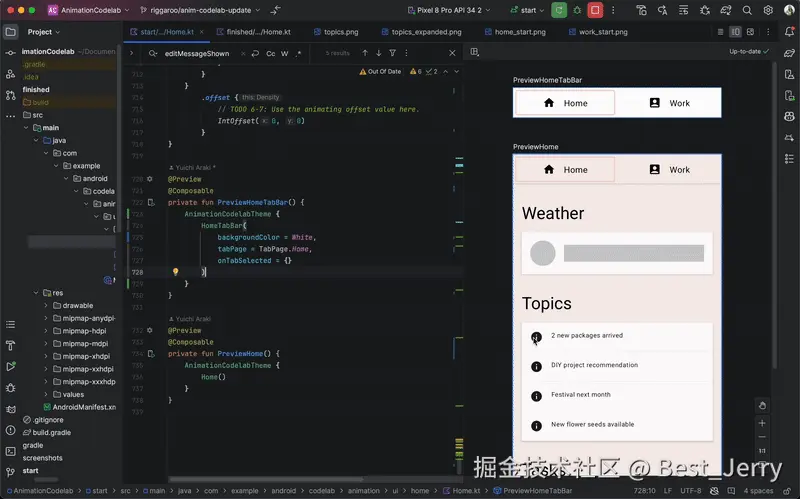
运行 start 配置,然后点击顶部的"Home"和"Work"按钮,尝试切换标签页。这样操作不会真正切换标签页内容,不过您可以看到,内容的背景颜色会发生变化。
点击 TODO 工具窗口中的 TODO 1 ,了解其实现方式。它位于 Home 可组合项中。
kotlin
val backgroundColor = if (tabPage == TabPage.Home) Seashell else GreenLight其中,tabPage 是由 State 对象支持的一项 TabPage。背景颜色可以在桃红色和绿色之间切换,具体取决于其值。我们想为这个值的变化添加动画效果。
如需为诸如此类的简单值变化添加动画效果,我们可以使用 animate*AsState API。使用 animate*AsState 可组合项的相应变体(在本例中为 animateColorAsState)封装更改值,即可创建动画值。返回的值是 State<T> 对象,因此我们可以使用包含 by 声明的本地委托属性,以将该值视为普通变量。
kotlin
val backgroundColor by animateColorAsState(
        targetValue = if (tabPage == TabPage.Home) Seashell else GreenLight,
        label = "background color")
重新运行应用并尝试切换标签页。现在颜色变化会呈现动画效果。
4. 为可见性添加动画效果
如果您滚动应用内容,会发现悬浮操作按钮按照滚动方向而展开和缩小。
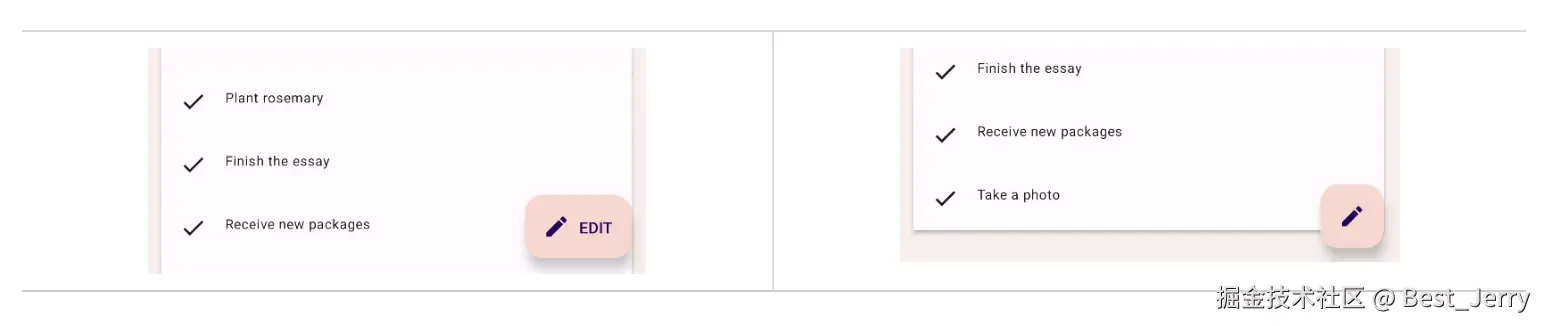
找到 TODO 2-1 并查看这背后的机制。它位于 HomeFloatingActionButton 可组合项中。使用 if 语句显示或隐藏表示"EDIT"的文本。
kotlin
if (extended) {
    Text(
        text = stringResource(R.string.edit),
        modifier = Modifier
            .padding(start = 8.dp, top = 3.dp)
    )
}
为此项可见性变化添加动画效果非常简单,只需将 if 替换为 AnimatedVisibility 可组合项即可。
kotlin
AnimatedVisibility(extended) {
    Text(
        text = stringResource(R.string.edit),
        modifier = Modifier
            .padding(start = 8.dp, top = 3.dp)
    )
}
现在运行应用,了解悬 FAB 如何展开和缩小。
每次指定的 Boolean 值发生变化时,AnimatedVisibility 会运行其动画。默认情况下,AnimatedVisibility 会以淡入和展开的方式显示元素,以淡出和缩小的方式隐藏元素。此行为对于使用 FAB 的本示例而言非常适用,不过我们也可以自定义行为。
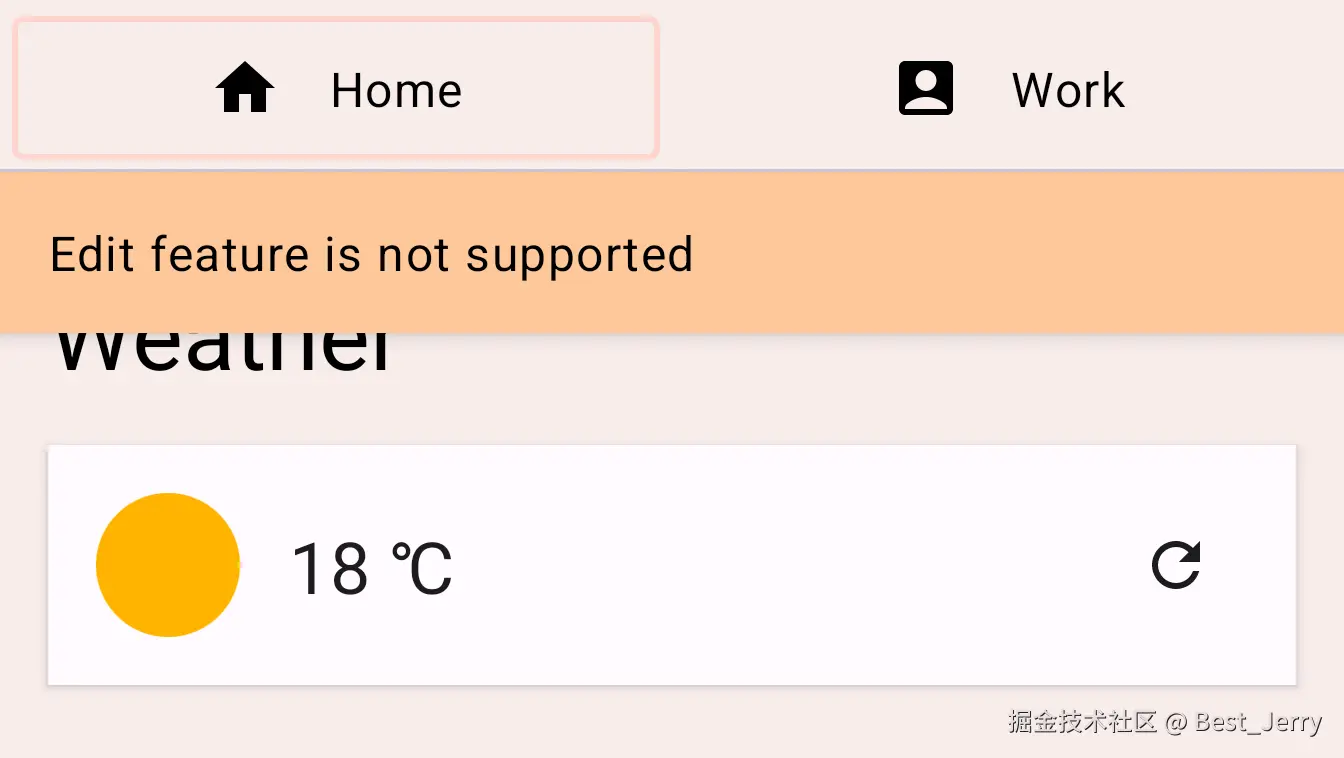
尝试点击 FAB,您应该会看到一条内容为"Edit feature is not supported"的消息。它还使用 AnimatedVisibility 为其外观和消失添加动画效果。接下来,您将自定义此行为,使消息从顶部滑入,然后滑出顶部。
找到 TODO 2-2 并查看 EditMessage 可组合项中的代码。
kotlin
AnimatedVisibility(
    visible = shown
) {
    Surface(
        modifier = Modifier.fillMaxWidth(),
        color = MaterialTheme.colorScheme.secondary,
        elevation = 4.dp
    ) {
        Text(
            text = stringResource(R.string.edit_message),
            modifier = Modifier.padding(16.dp)
        )
    }
如需自定义动画,请将 enter 和 exit 参数添加到 AnimatedVisibility 可组合项中。
enter 参数应该是 EnterTransition 的实例。在此示例中,我们可以使用 slideInVertically 函数创建 EnterTransition 和 slideOutVertically 为退出过渡创建 ExitTransition。更改代码,如下所示:
ini
AnimatedVisibility(
    visible = shown,
    enter = slideInVertically(),
    exit = slideOutVertically()
)
再次运行应用后,点击"Edit"按钮时,您可能会注意到动画效果变得更好了,但其实并不完全符合预期,这是因为 slideInVertically 和 slideOutVertically 的默认行为只使用项高度的一半。
对于进入过渡:我们可以通过设置 initialOffsetY 参数来调整默认行为,以便使用项的完整高度来正确添加动画效果。initialOffsetY 应该是返回初始位置的 lambda。
lambda 会收到一个表示元素高度的参数。为确保项从屏幕顶部滑入,我们会返回其负值,因为屏幕顶部的值为 0。我们希望动画从 -height 开始到 0(其最终静止位置),以便其从屏幕上方开始以动画形式滑入。
使用 slideInVertically 时,滑入后的目标偏移量始终为 0(像素)。可使用 lambda 函数将 initialOffsetY 指定为绝对值或元素全高度的百分比。
同样,slideOutVertically 假定初始偏移量为 0,因此只需指定 targetOffsetY。
kotlin
AnimatedVisibility(
    visible = shown,
    enter = slideInVertically(
        // Enters by sliding down from offset -fullHeight to 0.
        initialOffsetY = { fullHeight -> -fullHeight }
    ),
    exit = slideOutVertically(
        // Exits by sliding up from offset 0 to -fullHeight.
        targetOffsetY = { fullHeight -> -fullHeight }
    )
) {
    Surface(
        modifier = Modifier.fillMaxWidth(),
        color = MaterialTheme.colorScheme.secondary,
        elevation = 4.dp
    ) {
        Text(
            text = stringResource(R.string.edit_message),
            modifier = Modifier.padding(16.dp)
        )
    }
}
再次运行应用后,我们可以看到动画效果更符合预期:
我们可以使用 animationSpec 参数进一步自定义动画效果。animationSpec 是包括 EnterTransition 和 ExitTransition 在内的许多动画 API 的通用参数。我们可以传递各种 AnimationSpec 类型中的一种,以指定动画值应如何随时间变化。在本示例中,我们使用基于时长的简单 AnimationSpec。它可以使用 tween 函数创建。时长为 150 毫秒,加/减速选项为 LinearOutSlowInEasing。对于退出动画,我们为 animationSpec 参数使用相同的 tween 函数,但时长为 250 毫秒,加/减速选项为 FastOutLinearInEasing。
最终的代码应如下所示:
kotlin
AnimatedVisibility(
    visible = shown,
    enter = slideInVertically(
        // Enters by sliding down from offset -fullHeight to 0.
        initialOffsetY = { fullHeight -> -fullHeight },
        animationSpec = tween(durationMillis = 150, easing = LinearOutSlowInEasing)
    ),
    exit = slideOutVertically(
        // Exits by sliding up from offset 0 to -fullHeight.
        targetOffsetY = { fullHeight -> -fullHeight },
        animationSpec = tween(durationMillis = 250, easing = FastOutLinearInEasing)
    )
) {
    Surface(
        modifier = Modifier.fillMaxWidth(),
        color = MaterialTheme.colorScheme.secondary,
        elevation = 4.dp
    ) {
        Text(
            text = stringResource(R.string.edit_message),
            modifier = Modifier.padding(16.dp)
        )
    }
}
运行应用,然后再次点击 FAB。您可以看到,消息现在通过不同的加/减速函数和时长从顶部滑入和滑出:
5. 为内容大小变化添加动画效果
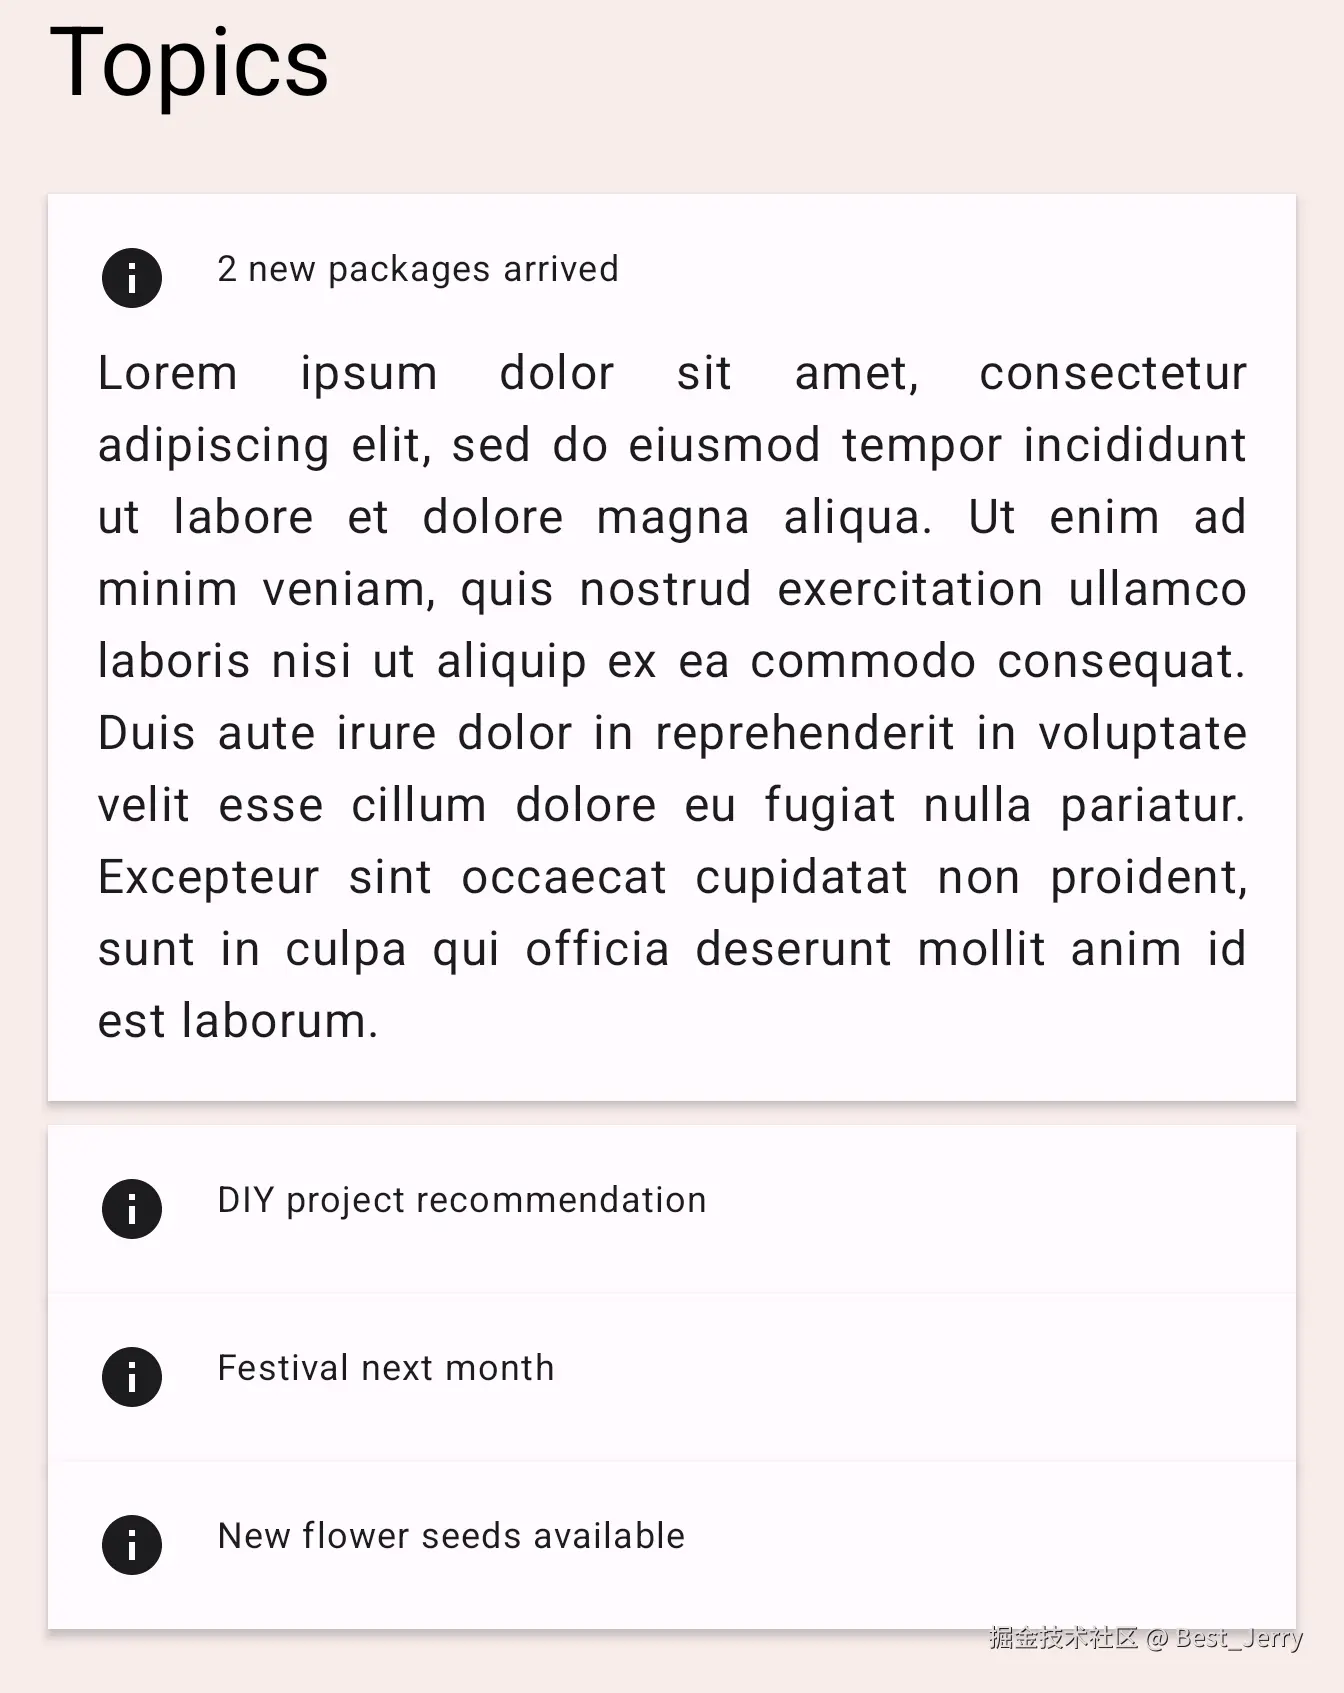
该应用会在内容中显示多个主题。尝试点击其中一个主题,此时系统会打开并显示该主题的正文。当正文显示或隐藏时,包含文本的卡片会展开或缩小。
查看 TopicRow 可组合项中 TODO 3 的代码。
kotlin
Column(
    modifier = Modifier
        .fillMaxWidth()
        .padding(16.dp)
) {
    // ... the title and the body
}
此处的这个 Column 可组合项会在内容发生变化时更改其大小。我们可以添加 animateContentSize 修饰符,为其大小变化添加动画效果。
kotlin
Column(
    modifier = Modifier
        .fillMaxWidth()
        .padding(16.dp)
        .animateContentSize()
) {
    // ... the title and the body
}
运行应用,然后点击其中一个主题。您可以看到,该主题展开和缩小时具有动画效果。
您也可以使用自定义 animationSpec 来自定义 animateContentSize。我们可以提供将动画类型从弹簧动画变更为补间动画等操作的选项。如需了解详情,请参阅自定义动画文档。
6. 为多个值添加动画效果
现在我们已经熟悉一些基本的动画 API,接下来我们来了解一下 Transition API。借助该 API,我们可以制作更复杂的动画。我们可以使用 Transition API 跟踪 Transition 上的所有动画何时完成,而使用前述各个 animate*AsState API 却无法做到这一点。Transition API 还让我们能够在不同状态之间转换时定义不同的 transitionSpec。让我们来看看如何使用它:
在本示例中,我们自定义了标签页指示器。它是当前所选标签页上显示的一个矩形。
在 HomeTabIndicator 可组合项中找到 TODO 4,查看标签页指示器的实现方式。
kotlin
val indicatorLeft = tabPositions[tabPage.ordinal].left
val indicatorRight = tabPositions[tabPage.ordinal].right
val color = if (tabPage == TabPage.Home) PaleDogwood else Green其中,indicatorLeft 表示指示器位于标签页行中左侧边缘的水平位置。indicatorRight 表示指示器位于右侧边缘的水平位置。颜色也在桃红色和绿色之间变化。
如需同时为多个值添加动画效果,可使用 Transition。还可使用 updateTransition 函数创建 Transition。将当前所选标签页的索引作为 targetState 参数传递。
每个动画值都可以使用 Transition 的 animate* 扩展函数进行声明。在本示例中,我们使用 animateDp 和 animateColor。它们会接受一个 lambda 块,我们可以为每个状态指定目标值。我们已经知道它们的目标值应该是什么,所以可以按如下所示封装这些值。请注意,我们可以使用 by 声明并在此时再次将其设为本地委托属性,因为 animate* 函数会返回 State 对象。
kotlin
val transition = updateTransition(tabPage, label = "Tab indicator")
val indicatorLeft by transition.animateDp(label = "Indicator left") { page ->
   tabPositions[page.ordinal].left
}
val indicatorRight by transition.animateDp(label = "Indicator right") { page ->
   tabPositions[page.ordinal].right
}
val color by transition.animateColor(label = "Border color") { page ->
   if (page == TabPage.Home) PaleDogwood else Green
}
现在运行应用,您会发现标签页切换现在更有趣了。点击标签页会更改 tabPage 状态的值,这时与 transition 关联的所有动画值会开始以动画方式切换至为目标状态指定的值。
此外,我们可以指定 transitionSpec 参数来自定义动画行为。例如,我们可以让靠近目标页面的一边比另一边移动得更快来实现指示器的弹性效果。可以在 transitionSpec lambda 中使用 isTransitioningTo infix 函数来确定状态变化的方向。
kotlin
val transition = updateTransition(
    tabPage,
    label = "Tab indicator"
)
val indicatorLeft by transition.animateDp(
    transitionSpec = {
        if (TabPage.Home isTransitioningTo TabPage.Work) {
            // Indicator moves to the right.
            // The left edge moves slower than the right edge.
            spring(stiffness = Spring.StiffnessVeryLow)
        } else {
            // Indicator moves to the left.
            // The left edge moves faster than the right edge.
            spring(stiffness = Spring.StiffnessMedium)
        }
    },
    label = "Indicator left"
) { page ->
    tabPositions[page.ordinal].left
}
val indicatorRight by transition.animateDp(
    transitionSpec = {
        if (TabPage.Home isTransitioningTo TabPage.Work) {
            // Indicator moves to the right
            // The right edge moves faster than the left edge.
            spring(stiffness = Spring.StiffnessMedium)
        } else {
            // Indicator moves to the left.
            // The right edge moves slower than the left edge.
            spring(stiffness = Spring.StiffnessVeryLow)
        }
    },
    label = "Indicator right"
) { page ->
    tabPositions[page.ordinal].right
}
val color by transition.animateColor(
    label = "Border color"
) { page ->
    if (page == TabPage.Home) PaleDogwood else Green
}
再次运行应用,并尝试切换标签页。
Android Studio 支持在 Compose 预览中检查过渡效果。如需使用动画预览 ,请在预览中点击可组合项右上角的"Start Animation Preview"图标,以启动交互模式。尝试点击 PreviewHomeTabBar 可组合项的图标。系统随即会打开一个新的"Animations"窗格。
您可以点击"Play"图标按钮来播放动画,也可以拖动拖动条来查看各个动画帧。为了更好地描述动画值,可在 updateTransition 和 animate* 方法中指定 label 参数。
7. 重复呈现动画效果
尝试点击当前气温旁边的刷新图标按钮。应用开始加载最新天气信息(它会假装加载)。在加载完成之前,您会看到加载指示器,即一个灰色圆圈和一个条形。我们来为该指示器的 Alpha 值添加动画效果,以便更清楚地呈现该进程正在进行。
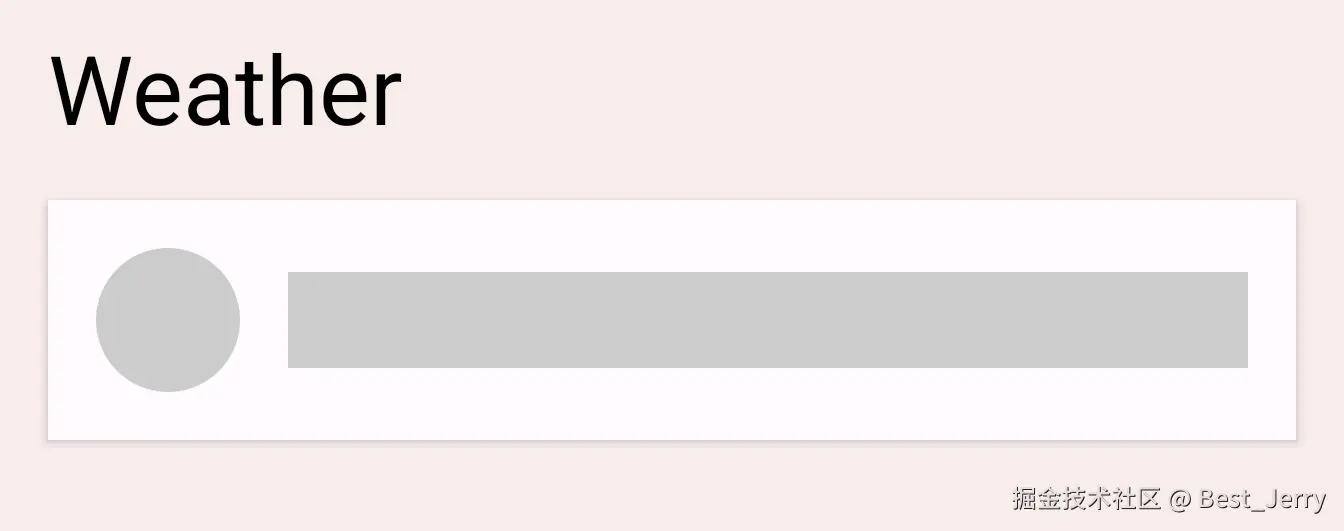
在 LoadingRow 可组合项中找到 TODO 5。
ini
val alpha = 1f我们希望将此值设为在 0f 和 1f 之间重复呈现动画效果。为此,可以使用 InfiniteTransition。此 API 与上一部分中的 Transition API 类似。两者都是为多个值添加动画效果,但 Transition 会根据状态变化为值添加动画效果,而 InfiniteTransition 则无限期地为值添加动画效果。
如需创建 InfiniteTransition,请使用 rememberInfiniteTransition 函数。然后,可以使用 InfiniteTransition 的一个 animate* 扩展函数声明每个动画值变化。在本例中,我们要为 Alpha 值添加动画效果,所以使用 animatedFloat。initialValue 参数应为 0f,而 targetValue 应为 1f。我们还可以为此动画指定 AnimationSpec,但此 API 仅接受 InfiniteRepeatableSpec。请使用 infiniteRepeatable 函数创建一个。此 AnimationSpec 会封装任何基于时长的 AnimationSpec,使其可重复。例如,生成的代码应如下所示。
kotlin
val infiniteTransition = rememberInfiniteTransition()
val alpha by infiniteTransition.animateFloat(
    initialValue = 0f,
    targetValue = 1f,
    animationSpec = infiniteRepeatable(
        animation = keyframes {
            durationMillis = 1000
            0.7f at 500
        },
        repeatMode = RepeatMode.Reverse
    ),
    label = "alpha"
)
repeatMode 的默认值为 RepeatMode.Restart。这会从 initialValue 过渡为 targetValue,并再次从 initialValue 开始。将 repeatMode 设置为 RepeatMode.Reverse 后,动画会从 initialValue 播放到 targetValue,然后从 targetValue 播放到 initialValue。动画会从 0 播放到 1,然后再从 1 播放到 0。
keyFrames 动画是另一种类型的 animationSpec(另外还有一些是 tween 和 spring),可允许在不同的毫秒数下更改播放中的值。我们最初将 durationMillis 设置为 1000 毫秒。然后,我们可以在动画中定义关键帧,例如,在动画播放 500 毫秒时,我们希望 alpha 值为 0.7f。这会更改动画的播放进度:动画在 500 毫秒内会从 0 快速播放到 0.7,而在 500 毫秒到 1,000 毫秒之间会从 0.7 慢速播放到 1.0,直到结束。
如果需要多个关键帧,我们可以按如下方式定义多个 keyFrames:
kotlin
animation = keyframes {
   durationMillis = 1000
   0.7f at 500
   0.9f at 800
}
运行应用,然后尝试点击刷新按钮。现在,您可以看到加载指示器会显示动画效果。
8. 手势动画
在此最后一部分中,我们将学习如何基于触控输入运行动画。我们将从头开始构建 swipeToDismiss 修饰符。
注意 :SwipeToDismiss 是 Material 中的可组合项,无需实现自己的自定义修饰符即可使用。本部分将介绍基于手势的动画背后的设计思维。
在 swipeToDismiss 修饰符中找到 TODO 6-1 。现在我们尝试创建一个修饰符,以使触摸时元素可滑动。当元素被快速滑动到屏幕边缘时,我们将调用 onDismissed 回调,以便移除该元素。
如需构建 swipeToDismiss 修饰符,我们需要理解几个关键概念。首先,用户将手指放在屏幕上会生成包含 x 和 y 坐标的触摸事件,随后用户将手指向右或向左移动,x 和 y 坐标也会随之移动。用户需要通过移动手指来移动所触摸的项,因此我们将根据触摸事件的位置和速度来更新项的位置。
我们可以使用 Compose 手势文档中所述的几个概念。使用 pointerInput 修饰符,我们可以获取对传入指针触摸事件的低级别访问,并跟踪用户使用同一指针拖动的速度。如果用户在项越过忽略边界之前就放开手指,则项会退回到原有位置。
在这种情况下,需要考虑几个独特的因素。首先,任何正在播放的动画都可能会被触摸事件拦截。其次,动画值可能不是唯一的可信来源。换句话说,我们可能需要将动画值与来自触摸事件的值同步。
Animatable 是我们目前看到的最低级别的 API。它具有多项适用于手势场景的功能,例如能够快速捕捉来自手势的新值,并在触发新的触摸事件时停止任何正在运行中的动画。让我们来创建一个 Animatable 实例,并使用该实例表示可滑动元素的水平偏移量。确保从 androidx.compose.animation.core.Animatable(而非 androidx.compose.animation.Animatable)导入 Animatable。
kotlin
val offsetX = remember { Animatable(0f) } // Add this line
// used to receive user touch events
pointerInput {
    // Used to calculate a settling position of a fling animation.
    val decay = splineBasedDecay<Float>(this)
    // Wrap in a coroutine scope to use suspend functions for touch events and animation.
    coroutineScope {
        while (true) {
            // ...
TODO 6-2 是我们刚刚收到向下轻触事件的位置。如果动画当前正在运行,我们应将其拦截。可以通过对 Animatable 调用 stop 来实现此目的。请注意,如果动画未运行,系统会忽略该调用。VelocityTracker 用于计算用户从左向右移动的速度。awaitPointerEventScope 是一个挂起函数,可以等待用户输入事件并针对这些事件作出响应。
kotlin
// Wait for a touch down event. Track the pointerId based on the touch
val pointerId = awaitPointerEventScope { awaitFirstDown().id }
offsetX.stop() // Add this line to cancel any on-going animations
// Prepare for drag events and record velocity of a fling gesture
val velocityTracker = VelocityTracker()
// Wait for drag events.
awaitPointerEventScope {
在 TODO 6-3 位置,我们会持续接收到拖动事件。必须将触摸事件的位置同步到动画值中。为此,我们可以对 Animatable 使用 snapTo。只能在另一个 launch 代码块内发起对 snapTo 的调用,因为 awaitPointerEventScope 和 horizontalDrag 是受限的协程范围。也就是说,它们只能对 awaitPointerEvents 执行 suspend,而 snapTo 并不是指针事件。
kotlin
horizontalDrag(pointerId) { change ->
    // Add these 4 lines
    // Get the drag amount change to offset the item with
    val horizontalDragOffset = offsetX.value + change.positionChange().x
    // Need to call this in a launch block in order to run it separately outside of the awaitPointerEventScope
    launch {
        // Instantly set the Animable to the dragOffset to ensure its moving
        // as the user's finger moves
        offsetX.snapTo(horizontalDragOffset)
    }
    // Record the velocity of the drag.
    velocityTracker.addPosition(change.uptimeMillis, change.position)

    // Consume the gesture event, not passed to external
    if (change.positionChange() != Offset.Zero) change.consume()

}
TODO 6-4 是元素刚刚被松开和快速滑动的位置。我们需要计算快速滑动操作的最终位置,以便确定是要将元素滑回原始位置,还是滑开元素并调用回调。我们使用之前创建的 decay 对象来计算 targetOffsetX:
kotlin
// Dragging finished. Calculate the velocity of the fling.
val velocity = velocityTracker.calculateVelocity().x
// Add this line to calculate where it would end up with
// the current velocity and position
val targetOffsetX = decay.calculateTargetValue(offsetX.value, velocity)
在 TODO 6-5 位置,我们将开始播放动画。但在此之前,我们需要为 Animatable 设置值的上下界限,使其在到达界限时立即停止(即 -size.width 和 size.width,因为我们不希望 offsetX 越过这两个值)。借助 pointerInput 修饰符,我们可以通过 size 属性访问元素的大小,因此我们可以使用它获取界限。
kotlin
offsetX.updateBounds(
    lowerBound = -size.width.toFloat(),
    upperBound = size.width.toFloat()
)
最终,我们可以在 TODO 6-6 位置开始播放动画。我们首先来比较之前计算的快速滑动操作的最终位置以及元素的大小。如果最终位置低于该大小,则表示快速滑动的速度不够。可使用 animateTo 将值的动画效果设置回 0f。否则,我们可以使用 animateDecay 来开始播放快速滑动动画。当动画结束(很可能是到达我们之前设置的界限)时,我们可以调用回调。
kotlin
launch {
    if (targetOffsetX.absoluteValue <= size.width) {
        // Not enough velocity; Slide back.
        offsetX.animateTo(targetValue = 0f, initialVelocity = velocity)
    } else {
        // Enough velocity to slide away the element to the edge.
        offsetX.animateDecay(velocity, decay)
        // The element was swiped away.
        onDismissed()
    }
}
最后,我们来了解 TODO 6-7。我们已设置所有动画和手势,因此,请记得对元素应用偏移。此操作会将屏幕上的元素移至手势或动画生成的值:
kotlin
.offset { IntOffset(offsetX.value.roundToInt(), 0) }完成本部分后,您将得到如下所示的代码:
kotlin
private fun Modifier.swipeToDismiss(
onDismissed: () -> Unit
): Modifier = composed {
// This Animatable stores the horizontal offset for the element.
val offsetX = remember { Animatable(0f) }
pointerInput(Unit) {
// Used to calculate a settling position of a fling animation.
val decay = splineBasedDecay<Float>(this)
// Wrap in a coroutine scope to use suspend functions for touch events and animation.
coroutineScope {
while (true) {
// Wait for a touch down event.
val pointerId = awaitPointerEventScope { awaitFirstDown().id }
// Interrupt any ongoing animation.
offsetX.stop()
// Prepare for drag events and record velocity of a fling.
val velocityTracker = VelocityTracker()
// Wait for drag events.
awaitPointerEventScope {
horizontalDrag(pointerId) { change ->
// Record the position after offset
val horizontalDragOffset = offsetX.value + change.positionChange().x
launch {
// Overwrite the Animatable value while the element is dragged.
offsetX.snapTo(horizontalDragOffset)
}
// Record the velocity of the drag.
velocityTracker.addPosition(change.uptimeMillis, change.position)
// Consume the gesture event, not passed to external
change.consumePositionChange()
}
}
// Dragging finished. Calculate the velocity of the fling.
val velocity = velocityTracker.calculateVelocity().x
// Calculate where the element eventually settles after the fling animation.
val targetOffsetX = decay.calculateTargetValue(offsetX.value, velocity)
// The animation should end as soon as it reaches these bounds.
offsetX.updateBounds(
lowerBound = -size.width.toFloat(),
upperBound = size.width.toFloat()
)
launch {
if (targetOffsetX.absoluteValue <= size.width) {
// Not enough velocity; Slide back to the default position.
offsetX.animateTo(targetValue = 0f, initialVelocity = velocity)
} else {
// Enough velocity to slide away the element to the edge.
offsetX.animateDecay(velocity, decay)
// The element was swiped away.
onDismissed()
}
}
}
}
}
// Apply the horizontal offset to the element.
.offset { IntOffset(offsetX.value.roundToInt(), 0) }
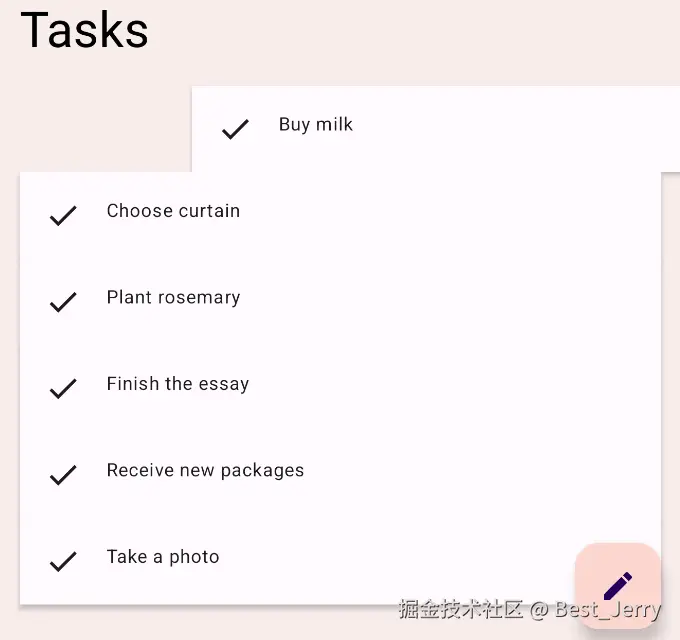
}请运行应用,并尝试滑动某个任务项。您会看到该元素要么滑回默认位置,要么滑开,然后被移除,具体取决于快速滑动的速度。您还可以在添加动画效果时捕获元素。