TL;DR
- 场景:Ubuntu 上快速装 ClickHouse,先跑通单机,再搭 3 节点集群。
- 结论 :使用官方源 +
signed-by方式安装;用 systemd 管服务 ,别手动sudo -u clickhouse clickhouse-server;集群建议用 ClickHouse Keeper 替代 ZooKeeper。 - 产出:一键安装脚本、单机 MRE(3 分钟)

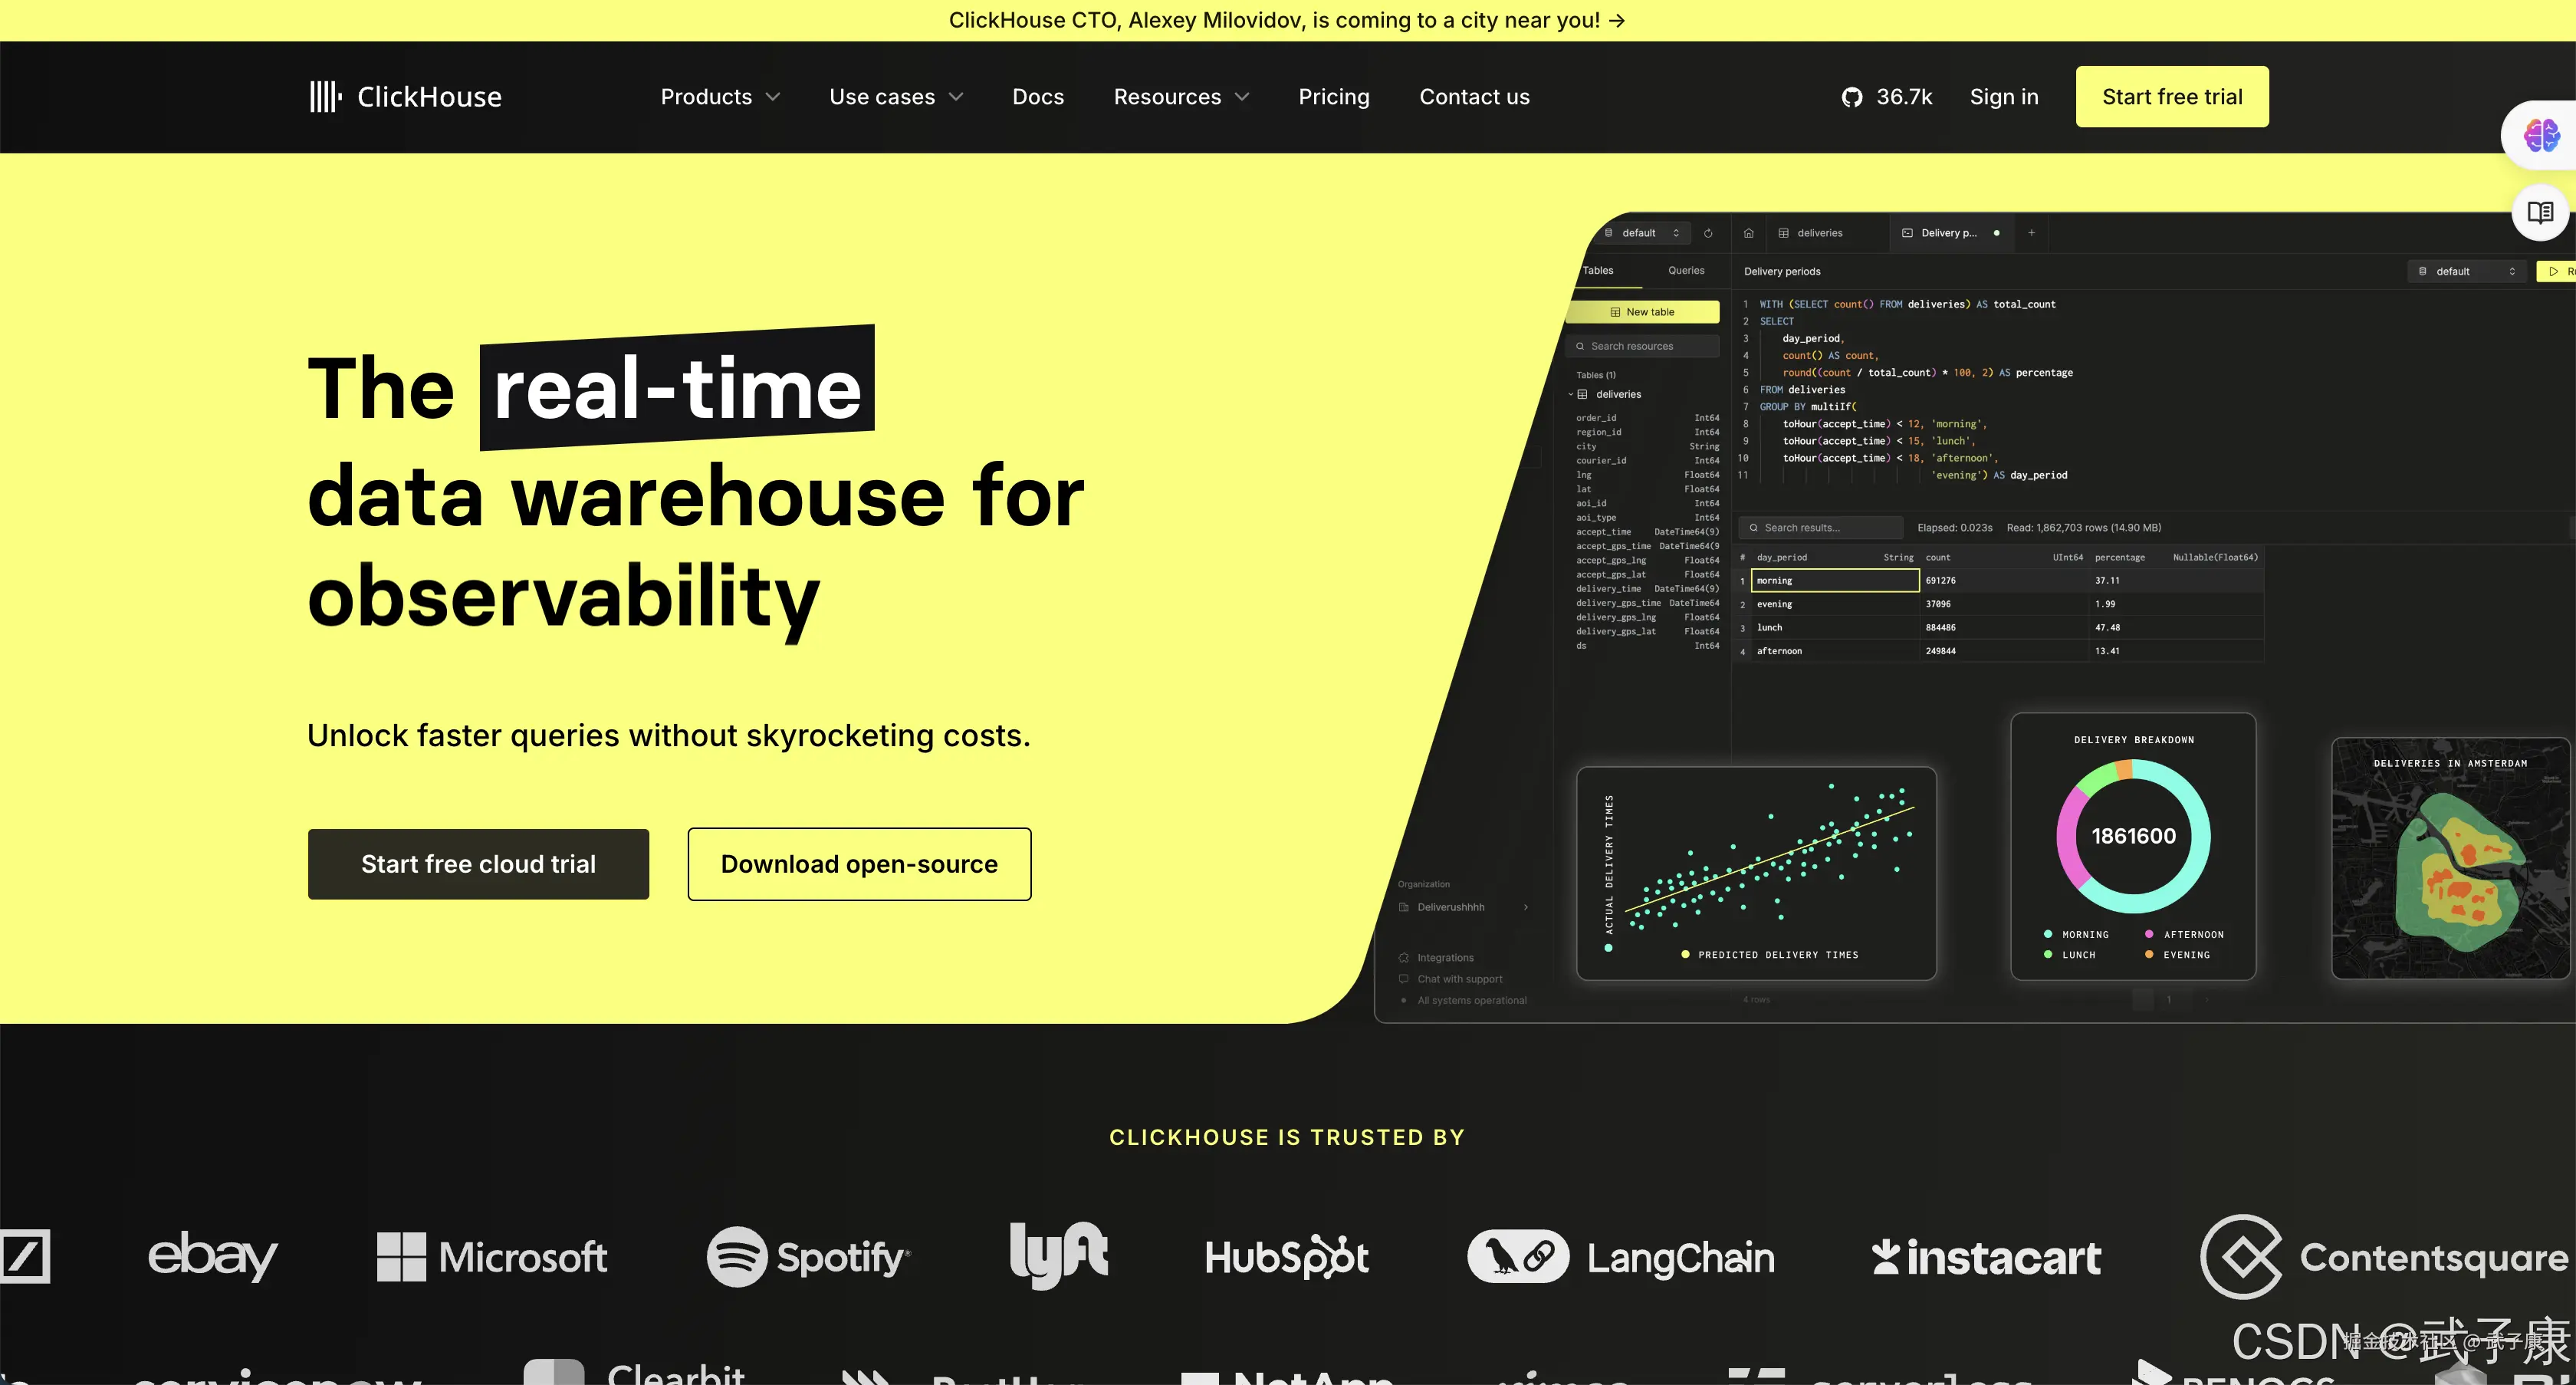
官网网站
shell
https://clickhouse.com/最小可运行示例
shell
# 1) 依赖 & keyring
sudo apt-get install -y apt-transport-https ca-certificates curl gnupg
curl -fsSL 'https://packages.clickhouse.com/rpm/lts/repodata/repomd.xml.key' \
  | sudo gpg --dearmor -o /usr/share/keyrings/clickhouse-keyring.gpg

# 2) 源(stable 或 lts 二选一)
ARCH=$(dpkg --print-architecture)
echo "deb [signed-by=/usr/share/keyrings/clickhouse-keyring.gpg arch=${ARCH}] https://packages.clickhouse.com/deb stable main" \
 | sudo tee /etc/apt/sources.list.d/clickhouse.list

sudo apt-get update
sudo apt-get install -y clickhouse-server clickhouse-client
启动与开机自启
shell
sudo systemctl enable --now clickhouse-server
sudo systemctl status clickhouse-server --no-pager
单机安装
我是 Ubuntu 的服务器:
shell
sudo apt-get update
sudo apt-get install -y apt-transport-https ca-certificates dirmngr

sudo apt-key adv --keyserver keyserver.ubuntu.com --recv E0C56BD4
echo "deb https://repo.clickhouse.com/deb/stable/ main/" | sudo tee /etc/apt/sources.list.d/clickhouse.list

sudo apt-get update
sudo apt-get install -y clickhouse-server clickhouse-client
等待安装 ClickHouse 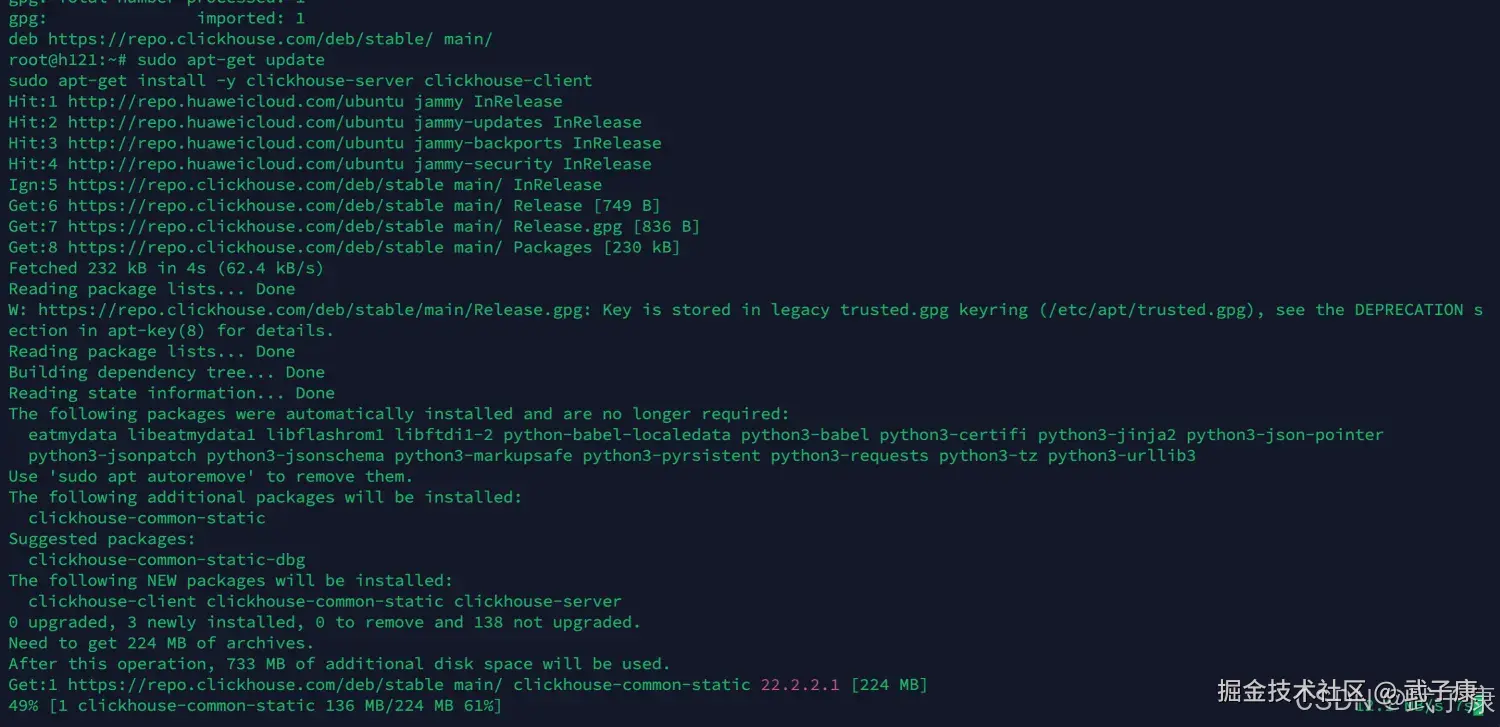
等待之后,可以看到已经顺利的安装完毕:  默认的密码路径是:
shell
/etc/clickhouse-server/users.d/default-password.xml配置权限
不配置后续可能会报错
shell
sudo chown -R clickhouse:clickhouse /etc/clickhouse-server
sudo chmod -R 755 /etc/clickhouse-server
sudo chown -R clickhouse:clickhouse /var/lib/clickhouse
sudo chmod -R 755 /var/lib/clickhouse
单机测试
启动ClickServer
shell
sudo -u clickhouse clickhouse-server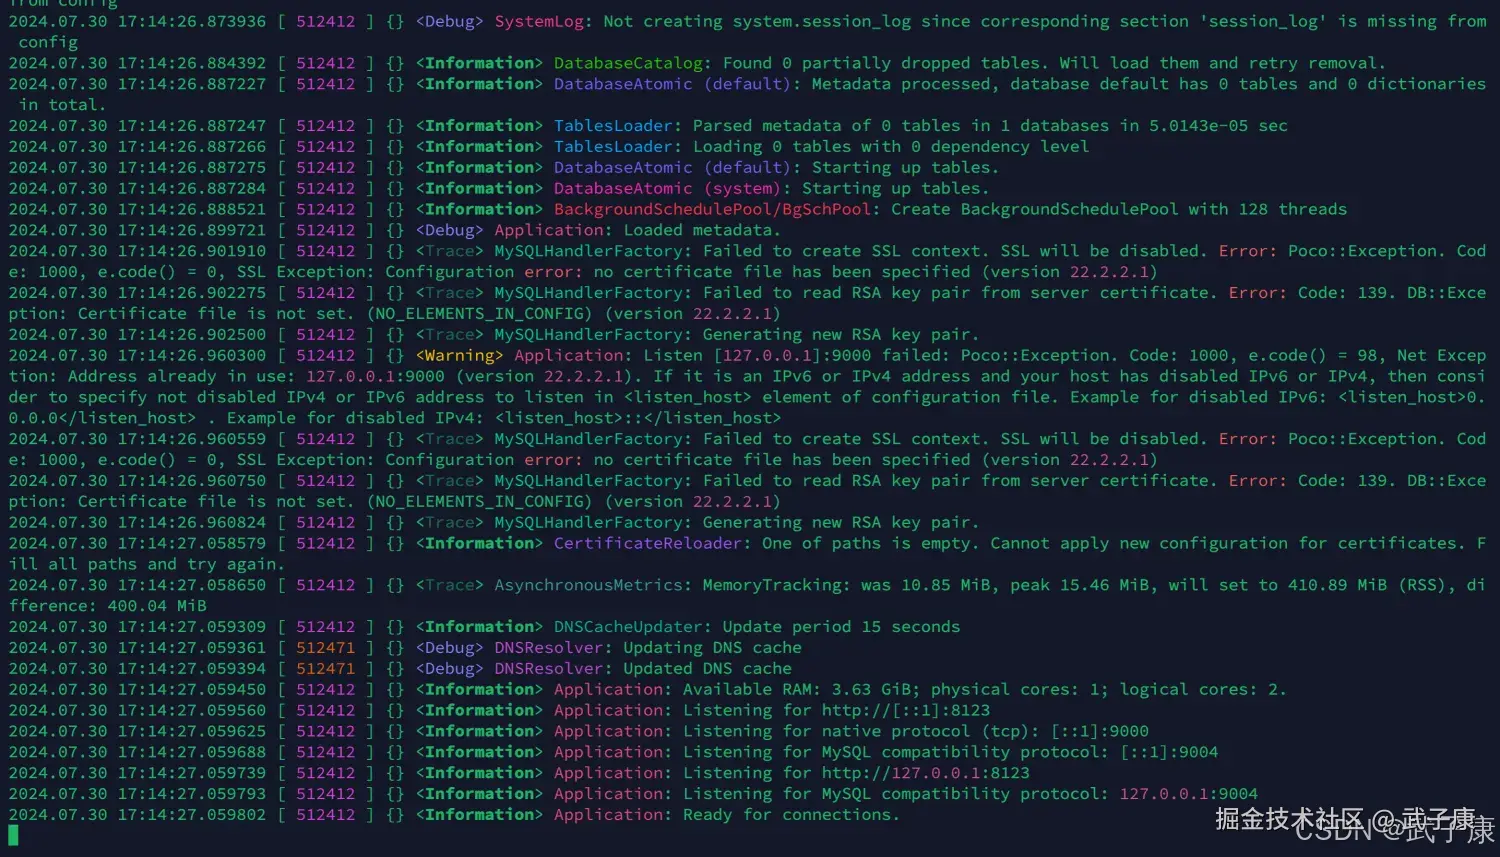
启动ClickClient
shell
clickhouse-client -m
集群安装
集群安装
目前我有的节点是三台:
- h121 2C4G
- h122 2C4G
- h123 2C4G 刚才单机安装是在 h121 节点上,我们需要对三台云服务都执行相应的Shell:
shell
sudo apt-get update
sudo apt-get install -y apt-transport-https ca-certificates dirmngr
sudo apt-key adv --keyserver keyserver.ubuntu.com --recv E0C56BD4
echo "deb https://repo.clickhouse.com/deb/stable/ main/" | sudo tee /etc/apt/sources.list.d/clickhouse.list
sudo apt-get update
sudo apt-get install -y clickhouse-server clickhouse-client
停止服务
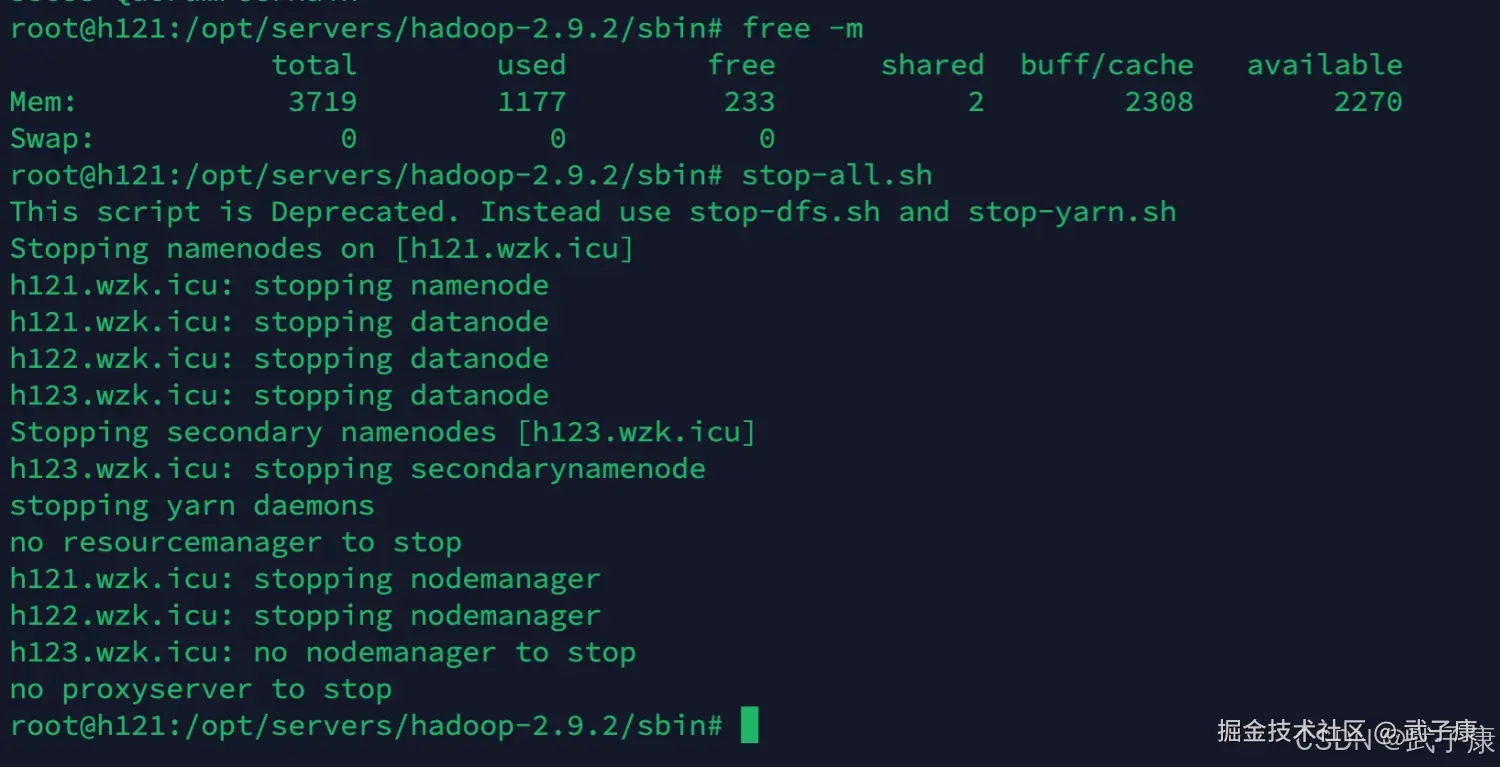
我们需要停止之前的服务,来空出一定的内存和端口给 ClickHouse 使用。 (如果你的内存比较富裕可以忽略) 只保留 ZooKeeper 即可,其他服务可以都关闭掉。比如Hadoop集群、Kafka集群、Redis集群等。
配置文件
config.xml
我们需要三台云服务器都修改config.xml
shell
cd /etc/clickhouse-server
vim config.xml
修改如下内容:
shell
<!-- Path to data directory, with trailing slash. -->
<path>/var/lib/clickhouse/</path>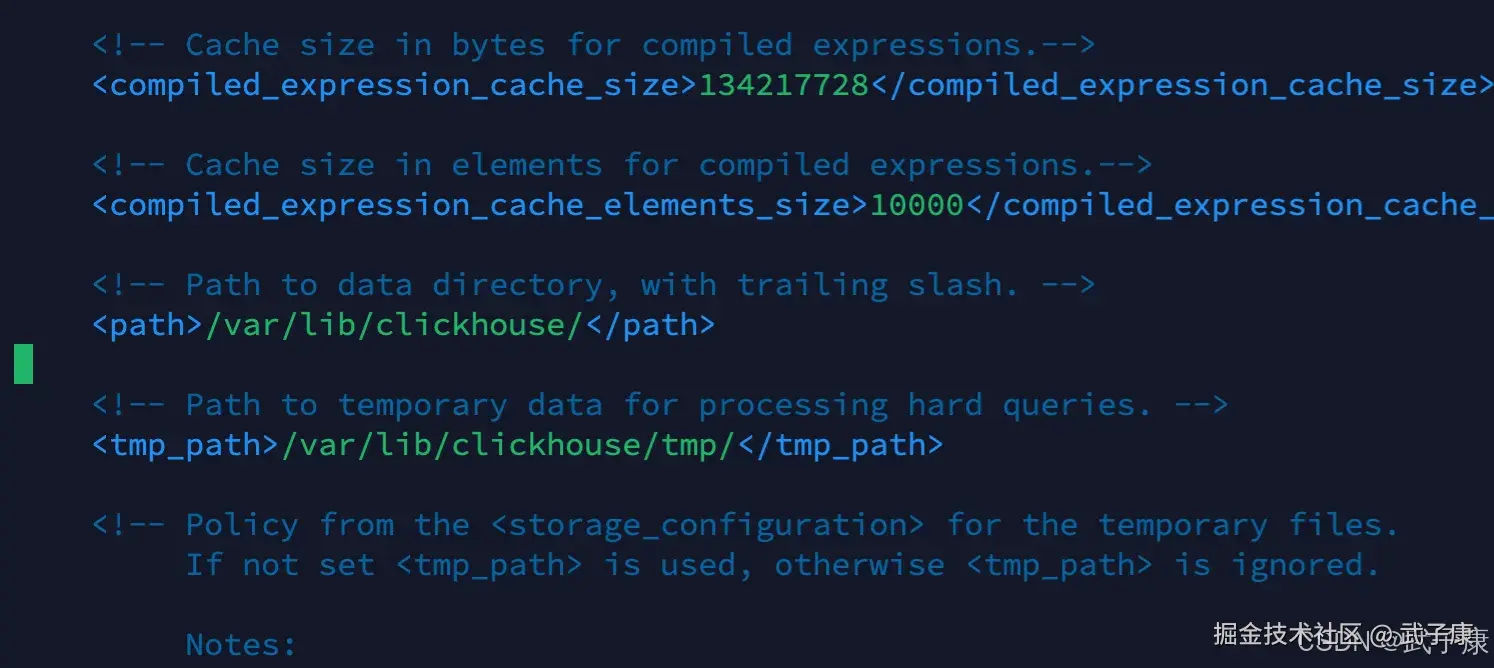 开放远程访问,允许所有连接:
shell
<listen_host>::</listen_host>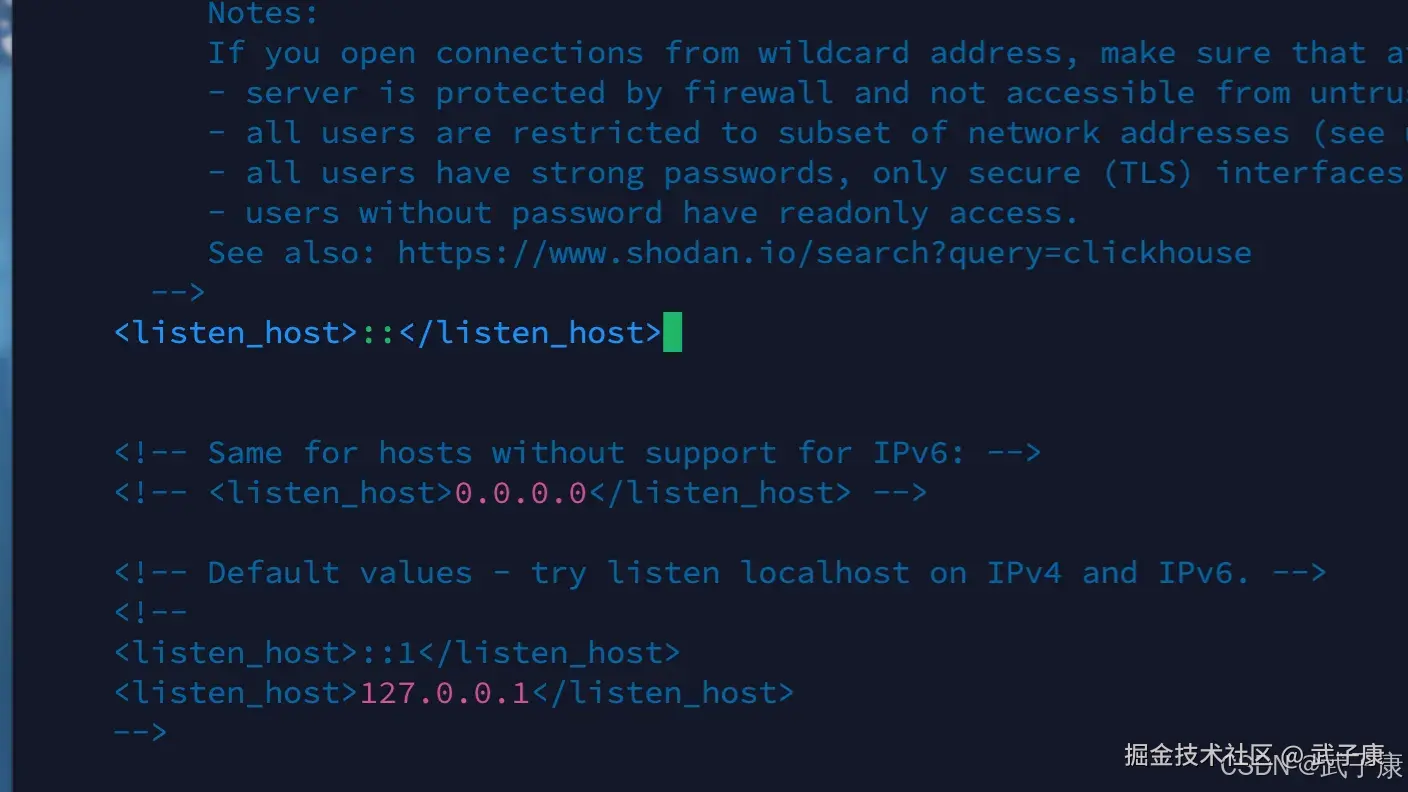 在根标签下加入内容(我是放入了头部):
shell
<include_from>/etc/clickhouse-server/config.d/metrika.xml</include_from>内容修改为如下的样子: 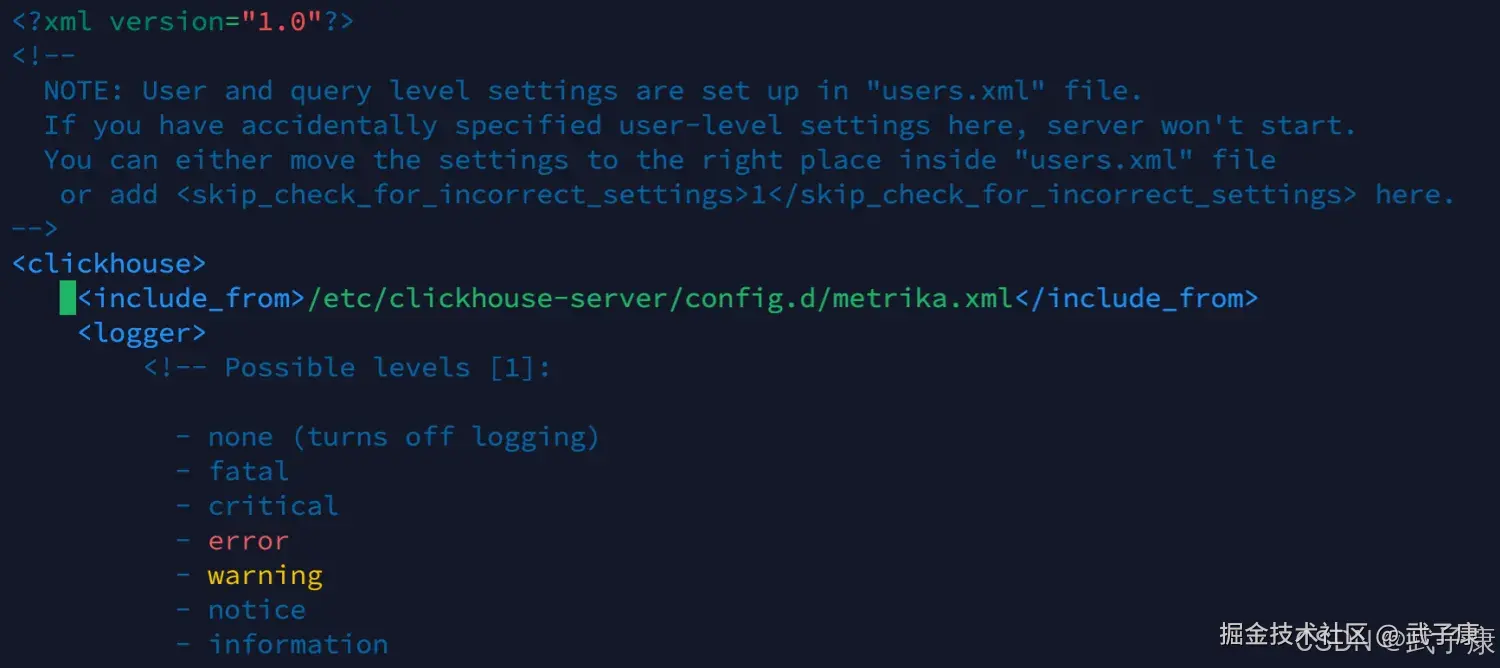
metrika.xml
shell
cd /etc/clickhouse-server/config.d
# 该文件是新增的
vim metrika.xml
注意,下面的内容需要根据你的服务器IP来进行配置:
xml
<yandex>
  <remote_servers>
    <perftest_3shards_1replicas>
      <shard>
        <internal_replication>true</internal_replication>
        <replica>
          <host>h121.wzk.icu</host>
          <port>9000</port>
          <user>default</user>
          <password>clickhouse@wzk.icu</password>
        </replica>
      </shard>
      <shard>
        <internal_replication>true</internal_replication>
        <replica>
          <host>h122.wzk.icu</host>
          <port>9000</port>
          <user>default</user>
          <password>clickhouse@wzk.icu</password>
        </replica>
      </shard>
      <shard>
        <internal_replication>true</internal_replication>
        <replica>
          <host>h123.wzk.icu</host>
          <port>9000</port>
          <user>default</user>
          <password>clickhouse@wzk.icu</password>
        </replica>
      </shard>
    </perftest_3shards_1replicas>
  </remote_servers>
  <zookeeper-servers>
    <node index="1">
      <host>h121.wzk.icu</host>
      <port>2181</port>
    </node>
    <node index="2">
      <host>h122.wzk.icu</host>
      <port>2181</port>
    </node>
    <node index="3">
      <host>h123.wzk.icu</host>
      <port>2181</port>
    </node>
  </zookeeper-servers>
  <macros>
    <shard>01</shard>
    <replica>h121.wzk.icu</replica>
  </macros>
  <networks>
    <ip>::/0</ip>
  </networks>
  <clickhouse_compression>
    <case>
      <min_part_size>10000000000</min_part_size>
      <min_part_size_ratio>0.01</min_part_size_ratio>
      <method>lz4</method>
    </case>
  </clickhouse_compression>
</yandex>
保存之后,修改一下权限:
shell
sudo chown -R clickhouse:clickhouse /etc/clickhouse-server/config.d/metrika.xml修改密码
shell
vim /etc/clickhouse-server/users.d/default-password.xml为了测试方便,修改为如下的内容:
xml
<clickhouse>
    <users>
        <default>
            <password>clickhouse@wzk.icu</password>
            <networks>
                <ip>::/0</ip>
            </networks>
        </default>
    </users>
</clickhouse>
shell
vim /etc/clickhouse-server/users.xml为了测试方便,修改的密码如下:
xml
省略其他内容
<password>clickhouse@wzk.icu</password>
启动测试
shell
sudo -u clickhouse clickhouse-server --config-file=/etc/clickhouse-server/config.xml正式启动
我们需要编辑一下 system 的文件,来实现优化的启停
shell
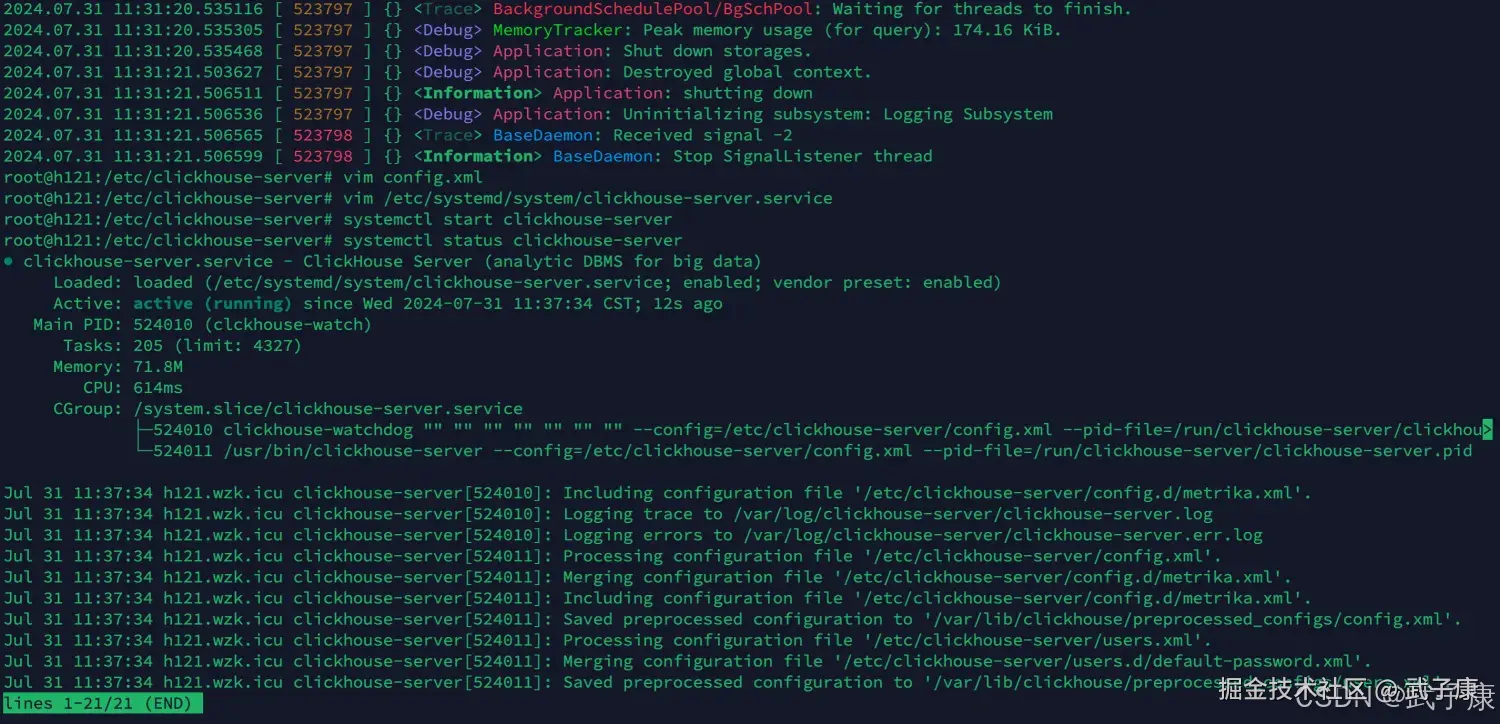
vim /etc/systemd/system/clickhouse-server.service可以看到,里边的配置已经在我们安装的时候就配置好了,你可以根据你的需要来修改: 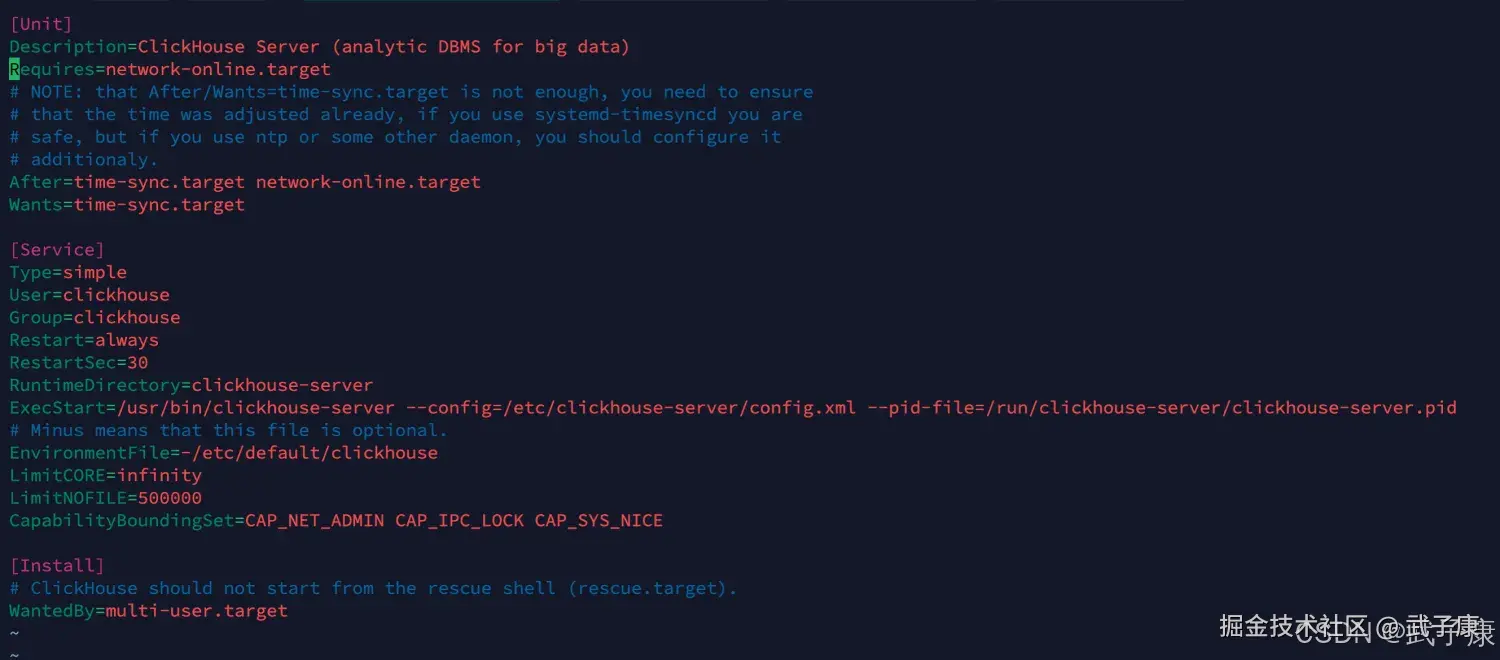 接着我们使用系统命令启动:
shell
systemctl start clickhouse-server
systemctl status clickhouse-server
我们可以看到程序已经顺利的运行了: