介绍
nginx: Nginx是一款轻量级的Web服务器/反向代理服务器及电子邮件(IMAP/POP3)代理服务器。其特点是占有内存少,并发能力强,在各大型互联网公司都有非常广泛的使用。
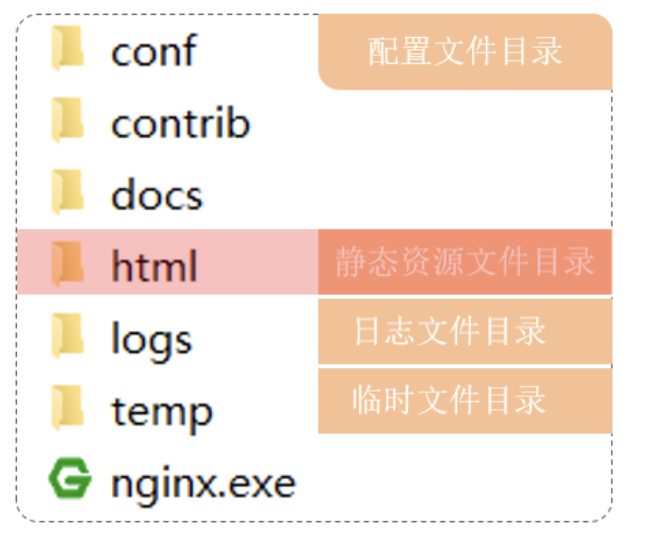
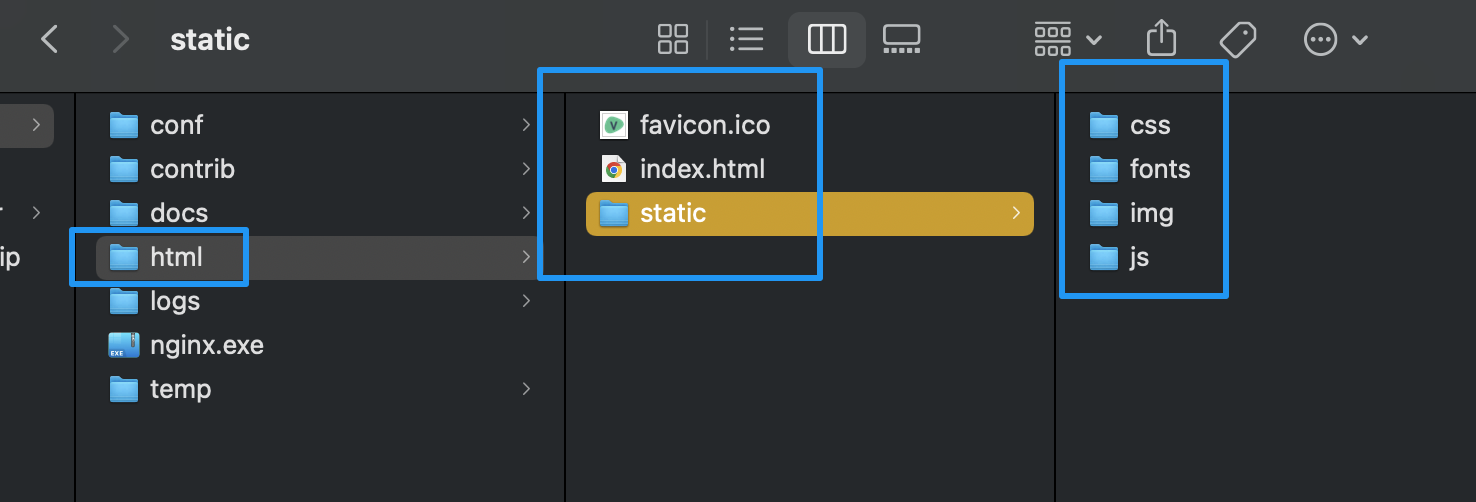
我们如果要发布,直接将资源放入到html目录中。(上图是windows下的Nginx目录)
总的来说Nginx是用来部署前端环境的
brew安装Nginx
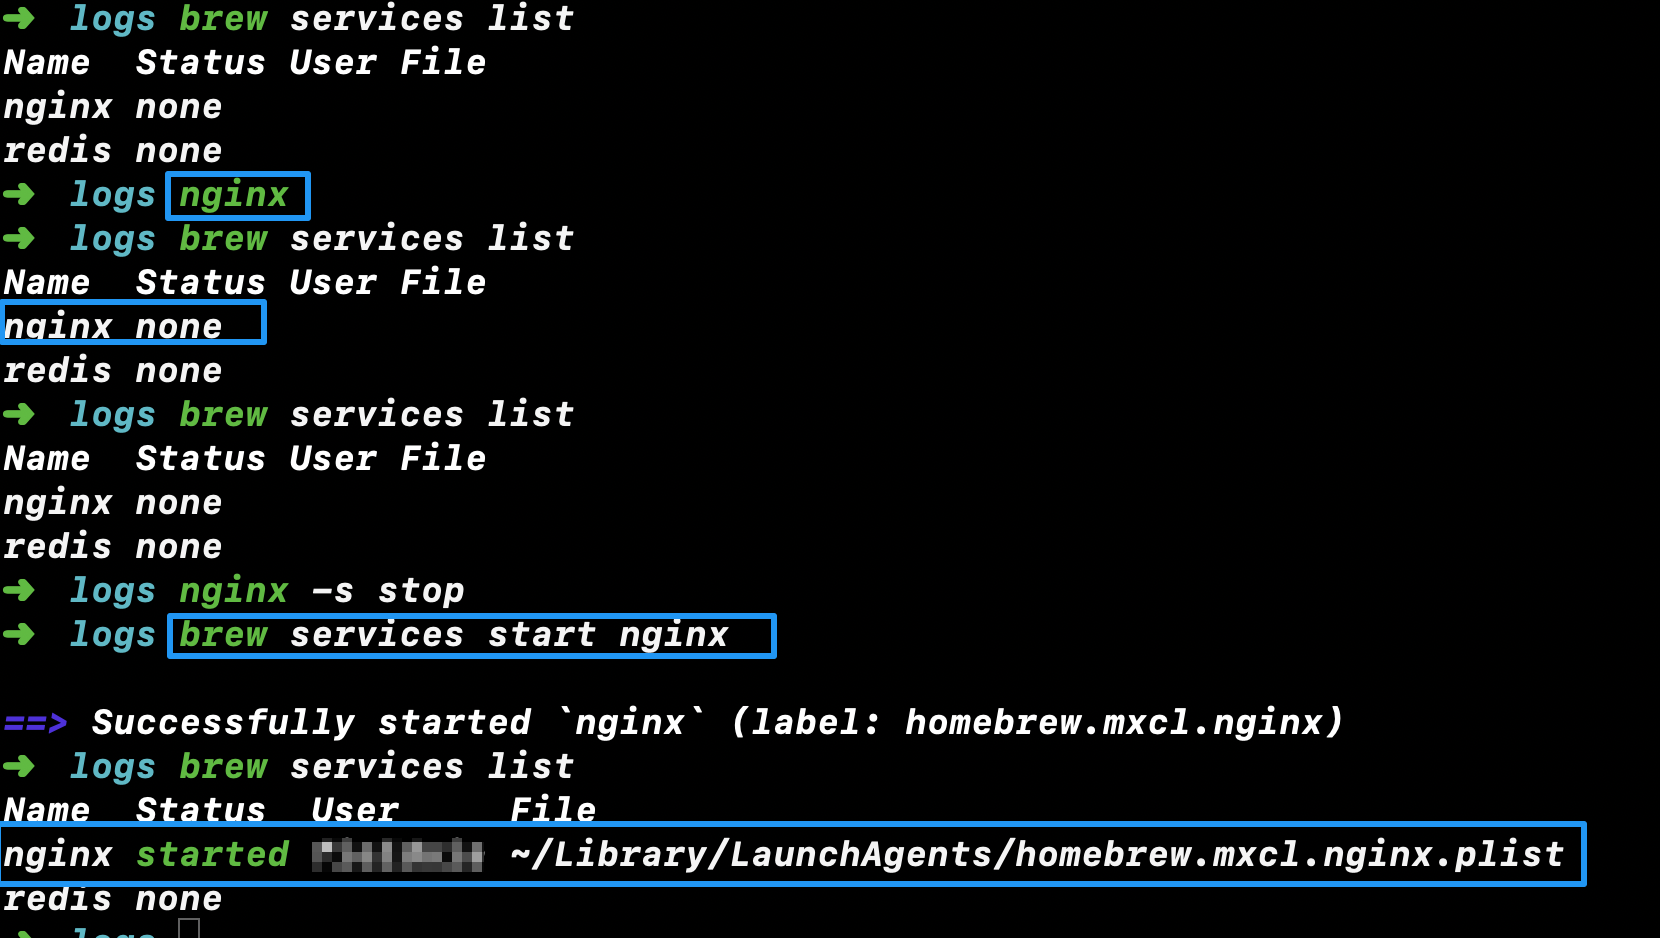
终端输入 brew list | grep nginx 命令检查nginx是否安装了
如果没有输出,说明确实没安装。
安装命令:brew install nginx
查看Nginx信息
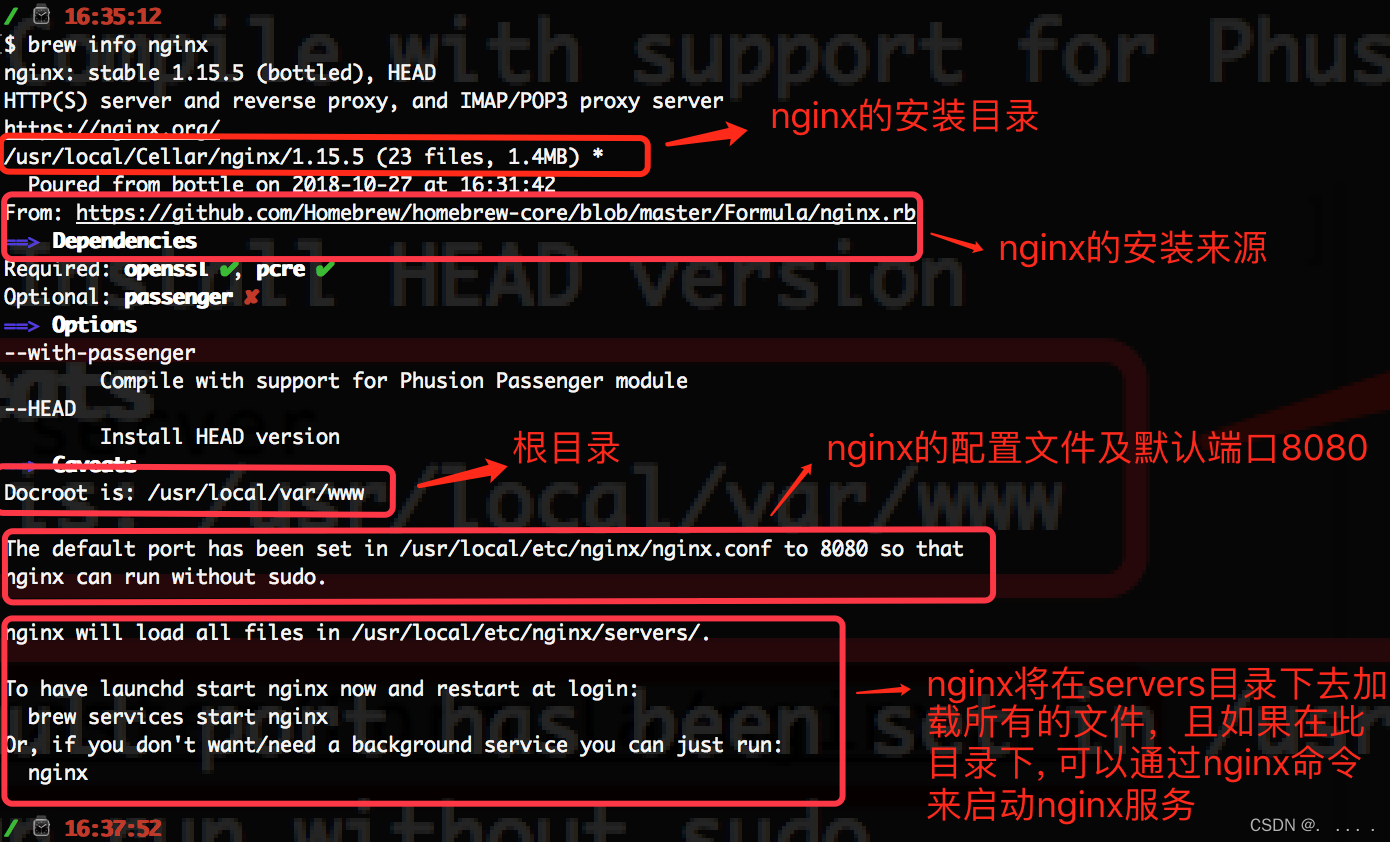
命令brew info nginx(nginx版本、安装位置 等)
m1版本的mac,homebrew 默认位置是在/opt/homebrew 下 ,而不是/usr/local/homebrew:
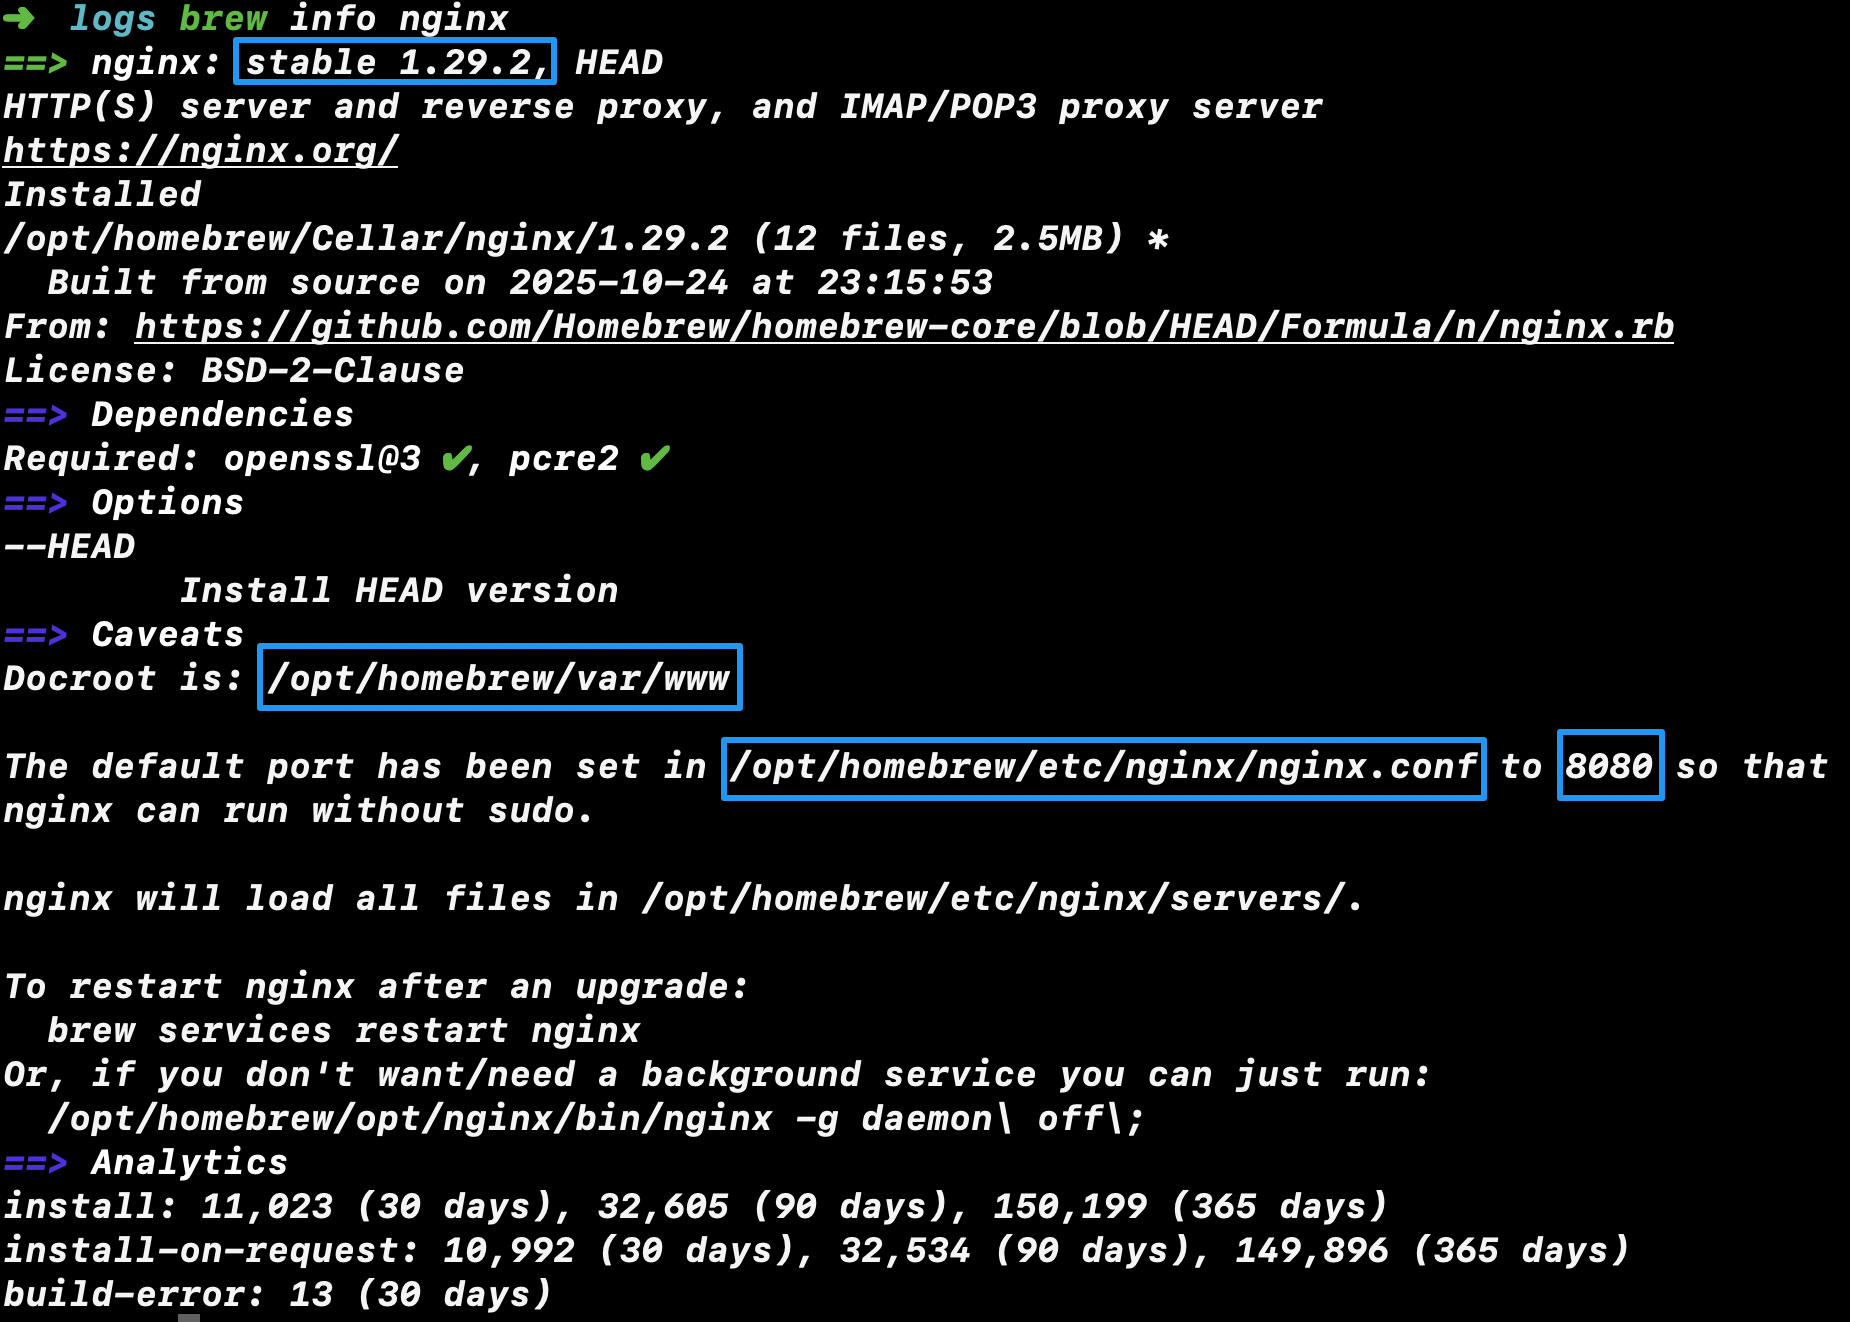
可以看到初始默认端口号是8080,会和Tomcat端口冲突
启动Nginx
方式一
进入Nginx安装目录下的bin目录,笔者这里是/opt/homebrew/Cellar/nginx/1.29.2/bin/nginx/bin,然后点击可执行文件nginx即可
shell
➜  ~ /opt/homebrew/Cellar/nginx/1.29.2/bin/nginx ; exit;
Saving session...completed.
Deleting expired sessions...      12 completed.
[进程已完成]
方式二
java
brew services start nginx方式三
java
nginx查看Nginx是否启动成功
方式一
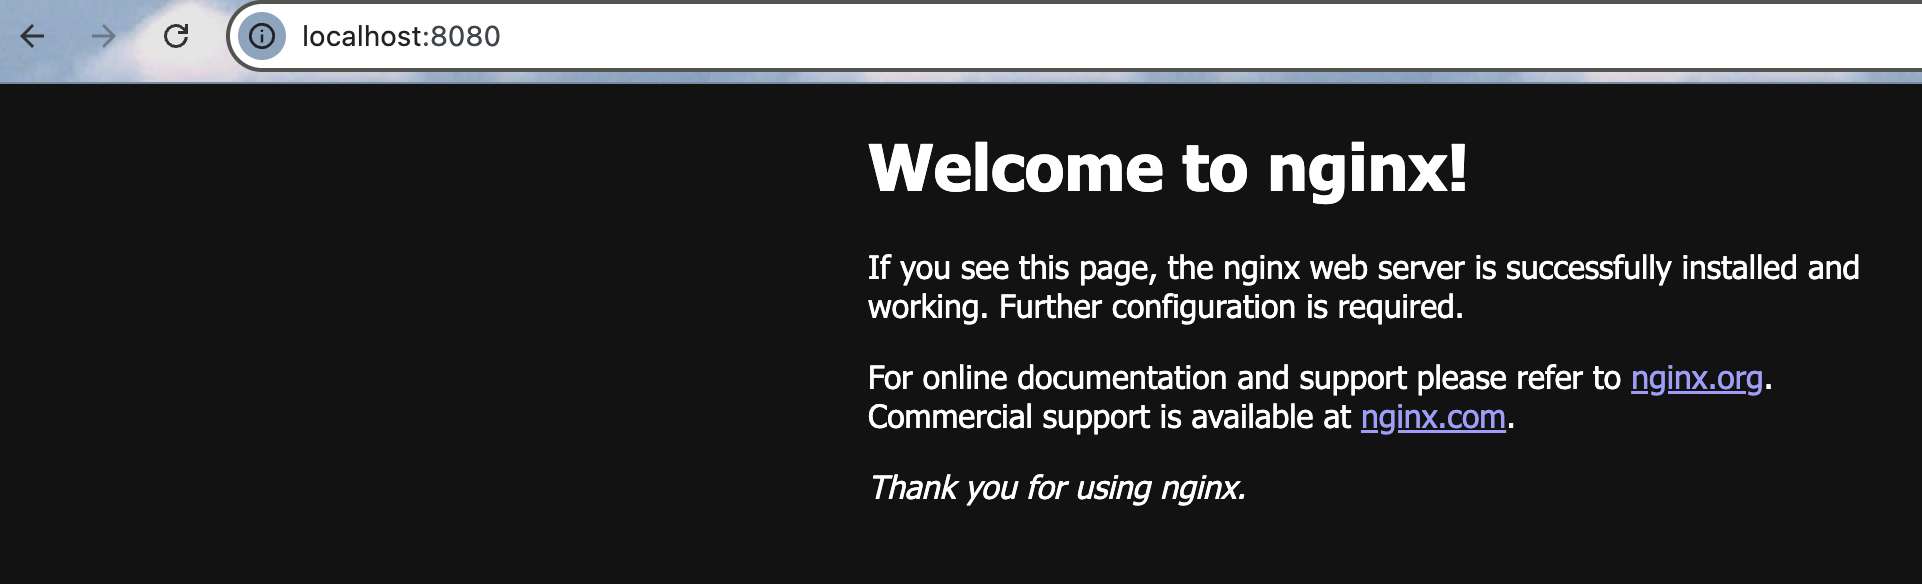
Nginx 默认8080端口,访问localhost:8080,若出现欢迎界面,说明成功安装和启动
方式二
在终端输入:
shell
ps -ef|grep nginx
shell
➜  ~ ps -ef|grep nginx
    0 81370     1   0 11:26下午 ??         0:00.02 nginx: master process /opt/homebrew/opt/nginx/bin/nginx -g daemon off;
   -2 81377 81370   0 11:26下午 ??         0:00.00 nginx: worker process
  501 81421 79974   0 11:27下午 ttys002    0:00.00 grep --color=auto --exclude-dir=.bzr --exclude-dir=CVS --exclude-dir=.git --exclude-dir=.hg --exclude-dir=.svn --exclude-dir=.idea --exclude-dir=.tox nginx
方式三
关闭Nginx服务
注意需要与启动Nginx方式对应
方式一
这个对应的是启动Nginx的方式一
shell
nginx -s stop方式二
这个对应的是启动Nginx的方式二、方式三
shell
brew services stop nginx配置Nginx信息
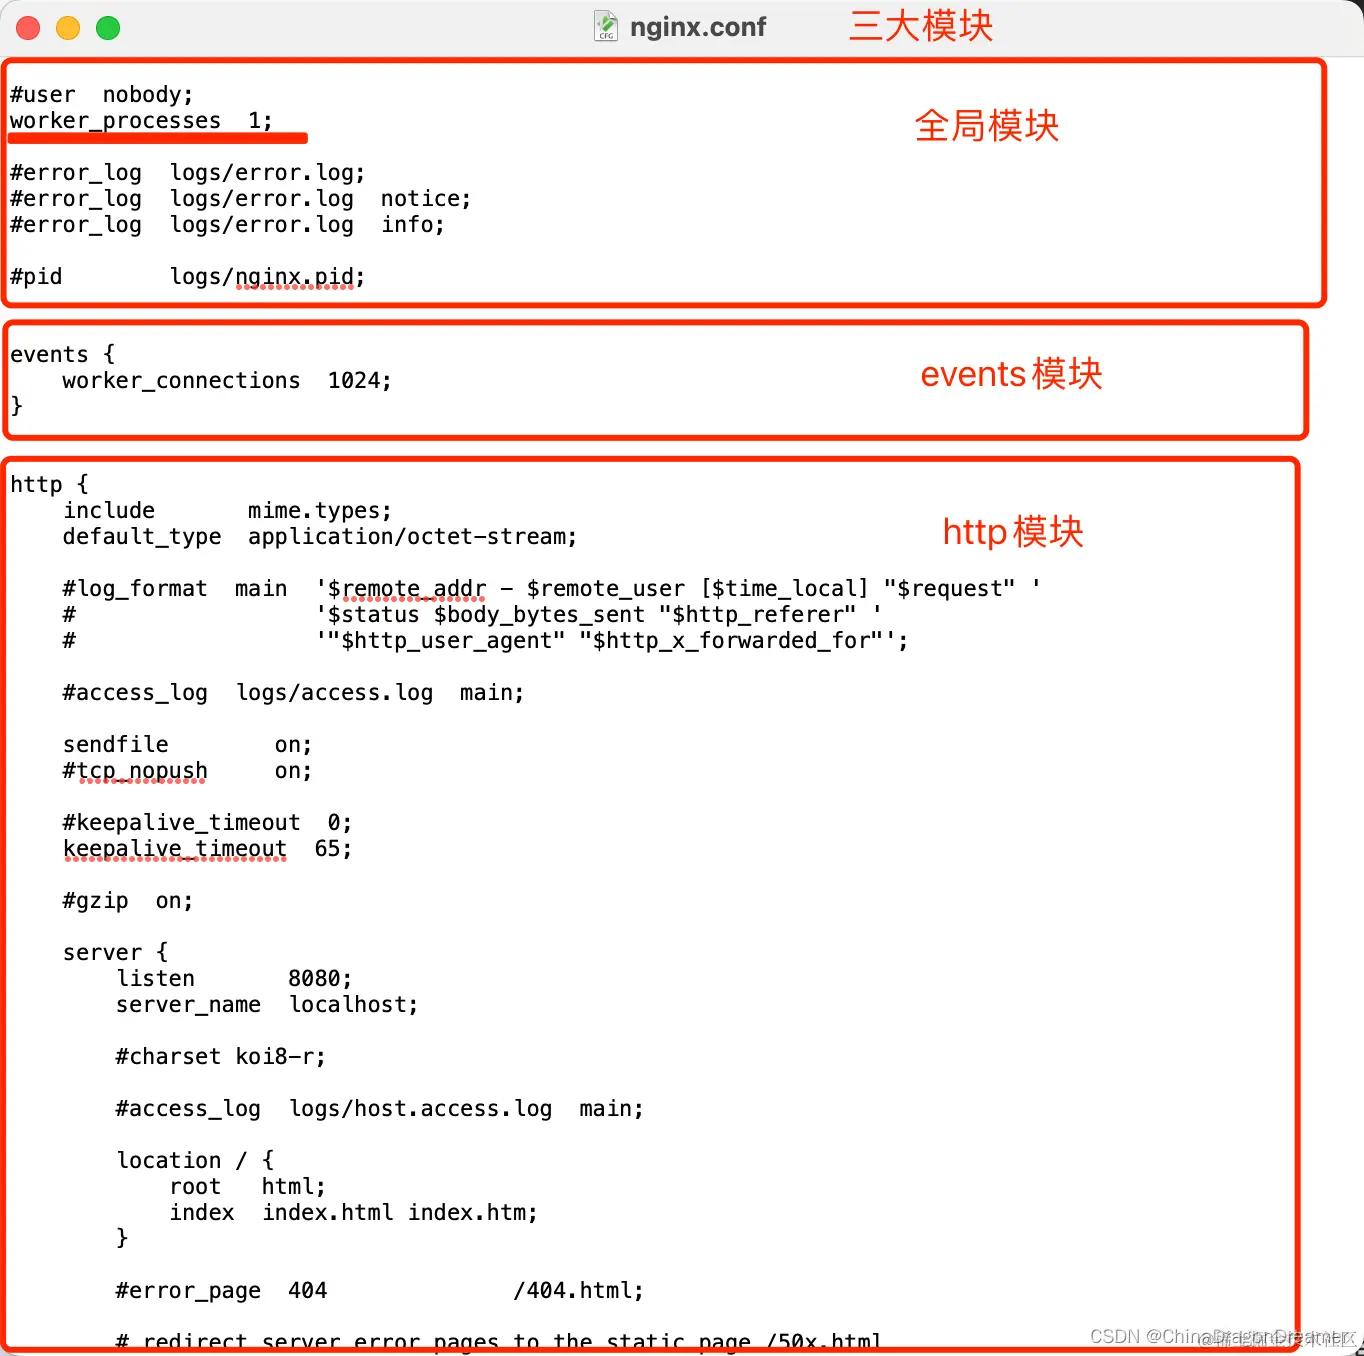
从 查看Nginx信息 中可以看出,笔者的配置文件路径为 /opt/homebrew/etc/nginx/nginx.conf
java
#user  nobody;
worker_processes  1;

#error_log  logs/error.log;
#error_log  logs/error.log  notice;
#error_log  logs/error.log  info;

#pid        logs/nginx.pid;


events {
    worker_connections  1024;
}


http {
    include       mime.types;
    default_type  application/octet-stream;

    #log_format  main  '$remote_addr - $remote_user [$time_local] "$request" '
    #                  '$status $body_bytes_sent "$http_referer" '
    #                  '"$http_user_agent" "$http_x_forwarded_for"';

    #access_log  logs/access.log  main;

    sendfile        on;
    #tcp_nopush     on;

    #keepalive_timeout  0;
    keepalive_timeout  65;

    #gzip  on;

    server {
        listen       8080;
        server_name  localhost;

        #access_log  logs/host.access.log  main;

        location / {
            root   html;
            index  index.html index.htm;
        }

        #error_page  404              /404.html;

        # redirect server error pages to the static page /50x.html
        #
        error_page   500 502 503 504  /50x.html;
        location = /50x.html {
            root   html;
        }

        # proxy the PHP scripts to Apache listening on 127.0.0.1:80
        #
        #location ~ \.php$ {
        #    proxy_pass   http://127.0.0.1;
        #}

        # pass the PHP scripts to FastCGI server listening on 127.0.0.1:9000
        #
        #location ~ \.php$ {
        #    root           html;
        #    fastcgi_pass   127.0.0.1:9000;
        #    fastcgi_index  index.php;
        #    fastcgi_param  SCRIPT_FILENAME  /scripts$fastcgi_script_name;
        #    include        fastcgi_params;
        #}

        # deny access to .htaccess files, if Apache's document root
        # concurs with nginx's one
        #
        #location ~ /\.ht {
        #    deny  all;
        #}
    }


    # another virtual host using mix of IP-, name-, and port-based configuration
    #
    #server {
    #    listen       8000;
    #    listen       somename:8080;
    #    server_name  somename  alias  another.alias;

    #    location / {
    #        root   html;
    #        index  index.html index.htm;
    #    }
    #}


    # HTTPS server
    #
    #server {
    #    listen       443 ssl;
    #    server_name  localhost;

    #    ssl_certificate      cert.pem;
    #    ssl_certificate_key  cert.key;

    #    ssl_session_cache    shared:SSL:1m;
    #    ssl_session_timeout  5m;

    #    ssl_ciphers  HIGH:!aNULL:!MD5;
    #    ssl_prefer_server_ciphers  on;

    #    location / {
    #        root   html;
    #        index  index.html index.htm;
    #    }
    #}
    include servers/*;
}上述是原先默认的nginx.conf
此外,在同一个目录下还有nginx.conf.default是一个原本nginx.conf的备份。所以修改原先默认的nginx.conf不用担心原来的配置被替换了,以后换回来把nginx.conf.default的内容拷贝过去就可以。
java
#user  nobody;
worker_processes  1;

#error_log  logs/error.log;
#error_log  logs/error.log  notice;
#error_log  logs/error.log  info;

#pid        logs/nginx.pid;


events {
    worker_connections  1024;
}


http {
    include       mime.types;
    default_type  application/octet-stream;

    #log_format  main  '$remote_addr - $remote_user [$time_local] "$request" '
    #                  '$status $body_bytes_sent "$http_referer" '
    #                  '"$http_user_agent" "$http_x_forwarded_for"';

    #access_log  logs/access.log  main;

    sendfile        on;
    #tcp_nopush     on;

    #keepalive_timeout  0;
    keepalive_timeout  65;

    #gzip  on;

    server {
        listen       90;
        server_name  localhost;

        location / {
            root   html/tlias;
            index  index.html index.htm;
        }

        location ^~ /api/ {
			rewrite ^/api/(.*)$ /$1 break;
			proxy_pass http://localhost:8080;
        }

        error_page   500 502 503 504  /50x.html;
        location = /50x.html {
            root   html;
        }
    }

}上述是黑马JavaWeb课中ngin-1.22.0-tlias中的nginx.conf的内容
其中:
- 要点1:
listen 90(从8080换成90,避免与Tomcat发生端口冲突)指的是监听端口 ,到时候访问前端用的就是localhost:90。 - 要点2:而
proxy_pass http://localhost:8080指的是转发端口 ,将IDEA的Tomcat服务转发给nginx。 - 要点3:
location里面指定前端项目所在的位置 。root html/tlias;注意这里是相对路径,也可以是类似于root /opt/homebrew/var/www/hmall/hmall-portal;这种绝对路径
注意在修改完Nginx配置信息后,需要重启Nginx:
shell
brew services restart nginx也或许是用:
shell
nginx -s reload //修改配置文件后,重新加载生效部署前端资源
JavaWeb课-tlias
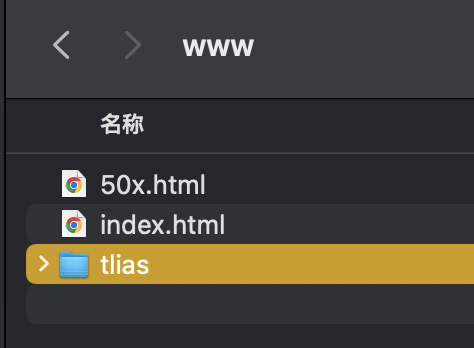
将文件夹下 day10-SpringBootWeb案例/04. 前端环境/nginx-1.22.0-tlias/html 文件夹 复制到 /opt/homebrew/Cellar/nginx/1.29.2/html(Nginx静态资源存放目录 ,实际上指向的是Docroot /opt/homebrew/var/www/,点击这个html目录就会跳转到这个www目录了) 文件夹下,并改名 tlias(对应前面配置nginx.conf中的root html/tlias)
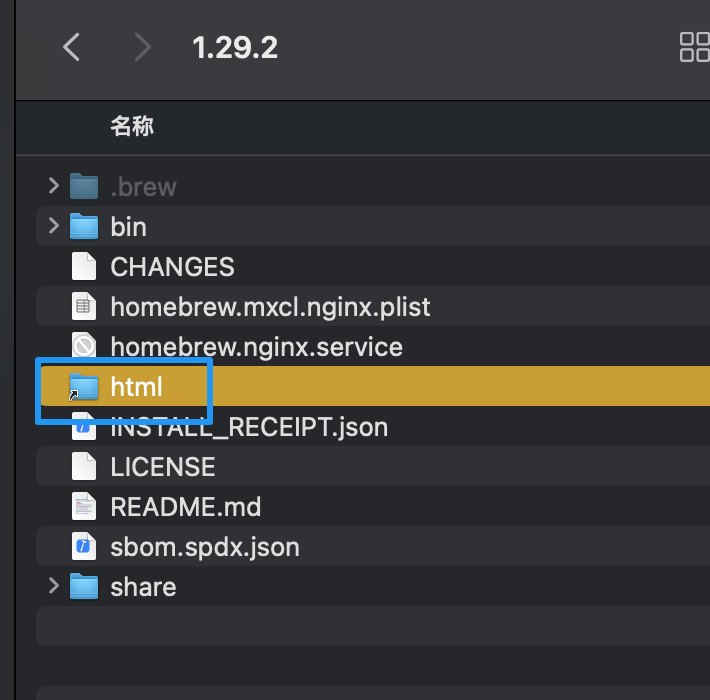
在 macOS 系统中,文件夹图标上的小箭头表示这是一个替身 (Alias)或符号链接(Symbolic Link),而不是真正的文件夹本身。在 macOS 中:
- 带箭头的图标表示它是指向实际文件夹的一个链接
- 双击它会打开原始文件夹的位置
- 删除这个替身不会影响原始文件夹
- 可以在多个位置创建替身来快速访问同一个文件夹
苍穹外卖
其实是和 JavaWeb课-tlias 一个原理,不过具体可看:
Mac pro m1:黑马-苍穹外卖-部署:nginx-mysql-idea
黑马点评
其实是和 JavaWeb课-tlias 一个原理,不过具体可看: