网址:aHR0cHM6Ly9zdWdoLnN6dS5lZHUuY24vSHRtbC9OZXdzL01haW4vMTAyLmh0bWw=
一、开始流程
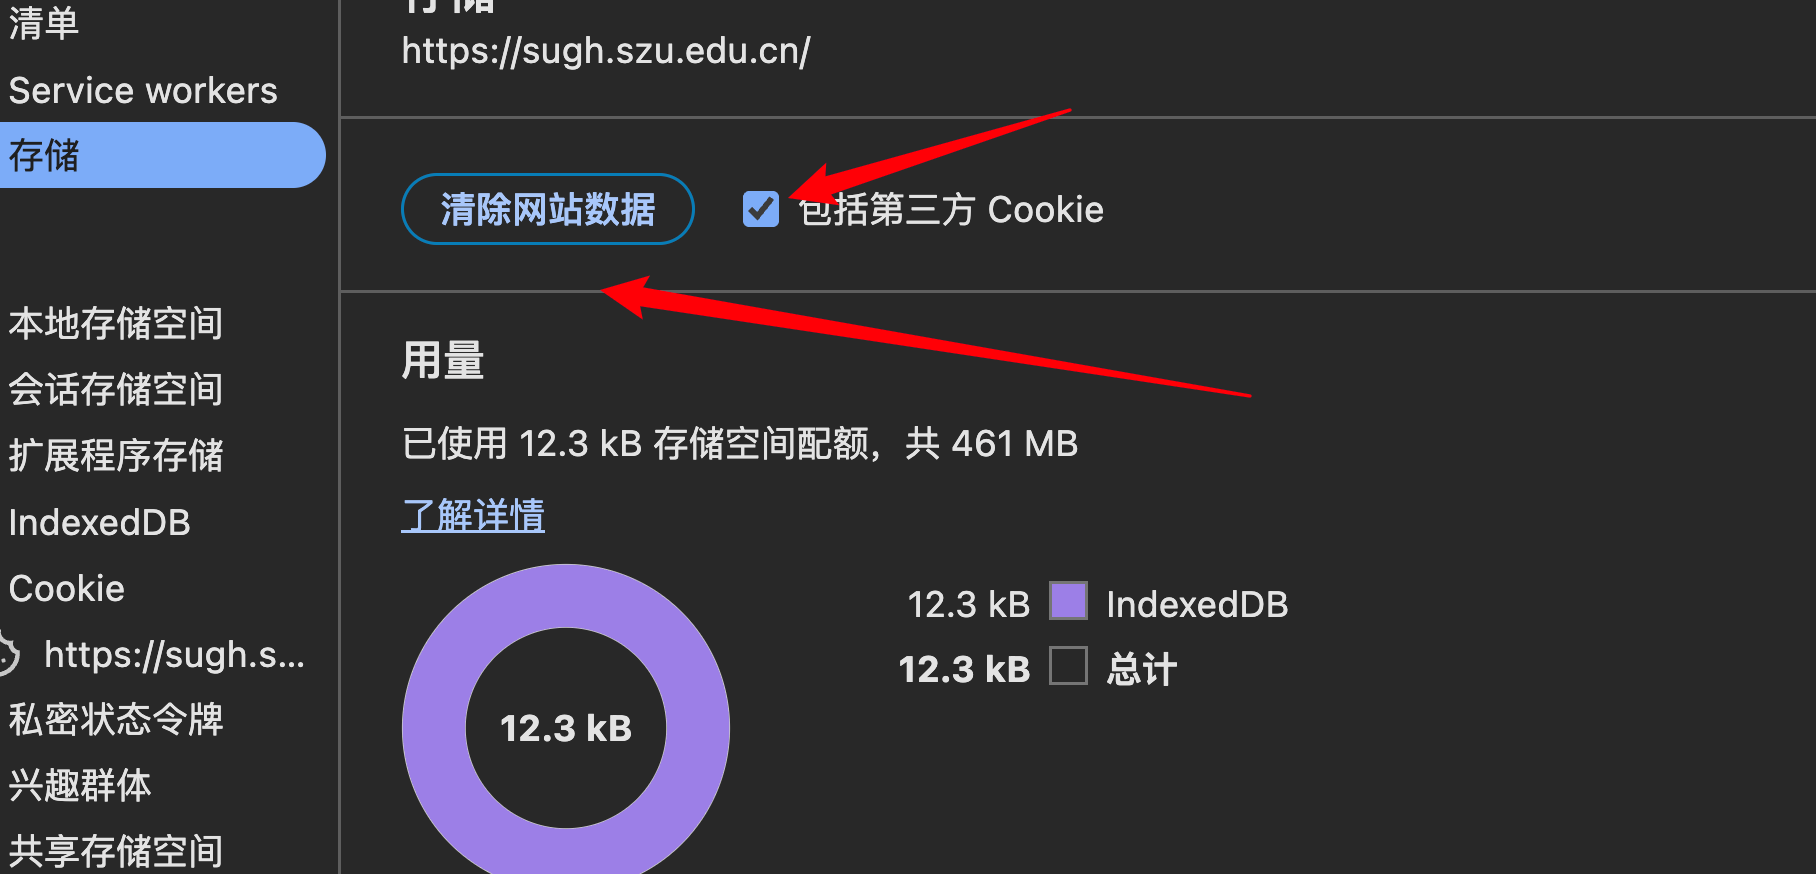
网页进去之后,直接点击检查,然后就会发现无限debugger,这个不用管就行了,找到应用清空数据还有cookie
然后点击找到事件监听器,点击脚本刷新页面,就会看到,这个看到这个ts文件,这是瑞数的基本流程,做过瑞数六之前的都知道主要的就是三个文件,一个ts文件,一个启动文件,一个content

找到这三个文件保存到不同的文件中,写上这个
javascript
require('./ts.js');
require('./tsload.js');


function get_cookie(){
    console.log(document.cookie)
    return document.cookie;
}
get_cookie()
然后加上代理
javascript
//////////////////////////

let setProxyArr = function (proxyObjArr) {
    for (let i = 0; i < proxyObjArr.length; i++) {
        const handler = `{
    get:function(target,property,receiver){
    console.log("方法:","get","对象","${proxyObjArr[i]}","属性:",
property,"属性类型:",typeof property,"属性值:",target[property],"属性值类型:",typeof target[property]);
return Reflect.get(...arguments)
    },
    set:function(target,property,value,receiver){
    console.log("方法:","set","对象:","${proxyObjArr[i]}","属性:",
property,"属性类型:",typeof property,"属性值:",value,"属性值类型:",typeof target[property]);
    return Reflect.set(...arguments);
    }
  }`;
        eval(`try{
        ${proxyObjArr[i]};
        ${proxyObjArr[i]} = new Proxy(${proxyObjArr[i]},${handler});
        } catch (e){
         ${proxyObjArr[i]} = {};
         ${proxyObjArr[i]} = new Proxy(${proxyObjArr[i]},${handler});
         }`);
    }
}

function watch(object) {
    const handler = {
        get: function (target, property, receiver) {
            if (property !== 'isNaN' && property !== 'encodeURI' && property !== "Uint8Array" && property !== 'undefined' && property !== 'JSON') {
                console.log("方法:", "get", "对象", target, "属性:",
                    property, "属性类型:", typeof property, "属性值:", target[property], "属性值类型:", typeof target[property]);
            }
            return Reflect.get(...arguments)

        },
        set: function (target, property, value, receiver) {
            console.log("方法:", "set", "对象:", target, "属性:",
                property, "属性类型:", typeof property, "属性值:", value, "属性值类型:", typeof target[property]);
            return Reflect.set(...arguments);
        }
    }
    return new Proxy(object, handler)
}

const safeFunction = function safeFunction(func) {
    //处理安全函数
    Function.prototype.$call = Function.prototype.call;
    const $toString = Function.toString;
    const myFunction_toString_symbol = Symbol('('.concat('', ')'));

    const myToString = function myToString() {
        return typeof this === 'function' && this[myFunction_toString_symbol] || $toString.$call(this);
    }

    const set_native = function set_native(func, key, value) {
        Object.defineProperty(func, key, {
            "enumerable": false,
            "configurable": true,
            "writable": true,
            "value": value
        });
    }

    delete Function.prototype['toString'];
    set_native(Function.prototype, "toString", myToString);
    set_native(Function.prototype.toString, myFunction_toString_symbol, "function toString() { [native code] }");

    const safe_Function = function safe_Function(func) {
        set_native(func, myFunction_toString_symbol, "function" + (func.name ? " " + func.name : "") + "() { [native code] }");
    }

    return safe_Function(func)
}

//创建函数
const makeFunction = function makeFunction(name) {
    // 使用 Function 保留函数名
    let func = new Function("v_log", `
        return function ${name}() {
            v_log('函数${name}传参-->', arguments);
        };
    `)(v_log); // 传递 v_log 到动态函数

    safeFunction(func);
    func.prototype = myProxy(func.prototype, `方法${name}.prototype`);

    return func;
}
window = global
window.Buffer = Buffer
window.Window = function Window() {
}
Object.setPrototypeOf(window, window.Window.prototype)
window.Document = function Document() {
}
delete global
delete Buffer
delete __dirname
delete __filename
delete process
safeFunction(window.Window)
safeFunction(window.Document)

function HTMLDocument() {

}

Object.setPrototypeOf(HTMLDocument.prototype, window.Document.prototype)
HTMLDocument.prototype.constructor = HTMLDocument
document = new HTMLDocument()
window.HTMLDocument = HTMLDocument
safeFunction(window.HTMLDocument)

function Navigator() {

}

navigator = new Navigator()
window.Navigator = Navigator
safeFunction(window.Navigator)

function Screen() {

}

screen = new Screen()
window.Screen = Screen
safeFunction(window.Screen)

function History() {

}

history = new History()
window.History = History
safeFunction(window.History)

function Location() {

}

location = new Location()
window.Location = Location
safeFunction(window.Location)
setProxyArr(['window', 'document', 'location', 'history', 'screen', 'navigator'])
二、然后运行进行补环境,我这里就说一下其中补环境的重点吧
window中需要补的环境基本上也没什么
javascript
window = global;
window.Buffer = Buffer
window.top = window
window.self = window
window.window = window


window.setInterval = function setInterval() {}
window.clearInterval = function clearInterval() {}
window.setTimeout = function setTimeout() {}


还有一些函数直接补到window上就行了,其中
window.MutationObserver = function MutationObserver() {
    // console.log("MutationObserver", arguments)
}
window.MutationObserver.prototype.observe = function observe(arg) {
    // console.log("MutationObserver.observe", arguments)
}
这个注意一下,有的网站需要有的不需要,加上可能进入一个无限循环,
其他的就是一些基本的参数了
document中
javascript
createELement中检测了div、a、form、input标签


getElementById中返回了一个meta标签

getElementsByTagName中检测了base、script、Meta标签
其中最重要的就是script和Meta标签,最重要的就是这两个

其中script中检测了innerText、src、getAttribute(r="m")、parentElement(removeChild)

meta中getAttribute、parentNode(removeChild)、content
location、history、localStorage、sessionStorage这些没有什么好补环境的,重要的还是里面的一些toString()检测,还有原型链检测

请求文件
python
import requests
import execjs
from lxml import etree

session = requests.session()


# 打开补环境文件
with open("env.js", "r", encoding="utf-8") as f:
    js_code = f.read()

# 第一次请求
headers = {}
response = session.get("https:", headers=headers)

cookie = [*response.cookies][0]
cookies = {
    cookie.name: cookie.value
}
# 第一次请求获取的cookie1
# print(cookie)
# print(response.text)

html = etree.HTML(response.text)
# 获取ts文件
ts = html.xpath('//script')[0].text

# 获取tsload的文件链接,请求获取内容
tsload_url = 'https:\' + html.xpath('//script')[1].attrib['src']
tsload = session.get(tsload_url, headers=headers).text

# 获取content内容
content = html.xpath('//meta')[1].attrib['content']
print("content内容:", content)


# 替换环境文件中的内容
js_code = js_code.replace('ts文件', ts).replace('tsload文件', tsload).replace('content文件', content)

# 保存到新的文件中
with open("now.js", "w", encoding="utf-8") as f:
    f.write(js_code)
    print("保存成功")

# 获取cookie2
cookie2 = execjs.compile(js_code).call('get_cookie')
name, value = cookie2.split('; path')[0].split('=', 1)
cookies[name] = value

# 输出最后的cookie
print(cookies)

response = session.get("https:", headers=headers, cookies=cookies)
print(response.text)
print(response)
最后也是成功结束了🥰