记录一下使用 terraform 创建 AWS EC2 的过程,希望能够对初学者有所帮助。
首先介绍一下涉及的资源:
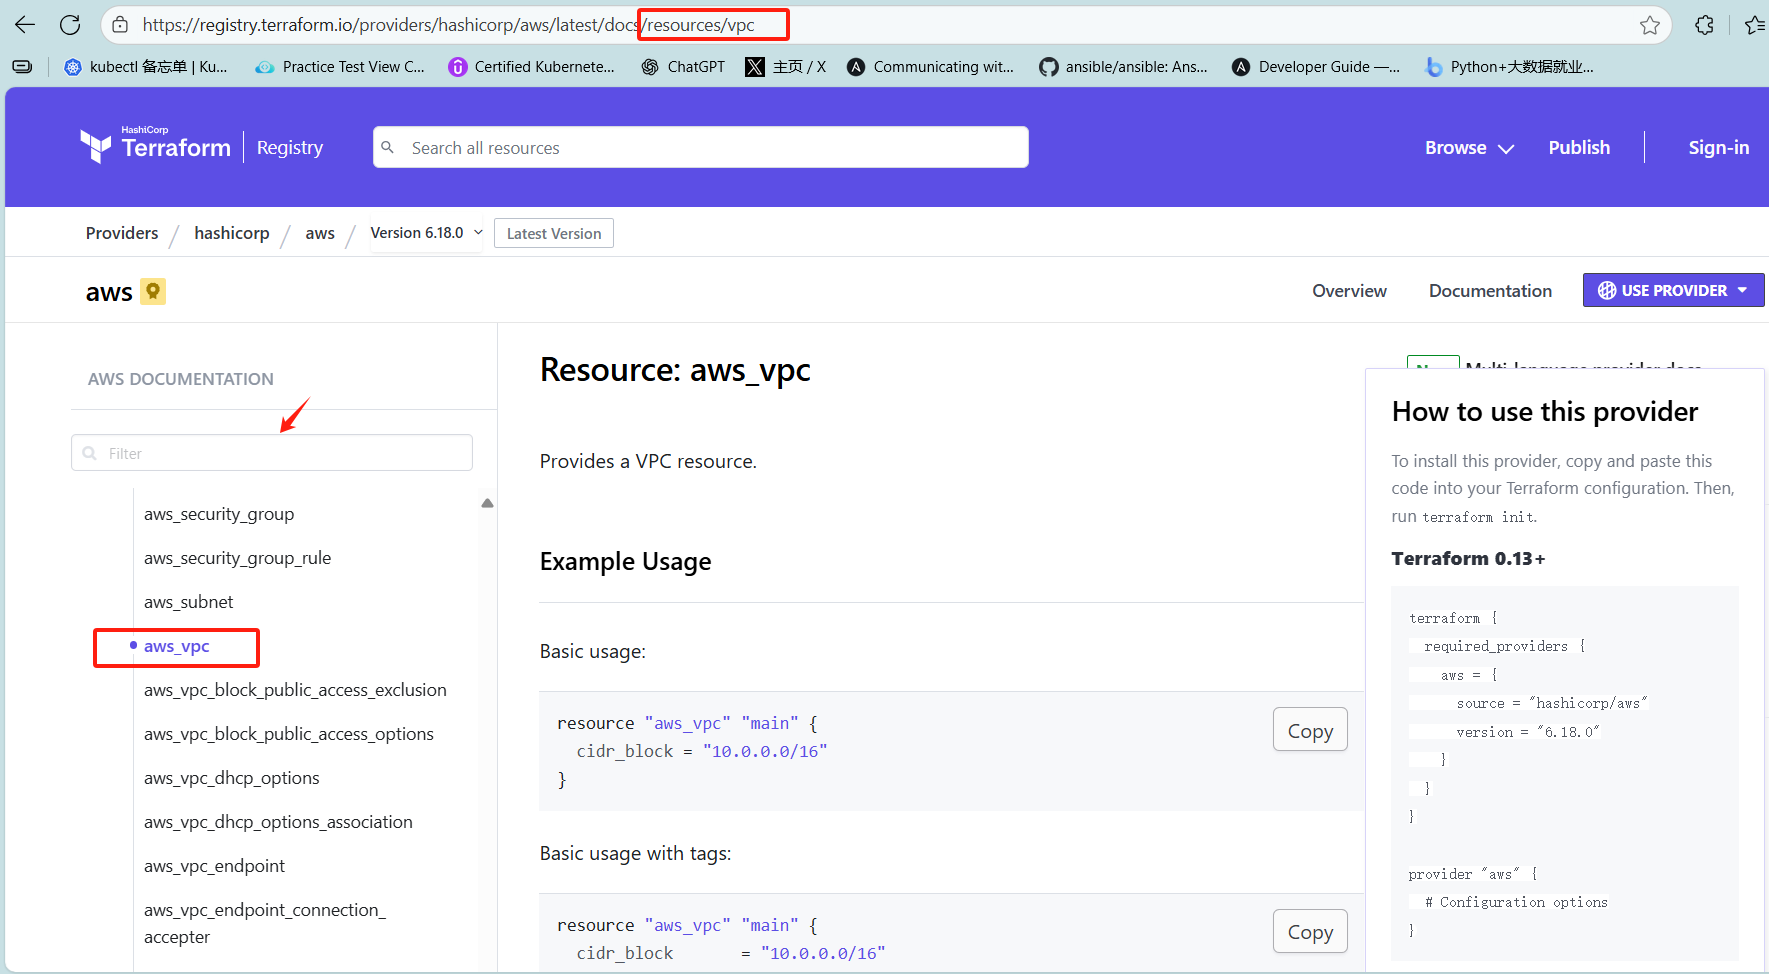
VPC: 私有虚拟云空间,简单来说就是一个隔离的网络空间
Region: 地区,即数据中心所在的大地区,例如华南区
AZ:可用区,Region 的一个子区域,例如 华南区的广州数据中心。一个 region 可以包含多个 AZ
Subnet: 子网,VPC 下面的一个子网络,用于组网
EC2: 云虚拟机
Security_group:安全组,虚拟机级别的防火墙,可以设置虚拟机的入站与出站规则。
Network ACL:网络访问控制列表,子网级别的防火墙。设置一个子网的入站与出站规则,用于控制一组虚拟机。粒度比安全组大,安全组用于控制单个虚拟机
route_table:路由表,子网级别的路由规则,route_table 与 子网关联
下面贴出 terraform 的代码:
yaml
provider "aws" {
  shared_config_files      = ["/home/devops/.aws/config"]
  shared_credentials_files = ["/home/devops/.aws/credentials"]
  profile                  = "default"
}
### 设置 虚拟机镜像,从 Amazon 的镜像库里面筛选最新的 amd64 ubuntu 24.04 镜像
data "aws_ami" "edu_ubuntu" {
  most_recent = true
  filter {
    name   = "name"
    values = ["ubuntu/images/hvm-ssd-gp3/ubuntu-noble-24.04-amd64-*"]

  }

  owners = ["099720109477"]

}
### 获取当前 region,使用 provider 设置的 region
data "aws_region" "current" {
}
### 获取 当前 region 的可用区域
data "aws_availability_zones" "available" {
  state = "available"
}
### 为虚拟机创建一个新的 VPC
resource "aws_vpc" "rob_edu_vpc" {
  cidr_block = "10.0.0.0/16"

}
### 为 VPC 创建一个互联网网关,用于连接公网
resource "aws_internet_gateway" "rob_edu_igw" {
### 将互联网网关附于上面创建的 vpc
  vpc_id = aws_vpc.rob_edu_vpc.id
  tags = {

    Name = "main"

  }

}

### 在 VPC 下面创建一个子网,并为子网分配一个可用区 AZ
resource "aws_subnet" "rob_edu_snt" {
  vpc_id            = aws_vpc.rob_edu_vpc.id
  cidr_block        = "10.0.8.0/24"
  availability_zone = data.aws_availability_zones.available.names[1]

}
### 创建路由表
resource "aws_route_table" "rob_edu_rt" {
  vpc_id = aws_vpc.rob_edu_vpc.id
### 设置互联网网关igw 为默认网关
  route {
    cidr_block = "0.0.0.0/0"
    gateway_id = aws_internet_gateway.rob_edu_igw.id
  }
### 为 10.0.8.0/24 设置本地路由
  route {
    cidr_block = aws_vpc.rob_edu_vpc.cidr_block
    gateway_id = "local"
  }
}
### 将 路由表与子网进行关联,赋予子网访问公网的能力
resource "aws_route_table_association" "rob_edu_rtas" {
  subnet_id      = aws_subnet.rob_edu_snt.id
  route_table_id = aws_route_table.rob_edu_rt.id
}
### 设置防火墙,放行 TCP 51208 端口,用于 ssh 客户端登录
resource "aws_security_group" "rob_edu_sg" {
  vpc_id      = aws_vpc.rob_edu_vpc.id
  description = "To allow ssh through port 51208"
  ingress {
    from_port   = 51208
    to_port     = 51208
    protocol    = "TCP"
    cidr_blocks = ["0.0.0.0/0"]
  }
  ### 允许 ping 测试
  ingress {
    from_port   = 8
    to_port     = 0
    protocol    = "ICMP"
    cidr_blocks = ["0.0.0.0/0"]
  }
  ### 出站规则默认设置为允许
  egress {
    from_port   = 0
    to_port     = 0
    protocol    = "-1"
    cidr_blocks = ["0.0.0.0/0"]
  }
}

resource "aws_instance" "rob_edu_vm1" {

  ami                         = data.aws_ami.edu_ubuntu.id
  instance_type               = "t3.micro"
  vpc_security_group_ids      = [aws_security_group.rob_edu_sg.id]
  subnet_id                   = aws_subnet.rob_edu_snt.id
  associate_public_ip_address = true
  availability_zone           = data.aws_availability_zones.available.names[1]
  root_block_device {
    delete_on_termination = true
    volume_type           = "gp3"
    volume_size           = 10

  }
### bash 脚本创建用户,设置ssh 端口
  user_data_base64 = base64encode(<<-EOF
#!/bin/bash
sudo sed -i "/Port 22/a Port 51208" /etc/ssh/sshd_config
echo -e "admin123\nadmin123" | sudo passwd root
sudo useradd -G 4,27 -s "/bin/bash" -m devops
echo -e "devops123\ndevops123" | sudo passwd devops
sudo sed -i "s#PasswordAuthentication no#PasswordAuthentication yes#" /etc/ssh/sshd_config.d/60-cloudimg-settings.conf
sudo reboot
EOF
  )
}

output "edu_ami_info" {

  value       = data.aws_ami.edu_ubuntu.name
  description = "The AMI id of the image"

}
### 打印虚拟机的公网 ip,用于 ssh 登录
output "vm_public_ip" {
  value       = aws_instance.rob_edu_vm1.public_ip
  description = "The name public ip of the vm"
}
output "vm_private_ip" {
  value       = aws_instance.rob_edu_vm1.private_ip
  description = "The name private ip of the vm"
}

output "vm_az" {
  value       = aws_instance.rob_edu_vm1.availability_zone
  description = "The name availability zone of the vm"
}

output "user_data_decode" {
  value       = base64decode(aws_instance.rob_edu_vm1.user_data_base64)
  description = "Output the user data content for debug"
  sensitive   = true
}
最后附上 terraform AWS 的文档,大家可以在这个文档上查询相关资源的配置参数说明:Terraform AWS Guide