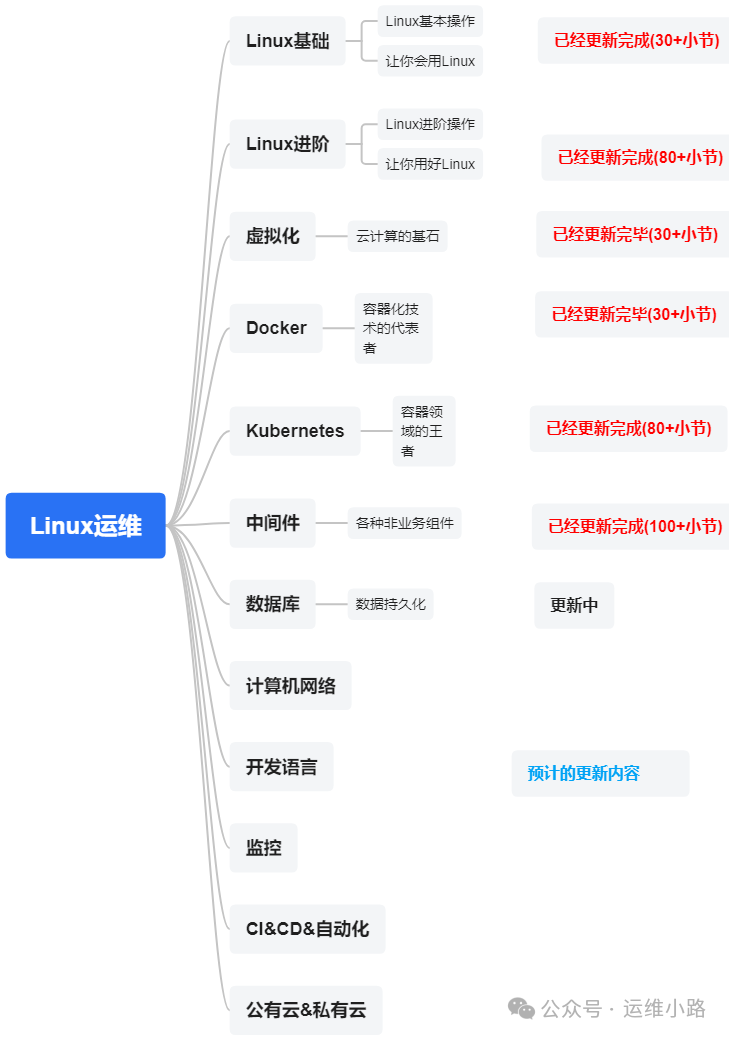
作者介绍:简历上没有一个精通的运维工程师。请点击上方的蓝色《运维小路》关注我,下面的思维导图也是预计更新的内容和当前进度(不定时更新)。
数据库是一个系统(应用)最重要的资产之一,所以我们的数据库将从以下几个数据库来进行介绍。
MySQL (本章节)
PostgreSQL
MongoDB
Redis
Etcd
任何软件都有多种安装方法,这个我们在Linux-软件安装有提到过,所以我们这里也重点介绍下其中两种部署方法:二进制部署;yum安装。
二进制安装
二进制软件和我们win里面绿色安装类似,就是下载就可以直接使用,只是我们的这里MYSQL还有一点配置。
1.下载地址
bash
#我们这里使用的是遗留项目使用最多的版本
wget https://cdn.mysql.com/archives/mysql-5.7/mysql-5.7.44-linux-glibc2.12-x86_64.tar.gz
tar xvf mysql-5.7.44-linux-glibc2.12-x86_64.tar.gz
mv mysql-5.7.44-linux-glibc2.12-x86_64 /usr/local/mysql2.创建用户组
bash
#这是因为mysql需要使用普通用户来启动
groupadd mysql
useradd -r -g mysql -s /bin/false mysql3.设置目录及权限
bash
# 创建数据目录
mkdir -p /var/lib/mysql
# 设置权限
chown -R mysql:mysql /usr/local/mysql*
chown -R mysql:mysql /var/lib/mysql4.初始化
bash
# 进入 MySQL 目录
cd /usr/local/mysql

# 初始化数据库
bin/mysqld --initialize --user=mysql \
--basedir=/usr/local/mysql \
--datadir=/var/lib/mysql
#初始化会生成初始密码,后面登录会用到 
5.配置my.cnf
bash
# 创建配置文件目录(如果不存在)
mkdir -p /etc/mysql

# 创建配置文件
cat > /etc/my.cnf << EOF
[mysqld]
basedir = /usr/local/mysql
datadir = /var/lib/mysql
socket = /var/lib/mysql/mysql.sock
port = 3306

log-error = /var/log/mysql/mysql-error.log
pid-file = /var/run/mysql/mysql.pid

# 性能优化相关配置
innodb_buffer_pool_size = 128M
max_connections = 100

[client]
socket = /var/lib/mysql/mysql.sock
EOF

# 创建日志和运行目录
mkdir -p /var/log/mysql /var/run/mysql
chown -R mysql:mysql /var/log/mysql /var/run/mysql
6.启动mysql
bash
/usr/local/mysql/bin/mysqld \
  --user=mysql \
  --daemonize \
--pid-file=/var/run/mysql/mysql.pid7.检查mysql
bash
#3306是mysql的默认端口
[root@localhost mysql]# ps -ef |grep mysql
mysql     1192     1  0 22:31 ?        00:00:00 /usr/local/mysql/bin/mysqld --user=mysql --daemonize --pid-file=/var/run/mysql/mysql.pid
root      1242  1096  0 22:31 pts/0    00:00:00 grep --color=auto mysql
[root@localhost mysql]# netstat -lnp |grep mysql
tcp6       0      0 :::3306                 :::*                    LISTEN      1192/mysqld
unix  2      [ ACC ]     STREAM     LISTENING     18996    1192/mysqld          /var/lib/mysql/mysql.sock
[root@localhost mysql]# 8.登录mysql
bash
[root@localhost mysql]# /usr/local/mysql/bin/mysql -u root -p"K-ikx)v:I6l#"
mysql: [Warning] Using a password on the command line interface can be insecure.
Welcome to the MySQL monitor.  Commands end with ; or \g.
Your MySQL connection id is 2
Server version: 5.7.44

Copyright (c) 2000, 2023, Oracle and/or its affiliates.

Oracle is a registered trademark of Oracle Corporation and/or its
affiliates. Other names may be trademarks of their respective
owners.

Type 'help;' or '\h' for help. Type '\c' to clear the current input statement.

mysql>
YUM安装
yum安装,实际上我们在Linux基础软件-软件安装也已经提到过的。
1.准备repo
bash
#下载源repo文件
wget https://dev.mysql.com/get/mysql57-community-release-el7-11.noarch.rpm2.安装repo
bash
#安装源
[root@localhost ~]# rpm -ivh mysql57-community-release-el7-11.noarch.rpm
warning: mysql57-community-release-el7-11.noarch.rpm: Header V3 DSA/SHA1 Signature, key ID 5072e1f5: NOKEY
Preparing...                          ################################# [100%]
Updating / installing...
1:mysql57-community-release-el7-11 ################################# [100%]3.安装mysql
bash
#安装数据库
#--nogpgcheck如果不加这个会因为密钥验证不通过,无法安装
yum install -y mysql-community-server --nogpgcheck4.启动mysql
bash
systemctl start mysqld
systemctl enable mysqld5.查看mysql密码
bash
#从日志里面查看默认密码
[root@localhost ~]# tail -100f /var/log/mysqld.log  |grep password
2025-09-14T15:05:28.555096Z 1 [Note] A temporary password is generated for root@localhost: ot>Sp<0j5Nwq6.检查mysql服务状态
bash
[root@localhost ~]# systemctl status mysqld
● mysqld.service - MySQL Server
   Loaded: loaded (/usr/lib/systemd/system/mysqld.service; enabled; vendor preset: disabled)
   Active: active (running) since Sun 2025-09-14 23:05:42 CST; 1min 37s ago
     Docs: man:mysqld(8)
           http://dev.mysql.com/doc/refman/en/using-systemd.html
 Main PID: 1335 (mysqld)
   CGroup: /system.slice/mysqld.service
           └─1335 /usr/sbin/mysqld --daemonize --pid-file=/var/run/mysqld/mysqld.pid

Sep 14 23:05:25 localhost.localdomain systemd[1]: Starting MySQL Server...
Sep 14 23:05:42 localhost.localdomain systemd[1]: Started MySQL Server.7.进入mysql
bash
[root@localhost ~]# mysql -uroot -p"ot>Sp<0j5Nwq"
mysql: [Warning] Using a password on the command line interface can be insecure.
Welcome to the MySQL monitor.  Commands end with ; or \g.
Your MySQL connection id is 2
Server version: 5.7.44

Copyright (c) 2000, 2023, Oracle and/or its affiliates.

Oracle is a registered trademark of Oracle Corporation and/or its
affiliates. Other names may be trademarks of their respective
owners.

Type 'help;' or '\h' for help. Type '\c' to clear the current input statement.

mysql>
这两种是比较常用的的方法,当然还有容器化安装和编译安装,这里我们就略过了。
任何软件都有多种安装方法,这个我们在Linux-软件安装有提到过,所以我们这里也重点介绍下其中两种部署方法:二进制部署;yum安装。