微信小程序学习-08
1 公告
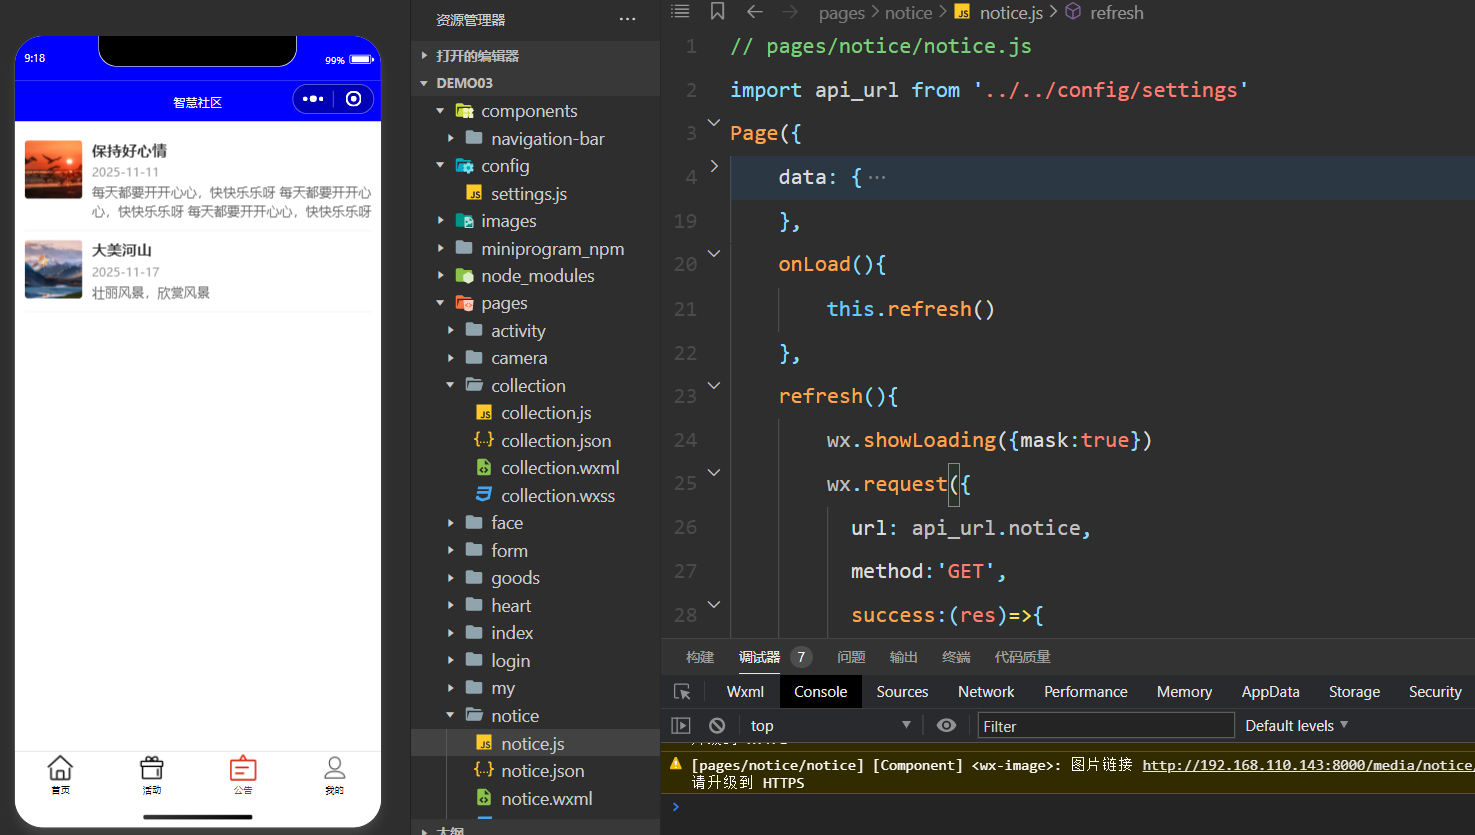
1.1 微信小程序端
<!--pages/notice/notice.wxml-->
<view class="container">
    <!-- 使用wx:for循环遍历社区公告列表 -->
    <view wx:for="{{noticeList}}" wx:key="index" class="notice-item">
        <!-- 左侧图片 -->
        <image class="notice-image" src='{{item.img}}' mode="aspectFill"></image>
        <!-- 右侧内容 -->
        <view class="notice-content">
            <view class="notice-title">{{item.title}}</view>
            <view class="notice-time">{{item.create_time}}</view>
            <view class="notice-details">{{item.content}}</view>
        </view>
    </view>
</view>
/* pages/notice/notice.wxss */
/* 页面整体布局 */
page {
    background-color: #fff;
    font-size: 28rpx;
  }

  /* 公告列表容器 */
  .container {
    padding: 20rpx;
  }

  /* 单条公告项 */
  .notice-item {
    display: flex;
    padding: 20rpx 0;
    border-bottom: 1rpx solid #eee;
  }

  /* 公告图片 */
  .notice-image {
    width: 120rpx;
    height: 120rpx;
    border-radius: 8rpx;
    margin-right: 20rpx;
  }

  /* 公告内容区域 */
  .notice-content {
    flex: 1;
    display: flex;
    flex-direction: column;
    justify-content: space-between;
  }

  /* 公告标题 */
  .notice-title {
    font-size: 32rpx;
    font-weight: bold;
    color: #333;
  }

  /* 公告时间 */
  .notice-time {
    font-size: 26rpx;
    color: #999;
    margin-top: 8rpx;
  }

  /* 公告详情 */
  .notice-details {
    font-size: 28rpx;
    color: #666;
    margin-top: 8rpx;
    line-height: 40rpx;
  }
// pages/notice/notice.js
import api_url from '../../config/settings'
Page({
    data: {
        noticeList: [{
                title: '公告标题1',
                create_time: '2025-11-15',
                content: '公告内容描述1,公告内容描述1,公告内容描述1,', // 可以根据实际情况添加更多内容
                img: '/images/notice/notice1.jpeg' // 图片路径,根据实际情况修改
            },
            {
                title: '公告标题2',
                create_time: '2025-11-16',
                content: '公告内容描述2,公告内容描述2,公告内容描述2,', // 可以根据实际情况添加更多内容
                img: '/images/notice/notice2.jpeg' // 图片路径,根据实际情况修改
            }
        ]
        // 可以添加更多社区公告数据
    },
    onLoad(){
        this.refresh()
    },
    refresh(){
        wx.showLoading({mask:true})
        wx.request({
          url: api_url.notice,
          method:'GET',
          success:(res)=>{
              this.setData({
                  noticeList:res.data
              })
          },
          complete:()=>{
              wx.hideLoading()
          }
        })
    }
})
// settings.js
notice: rootUrl + '/notice/'
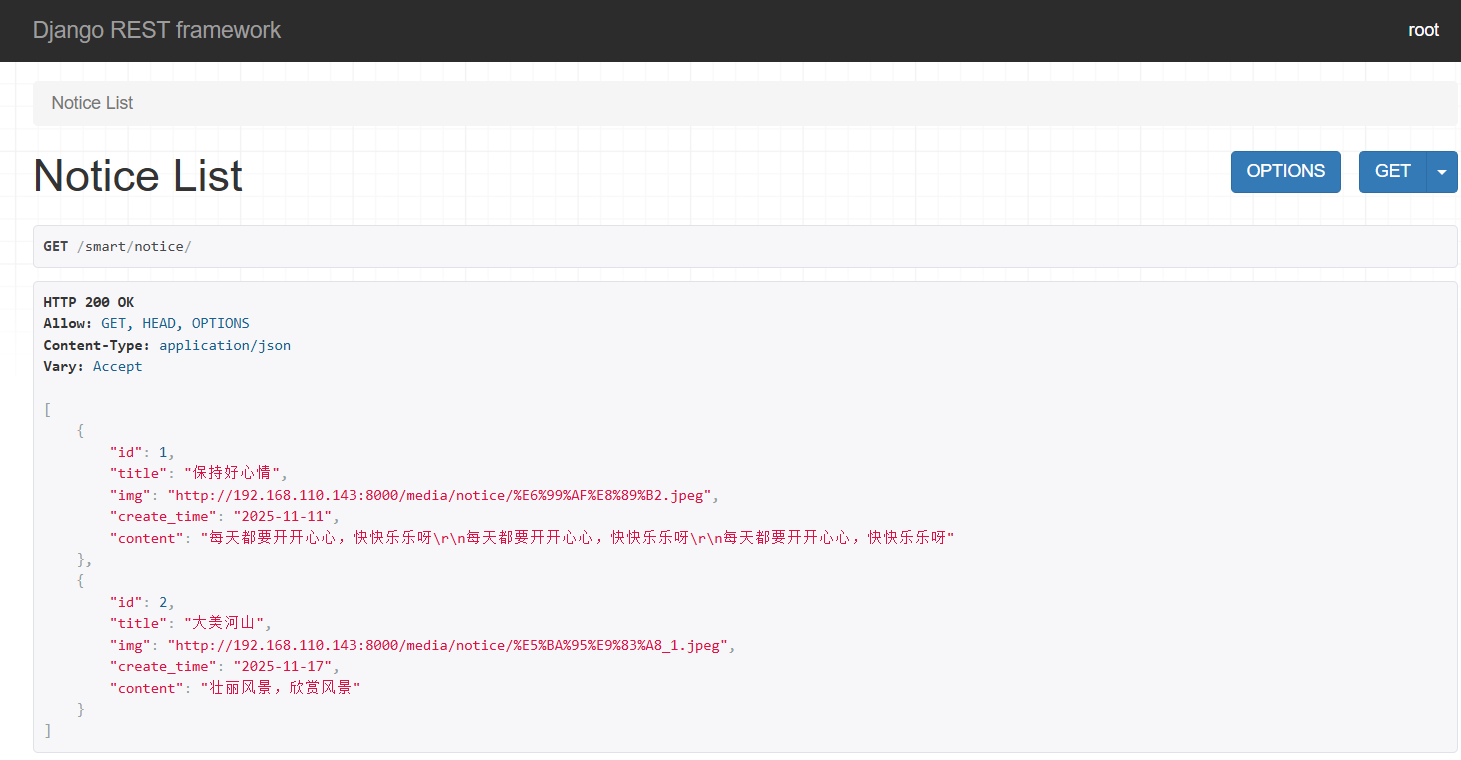
1.2 后端接口
###############serializer.py###############################
class NoticeSerializer(serializers.ModelSerializer):
    class Meta:
        model = Notice
        # fields = '__all__'
        fields = ['id', 'title', 'img', 'create_time', 'content']
        # create_time 只想要年月日,不要时分秒
        extra_kwargs = {
            'create_time':{'format':'%Y-%m-%d'}
        }

###################urls.py###########################
route.register('notice', Notice_View, 'notice')

###################views.py###########################
### 公告接口
from .models import Notice
from .serializer import NoticeSerializer
class Notice_View(GenericViewSet, ListModelMixin):
    queryset = Notice.objects.all().order_by('create_time')
    serializer_class = NoticeSerializer
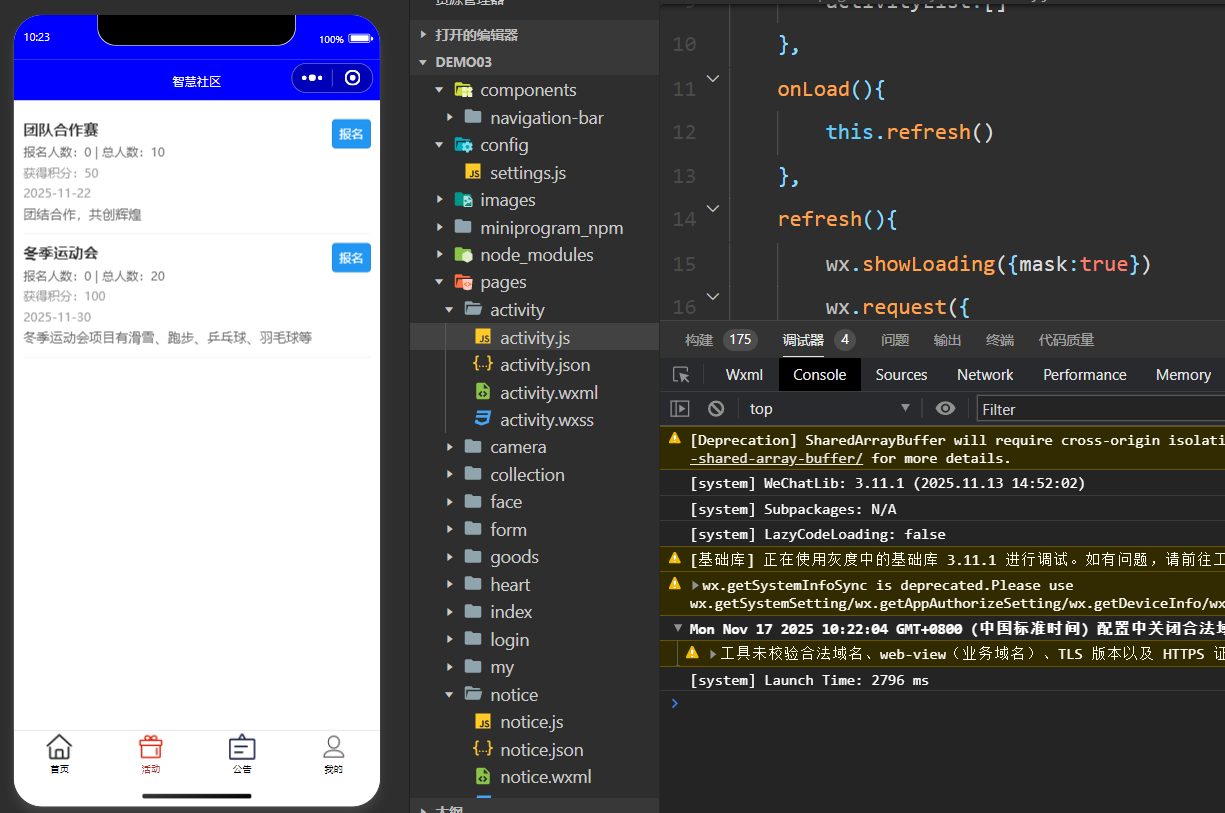
2 活动列表
2.1 微信小程序端
<!--pages/activity/activity.wxml-->
<view class="container">
<!-- 使用wx:for循环遍历活动报名列表 -->
    <view wx:for="{{activityList}}" wx:key="index" class="activity-item">
        <!-- 活动内容 -->
        <view class="activity-content">
            <view class="activity-title">{{item.title}}</view>
            <view class="activity-enrollment">报名人数:{{item.count}} | 总人数:{{item.total_count}}</view>
            <view class="activity-time">获得积分:{{item.score}}</view>
            <view class="activity-time">{{item.date}}</view>
            <view class="activity-description">{{item.text}}</view>
        </view>
        <!-- 报名按钮 -->
        <button class="signup-btn" bind:tap="handleSignup">报名</button>
    </view>
</view>
/* pages/activity/activity.wxss */
/* 页面整体样式 */
page {
    background-color: #fff;
    font-size: 28rpx;
  }

  /* 容器样式 */
  .container {
    padding: 20rpx;
  }

  /* 单个活动项样式 */
  .activity-item {
    display: flex;
    justify-content: space-between;
    align-items: flex-start;
    padding: 20rpx 0;
    border-bottom: 1rpx solid #eee;
  }

  /* 活动内容区域样式 */
  .activity-content {
    flex: 1;
    margin-right: 20rpx;
  }

  /* 活动标题样式 */
  .activity-title {
    font-size: 32rpx;
    font-weight: bold;
    color: #333;
    margin-bottom: 10rpx;
  }

  /* 报名人数、总人数样式 */
  .activity-enrollment {
    font-size: 26rpx;
    color: #666;
    margin-bottom: 10rpx;
  }

  /* 积分、日期样式 */
  .activity-time {
    font-size: 26rpx;
    color: #999;
    margin-bottom: 10rpx;
  }

  /* 活动描述样式 */
  .activity-description {
    font-size: 28rpx;
    color: #666;
    line-height: 40rpx;
  }

  /* 报名按钮样式 调整宽度和文字显示 */
  .signup-btn {
    min-width: 80rpx; /* 最小宽度保证文字显示 */
    padding: 0 12rpx; /* 左右内边距 */
    height: 60rpx;
    line-height: 60rpx;
    background-color: #2196f3;
    color: #fff;
    border-radius: 8rpx;
    font-size: 26rpx; /* 调整字体大小适配按钮 */
    display: flex;
    align-items: center;
    justify-content: center;
  }
// pages/activity/activity.js
import api_url from '../../config/settings'
Page({

    /**
     * 页面的初始数据
     */
    data: {
        activityList:[]
    },
    onLoad(){
        this.refresh()
    },
    refresh(){
        wx.showLoading({mask:true})
        wx.request({
          url: api_url.activity,
          method:'GET',
          success:(res)=>{
              this.setData({
                activityList:res.data
              })
          },
          complete:()=>{
              wx.hideLoading()
          }
        })
    }


})
// settings.js
activity: rootUrl + '/activity/'
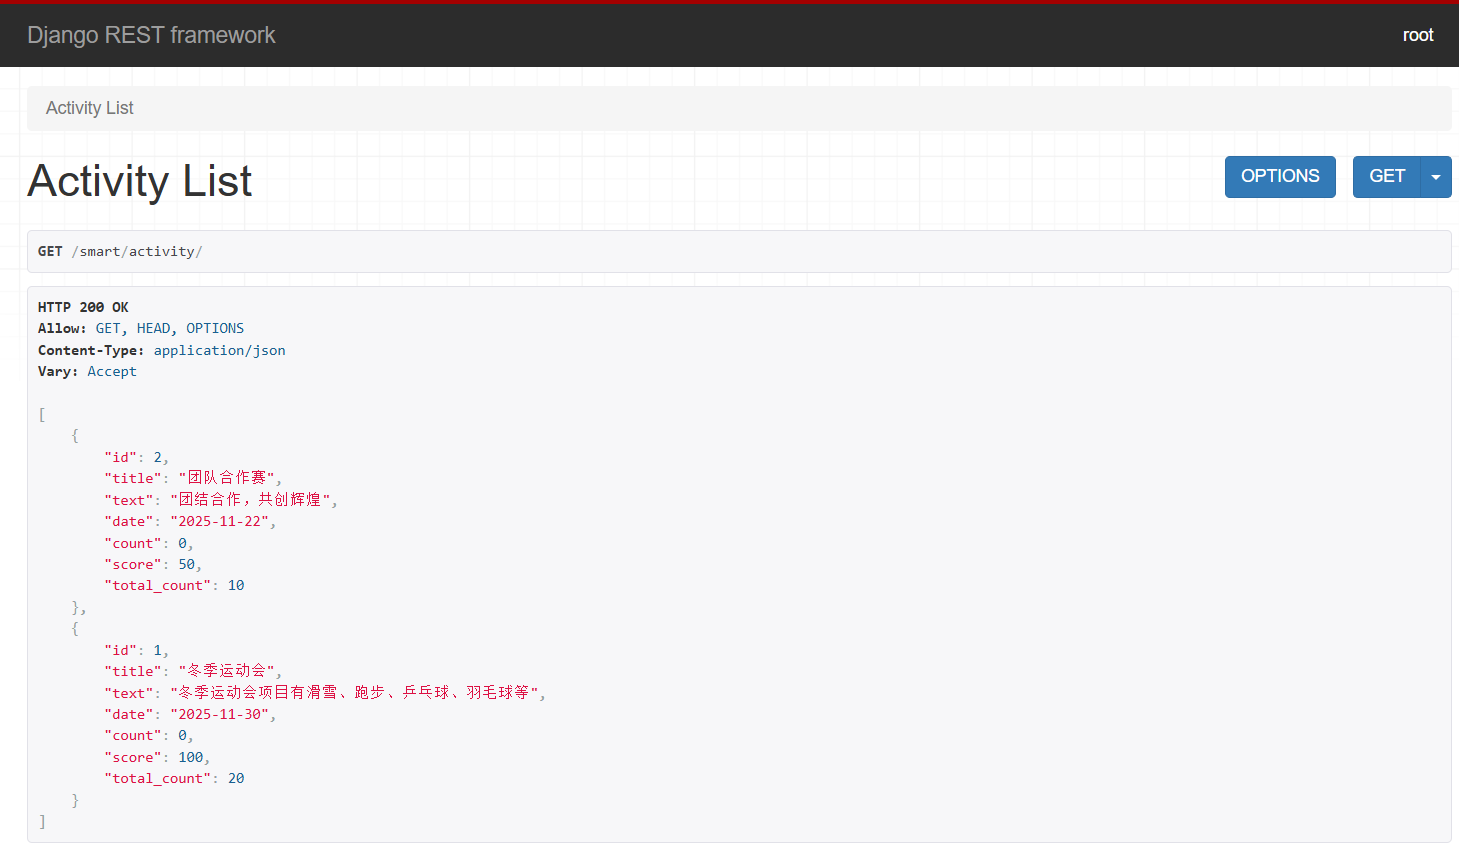
2.2 后端接口
###############serializer.py###############################
class ActivitySerializer(serializers.ModelSerializer):
    class Meta:
        model = Activity
        fields = ['id', 'title', 'text', 'date', 'count', 'score', 'total_count']
        extra_kwargs = {
            'date':{'format':'%Y-%m-%d'}
        }

###################urls.py###########################
route.register('activity', Activity_View, 'activity')

###################views.py###########################
### 活动接口
from .models import Activity
from .serializer import ActivitySerializer
class Activity_View(GenericViewSet, ListModelMixin):
    queryset = Activity.objects.all().order_by('date')
    serializer_class = ActivitySerializer

###################models.py###########################
# 用户表
class UserInfo(models.Model):
    name = models.CharField(verbose_name='姓名', max_length=32)
    avatar = models.FileField(verbose_name='头像', max_length=128, upload_to='avatar')
    create_date = models.DateField(verbose_name='日期', auto_now_add=True)
    score = models.IntegerField(verbose_name='积分', default=0)
    # 用户需要手机号登录--》手机号字段
    mobile = models.CharField(verbose_name='手机号', max_length=11, null=True)

    class Meta:
        verbose_name_plural = '用户表'
    def __str__(self):
        return self.name

# 活动表
class Activity(models.Model):
    title = models.CharField(verbose_name='活动标题', max_length=128)
    text = models.TextField(verbose_name='活动描述', null=True, blank=True)
    date = models.DateField(verbose_name='举办活动日期')
    count = models.IntegerField(verbose_name='报名人数', default=0)
    total_count = models.IntegerField(verbose_name='总人数', default=0)
    score = models.IntegerField(verbose_name='积分', default=0, null=True)
    # 一个用户可以报名多个活动
    join_record = models.ManyToManyField(verbose_name='参与者', through='JoinRecord', through_fields=('activity','user'), to='UserInfo')
    class Meta:
        verbose_name_plural = '活动表'
    def __str__(self):
        return self.title

# 活动报名记录表--》跟用户多对多关系--》一个用户可以报名多个活动
class JoinRecord(models.Model):
    user = models.ForeignKey(verbose_name='用户',to='UserInfo', on_delete=models.CASCADE)
    activity = models.ForeignKey(verbose_name='活动', to='Activity', on_delete=models.CASCADE, related_name='ac')
    exchange = models.BooleanField(verbose_name='是否已兑换', default=False)
    class Meta:
        verbose_name_plural = '活动报名记录表'

###################admin.py###########################
admin.site.register(Activity)
3 登录功能
3.1 登录分析
(个人类型用不了,需要企业)
# 1 一键登录--》使用微信的手机号
	小程序可以获取微信手机号--》code--》向后端发送请求--》后端通过code访问微信开放平台--》换取手机号--》去自己数据校验用户是否存在,如果存在--》说明是我们的用户--》直接签发token--》如果不存在--》说明第一次用该小程序--》使用这个手机号注册--》签发token
# 2 其他手机号登录
	登录页面--》手机号--》发送验证码(腾讯验证码)--》手机号+验证码--》后端--》去自己数据库校验用户是否存在,如果存在--》说明是我们的用户--》直接签发token--》如果不存在--》说明第一次用该小程序--》使用这个手机号注册--》签发token
# 发送短信接口
	-腾讯发送短信
3.2 my页面
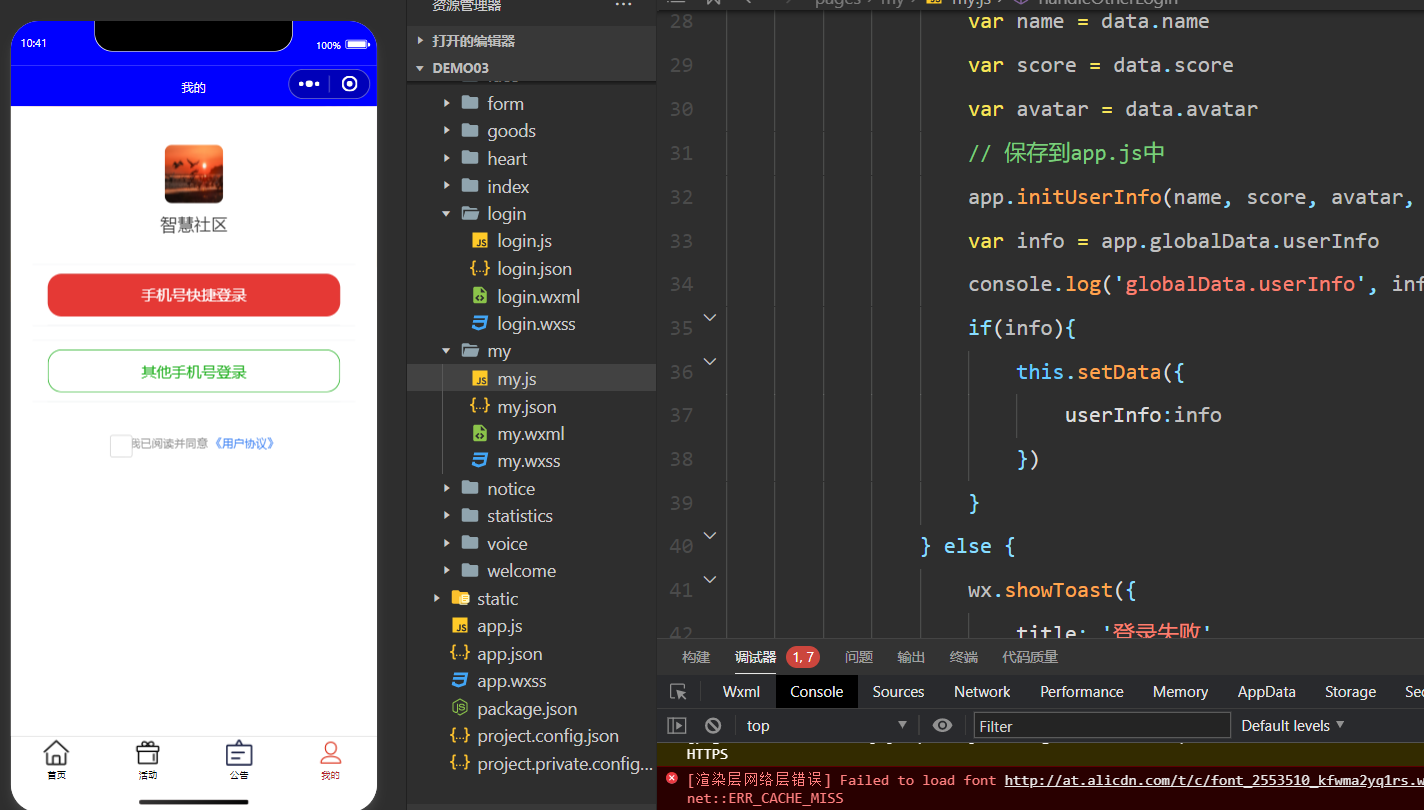
<block wx:if="{{userInfo==null}}">
<!-- 显示手机号快捷登录和其他手机号登录 -->
<view class="container1">
<view class="main">
<view class="icon-view">
<!-- 应用图标 -->
<image src="/images/my/景色.jpeg" class="app-icon"></image>
<text class="title">智慧社区</text>
</view>
</view>
<van-cell-group>
<van-cell>
<button type="warn" open-type="getPhoneNumber" bindgetphonenumber="getPhoneNumber" class="btn">手机号快捷登录</button>
</van-cell>
</van-cell-group>
<!-- 其他手机号登录 -->
<van-cell-group>
<van-cell>
<button type="primary" plain bind:tap="handleOtherLogin" class="btn">其他手机号登录</button>
</van-cell>
</van-cell-group>
<!-- 用户协议同意 -->
<view class="agreement-container">
<checkbox class="checkbox" value="{{agreed}}" bindchange='handleAgreeChange'></checkbox>
<text class="agreement-text">我已阅读并同意</text>
<navigator url="" class="agreement-link">《用户协议》</navigator>
</view>
</view>
</block>
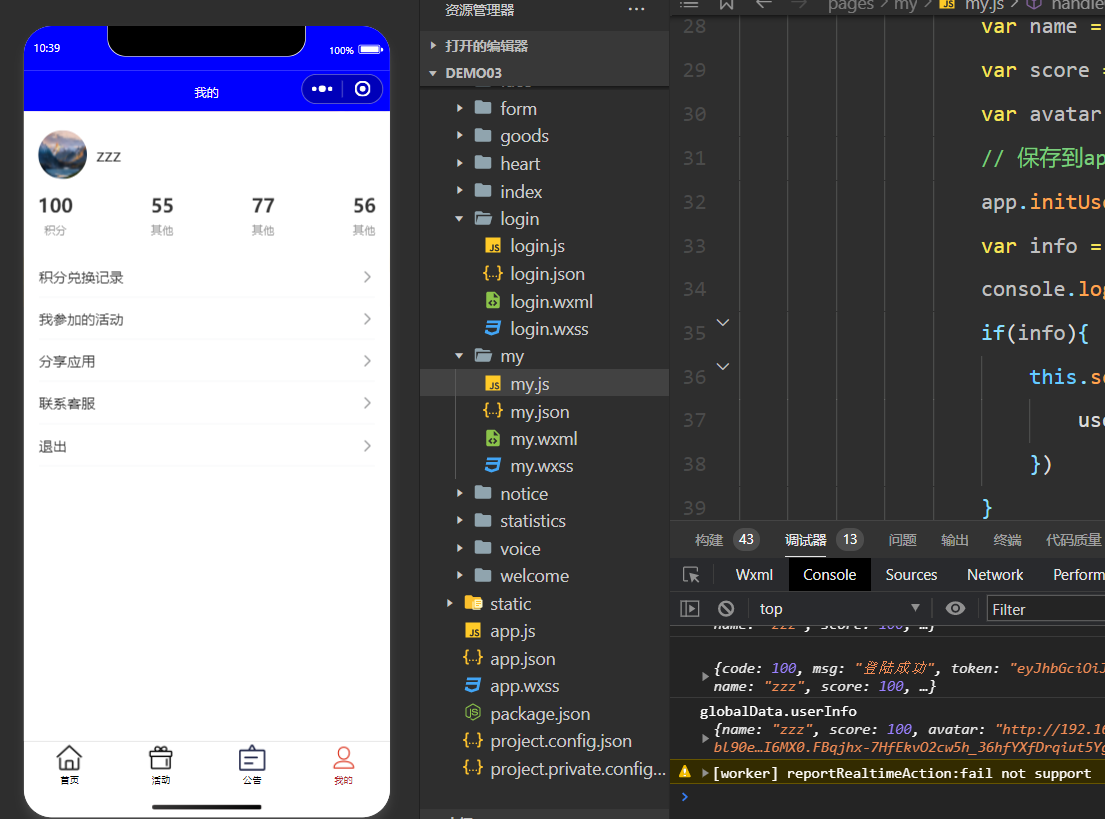
<block wx:else>
<view class="container">
<!-- 顶部用户信息区域 -->
<view class="top-view">
<view class="user">
<view class="row">
<image class="avatar" src="{{userInfo.avatar}}"></image>
<view class="name">
<view bind:tap="logout">{{userInfo.name}}</view>
</view>
</view>
</view>
<view class="numbers">
<view class="row">
<text class="num">{{userInfo.score}}</text>
<text class="label">积分</text>
</view>
<view class="row">
<text class="num">55</text>
<text class="label">其他</text>
</view>
<view class="row">
<text class="num">77</text>
<text class="label">其他</text>
</view>
<view class="row">
<text class="num">56</text>
<text class="label">其他</text>
</view>
</view>
</view>
<!-- 列表区域(使用 van-cell 需确保已引入 Vant Weapp 组件库) -->
<van-list>
<van-cell title="积分兑换记录" is-link />
<van-cell title="我参加的活动" is-link />
<van-cell title="分享应用" is-link />
<van-cell title="联系客服" is-link />
<van-cell title="退出" is-link bind:tap="handleLogout" />
</van-list>
</view>
</block>
// my.wxss
page {
    height: 100%;
    background-color: #fff;
  }

  /* 未登录区域样式 */
  .container1 {
    display: flex;
    flex-direction: column;
    align-items: center;
    justify-content: flex-start;
    padding: 80rpx 40rpx;
    box-sizing: border-box;
    height: 100%;
  }

  .icon-view {
    display: flex;
    flex-direction: column;
    align-items: center;
    margin-bottom: 60rpx;
  }

  .app-icon {
    width: 120rpx;
    height: 120rpx;
    border-radius: 16rpx;
    margin-bottom: 20rpx;
  }

  .title {
    font-size: 36rpx;
    color: #333;
    font-weight: 500;
  }

  /* 按钮区域样式 */
  .van-cell-group {
    width: 100%;
    margin-bottom: 30rpx;
  }

  .van-cell {
    background-color: transparent;
    border: none;
    padding: 0;
  }

  button {
    width: 95%; /* 进一步加宽按钮宽度到95% */
    height: 90rpx;
    line-height: 90rpx;
    border-radius: 45rpx;
    margin: 0 auto;
    font-size: 32rpx; /* 保持文字大小 */
  }

  button[type="warn"] {
    background-color: #e53935;
    color: #fff;
  }

  button[type="primary"].plain {
    background-color: #fff;
    color: #4caf50;
    border: 1rpx solid #4caf50;
  }

  /* 用户协议区域样式 */
  .agreement-container {
    display: flex;
    align-items: center;
    font-size: 24rpx;
    color: #999;
    margin-top: 40rpx;
    justify-content: center;
  }

  .checkbox {
    width: 32rpx;
    height: 32rpx;
    margin-right: 10rpx;
  }

  .agreement-link {
    color: #4285f4;
    margin-left: 6rpx;
  }

  /* 已登录区域样式(与原有样式合并调整) */
  .container {
    height: 100%;
  }

  .top-view {
    background-color: #fff;
    color: #333;
    padding: 40rpx 30rpx;
  }

  .top-view .user .row {
    display: flex;
    align-items: center;
    margin-bottom: 30rpx;
  }

  .top-view .user .avatar {
    width: 100rpx;
    height: 100rpx;
    border-radius: 50%;
  }

  .top-view .user .name {
    padding-left: 20rpx;
  }

  .top-view .user .name view {
    font-size: 36rpx;
    font-weight: 500;
    color: #333;
  }

  .top-view .numbers {
    display: flex;
    flex-direction: row;
    justify-content: space-between;
    font-size: 28rpx;
  }

  .top-view .numbers .row {
    display: flex;
    flex-direction: column;
    align-items: center;
  }

  .top-view .numbers .num {
    font-size: 40rpx;
    font-weight: bold;
    margin-bottom: 10rpx;
    color: #333;
  }

  .top-view .numbers .label {
    font-size: 24rpx;
    opacity: 0.7;
    color: #666;
  }

  /* 调整 van-cell 样式 */
  .van-list {
    margin-top: 20rpx;
  }

  .van-cell {
    background-color: #fff;
    margin-bottom: 1rpx;
    padding: 30rpx;
  }

  .van-cell__title {
    font-size: 30rpx;
    color: #333;
  }

  .van-cell__value {
    font-size: 30rpx;
    color: #999;
  }
  .btn {
    width: 600rpx; /* 最大化宽度,仅留少量边距 */
    height: 90rpx;
    line-height: 90rpx;
    border-radius: 30rpx;
    margin: 0 auto;
    font-size: 32rpx;
  }
// pages/my/my.js
import api_url from '../../config/settings'
var app = getApp() // 取到app.js对象
Page({
    data: {
        userInfo: null
    },
    // 手机号快速登录
    getPhoneNumber(event) {
        console.log(event)
        // 通过获取手机号返回的code--》传递给后端--》后端调用微信小程序开发平台获取手机号的接口--》
        // 获取手机号--》够短签发token给前端
        wx.request({
            url: api_url.quick_login,
            method: 'POST',
            data: {
                code: event.detail.code
            },
            success: (res) => {
                console.log(res)
                // 在此返回登录信息
                var data = res.data
                console.log(data)
                if (data.code == 100) {
                    //登陆成功,保存用户信息
                    console.log(data)
                    var token = data.token
                    var name = data.name
                    var score = data.score
                    var avatar = data.avatar
                    // 保存到app.js中
                    app.initUserInfo(name, score, avatar, token)
                    var info = app.globalData.userInfo
                    console.log('globalData.userInfo', info)
                    if(info){
                        this.setData({
                            userInfo:info
                        })
                    }
                } else {
                    wx.showToast({
                        title: '登录失败',
                    })
                }
            }
        })
    },
    // 其他手机号登录
    handleOtherLogin() {
        wx.navigateTo({
            url: '/pages/login/login',
        })
    },
    onShow() {
        // 1 取出放在app.js中的用户信息,赋值到当前的userInfo中,userInfo只要有值,页面就显示用户信息了
        var info = app.globalData.userInfo
        console.log('globalData.userInfo', info)
        if (info) {
            this.setData({
                userInfo: info
            })
        }
    },
    handleLogout() {
        // 1 调用app.js的退出
        app.logoutUserInfo()
        // 2当前页面中的userInfo置为空
        this.setData({
            userInfo: null
        })
    }
})
3.3 发送短信、登录接口、快速登录接口
###################urls.py###########################
route.register('user', Login_View, 'user')

###################views.py###########################
### 发送短信验证码接口--》快速登录--》普通手机号登录
from libs.send_tx_sms import get_code, send_sms_by_phone_simple
from django.core.cache import cache
from rest_framework.decorators import action
from .models import UserInfo
from faker import Faker
from rest_framework_simplejwt.tokens import RefreshToken
class Login_View(GenericViewSet):
    # http://192.168.110.143:8000/smart/user/send_sms/?mobile=12345678901
    @action(methods=['GET'], detail=False)
    def send_sms(self, request, *args, **kwargs):
        # 1 取出前端传入手机号(get请求传过来的)
        mobile = request.query_params.get('mobile')
        # 2 获取手机验证码
        code = get_code()
        print('验证码', code)
        # 3 验证码放到缓存-->临时存储,能存,后期可以根据key取出来--》django提供的
        cache.set(f'sms_{mobile}', code)
        # 4 发送短信
        res = send_sms_by_phone_simple(mobile, code)
        if res:
            return Response({'code':100,'msg':'短信发送成功'})
        else:
            return Response({'code':101,'msg':'短信发送失败,请稍后再试'})

    @action(methods=['POST'], detail=False)
    def login(self, request, *args, **kwargs):
        # 1 取出手机号和验证码
        mobile = request.data.get('mobile')
        code = request.data.get('code')
        # 2 校验验证码是否正确
        old_code = cache.get(f'sms_{mobile}')
        if old_code == code:
            # 3 数据库查询用户,如果存在直接签发token登陆成功
            user = UserInfo.objects.filter(mobile=mobile).first()
            if not user:
                # 4 如果用户不存在,创建用户,再签发token
                # 随机生成一个中文名 pip install Faker
                fake = Faker('zh_CN')
                username = fake.name()
                user = UserInfo.objects.create(mobile=mobile, name=username)
            # 5 能查到用户,直接签发token--》simple-jwt--》pip install djangorestframework-simplejwt
            refresh = RefreshToken.for_user(user)
            return Response({'code':100, 'msg':'登陆成功', 'token':str(refresh.access_token), 'name':user.name,
                             'score':user.score, 'avatar':'http://192.168.8.40:8000/media/'+str(user.avatar)})
        else:
            return Response({'code':101, 'msg':'验证码错误'})

    @action(methods=['POST'], detail=False)
    def quick_login(self, request, *args, **kwargs):
        # 1 取出前端传入的code
        code = request.data.get('code')
        # 2 通过code,调用微信开发平台接口,换取手机号
        # 3 拿到手机号在自己库中查,能查到,签发token
        # 4 查不到注册再签发token
        # 假数据--》只要点快速登录就签发第一个用户
        user = UserInfo.objects.filter(pk=1).first()
        refresh = RefreshToken.for_user(user)
        return Response({'code':100, 'msg':'登陆成功', 'token':str(refresh.access_token), 'name':user.name,
                             'score':user.score, 'avatar':'http://192.168.8.40:8000/media/'+str(user.avatar)})


###################libs/send_tx_sms.py###########################
import random
import json

def get_code(length=6):
    """
    生成指定长度的数字验证码
    """
    code = ''.join([str(random.randint(0, 9)) for _ in range(length)])
    return code

# 没有使用腾讯云SDK,可以使用requests的简化版本
def send_sms_by_phone_simple(mobile, code):
    """
    简化版的短信发送(如果需要的话)
    """
    try:
        print(f"【模拟发送】向手机号 {mobile} 发送验证码: {code}")
        # 模拟发送成功
        return True

    except Exception as e:
        print(f"发送短信异常: {e}")
        return False
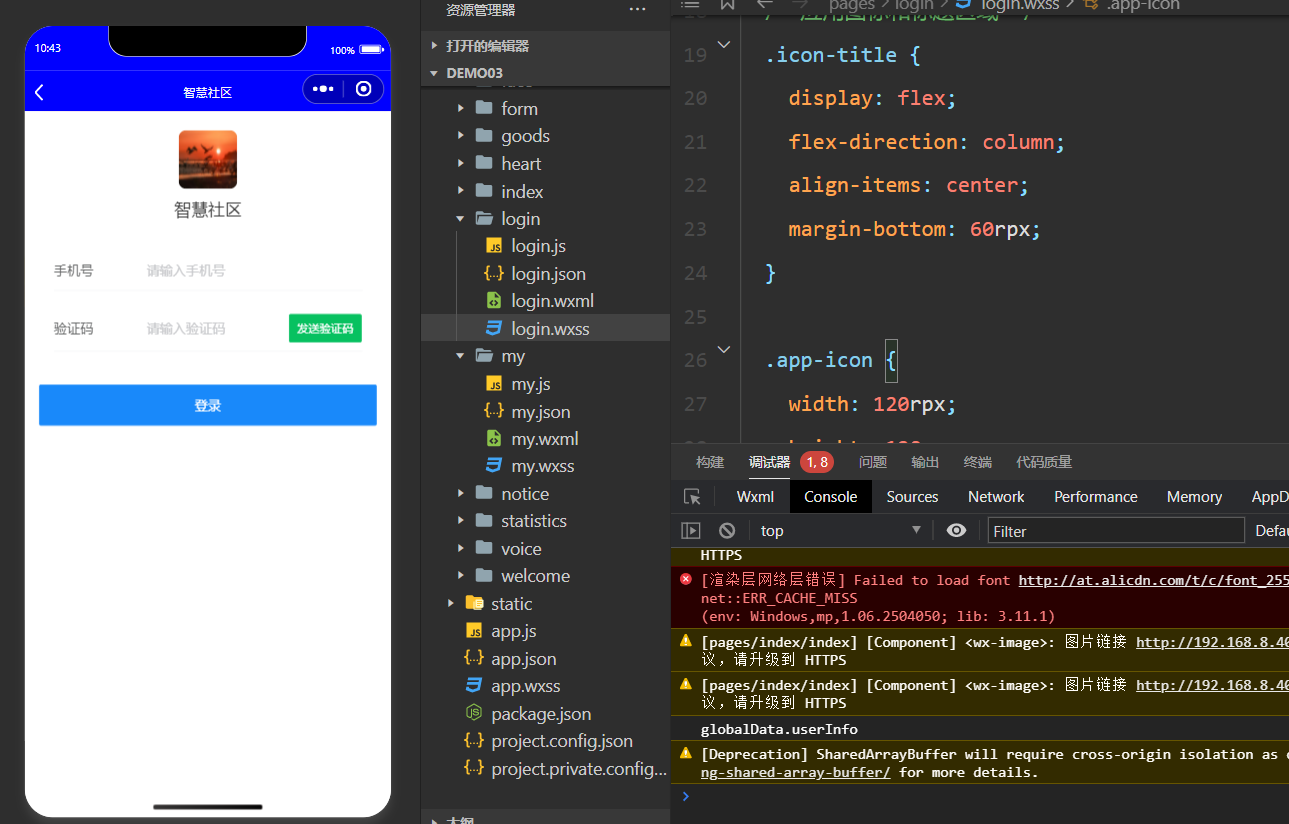
3.4 login页面
<!--pages/login/login.wxml-->
<view class="container">
    <!-- 应用图标区域 -->
    <view class="icon-title">
        <image src="/images/login/景色.jpeg" class="app-icon"></image>
        <text class="title">智慧社区</text>
    </view>

    <!-- 手机号输入框 -->
    <van-field value='{{phone}}' bind:input="onPhoneInput" label='手机号' type='tel' placeholder='请输入手机号' clearable='{{true}}' class="field"></van-field>

    <!-- 验证码输入框 -->
    <van-field value='{{code}}' bind:input="onCodeInput" center clearable label='验证码' placeholder='请输入验证码' use-button-slot class="field">
        <van-button slot='button' size='small' type='primary' bind:tap="sendCode" disable='{{sendCodeDisabled}}' class="code-btn">{{buttonText}}</van-button>
    </van-field>

    <!-- 登录按钮 -->
    <van-button type="info" block='{{true}}' bind:tap="login" class="login-btn">登录</van-button>
</view>
/* pages/login/login.wxss */
/* 页面整体布局 */
page {
    background-color: #fff;
    font-size: 28rpx;
  }

  /* 容器样式 */
  .container {
    padding: 40rpx 30rpx;
    display: flex;
    flex-direction: column;
    align-items: center;
    width: 100%; /* 确保容器宽度占满 */
    box-sizing: border-box;
  }

  /* 应用图标和标题区域 */
  .icon-title {
    display: flex;
    flex-direction: column;
    align-items: center;
    margin-bottom: 60rpx;
  }

  .app-icon {
    width: 120rpx;
    height: 120rpx;
    border-radius: 16rpx;
    margin-bottom: 20rpx;
  }

  .title {
    font-size: 36rpx;
    color: #333;
    font-weight: 500;
  }

  /* 输入框样式 */
  .field {
    width: 100%;
    margin-bottom: 30rpx;
  }

  /* 验证码按钮样式 */
  .code-btn {
    width: 160rpx !important;
    font-size: 26rpx !important;
  }

  /* 登录按钮样式(增加!important确保优先级) */
  .login-btn {
    width: 100% !important;
    height: 90rpx;
    line-height: 90rpx;
    border-radius: 45rpx;
    font-size: 32rpx;
    margin-top: 40rpx;
  }
// pages/login/login.js
import api_url from '../../config/settings'
var app = getApp() // 取到app.js对象
Page({
    data: {
        phone:'',
        code:'',
        agreed: false,
        sendCodeDisabled: false,
        buttonText: '发送验证码',
        loading: false,
        timer: null,
        countDown: 60
    },
    // 监听手机号输入
    onPhoneInput(event){
        this.setData({
            phone: event.detail
        })
    },
    // 监听验证码输入
    onCodeInput(event){
        this.setData({
            code: event.detail
        })
    },
    // 发送验证码
    sendCode(){
        // 在这里编写发送验证码的逻辑,此处仅做示例
        console.log('发送验证码', this.data.phone, this.data.code)
        if(this.data.phone){
            wx.request({
              url: api_url.send_sms+'?mobile='+this.data.phone,
              method:'GET',
              success:(res)=>{
                  wx.showToast({
                    title: res.data.msg,
                  })
              }
            })
            this.setData({
                sendCodeDisabled:true,
                timer: setInterval(this.countDown, 1000)
            })
        }else{
            wx.showToast({
              title: '请输入手机号',
            })
        }
    },
    // 验证码倒计时
    countDown(){
        let countDown = this.data.countDown
        if(countDown==0){
            clearInterval(this.data.timer)
            this.setData({
                buttonText:'发送验证码',
                sendCodeDisabled:false,
                countDown:60
            })
            return
        }
        this.setData({
            buttonText:countDown + 's',
            countDown: countDown - 1
        })
    },
    //页面移走,销毁定时器
    onUnload(){
        clearInterval(this.data.timer)
    },
    // 登录接口
    login(){
        if(this.data.phone && this.data.code){
            wx.request({
              url: api_url.login,
              method:'POST',
              data:{mobile:this.data.phone, code:this.data.code},
              success:(res)=>{
                  var data = res.data
                  if(data.code==100){
                      //登陆成功,保存用户信息
                      console.log(data)
                      var token = data.token
                      var name = data.name
                      var score = data.score
                      var avatar = data.avatar
                      // 保存到app.js中
                      app.initUserInfo(name, score, avatar, token)
                      var info = app.globalData.userInfo
                      console.log('globalData.userInfo', info)
                      wx.navigateBack()
                  }else{
                      wx.showToast({
                        title: '登录失败',
                      })
                  }
              }
            })
        }else{
            wx.showToast({
              title: '请填写信息',
            })
        }
    }

})
3.5 app.js
// app.js
App({
    // 用来存放用户登录信息,以后在任意页面,通过var app = getApp() 都能取到当前app
    globalData:{
        userInfo:null
    },
    // 登录成功后调用,把用户登录信息保存到app.js中,并且存放到本地存储中
    initUserInfo:function(name, score, avatar, token){
        var info = {
            name: name,
            score: score,
            avatar: avatar,
            token: token
        }
        this.globalData.userInfo = info
        // 保存到本地存储
        wx.setStorageSync('userInfo', info)
    },
    // 退出功能
    logoutUserInfo:function(){
        wx.removeStorageSync('userInfo')
        this.globalData.userInfo=null
    },
    // 小程序一启动,本地存储中有登录数据,用户就是登录状态
    onLaunch(){
        var info = wx.getStorageSync('userInfo')
        console.log(info)
        this.globalData.userInfo = info
    }
})
4 活动报名
4.1 小程序端
<!--pages/activity/activity.wxml-->
<button class="signup-btn" bind:tap="handleSignup" mark:id="{{item.id}}">报名</button>
// pages/activity/activity.js
import api_url from '../../config/settings'
var app = getApp() // 取到app.js对象
Page({

    /**
     * 页面的初始数据
     */
    data: {
        activityList:[]
    },
    onLoad(){
        this.refresh()
    },
    refresh(){
        wx.showLoading({mask:true})
        wx.request({
          url: api_url.activity,
          method:'GET',
          success:(res)=>{
              this.setData({
                activityList:res.data
              })
          },
          complete:()=>{
              wx.hideLoading()
          }
        })
    },
    // 活动报名接口
    handleSignup(event){
        // 1 校验用户是否登录
        var info = app.globalData.userInfo
        if(info){
            // 2 处理报名按钮点击事件
            var index = event.mask.id // 获取当前点击的活动索引
            console.log('点击了报名按钮,索引为:', index)
            wx.request({
              url: api_url.join,
              method:'POST',
              data:{'id':index},
              header:{token:info.token}, // 用户登录信息,带在请求头中
              success:(res)=>{
                  wx.showToast({
                    title: res.data.msg,
                  })
              }
            })
        }else{
            wx.showToast({
              title: '请先登录',
            })
        }

    }
})
// settings.js
join: rootUrl+'/join/join/'
4.2 后端接口
###################urls.py###########################
route.register('join', ActivityJoinView, 'join')

###################views.py###########################
### 报名后端接口
from .auth import MyJSONWebTokenAuthentication
from .models import JoinRecord
class ActivityJoinView(GenericViewSet):
    print('请求收到')
    authentication_classes = [MyJSONWebTokenAuthentication]
    @action(methods=['POST'], detail=False)
    def join(self, request, *args, **kwargs):
        # 1 取出要参加的活动id
        activity_id = request.data.get('id')
        # 2 取出当前登录用户
        user = request.user
        # 3 查出当前活动
        activity = Activity.objects.filter(pk=activity_id).first()
        # 4 判断时间,判断人数
        # 5 判断是否报名过
        join_record = JoinRecord.objects.filter(activity_id=activity_id, user=user).first()
        if join_record:
            return Response({'code':101, 'msg':'已经报名过,不用重复报名'})
        else:
            # 6 报名人数+1,报名表存入
            activity.count = activity.count + 1
            activity.save()
            JoinRecord.objects.create(activity=activity, user=user)
            # 7 返回报名成功
            return Response({'code':100, 'msg':'报名成功'})


################### auth.py 认证类 ###########################
from rest_framework.exceptions import AuthenticationFailed
from rest_framework_simplejwt.authentication import JWTAuthentication
from .models import UserInfo

class MyJSONWebTokenAuthentication(JWTAuthentication):
    def authenticate(self, request):
        jwt_value = request.META.get('HTTP_TOKEN')
        if not jwt_value:
            raise AuthenticationFailed('token 字段是必须的')
        validated_token = self.get_validated_token(jwt_value)
        print(validated_token['user_id'])
        user = UserInfo.objects.filter(pk=validated_token['user_id']).first()
        return user, jwt_value
5 积分商城(没写)
5.1 小程序端