1.建立空的kotlin项目
具体的操作过程不赘述。
在build.gradle里面添加如下代码,开启databinding
  buildFeatures {
        compose = true
        dataBinding = true
    }
2.放置资源
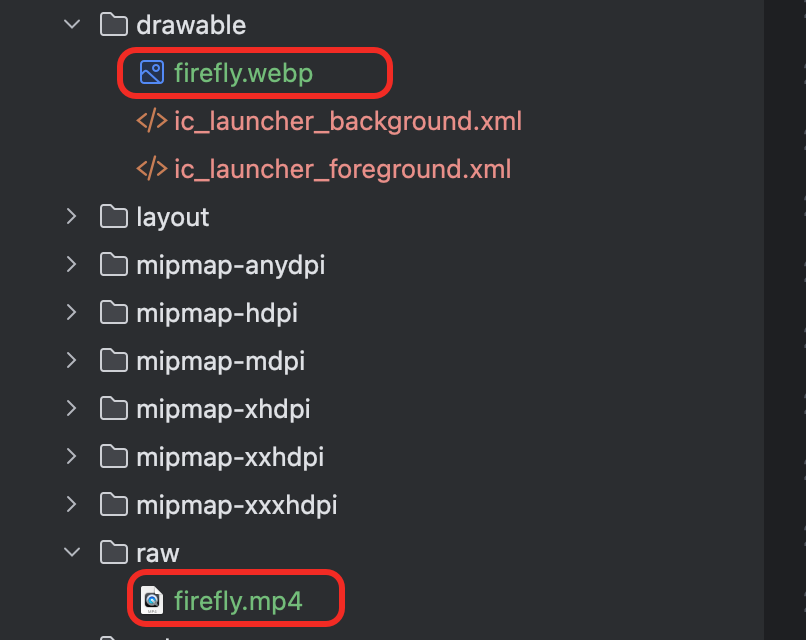
准备一张静态的图,和一张动图mp4播放
我放置的文件夹位置可供参考
3.编码部分
首先,承载动图的view是VideoView,为了长宽和我们设备相同以达到全屏的效果。所以我们需要自己写一个类继承VideoView然后重写onMeasure方法
java
public class CustomerVideoView extends VideoView {

    public CustomerVideoView(Context context) {
        super(context);
    }

    public CustomerVideoView(Context context, AttributeSet attrs) {
        super(context, attrs);
    }

    public CustomerVideoView(Context context, AttributeSet attrs, int defStyleAttr) {
        super(context, attrs, defStyleAttr);
    }


    @Override
    protected void onMeasure(int widthMeasureSpec, int heightMeasureSpec) {
        // 其实就是在这里做了一些处理。
        int width = getDefaultSize(0, widthMeasureSpec);
        int height = getDefaultSize(0, heightMeasureSpec);
        setMeasuredDimension(width, height);
    }
}
然后在activity里面
XML
<?xml version="1.0" encoding="utf-8"?>
<layout>
    <androidx.constraintlayout.widget.ConstraintLayout
        xmlns:android="http://schemas.android.com/apk/res/android"
        android:layout_width="match_parent"
        android:layout_height="match_parent"
        >
        <com.dfl.kotlinhello.view.CustomerVideoView
            android:id="@+id/video_view"
            android:layout_width="match_parent"
            android:layout_height="match_parent"
            android:layout_alignParentTop="true"
            android:layout_alignParentBottom="true"
            android:layout_gravity="center" />

        <ImageView
            android:id="@+id/layer_image"
            android:layout_width="match_parent"
            android:layout_height="match_parent" />
    </androidx.constraintlayout.widget.ConstraintLayout>
</layout>
CustomerVideoView就是拿来承载全屏的动图的,ImageView是静态图。
在MainActivity里面:
Kotlin
class MainActivity : ComponentActivity() {
    private lateinit var binding: MainActivityBinding
    private val layerImage: ImageView by lazy {
        findViewById(R.id.layer_image)
    }
    private var videoPath = ""
    private val videoView: VideoView by lazy {
        findViewById(R.id.video_view)
    }


    override fun onCreate(savedInstanceState: Bundle?) {
        super.onCreate(savedInstanceState)
        binding = MainActivityBinding.inflate(layoutInflater)
        setContentView(binding.root)

        initView()
    }

    private fun initView() {
        initVideoView()
    }

    private fun initVideoView() {
        videoPath = Uri.parse("android.resource://" + packageName + "/" + R.raw.firefly).toString()
        binding.layerImage.setBackgroundResource(R.drawable.firefly)
        videoView.setAudioFocusRequest(AudioManager.AUDIOFOCUS_NONE);
        startVideo()
        videoView.setOnPreparedListener { mp ->
            mp.setOnInfoListener { mp1, what, extra ->
                if (what == MediaPlayer.MEDIA_INFO_VIDEO_RENDERING_START) {
                    videoView.setBackgroundColor(Color.TRANSPARENT)
                    layerImage.visibility = View.GONE
                }
                true
            }
            mp.start()
            mp.isLooping = true
        }
        videoView.setOnCompletionListener {
            videoView.setVideoPath(videoPath)
            videoView.start()
        }
    }

    private fun startVideo() {
        if (videoPath.isEmpty()) {
            return
        }
        videoView.setVideoPath(videoPath)
        videoView.start()
    }

}这边主要做的就是视频路径设置与初始化 --->音频焦点管理
因为不需要它播放所以要设置音频焦点为None
视频预加载与渲染监听
- 在
OnPreparedListener中设置OnInfoListener来监测视频渲染状态 - 当检测到
MEDIA_INFO_VIDEO_RENDERING_START时,将VideoView背景设为透明并隐藏静态图片层,实现平滑过渡
播放控制配置
- 视频准备完成后自动开始播放
- 设置
isLooping = true启用循环播放模式
播放完成处理
- 通过
OnCompletionListener在视频播放结束时重新设置路径并重启播放,确保无缝循环
setLooping(true)负责主要的自动循环,而OnCompletionListener中的重新设置路径和启动操作确保了即使内置循环失效,视频也能继续播放