作为 Spring Boot 初学者,理解后端接口的编写和前端页面的交互至关重要。本文将通过三个经典的 Web 案例------表单提交、AJAX 登录与状态管理、以及 JSON 数据交互------带您掌握前后端联调的核心技巧和 Spring Boot 的关键注解。
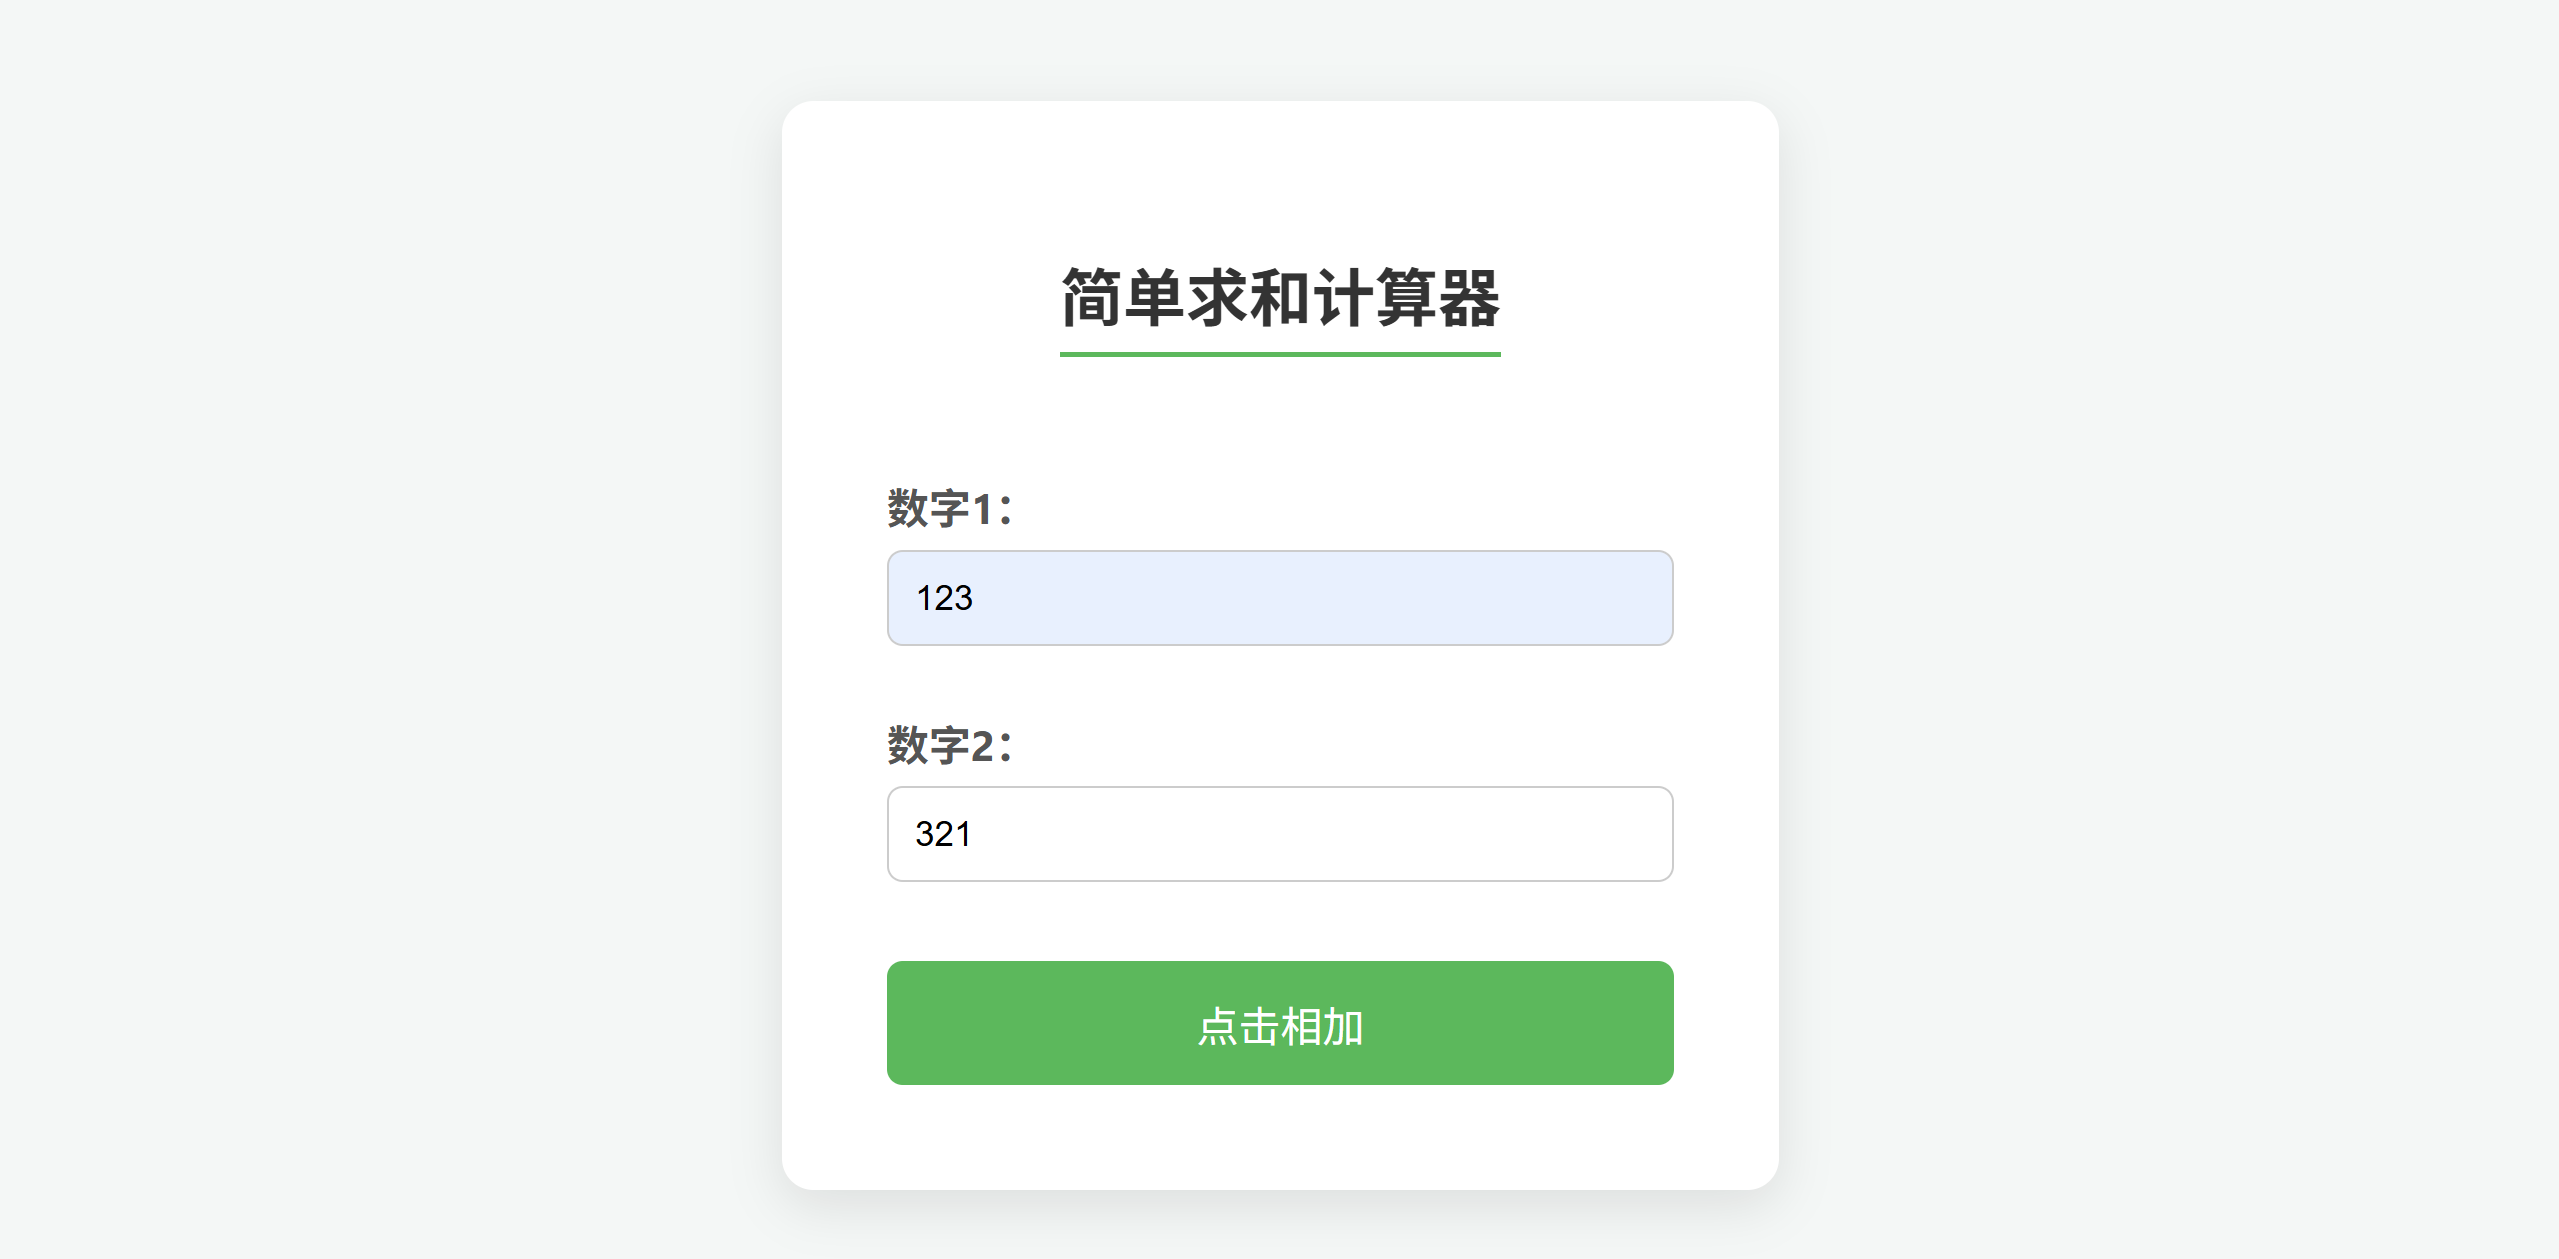
1. 案例一:表单提交与参数绑定(计算求和)
本案例展示最基础、最传统的 Web 交互方式:HTML 表单提交。
1.1 后端代码:CalcController.java
使用 @RestController 简化接口编写,并通过方法参数接收表单数据。
java
package cn.overthinker.springboot;

import org.springframework.web.bind.annotation.RequestMapping;
import org.springframework.web.bind.annotation.RestController;

@RequestMapping("/calc")
@RestController
public class CalcController {

    /**
     * 求和接口:通过方法参数名自动接收前端表单提交的 num1 和 num2
     */
    @RequestMapping("/sum")
    public String sum(Integer num1, Integer num2) {
        // 使用 Integer 包装类进行非空判断,避免空指针异常
        if(num1 == null || num2 == null) {
            return "请求非法:请输入两个数字!";
        }

        // 计算并返回结果
        return "计算结果为:" + (num1 + num2);
    }
}
1.2 前端代码:calc.html


📋 HTML 代码
html
<!DOCTYPE html>
<html lang="en">
<head>
    <meta charset="UTF-8">
    <meta name="viewport" content="width=device-width, initial-scale=1.0">
    <title>简单求和计算器</title>
    <style>
        body { font-family: sans-serif; background-color: #f4f7f6; display: flex; justify-content: center; align-items: center; min-height: 100vh; margin: 0; }
        .calculator-container { background-color: #ffffff; padding: 40px; border-radius: 12px; box-shadow: 0 6px 20px rgba(0, 0, 0, 0.1); width: 300px; text-align: center; }
        h1 { color: #333; margin-bottom: 30px; font-size: 24px; border-bottom: 2px solid #5cb85c; display: inline-block; padding-bottom: 5px; }
        input[type="text"] { width: 100%; padding: 10px; margin-bottom: 10px; border: 1px solid #ccc; border-radius: 6px; box-sizing: border-box; }
        input[type="submit"] { background-color: #5cb85c; color: white; padding: 12px 20px; border: none; border-radius: 6px; cursor: pointer; font-size: 16px; margin-top: 20px; width: 100%; transition: background-color 0.3s ease; }
        input[type="submit"]:hover { background-color: #4cae4c; }
    </style>
</head>
<body>
    <div class="calculator-container">
        <h1>简单求和计算器</h1>
        <form action="/calc/sum" method="post">
            数字1:<input name="num1" type="text" placeholder="请输入数字1"><br>
            数字2:<input name="num2" type="text" placeholder="请输入数字2"><br>
            <input type="submit" value=" 点击相加 ">
        </form>
    </div>
</body>
</html>
1.3 联调重点解析:参数绑定
- 前端 Form 的
name属性 :前端<input name="num1">中的name必须与后端方法的参数名Integer num1完全一致。 - 后端自动类型转换 :Spring Boot 会自动将 HTTP 请求中的字符串参数转换为 Java 方法所需的
Integer类型。
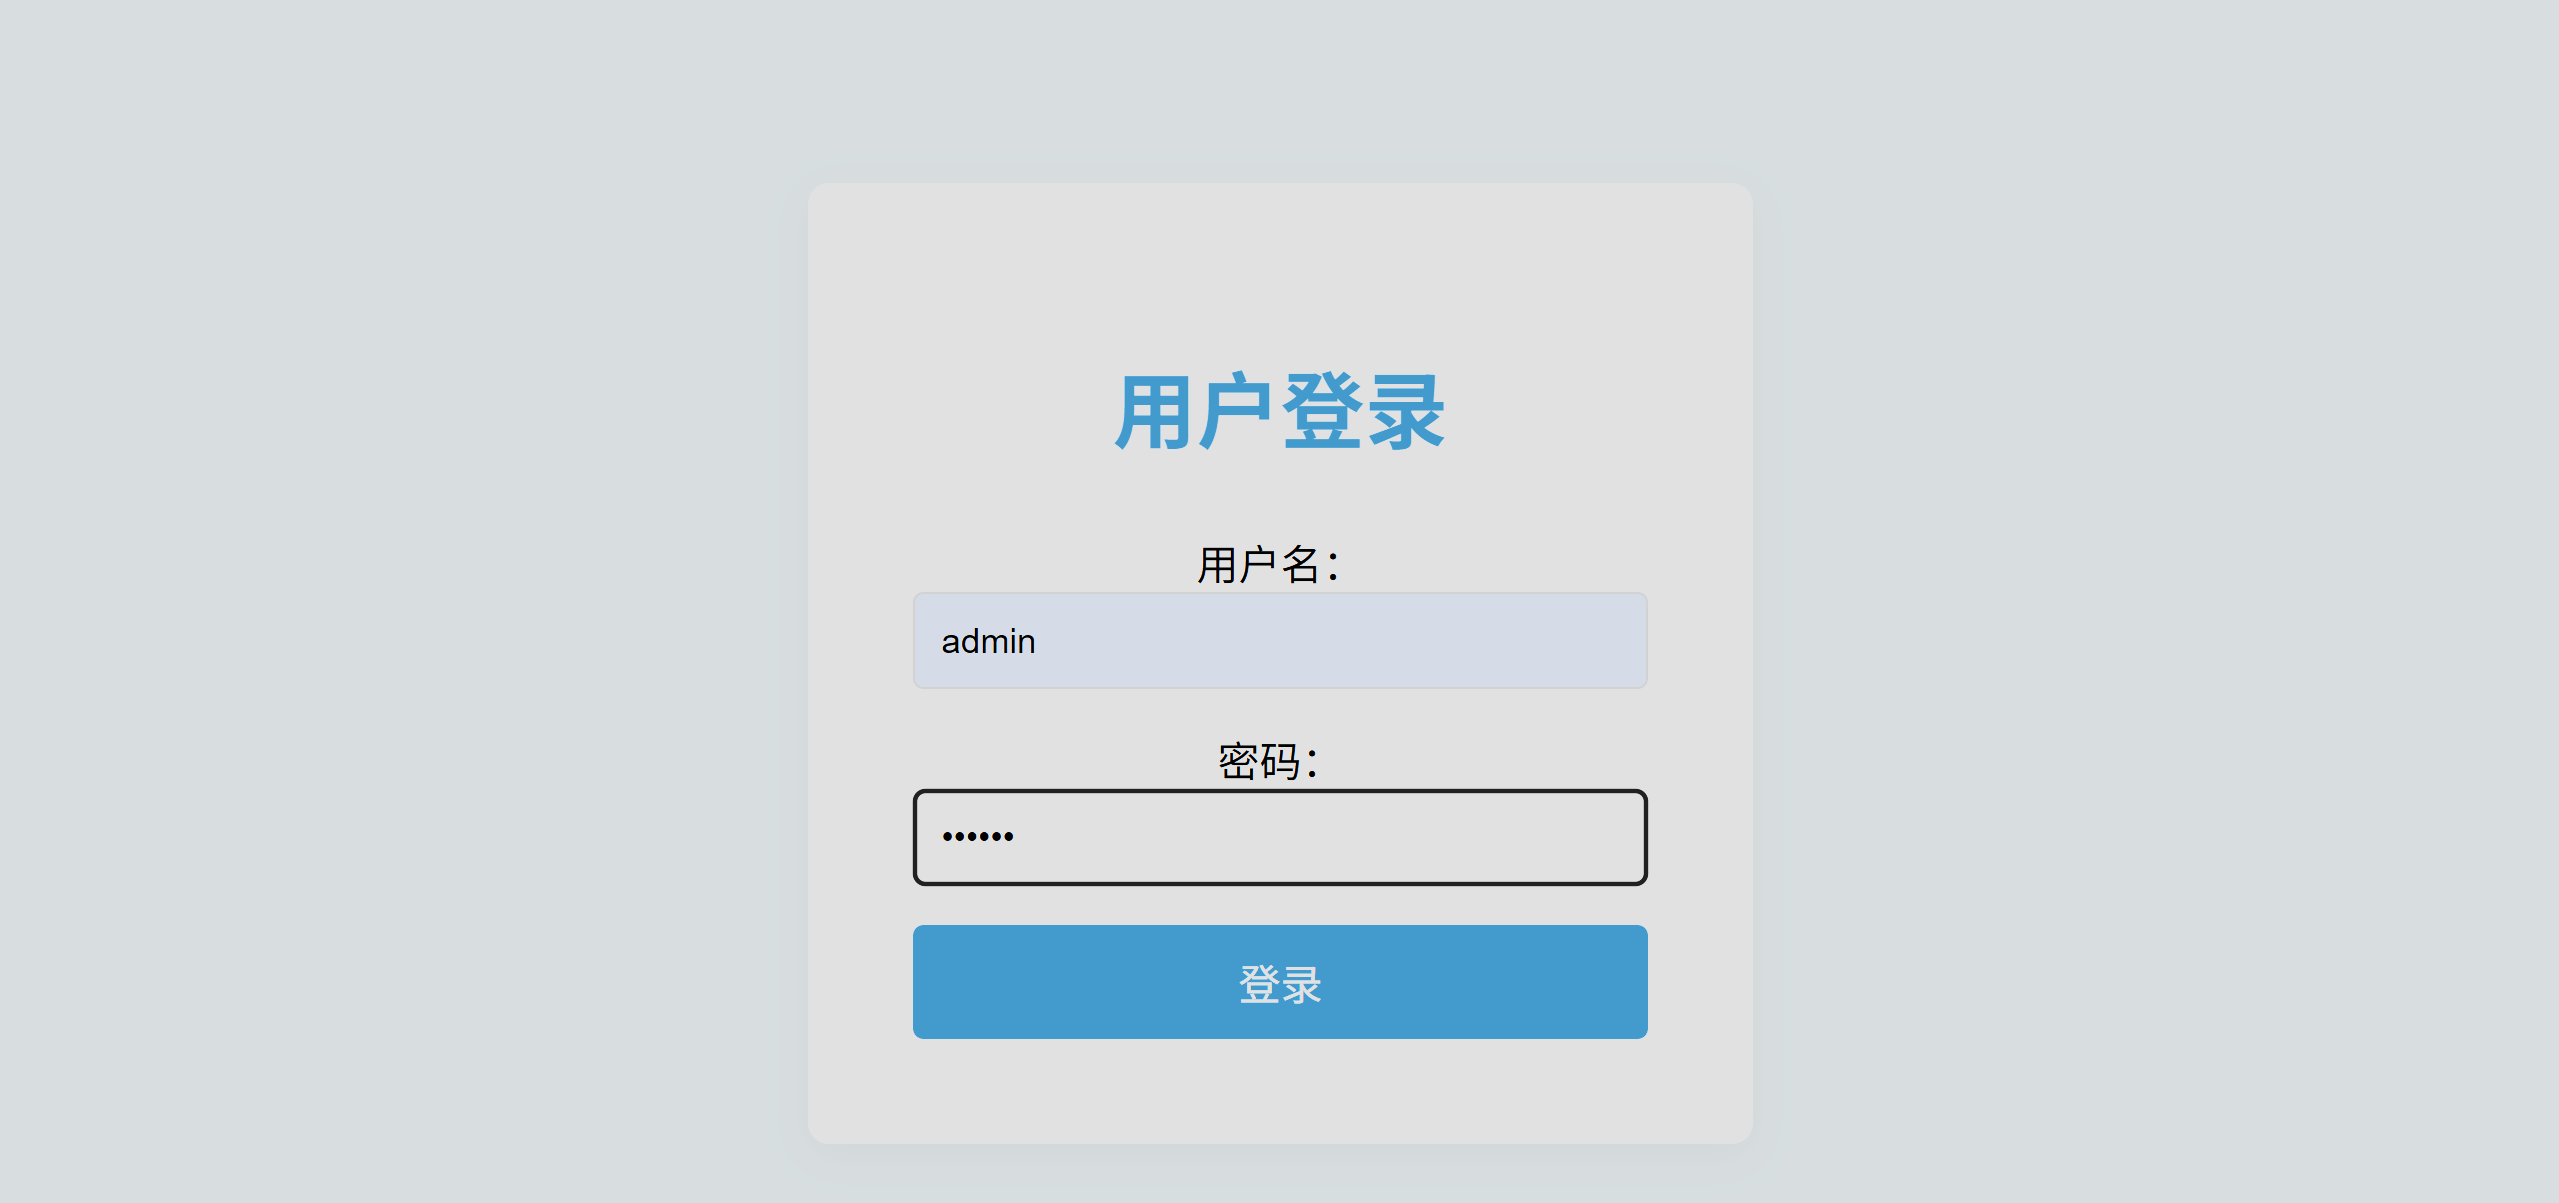
2. 案例二:AJAX 异步交互与 Session 状态管理(用户登录)
本案例引入 AJAX 实现无刷新登录,并利用 Session 在服务器端保存用户状态。
2.1 后端代码:UserController.java 和 Person.java
UserController.java (核心逻辑)
java
package cn.overthinker.springboot;

import jakarta.servlet.http.HttpServletRequest;
import jakarta.servlet.http.HttpSession;
import org.springframework.util.StringUtils;
import org.springframework.web.bind.annotation.GetMapping;
import org.springframework.web.bind.annotation.PostMapping;
import org.springframework.web.bind.annotation.RequestMapping;
import org.springframework.web.bind.annotation.RestController;

@RequestMapping("/user")
@RestController
public class UserController {

    /**
     * 登录接口:使用 HttpSession 存储用户信息
     */
    @PostMapping("/login")
    public boolean login(String userName, String password, HttpSession session) {
        if(!StringUtils.hasLength(userName) || !StringUtils.hasLength(password)) {
            return false;
        }

        // 硬编码校验(实际项目应查询数据库)
        if("admin".equals(userName) && "123456".equals(password)) {
            // **核心知识点:登录成功后,将用户名存入 Session**
            session.setAttribute("loginUser", userName);
            return true;
        }

        return false;
    }

    /**
     * 获取当前登录用户接口:从 Session 中读取用户信息
     */
    @GetMapping("/getLoginUser")
    public String getLoginUser(HttpServletRequest request) {
        // request.getSession(false):如果 Session 不存在,则不创建
        HttpSession session = request.getSession(false);
        if(session != null) {
            String loginUser = (String) session.getAttribute("loginUser");
            return loginUser;
        }
        return "";
    }
}
Person.java (实体类)
虽然未直接用于登录,但作为 JavaBean 演示参数绑定基础。
java
package cn.overthinker.springboot;

// 略:包含 name, password, age 属性及其 Getter/Setter 和 toString 方法
public class Person {
    // ... 属性、Getter/Setter、toString ...
}
2.2 前端代码:login.html 和 index.html


使用 jQuery AJAX 进行异步登录,用户体验更好。
login.html (登录页面)
html
<!DOCTYPE html>
<html lang="en">
<head>
  <meta charset="UTF-8">
  <title>用户登录</title>
  <style>
    body { font-family: sans-serif; background-color: #e8eff1; display: flex; justify-content: center; align-items: center; min-height: 100vh; margin: 0; }
    .login-box { background-color: #fff; padding: 40px; border-radius: 8px; box-shadow: 0 4px 15px rgba(0, 0, 0, 0.1); width: 280px; text-align: center; }
    h1 { color: #3c8dbc; margin-bottom: 25px; }
    input[type="text"], input[type="password"] { width: 100%; padding: 10px; margin-bottom: 15px; border: 1px solid #ccc; border-radius: 4px; box-sizing: border-box; }
    input[type="button"] { background-color: #3c8dbc; color: white; padding: 10px 15px; border: none; border-radius: 4px; cursor: pointer; font-size: 16px; width: 100%; transition: background-color 0.3s; }
    input[type="button"]:hover { background-color: #367fa9; }
  </style>
</head>
<body>
  <div class="login-box">
    <h1>用户登录</h1>
    用户名:<input name="userName" type="text" id="userName" placeholder="请输入用户名"><br>
    密码:<input name="password" type="password" id="password" placeholder="请输入密码"><br>
    <input type="button" value="登录" onclick="login()">
  </div>

  <script src="https://cdn.bootcdn.net/ajax/libs/jquery/3.6.4/jquery.min.js"></script>
  <script>
    function login() {
      $.ajax({
        url: "/user/login",
        type: "post",
        // 核心联调:通过 AJAX 传递参数
        data: {
          userName: $("#userName").val(),
          password: $("#password").val()
        },
        success: function (result) {
          if (result) {
            // 登录成功,跳转到首页
            location.href = "/index.html";
          } else {
            alert("用户名或密码错误");
          }
        }
      });
    }
  </script>
</body>
</html>
index.html (首页 - 获取登录信息)
html
<!doctype html>
<html lang="en">
<head>
    <meta charset="UTF-8">
    <title>用户登录首页</title>
    <style>
        body { font-family: sans-serif; background-color: #f0f4f7; padding: 50px; }
        .welcome { font-size: 24px; color: #333; }
        #loginUser { color: #d9534f; font-weight: bold; }
    </style>
</head>
<body>
    <div class="welcome">欢迎回来,登录人: <span id="loginUser"></span></div>

    <script src="https://cdn.bootcdn.net/ajax/libs/jquery/3.6.4/jquery.min.js"></script>
    <script>
        // 页面加载后立即发起 AJAX 请求获取 Session 中的登录信息
        $.ajax({
            url: "user/getLoginUser",
            type: "get",
            success: function (userName) {
                // 将后端返回的用户名显示在页面上
                $("#loginUser").text(userName || "(未登录)");
            }
        });
    </script>
</body>
</html>
2.3 联调重点解析:AJAX 与 Session
- AJAX (Asynchronous JavaScript and XML) :允许前端在不刷新页面的情况下,与后端进行数据交换。在
login.html中,我们使用 jQuery 的$.ajax实现异步请求。 - Session 机制 :Session 是服务器端用来存储用户状态信息的机制。
- 当用户登录成功后,
session.setAttribute("loginUser", userName);在服务器上创建或关联一个 Session,并存入数据。 - 浏览器通过 Cookie 自动携带一个
Session ID给服务器。 - 在
index.html请求/user/getLoginUser时,服务器通过浏览器传来的Session ID找到对应的 Session,从而取出存储的loginUser信息,实现了状态保持。
- 当用户登录成功后,
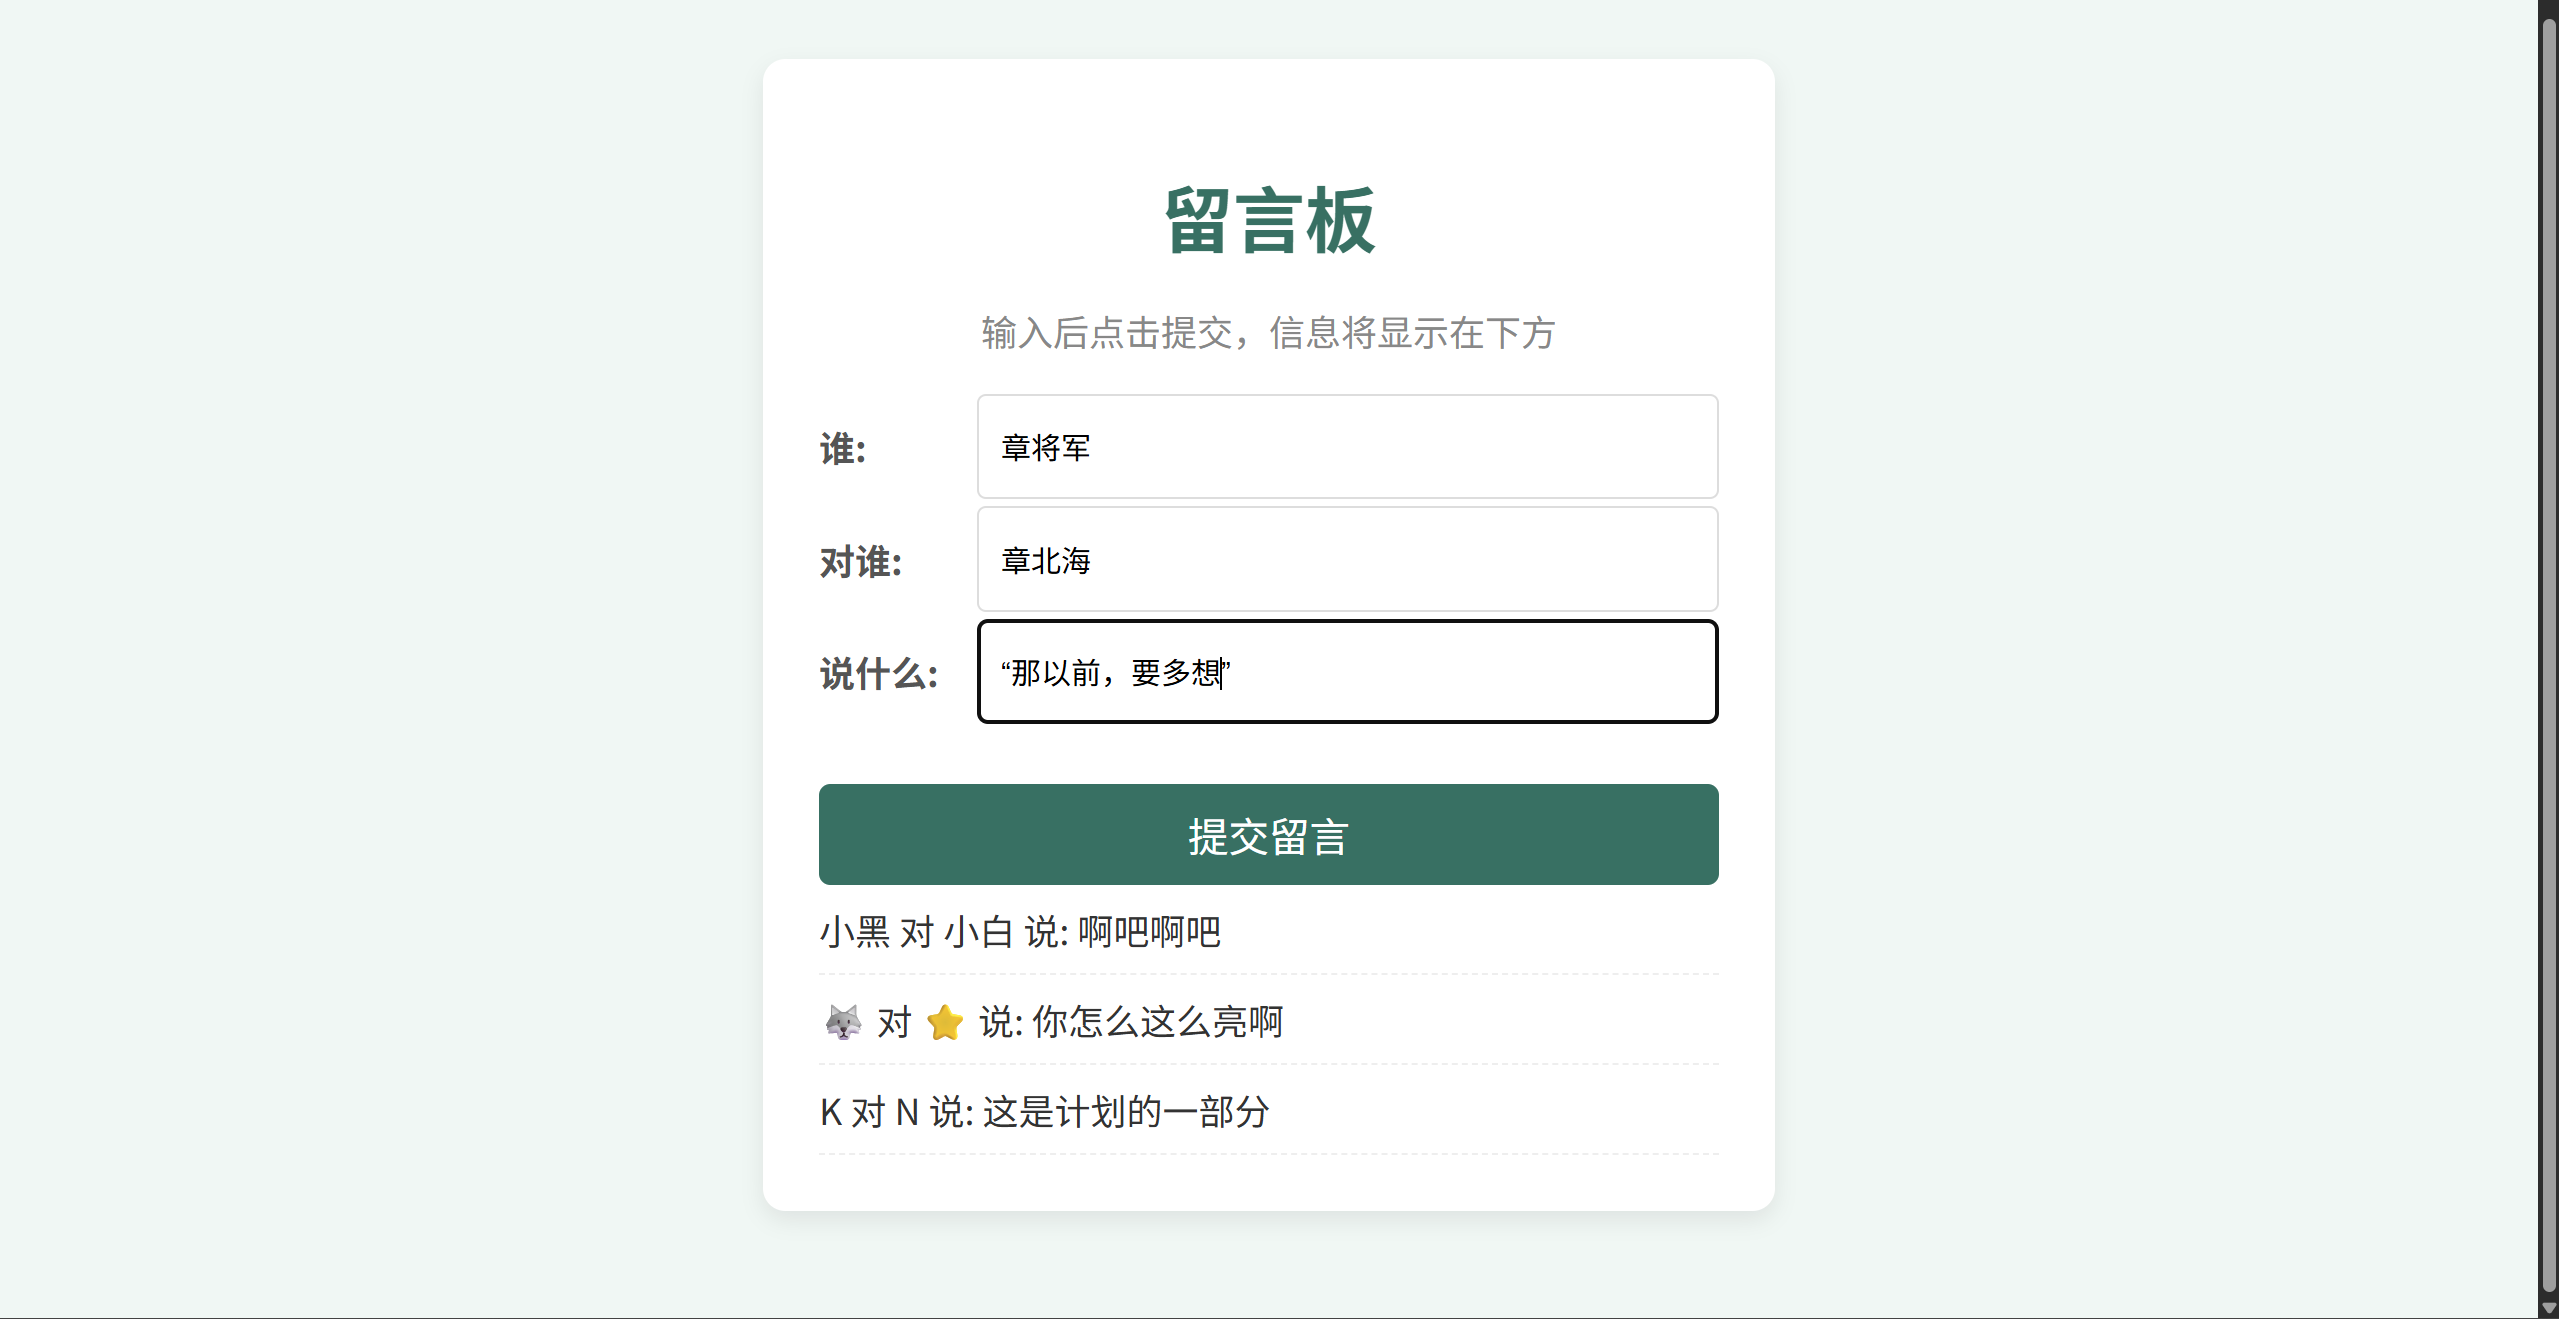
3. 案例三:JSON 数据传输与 RESTful 接口(留言板)
本案例是现代 Web 开发最常用的方式:前后端通过 JSON 格式进行数据交互,后端使用 RESTful 风格的接口。
3.1 后端代码:MessageController.java 和 MesseageInfo.java
MessageController.java (核心逻辑)
java
package cn.overthinker.springboot;

import org.springframework.util.StringUtils;
import org.springframework.web.bind.annotation.*;
import java.util.ArrayList;
import java.util.List;

@RequestMapping("/Message")
@RestController
public class MessageController {

    // 存储留言的列表(模拟数据库存储)
    private List<MesseageInfo> messeageInfoList = new ArrayList<>();

    /**
     * 发布留言接口:使用 @RequestBody 接收 JSON 数据
     */
    @PostMapping("/publish")
    public Boolean publish(@RequestBody MesseageInfo messeageInfo) {
        // 参数校验
        if(!StringUtils.hasLength(messeageInfo.getFrom())
             || !StringUtils.hasLength(messeageInfo.getTo())
             || !StringUtils.hasLength(messeageInfo.getMessage())) {
            return false;
        }
        messeageInfoList.add(messeageInfo);
        return true;
    }

    /**
     * 获取留言列表接口:返回 JSON 数组
     */
    @GetMapping("/getList")
    public List<MesseageInfo> getList() {
        return messeageInfoList;
    }
}
MesseageInfo.java (数据传输对象 DTO)
使用 Lombok 的 @Data 注解自动生成 Getter/Setter。
java
package cn.overthinker.springboot;

import lombok.Data;

@Data // Lombok 注解,自动生成 Getter/Setter, toString, equals等方法
public class MesseageInfo {
    private String from;
    private String to;
    private String message; // 注意:前端传的字段名是 message
}
3.2 前端代码:message.html

前端使用 AJAX 发送 JSON 格式的数据。
📋 HTML 代码
html
<!DOCTYPE html>
<html lang="en">
<head>
    <meta charset="UTF-8">
    <title>留言板</title>
    <style>
        body { font-family: sans-serif; background-color: #f0f7f4; padding: 20px; }
        .container { width: 400px; margin: 20px auto; background-color: #fff; padding: 25px; border-radius: 10px; box-shadow: 0 4px 10px rgba(0, 0, 0, 0.08); text-align: center; }
        h1 { color: #387063; margin-bottom: 5px; }
        .grey { color: #888; margin-bottom: 20px; }
        .row { display: flex; justify-content: space-between; align-items: center; height: 40px; margin-bottom: 10px; }
        .row span { width: 70px; text-align: left; color: #555; font-weight: bold; }
        .row input { flex-grow: 1; height: 35px; padding: 5px 10px; border: 1px solid #ddd; border-radius: 4px; }
        #submit { width: 100%; height: 45px; background-color: #387063; color: white; border: none; border-radius: 5px; margin-top: 20px; font-size: 18px; cursor: pointer; transition: background-color 0.3s; }
        #submit:hover { background-color: #2b574d; }
        .message-list div { text-align: left; padding: 8px 0; border-bottom: 1px dashed #eee; color: #333; }
    </style>
</head>
<body>
    <div class="container">
        <h1>留言板</h1>
        <p class="grey">输入后点击提交,信息将显示在下方</p>
        <div class="row">
            <span>谁:</span> <input type="text" id="from" placeholder="你的名字">
        </div>
        <div class="row">
            <span>对谁:</span> <input type="text" id="to" placeholder="你想对谁说">
        </div>
        <div class="row">
            <span>说什么:</span> <input type="text" id="say" placeholder="你的留言内容">
        </div>
        <input type="button" value="提交留言" id="submit" onclick="submit()">

        <div class="message-list">
            </div>
    </div>

    <script src="https://cdn.bootcdn.net/ajax/libs/jquery/3.6.4/jquery.min.js"></script>
    <script>
        // 页面加载时自动获取并展示所有留言
        function loadMessages() {
            $.ajax({
                type: "get",
                url: "/Message/getList",
                success: function (messages) {
                    $(".message-list").empty(); // 清空旧列表
                    for (let msg of messages) {
                        let divE = "<div>" + msg.from + " 对 " + msg.to + " 说: " + msg.message + "</div>";
                        $(".message-list").append(divE);
                    }
                }
            });
        }

        // 初始化加载
        loadMessages();

        function submit() {
            var from = $('#from').val();
            var to = $('#to').val();
            var say = $('#say').val();
            if (from == '' || to == '' || say == '') { return; }

            // 核心联调:发送 JSON 数据
            $.ajax({
                type: "post",
                url: "/Message/publish",
                // 1. 设置 Content-Type 为 application/json
                contentType: "application/json",
                // 2. 使用 JSON.stringify 将 JS 对象转换为 JSON 字符串
                data: JSON.stringify({
                    from: from,
                    to: to,
                    // 注意:前端字段名为 message,与后端 DTO 匹配
                    message: say
                }),
                success: function (result) {
                    if (result) {
                        // 提交成功后重新加载列表
                        loadMessages();

                        // 清空输入框
                        $('#from').val("");
                        $('#to').val("");
                        $('#say').val("");
                    } else {
                        alert("添加留言失败,请检查输入");
                    }
                }
            });
        }
    </script>
</body>
</html>
3.3 联调重点解析:@RequestBody 与 JSON
@RequestBody:这是 Spring Boot 接收 JSON 数据的关键注解。它告诉 Spring MVC:请将 HTTP 请求体(Request Body)中的 JSON 字符串解析,并自动映射到方法参数MesseageInfo messeageInfo对象中。- 前端
contentType: "application/json":前端必须设置此头信息,告诉服务器发送的是 JSON 格式数据。 - 前端
JSON.stringify(...):JavaScript 的内置方法,用于将一个 JS 对象(如{from: 'A', to: 'B', message: 'Hello'})转换为后端能够识别的 JSON 字符串。 - JSON 字段匹配 :前端 JSON 中的键(Key)必须与后端 DTO (
MesseageInfo) 中的属性名(Field Name)保持一致(例如:message对应private String message;)。
4. 总结:前后端联调模式对比
| 联调模式 | 案例 | 核心机制 | 后端注解/参数接收 | 优点 | 缺点 |
|---|---|---|---|---|---|
| Form 表单提交 | 求和计算器 | 浏览器直接跳转/刷新页面 | 方法参数名匹配 | 简单、无需 JavaScript | 用户体验差、无法精细控制 |
| AJAX (Query String) | 登录系统 (GET/POST) | 异步通信(无刷新) | 方法参数名匹配 | 用户体验好、可局部更新 | 仅适用于少量简单数据 |
| AJAX (JSON) | 留言板 | 异步通信(无刷新) | @RequestBody 接收 DTO |
传输复杂结构数据、最常用 | 需要配置 Content-Type 和 JSON.stringify |
若你在学习过程中遇到其他问题,或有好的学习经验分享,欢迎在评论区留言!一起交流进步🌟


