首先,这里介绍的是通过cloudeflare的隧道服务来实现内网穿透的,那么你必须有一个代理在cloudeflare上的主域名。其次,你的课设基本完成,没有太大的修改了。最后,你能接受网速很慢可能的情况。
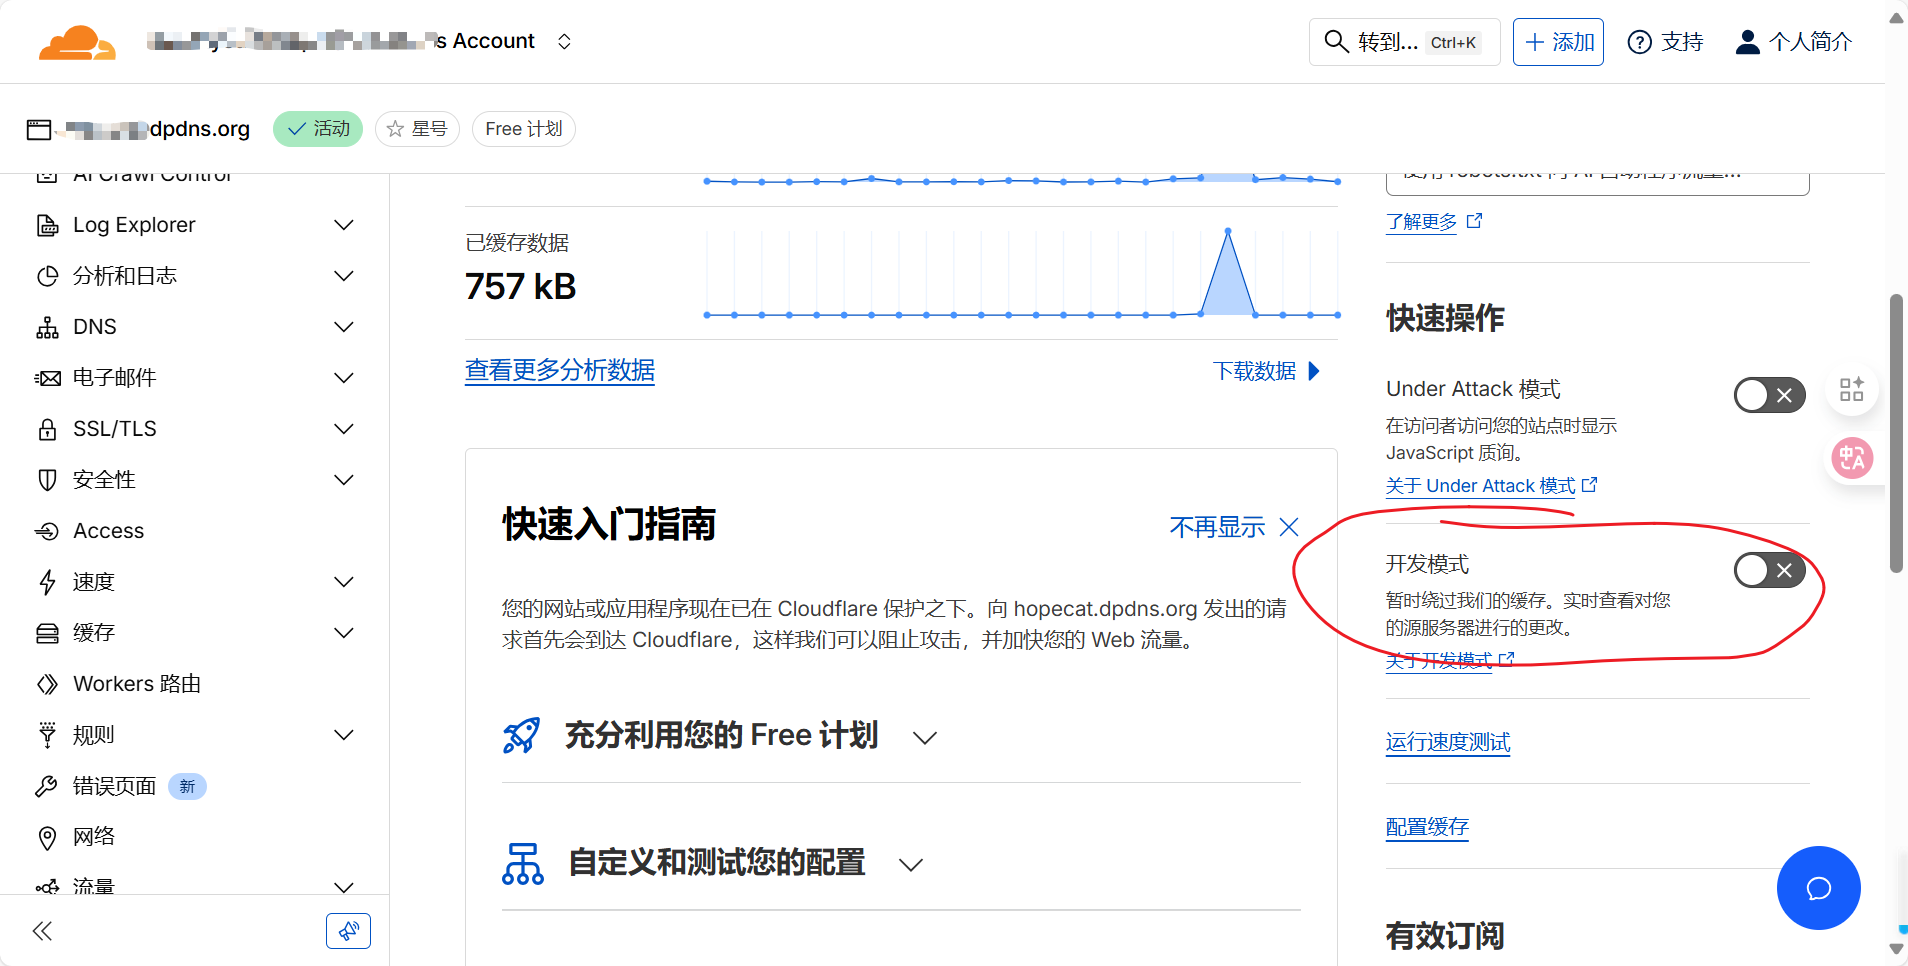
在cloudeflare的域名首页,确保以下画圈部分是关闭的。
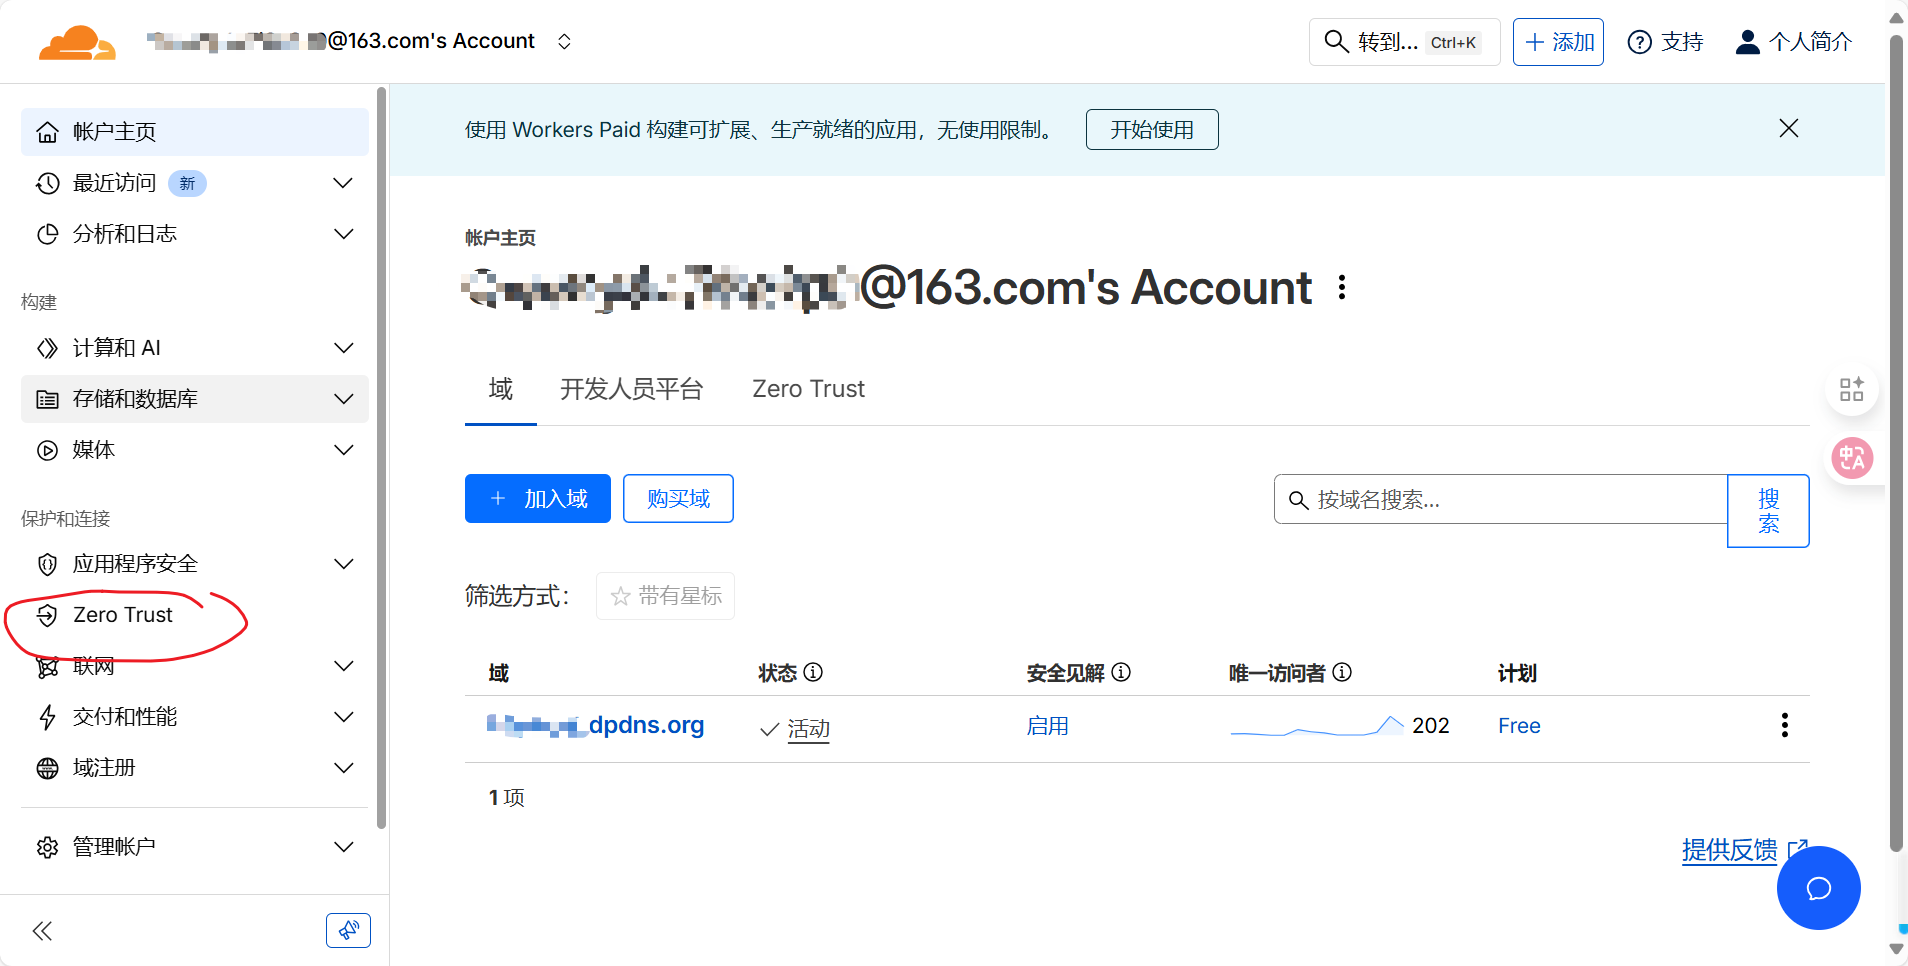
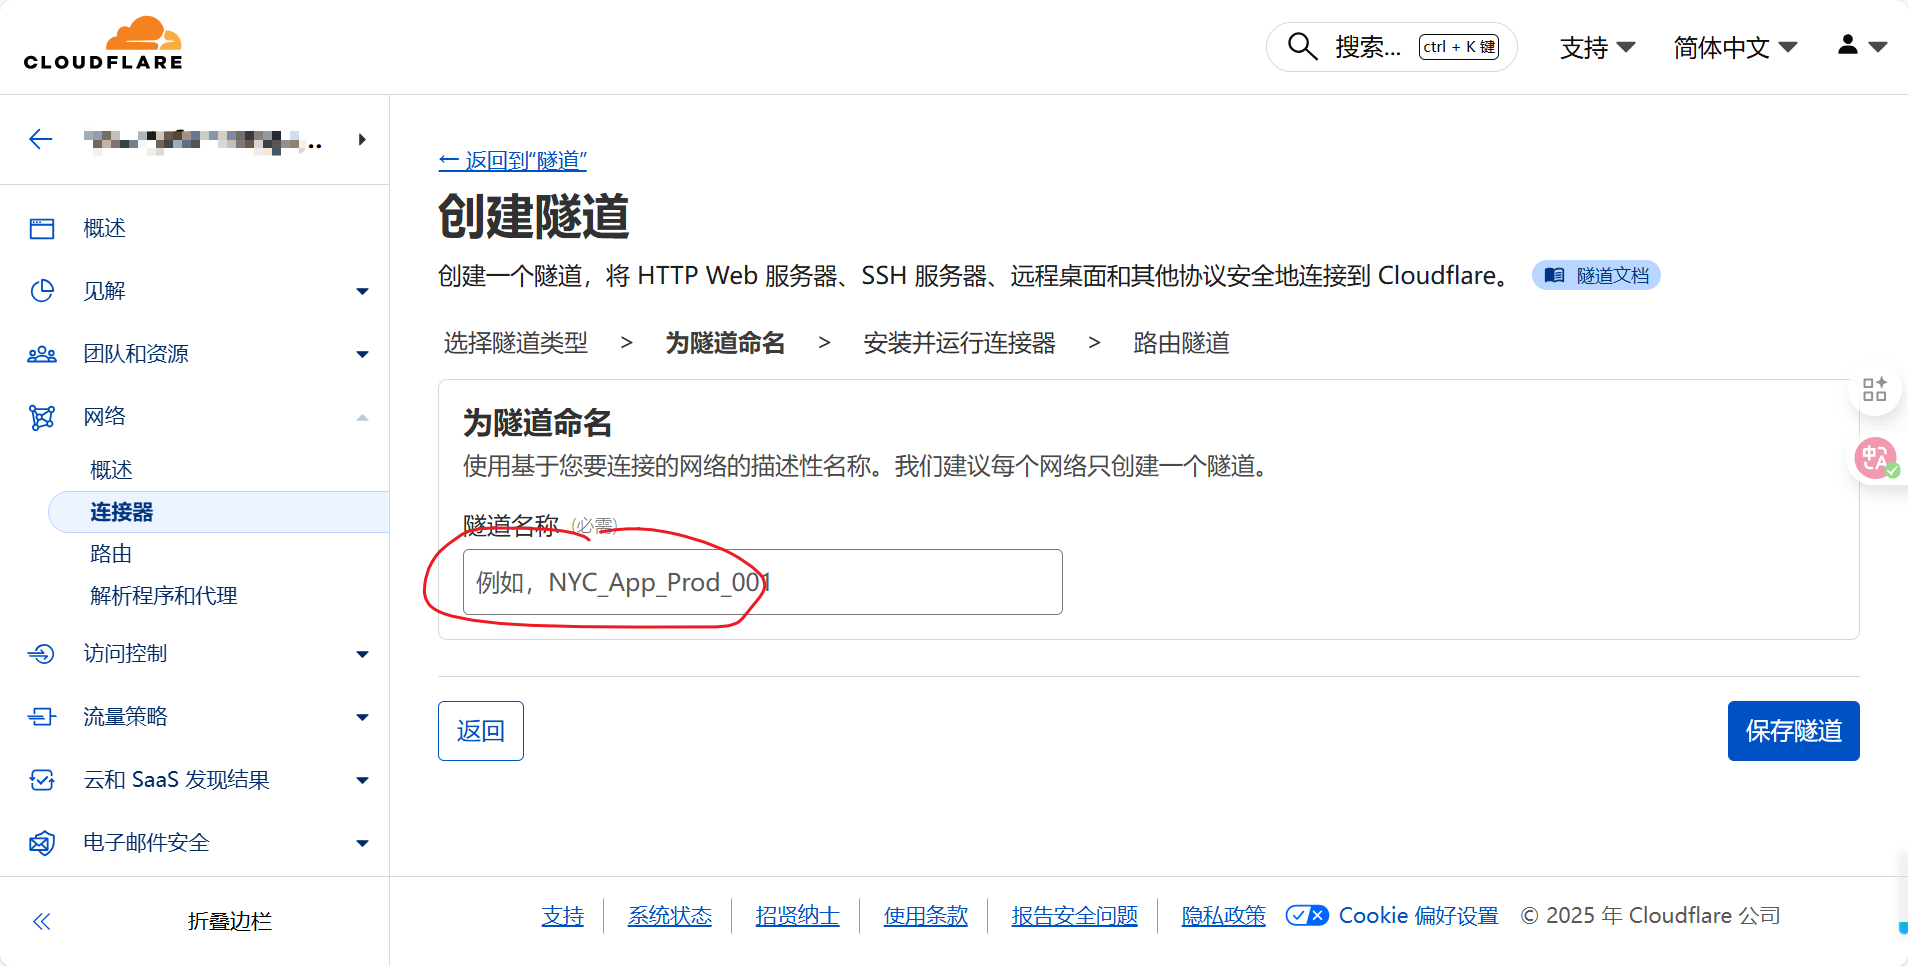
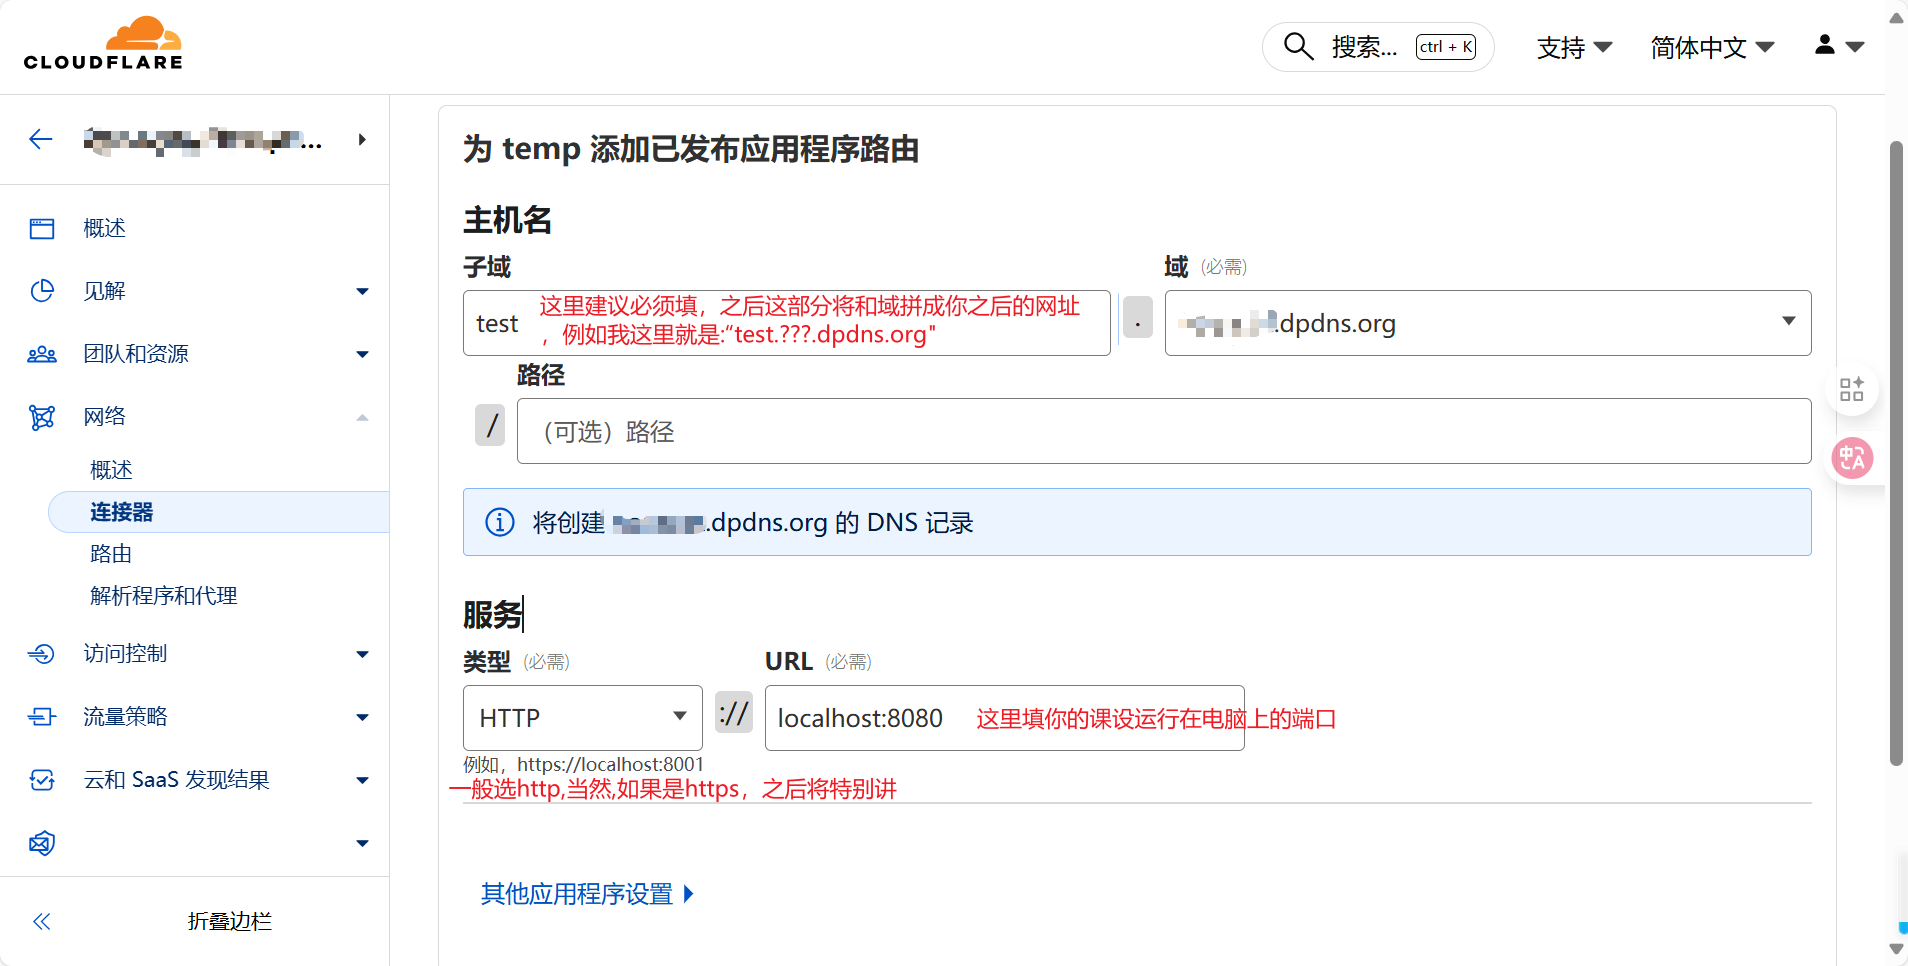
按如图一步一步操作:


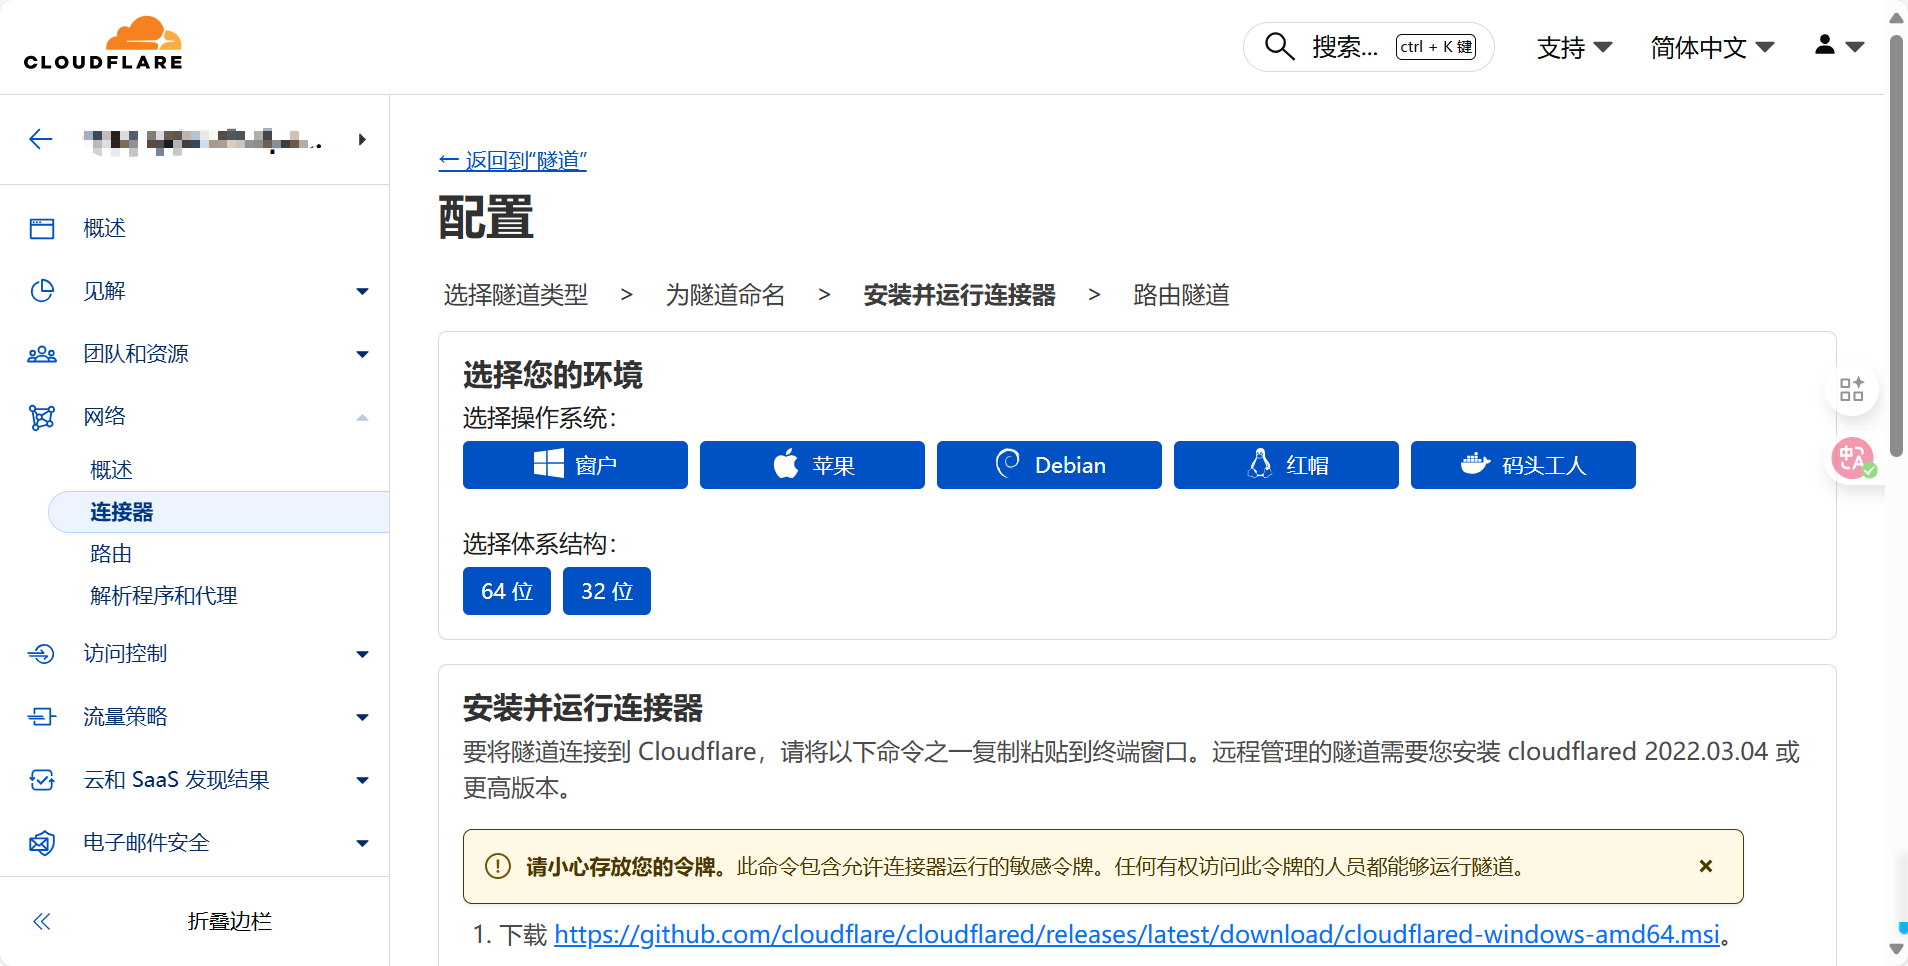
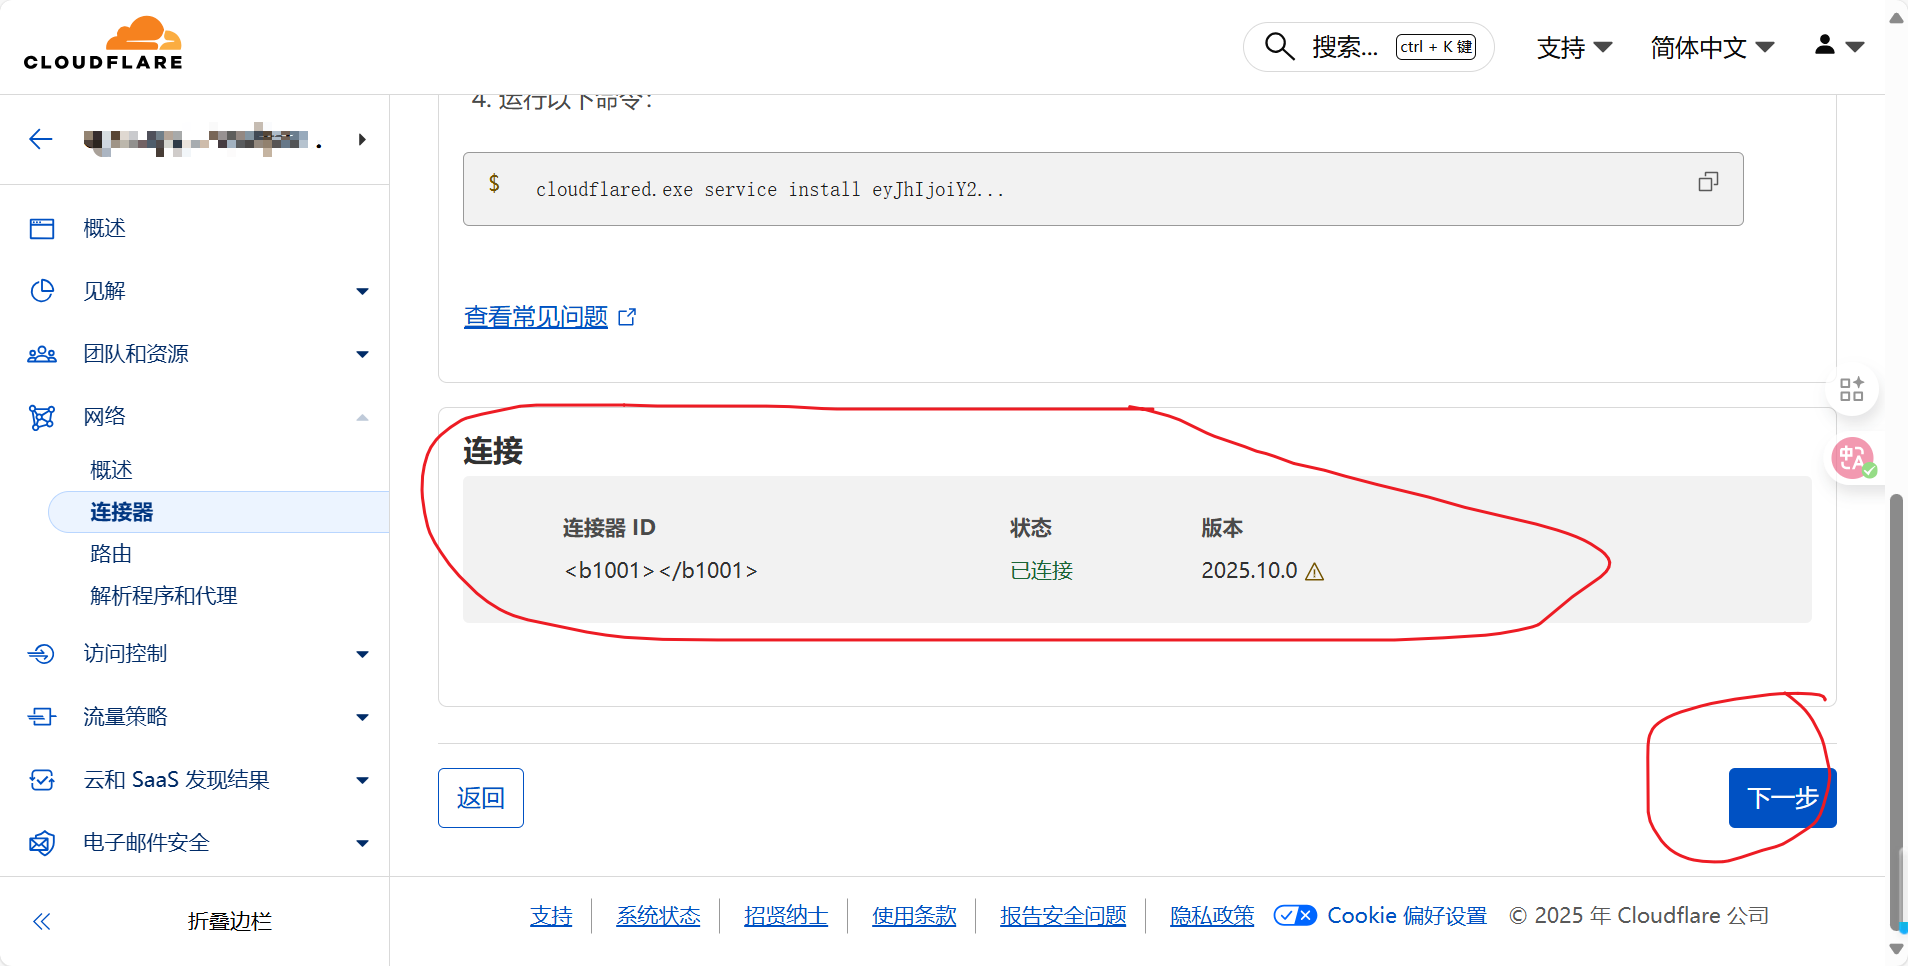
这里安装教程选择合适的安装方法,记得执行指令是需要管理员权限:
连接成功后就可以在下方看到相应的连接:
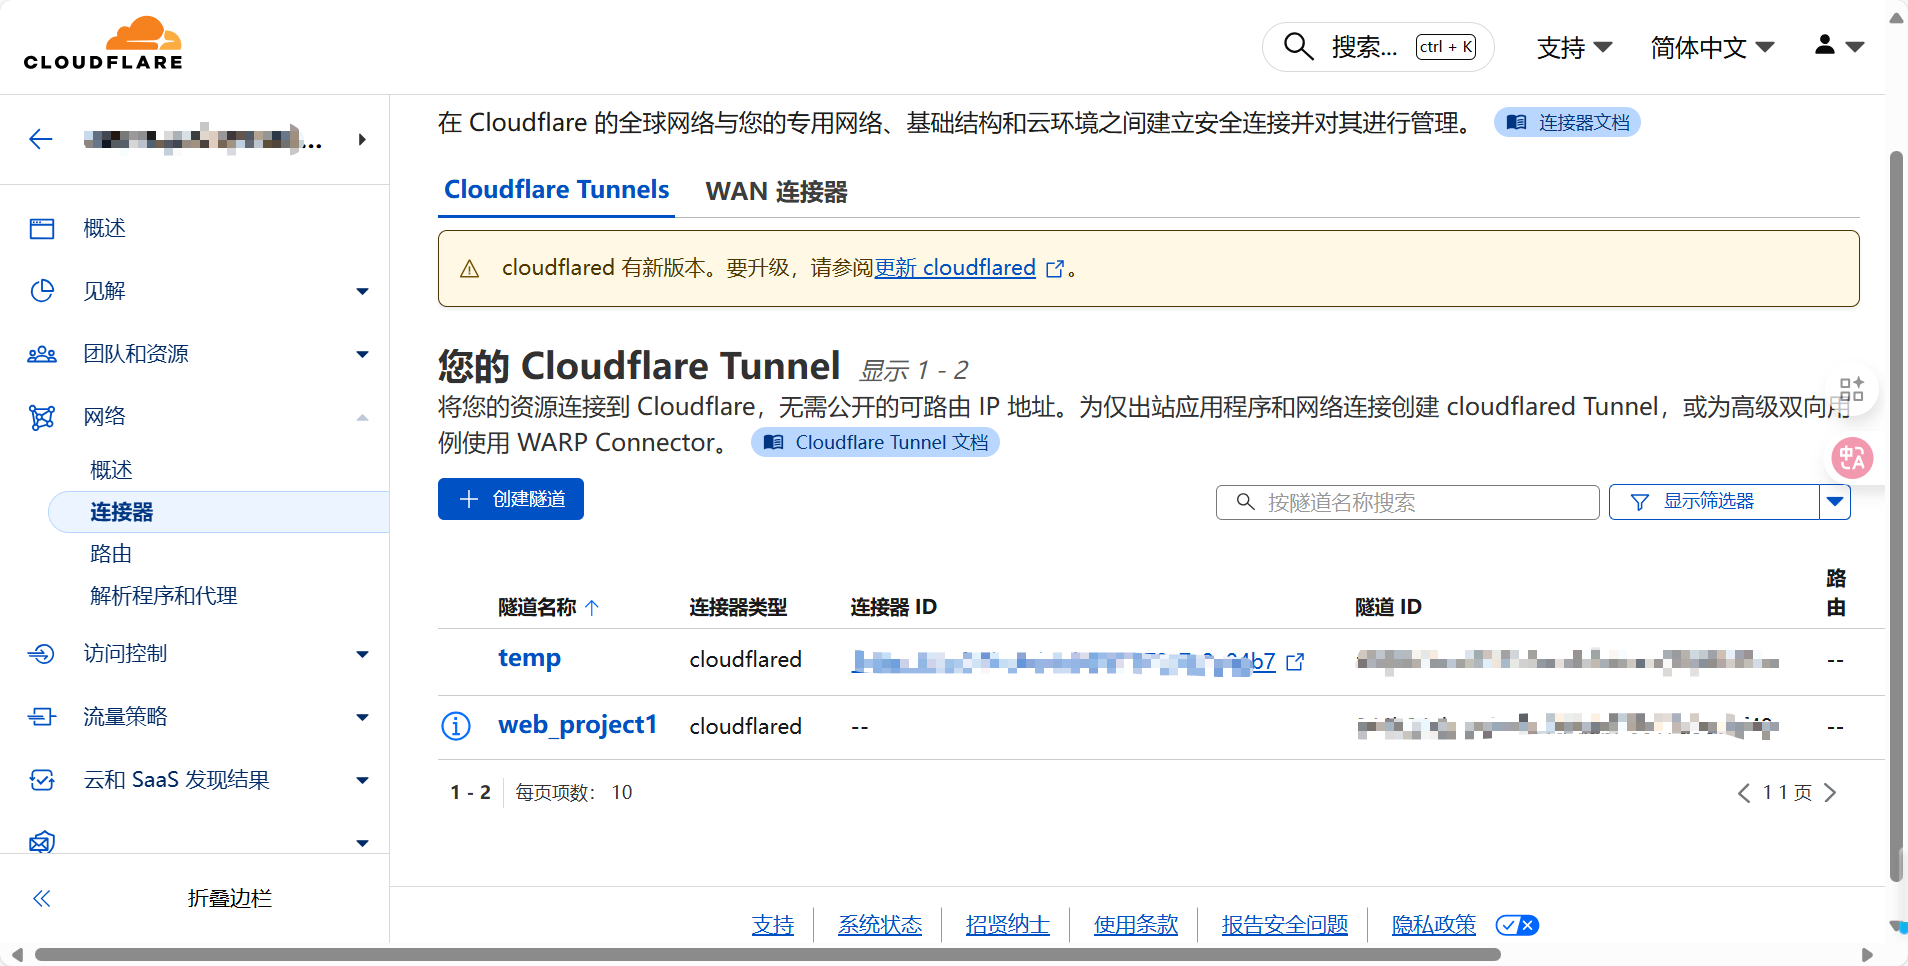
之后便可以在这看到你新建的隧道了:
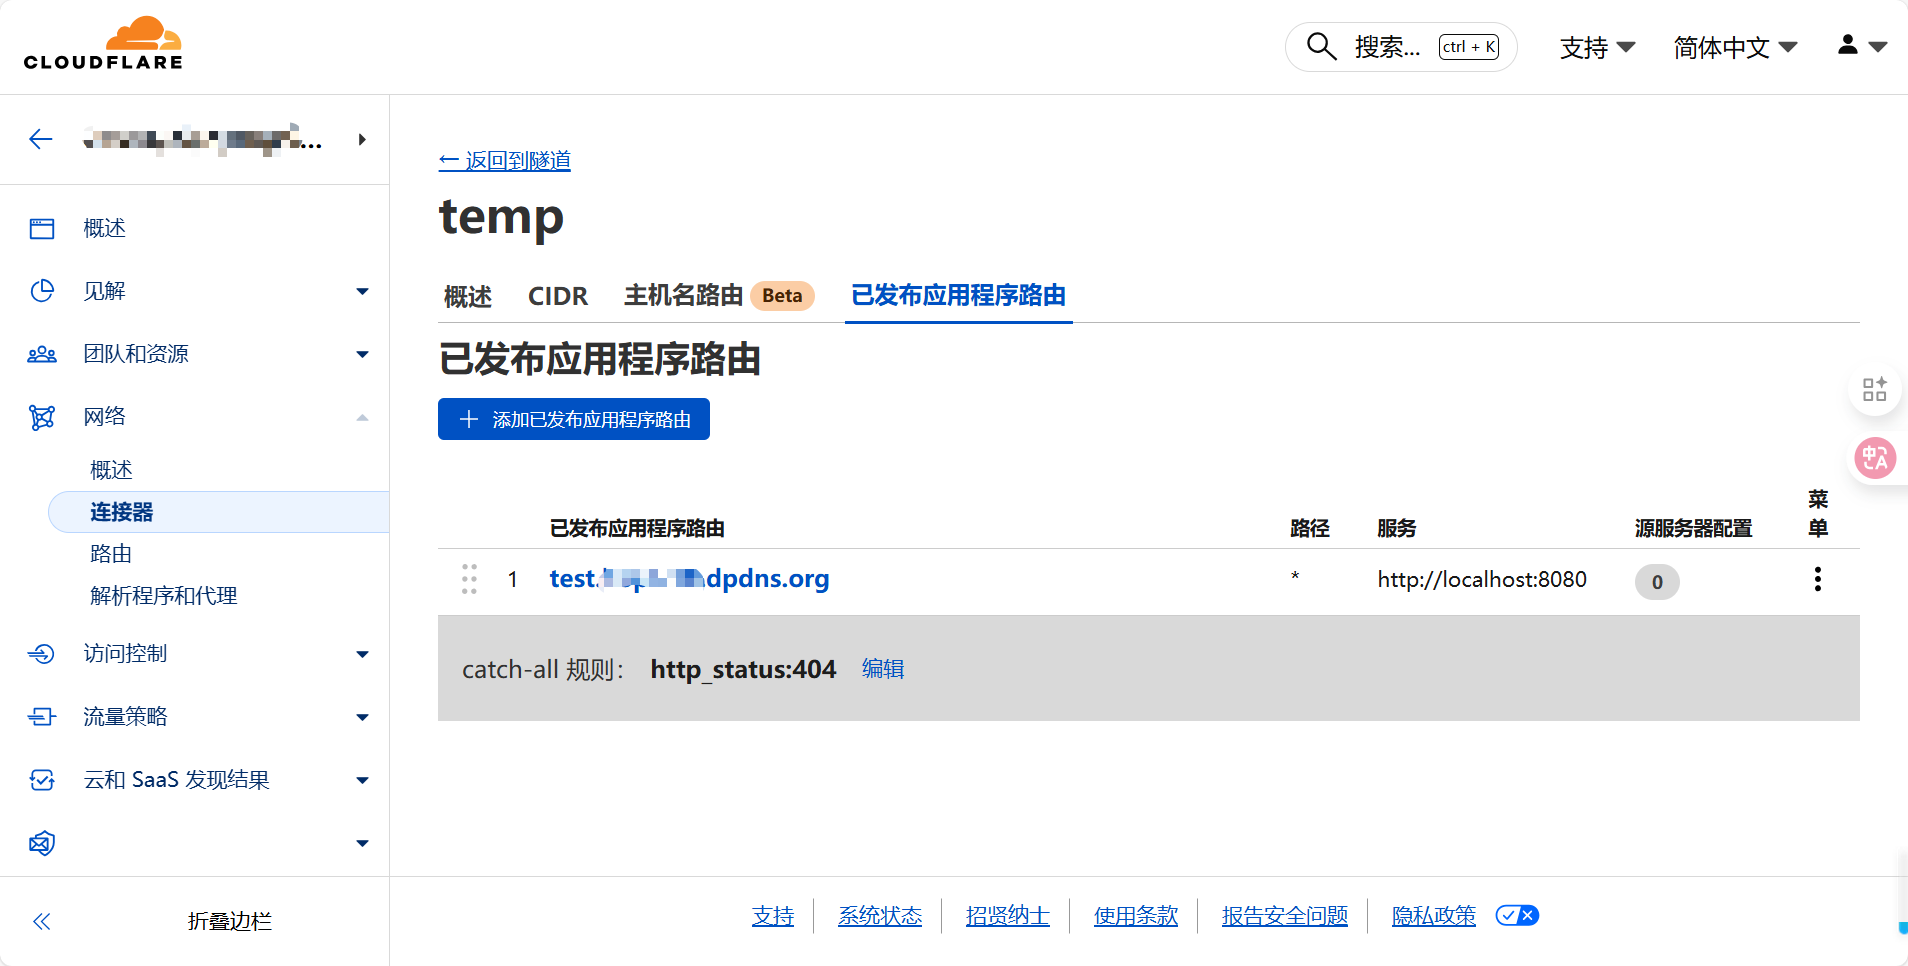
一个隧道可以为同一台电脑多个应用提供服务,你可以进入你的隧道编辑页面,找到如下新增其他应用:
如果你的本地应用使用了上期所说的自签名证书,那么你需要在本地做如下操作:
首先下载cloudflare本地应用:
下载链接![]() https://github.com/cloudflare/cloudflared/releases/latest/download/cloudflared-windows-amd64.msi登录你的cloudflare的账号:
https://github.com/cloudflare/cloudflared/releases/latest/download/cloudflared-windows-amd64.msi登录你的cloudflare的账号:
bash
# 打开 PowerShell 或命令提示符 (以管理员身份运行)
cloudflared tunnel login
创建隧道,记住之后出现的隧道id:
bash
# 创建隧道
cloudflared tunnel create 你的隧道名

# 成功后会显示类似:
# Tunnel created with id: xxxxxxxx-xxxx-xxxx-xxxx-xxxxxxxxxxxx
# 记下这个隧道ID
在 C:\Users\<你的用户名>\.cloudflared\ 目录下创建 config.yml 文件
bash
tunnel: 上一步让你记下的隧道id
credentials-file: C:\Users\<你的用户名>\.cloudflared\上一步让你记下的隧道id.json

ingress:
  # 前端 Vue 应用规则
  - hostname: 你的子域名+域名 # 例如: test.example.dpdns.org
    service: https://localhost:8080
    originRequest:
      noTLSVerify: true  # 跳过自签名证书验证
      disableChunkedEncoding: true

  # 后端 SpringBoot API 规则
  - hostname: 你的子域名+域名 # 例如: test.example.dpdns.org
    service: https://localhost:8081
    originRequest:
      noTLSVerify: true
      disableChunkedEncoding: true

  # 默认回退规则
  - service: http_status:404
为你的子域名配置DNS记录:
bash
# 为前端创建 DNS 记录
cloudflared tunnel route dns 你的隧道名 你前端的子域名+域名

# 为后端创建 DNS 记录
cloudflared tunnel route dns 你的隧道名 你后端的子域名+域名
之后如果需要运行,直接执行如下语句就可以开启服务:
bash
cloudflared tunnel --config C:\Users\<你的用户名>\.cloudflared\config.yml run hope-tunnel如果需要结束直接Crtl加C就可以停止。