这就是我们在做项目时最常见的需求变更:"从单页面应用(SPA)进化为后台管理系统架构"。
要做这个功能,我们需要引入一个非常核心的前端架构概念:嵌套路由 (Nested Routes)。
🏠 架构重构思路(后端视角的解释)
之前的 HomeView.vue 只是一个单纯的页面。现在我们要把它升级成一个 "母版页" (Master Page / Layout)。
- Layout (原 HomeView):负责画侧边栏、顶栏、底栏。这部分是不变的。
- Content (变化区) :中间那块白色的区域,挖个坑(
<router-view>),根据菜单点击,动态填入"工作台"或"用户管理"的内容。
我们分四步走,稳得很。
🧱 第一步:创建两个新页面 (View层)
先把要展示的内容画出来。我们需要两个组件:
- DashboardView.vue: 原来的欢迎页(工作台)。
- UserView.vue: 新的用户管理页(表格)。
在 src/views 目录下新建这两个文件。
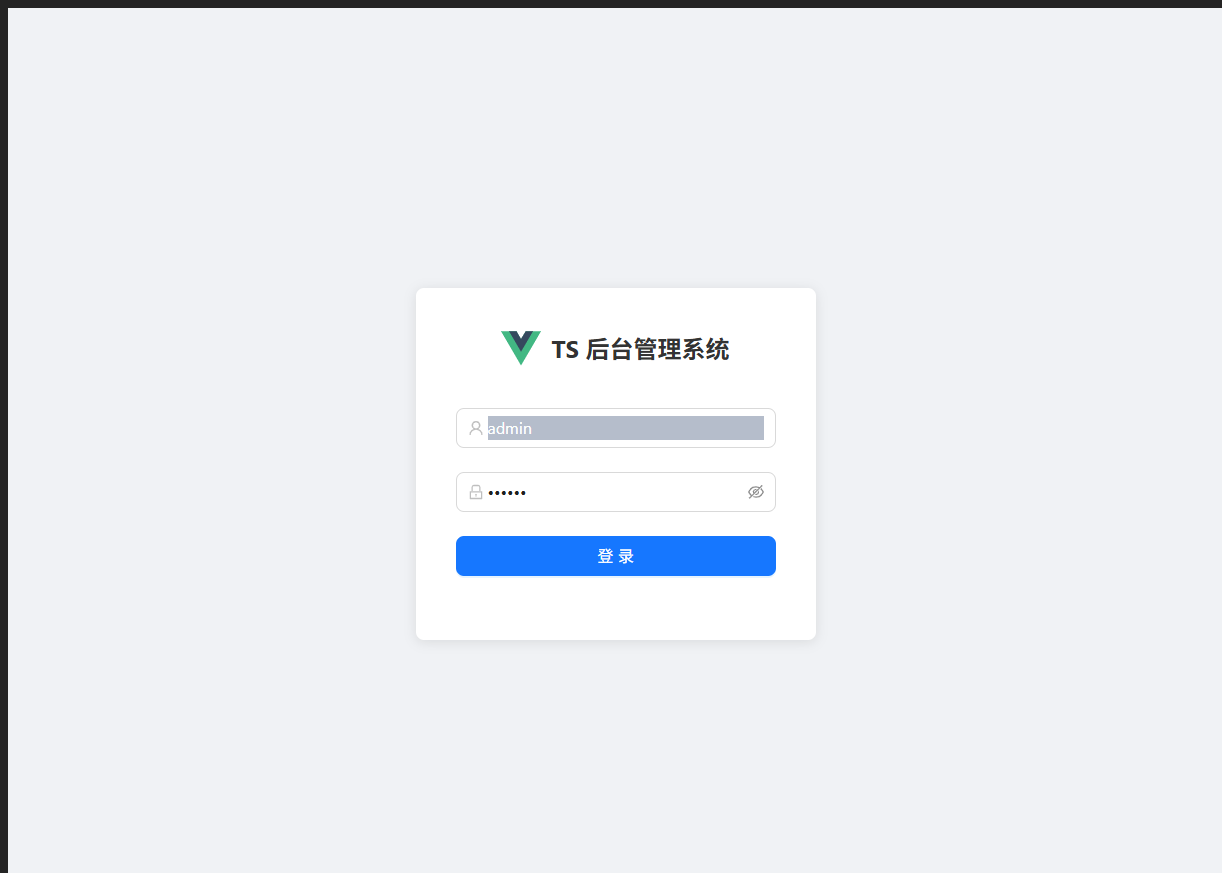
1. src/views/DashboardView.vue (原来的欢迎内容移到这里)
<script setup lang="ts">
import { useUserStore } from '@/stores/userStore';
const userStore = useUserStore();
</script>

<template>
  <a-result
    status="success"
    title="登录成功!"
    :sub-title="`欢迎回来,您的 Token 是:${userStore.token}`"
  >
    <template #extra>
      <a-button key="console" type="primary">去写 Bug</a-button>
      <a-button key="buy">去修 Bug</a-button>
    </template>
  </a-result>
</template>
2. src/views/UserView.vue (新的用户列表页)
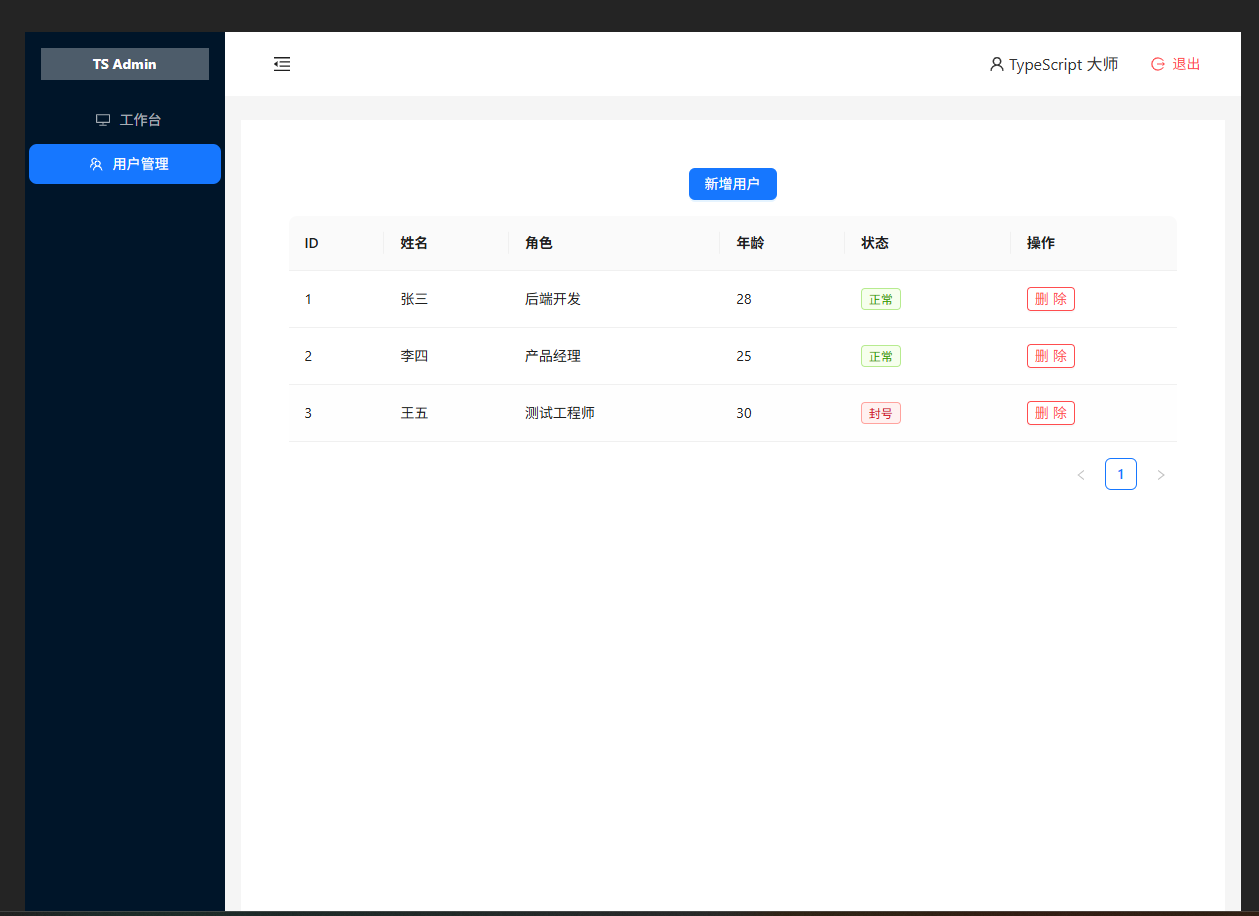
这里我们要用 Ant Design 最强大的组件:Table。它自带分页、表头,非常有排面。
<script setup lang="ts">
import { reactive, ref } from 'vue';
import { message } from 'ant-design-vue';

// 1. 定义用户数据的 DTO (接口)
interface UserItem {
  id: number;
  name: string;
  role: string;
  age: number;
  status: 'active' | 'banned';
}

// 2. 模拟表格列定义 (相当于数据库字段)
const columns = [
  { title: 'ID', dataIndex: 'id', key: 'id' },
  { title: '姓名', dataIndex: 'name', key: 'name' },
  { title: '角色', dataIndex: 'role', key: 'role' },
  { title: '年龄', dataIndex: 'age', key: 'age' },
  { title: '状态', dataIndex: 'status', key: 'status' },
  { title: '操作', key: 'action' }, // 操作列
];

// 3. 模拟一些数据 (真实场景是从 API 获取)
const userList = ref<UserItem[]>([
  { id: 1, name: '张三', role: '后端开发', age: 28, status: 'active' },
  { id: 2, name: '李四', role: '产品经理', age: 25, status: 'active' },
  { id: 3, name: '王五', role: '测试工程师', age: 30, status: 'banned' },
]);

// 4. 删除逻辑
const handleDelete = (id: number) => {
  // 过滤掉被删除的 ID
  userList.value = userList.value.filter(item => item.id !== id);
  message.success('删库跑路成功!');
};
</script>

<template>
  <div class="user-page">
    <div class="toolbar">
      <a-button type="primary">新增用户</a-button>
    </div>

    <!-- dataSource: 数据源, columns: 列定义 -->
    <a-table :dataSource="userList" :columns="columns" rowKey="id">

      <!-- 自定义状态列的显示 (插槽) -->
      <template #bodyCell="{ column, record }">

        <!-- 如果是状态列,显示成标签 -->
        <template v-if="column.key === 'status'">
          <a-tag :color="record.status === 'active' ? 'green' : 'red'">
            {{ record.status === 'active' ? '正常' : '封号' }}
          </a-tag>
        </template>

        <!-- 如果是操作列,显示按钮 -->
        <template v-else-if="column.key === 'action'">
          <a-button danger size="small" @click="handleDelete(record.id)">删除</a-button>
        </template>

      </template>
    </a-table>
  </div>
</template>

<style scoped>
.user-page {
  background: white;
  padding: 24px;
  border-radius: 8px;
}
.toolbar {
  margin-bottom: 16px;
}
</style>
🗺️ 第二步:配置嵌套路由 (Router层)
现在要告诉路由器:HomeView 是个框,Dashboard 和 User 都要往这个框里装。
修改 src/router/index.ts:
import { createRouter, createWebHistory } from 'vue-router';
import type { RouteRecordRaw } from 'vue-router';

import LoginView from '../views/LoginView.vue';
import HomeView from '../views/HomeView.vue'; // 它是布局容器
// 引入刚才建的两个新页面
import DashboardView from '../views/DashboardView.vue';
import UserView from '../views/UserView.vue';

const routes: Array<RouteRecordRaw> = [
  {
    path: '/login',
    name: 'login',
    component: LoginView,
  },
  {
    path: '/',
    name: 'layout',
    component: HomeView, // 父路由:加载布局框架
    redirect: '/dashboard', // 默认跳到工作台
    meta: { requiresAuth: true }, // 整个后台都需要登录

    // --- 核心变化:子路由 (children) ---
    children: [
      {
        path: '/dashboard', // 访问 /dashboard 时
        name: 'dashboard',
        component: DashboardView // 放到 HomeView 的 <router-view> 里
      },
      {
        path: '/user',     // 访问 /user 时
        name: 'user',
        component: UserView
      }
    ]
  },
];

const router = createRouter({
  history: createWebHistory(import.meta.env.BASE_URL),
  routes,
});

// ... (保持之前的路由守卫代码不变)

export default router;
🏠 第三步:改造 HomeView (Layout层)
把 HomeView.vue 里的具体业务内容挖空,换成"插座" <router-view />。同时给侧边栏加个链接。
修改 src/views/HomeView.vue:
<script setup lang="ts">
import { useRouter, useRoute } from 'vue-router';
import { useUserStore } from '@/stores/userStore';
import {
  LogoutOutlined,
  UserOutlined,
  DesktopOutlined, // 换个图标代表工作台
  TeamOutlined,    // 加个图标代表用户管理
  MenuUnfoldOutlined,
  MenuFoldOutlined
} from '@ant-design/icons-vue';
import { message, Modal } from 'ant-design-vue';
import { ref, watch } from 'vue';

const router = useRouter();
const route = useRoute(); // 获取当前路由信息,用于菜单高亮
const userStore = useUserStore();
const collapsed = ref<boolean>(false);

// 控制菜单选中状态 (根据当前 URL 自动选中)
const selectedKeys = ref<string[]>(['dashboard']);

// 监听路由变化,路由变了,菜单高亮也要变
watch(() => route.path, (newPath) => {
  if (newPath.includes('/user')) {
    selectedKeys.value = ['user'];
  } else {
    selectedKeys.value = ['dashboard'];
  }
}, { immediate: true });

// 菜单点击跳转
const handleMenuClick = ({ key }: { key: string }) => {
  router.push(`/${key}`);
};

const handleLogout = () => {
  Modal.confirm({
    title: '确认退出',
    content: '这就下班了?',
    onOk() {
      localStorage.removeItem('token');
      userStore.token = '';
      router.replace('/login');
    }
  });
};
</script>

<template>
  <a-layout class="layout-container">
    <a-layout-sider v-model:collapsed="collapsed" :trigger="null" collapsible>
      <div class="logo">TS Admin</div>

      <!-- 菜单区域 -->
      <a-menu
        theme="dark"
        mode="inline"
        v-model:selectedKeys="selectedKeys"
        @click="handleMenuClick"
      >
        <!-- 菜单项 1 -->
        <a-menu-item key="dashboard">
          <desktop-outlined />
          <span>工作台</span>
        </a-menu-item>

        <!-- 菜单项 2 -->
        <a-menu-item key="user">
          <team-outlined />
          <span>用户管理</span>
        </a-menu-item>
      </a-menu>
    </a-layout-sider>

    <a-layout>
      <a-layout-header style="background: #fff; padding: 0 24px; display: flex; justify-content: space-between; align-items: center;">
        <component
          :is="collapsed ? MenuUnfoldOutlined : MenuFoldOutlined"
          class="trigger"
          @click="() => (collapsed = !collapsed)"
        />
        <div class="header-right">
          <span class="user-name">
            <UserOutlined /> {{ userStore.userInfo?.realName || '管理员' }}
          </span>
          <a-button type="text" danger @click="handleLogout">
            <template #icon><LogoutOutlined /></template>
            退出
          </a-button>
        </div>
      </a-layout-header>

      <a-layout-content :style="{ margin: '24px 16px', minHeight: '280px' }">

        <!--
          重要!这里就是"挖的坑"。
          子路由 (DashboardView 或 UserView) 会显示在这里
        -->
        <router-view />

      </a-layout-content>
    </a-layout>
  </a-layout>
</template>

<style scoped>
/* 样式保持不变,复用之前的 */
.layout-container { height: 100%; width: 100%; display: flex; }
.logo { height: 32px; background: rgba(255, 255, 255, 0.3); margin: 16px; color: white; text-align: center; line-height: 32px; font-weight: bold; overflow: hidden; white-space: nowrap; }
.trigger { font-size: 18px; line-height: 64px; cursor: pointer; transition: color 0.3s; }
.trigger:hover { color: #1890ff; }
.header-right { display: flex; align-items: center; gap: 16px; }
</style>
🚀 第四步:启动测试
- 保存所有文件。
- 浏览器访问
http://localhost:5173/。 - 登录进去。
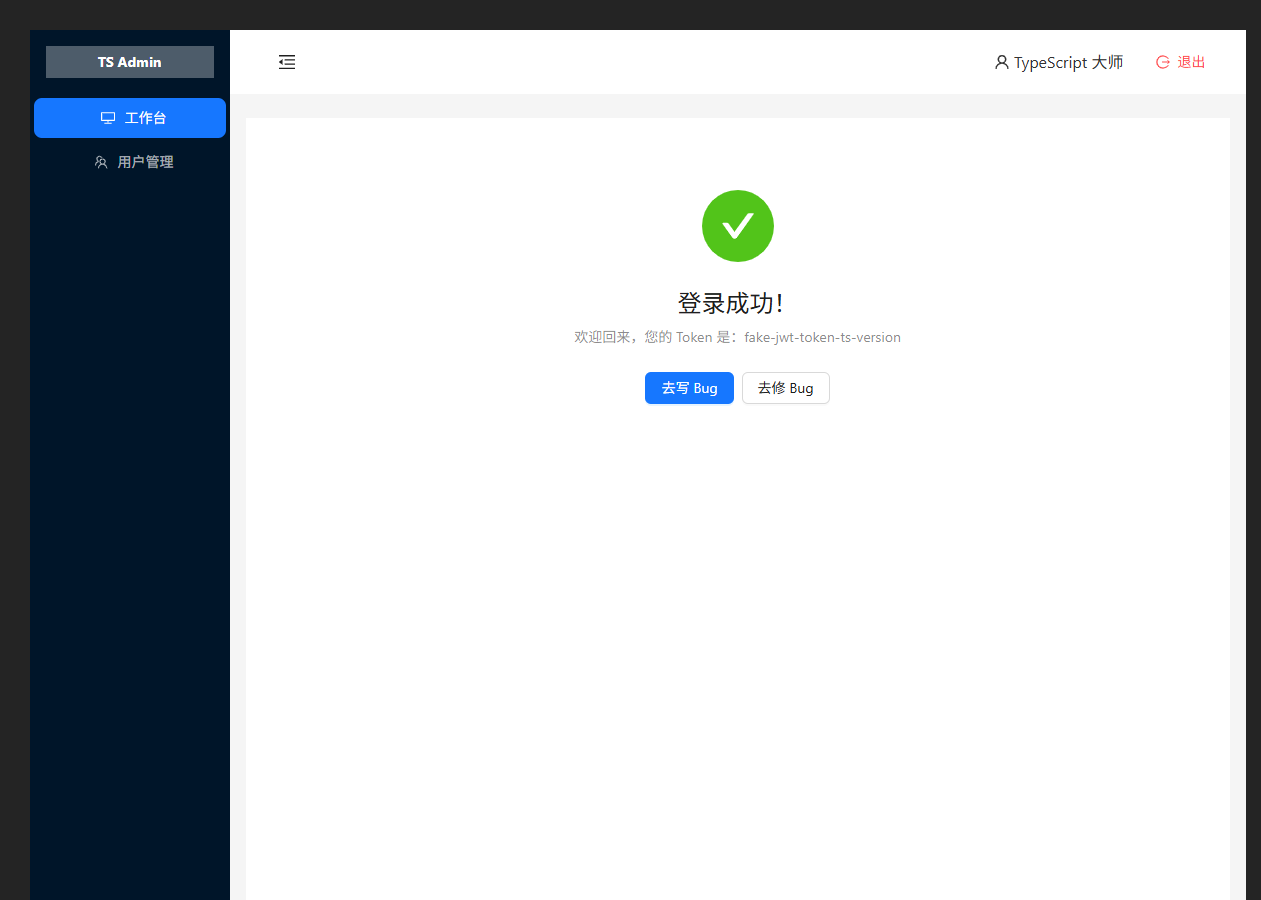
- 你会发现默认显示的是 "工作台"(DashboardView)。
- 点击左侧侧边栏的 "用户管理"。
- 神奇的事情发生了:侧边栏和顶栏不动,只有中间的内容变成了一个漂亮的表格,里面有张三、李四。
- 点击表格右侧红色的 "删除" 按钮,数据行消失,弹出提示。
🎓 后端视角的总结
- DashboardView / UserView : 这就是你在 JSP 里写的那些局部页面 (
include)。 - HomeView : 这就是
Site.Master或者Layout.html,它定义了骨架。 - Router Children : 这就是 Spring MVC 里的路由分发,
/转给 Layout,/user转给 Layout 里的 User 模块。
恭喜你,你现在已经搭建好了一个标准的后台管理系统框架 !在这个基础上,以后你要加"订单管理"、"商品管理",只需要重复 第一步(建页面) 和 第二步(配路由) 即可。简单不?😎
实操: