实验目的
-
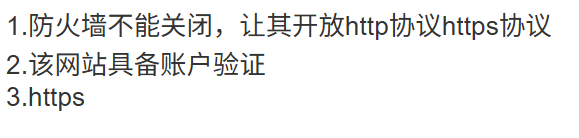
配置Nginx服务器支持HTTPS访问
-
实现HTTP到HTTPS的自动重定向
-
配置基本的HTTP认证功能
-
配置防火墙开放相应端口
且
实验步骤
1、创建SSL证书和密钥
命令
bash
openssl req -x509 -nodes -days 365 -newkey rsa:2048 -keyout lyh.key -out lyh.crt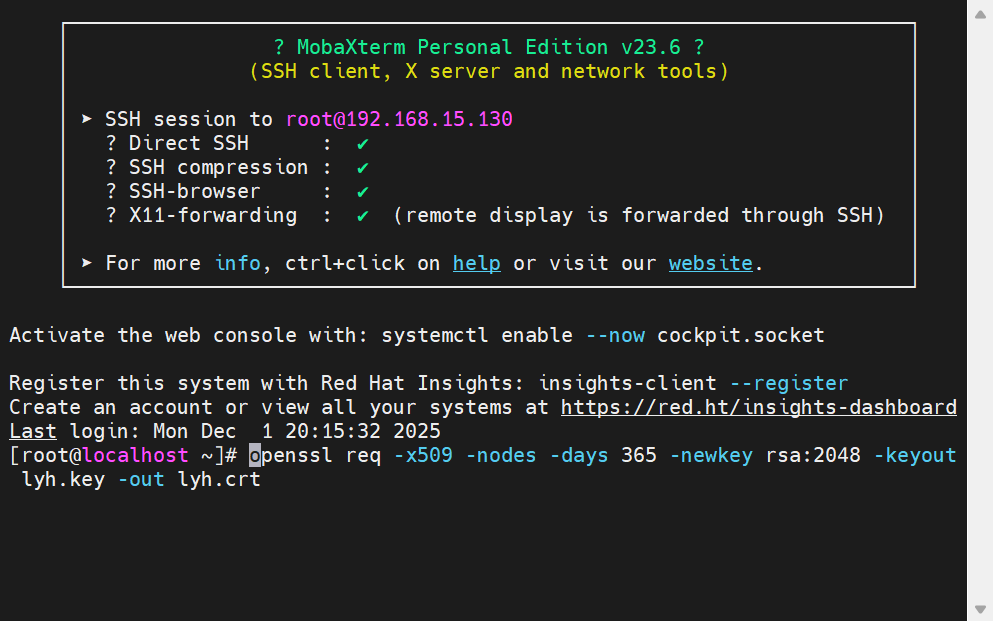
openssl 是一个强大的加密工具包
req 表示创建或处理证书请求
-x509 说明我们要创建自签名证书,不需要CA签名
-nodes 表示生成的私钥不加密,这样Nginx读取时就不需要密码
-days 365 设置证书有效期为365天,也就是一年
-newkey rsa:2048 同时生成新的证书请求和2048位RSA私钥
-keyout lyh.key 指定私钥文件的保存路径和名称
-out lyh.crt 指定证书文件的保存路径和名称
2. 创建密码文件用于HTTP认证
在当前目录创建密码文件,用户名为admin,密码为admin123
bash
echo "admin:`openssl passwd -apr1 admin123`" > passwd验证密码文件是否成功创建
bash
cat passwd3. 将密码文件复制到Nginx配置目录并设置权限
将密码文件复制到/etc/nginx/passwd
bash
cp passwd /etc/nginx/passwd设置密码文件权限为644
bash
chmod 644 /etc/nginx/passwd验证密码文件是否成功复制
bash
ls -la /etc/nginx/passwd4. 创建完整的Nginx HTTPS配置文件
创建文件:nginx_https.conf,内容如下:
bash
user nginx;
worker_processes auto;
error_log /var/log/nginx/error.log;
pid /run/nginx.pid;

include /usr/share/nginx/modules/*.conf;

events {
    worker_connections 1024;
}

http {
    log_format  main  '$remote_addr - $remote_user [$time_local] "$request" '
                      '$status $body_bytes_sent "$http_referer" '
                      '"$http_user_agent" "$http_x_forwarded_for"';

    access_log  /var/log/nginx/access.log  main;

    sendfile            on;
    tcp_nopush          on;
    tcp_nodelay         on;
    keepalive_timeout   65;
    types_hash_max_size 2048;

    include             /etc/nginx/mime.types;
    default_type        application/octet-stream;

    # Load modular configuration files from the /etc/nginx/conf.d directory.
    # See http://nginx.org/en/docs/ngx_core_module.html#include
    # for more information.
    include /etc/nginx/conf.d/*.conf;

    server {
        listen       80;
        server_name  _;
        root         /usr/share/nginx/html;

        # Load configuration files for the default server block.
        include /etc/nginx/default.d/*.conf;

        location / {
        }

        error_page 404 /404.html;
            location = /40x.html {
        }

        error_page 500 502 503 504 /50x.html;
            location = /50x.html {
        }
    }

    # HTTPS server configuration
    server {
        listen 443 ssl http2;
        server_name www.haqimi.com www.manbo.com;
        root /usr/share/nginx/html;

        # SSL certificate configuration
        ssl_certificate /etc/nginx/ssl/lyh.crt;
        ssl_certificate_key /etc/nginx/ssl/lyh.key;

        # SSL protocol and cipher configuration
        ssl_protocols TLSv1.2 TLSv1.3;
        ssl_prefer_server_ciphers on;
        ssl_ciphers "ECDHE-RSA-AES128-GCM-SHA256:ECDHE-RSA-AES256-GCM-SHA384:ECDHE-RSA-CHACHA20-POLY1305";
        ssl_session_cache shared:SSL:1m;
        ssl_session_timeout 10m;

        # HTTP Basic Authentication
        auth_basic "input your passwd";
        auth_basic_user_file /etc/nginx/passwd;

        location / {
            index index.html index.htm;
        }
    }

    # HTTP to HTTPS redirect
    server {
        listen 80;
        server_name www.haqimi.com www.manbo.com;
        return 301 https://$host$request_uri;
    }
}
5. 创建SSL证书目录并复制证书文件
创建SSL证书目录
bash
mkdir -p /etc/nginx/ssl复制证书和密钥到SSL目录
bash
cp lyh.crt /etc/nginx/ssl/
cp lyh.key /etc/nginx/ssl/
6.重启Nginx服务且防火墙配置
重启Nginx服务以应用新配置
bash
systemctl restart nginx检查Nginx服务状态
bash
systemctl status nginx测试Nginx配置文件语法是否正确
bash
nginx -t开放80端口(HTTP)
bash
firewall-cmd --add-port=80/tcp开放443端口(HTTPS)
bash
firewall-cmd --add-port=443/tcp重新加载防火墙配置
bash
firewall-cmd --reload验证防火墙规则
bash
firewall-cmd --list-ports7.配置本地域名解析
添加域名解析记录到/etc/hosts
bash
echo "127.0.0.1 www.haqimi.com www.manbo.com" >> /etc/hosts验证域名解析配置
bash
tail -n 5 /etc/hosts验证
简单用命令测试
bash
curl -I http://www.haqimi.com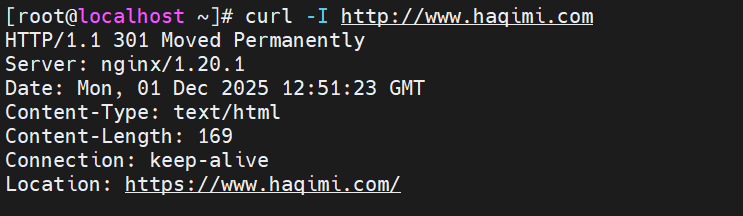
接着用浏览器打开看看
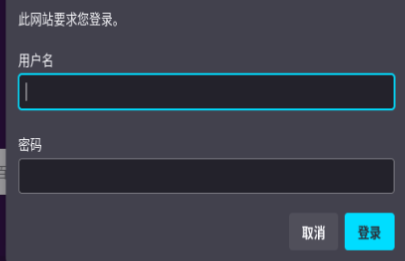
这时候就会弹登陆窗出来,完成验证就证明配置没有问题。