VScode插件为Volar+Vue(Offical),该文章我自己都觉得写的💩💩💩💩💩💩💩💩💩💩💩💩💩💩💩💩💩💩💩💩💩💩💩💩💩💩💩💩💩💩💩💩
Vue Tutorial 快去w3school学习,别看了。
一、项目初始化与配置
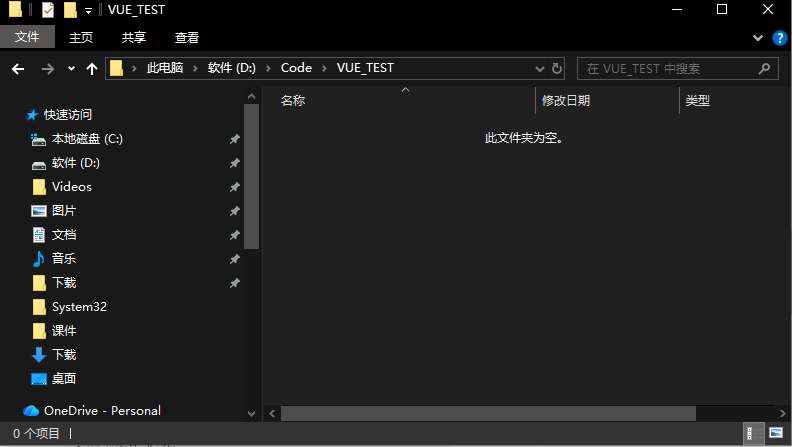
1.创建一个文件夹存放vue项目,并进入cmd
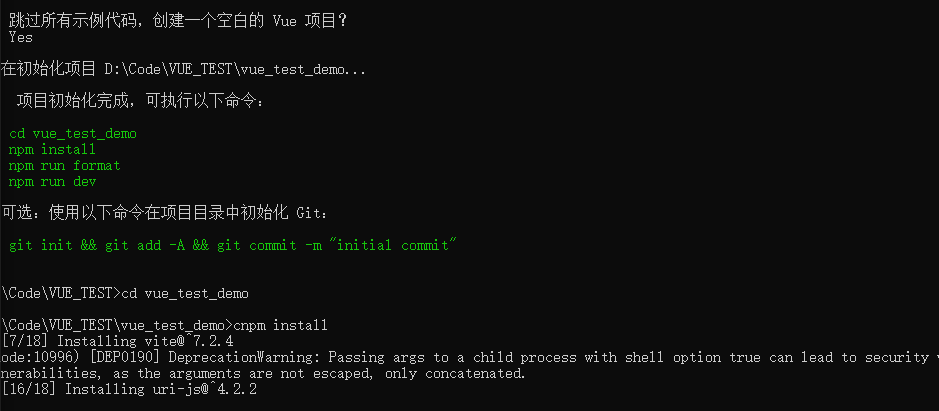
2.输入npm create vue@latest创建项目,我使用的是淘宝镜像所以是cnpm
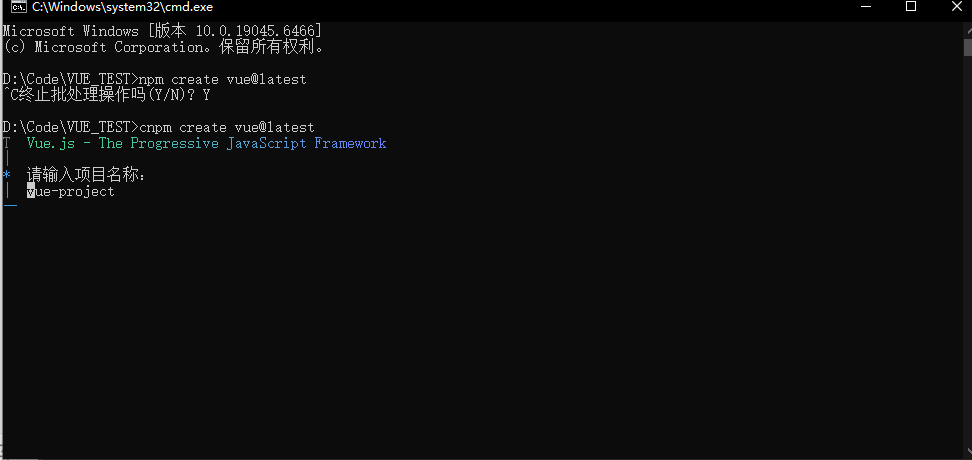
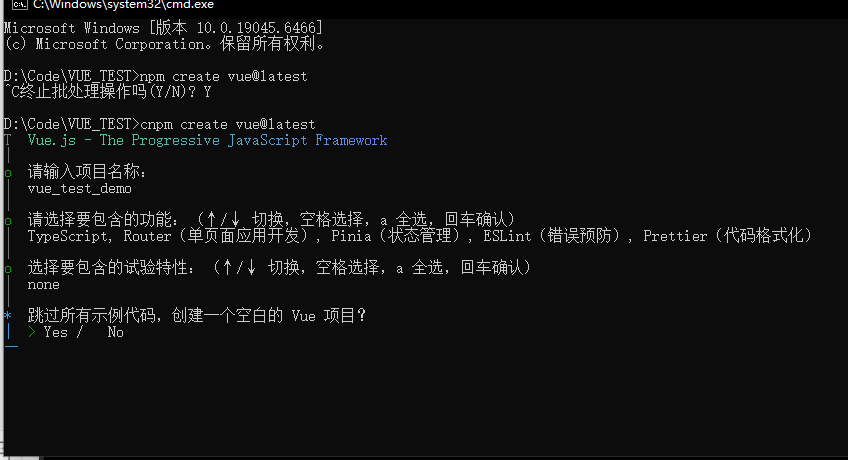
3.输入名字,选择要包含的内容,
使用命令初始化文档
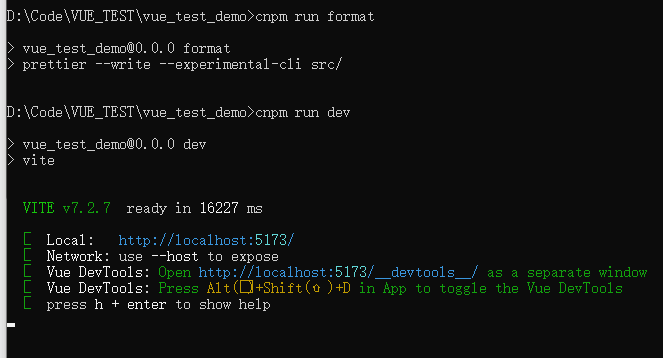
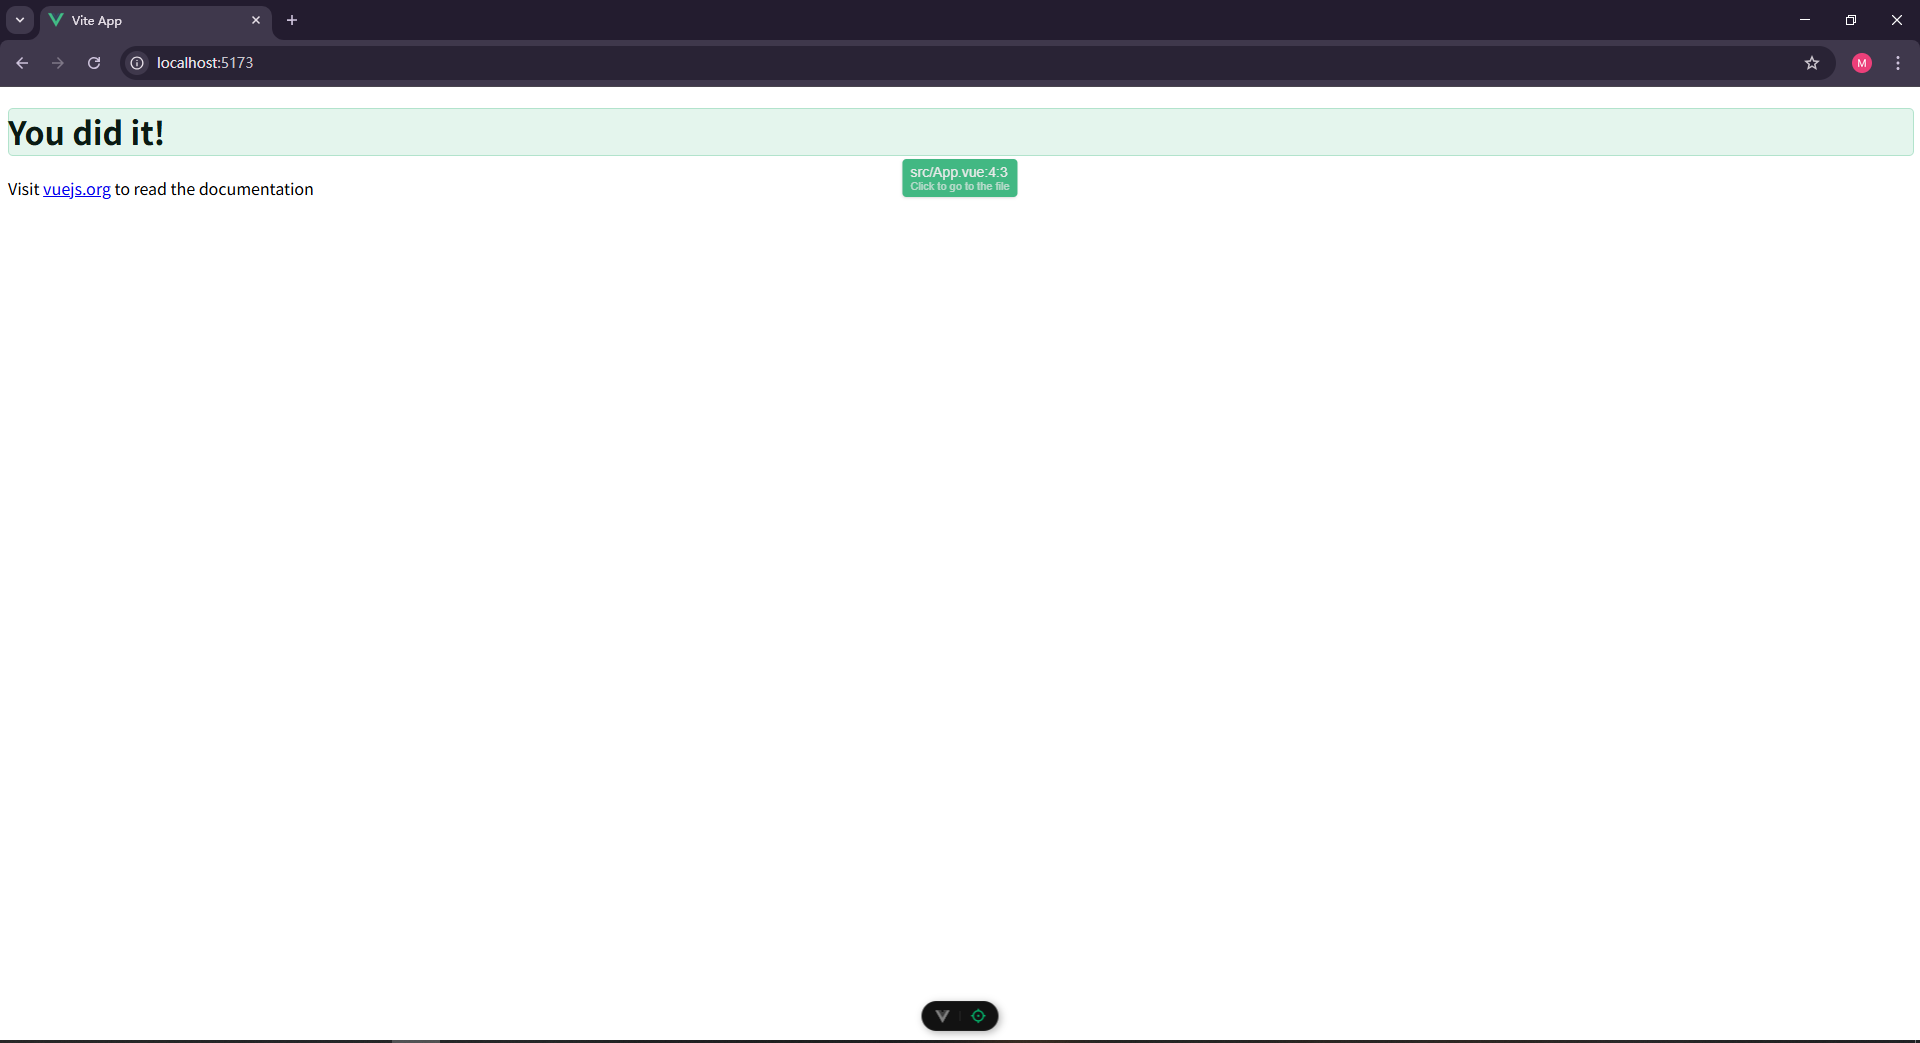
之后就可以访问5173端口的vue页面了
4.配置文件讲解
这是package.json,能够看到整个项目的依赖和脚本配置
{
"name": "vue_test_demo", // 项目名
"version": "0.0.0", // 版本号
"private": true, // 不发布到 npm
"type": "module", // 使用 ES 模块(ESM)
"engines": {
"node": "^20.19.0 || >=22.12.0" // 支持的 Node.js 版本
},
// 脚本
"scripts": {
"dev": "vite", // 启动开发服务器
"build": "run-p type-check build-only", // 并行类型检查 + 构建
"preview": "vite preview", // 预览生产包
"build-only": "vite build", // 仅构建
"type-check": "vue-tsc --build", // TypeScript 类型检查
"lint": "eslint . --fix --cache", // 自动修复代码规范问题
"format": "prettier --write src/" // 格式化代码
},
// 线上构建环境的依赖
"dependencies": {
"vue": "^3.5.25", // Vue 3 核心
"vue-router": "^4.6.3", // 路由
"pinia": "^3.0.4" // 状态管理
},
// 开发阶段的依赖
"devDependencies": {
"vite": "^7.2.4", // 构建工具
"@vitejs/plugin-vue": "^6.0.2", // 支持 .vue 文件
"vue-tsc": "^3.1.5", // Vue + TS 类型检查
"typescript": "~5.9.0", // TS 编译器
"@vue/tsconfig": "^0.8.1", // 官方 TS 配置
"eslint": "^9.39.1", // 代码检查
"@vue/eslint-config-typescript": "^14.6.0", // ESLint + TS 配置
"@vue/eslint-config-prettier": "^10.2.0", // 关闭与 Prettier 冲突的规则
"eslint-plugin-vue": "~10.5.1", // Vue 的 ESLint 规则
"prettier": "3.6.2", // 代码格式化
"npm-run-all2": "^8.0.4", // 并行运行脚本
"vite-plugin-vue-devtools": "^8.0.5", // 开发时集成 Vue DevTools
"@types/node": "^24.10.1", // Node 类型定义
"@tsconfig/node24": "^24.0.3", // Node 24 的 TS 基础配置
"jiti": "^2.6.1" // 运行时模块加载器(用于配置文件等)
}
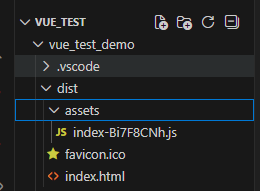
}如果想打包文件,输入npm run build
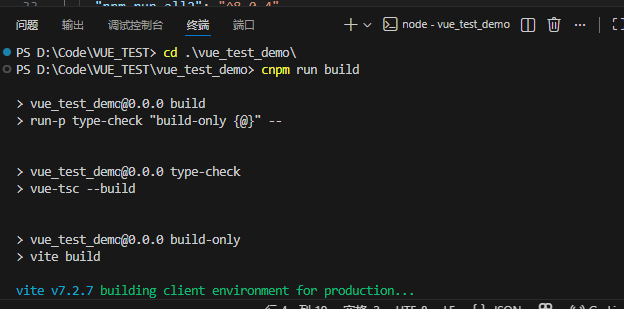
会生成一个dist文件,最终部署在服务器上
npm run preview指令展示打包构建出来的产物
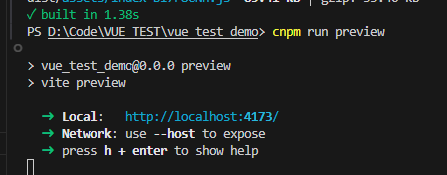
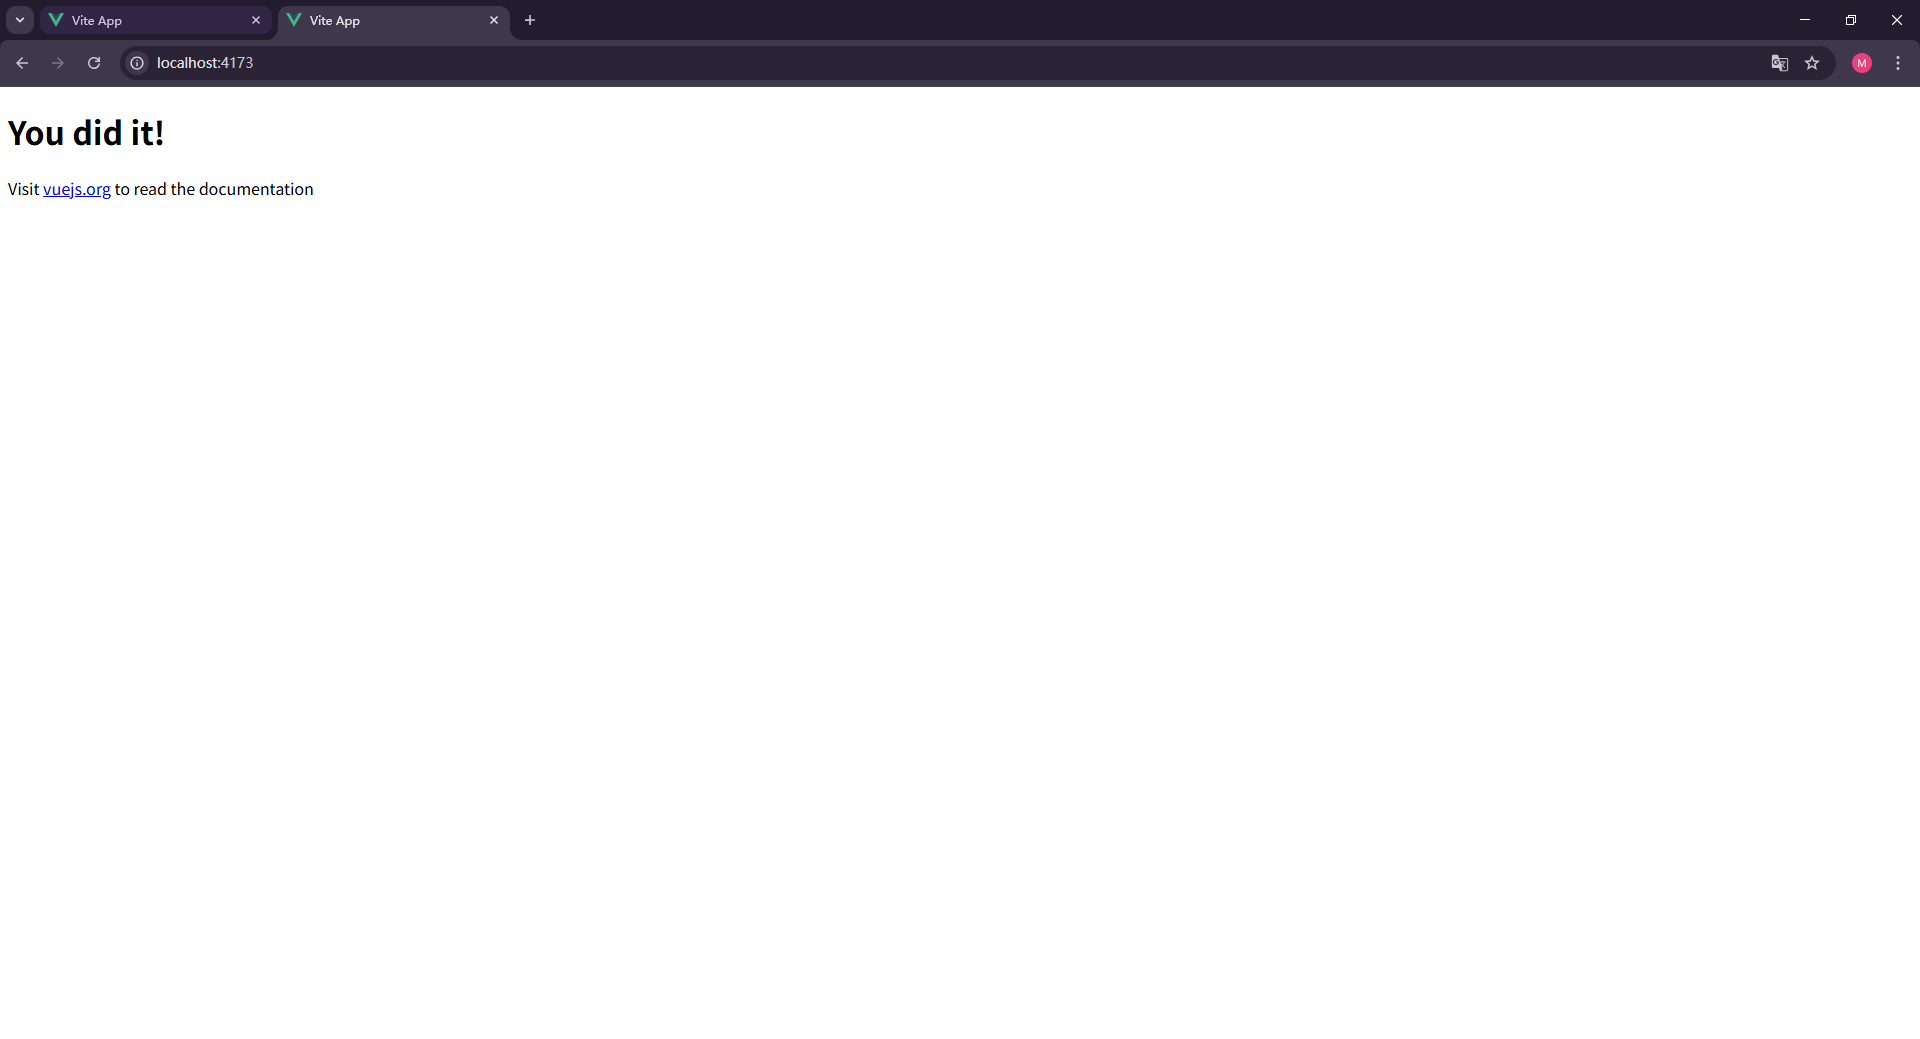
打包构建过的产物,会比开发时性能更好
二、TypeScript基本配置
| 配置文件 | 作用层 | 说明 |
|---|---|---|
tsconfig.app.json |
应用层(重点关注) | 专用于编译你的 Vue 前端应用代码(如 .vue 组件、main.ts 等),支持 Vue 特性,面向浏览器运行环境。 |
tsconfig.json |
项目根层(总入口) | 作为 TypeScript 的默认配置入口,通常不直接定义规则,而是通过 references 引用 app 和 node 配置,让类型检查覆盖整个项目。 |
tsconfig.node.json |
工具/构建层(开发环境) | 用于编译在 Node.js 中运行的代码,比如 vite.config.ts、脚本文件等,不涉及 Vue 组件,面向本地开发工具链。 |
vue的配置项在app.json的@vue/tsconfig/tsconfig.dom.json里的./tsconfig.json
基本类型与高级类型
-
基本类型 :
string、number、boolean、null、undefined -
联合类型与交叉类型:
-
联合类型:
type MyType = string | number; -
交叉类型:
type MyType = { name: string } & { age: number };
-
-
类型别名与接口:
-
类型别名:
type MyType = string | number; -
接口:
interface Person { name: string; age: number; }
-
-
泛型与条件类型:
-
泛型:
function identity<T>(arg: T): T { return arg; } -
条件类型:
type IsString<T> = T extends string ? 'Yes' : 'No';
-
ts不允许类型转换,而js可以
TypeScript
// 基础数据类型
let a: number = 1;
let b: string = 'hello';
let c: boolean = true;
let d: null = null;
let e: undefined = undefined;
let f: symbol = Symbol('symbol');
let g: bigint = BigInt(100);
// 引用数据类型
let h: Object = {};
let i: Array<number> = [1,2,3];
let j: Function = function(){};
let k: Date = new Date();
let l: RegExp = /hello/;
// 自定义类型
type OrderId = number;
// 联合类型
type OrderId2 = number | string | bigint;
// 自定义对象类型
type Gender =  'man' | "women"
type Person = {
    name: string;
    age: number;
    info: {
        gender: Gender;
    }
}
type Pig = {
    name: string,
    age:number
    hobby:{
        eat: boolean
    }
}
type Animal = Person & Pig;
const animal: Animal = {
    name: 'tom',
    age: 12,
    info:{
        gender: 'man'
    },
    hobby:{
        eat: true
    }
}
// 泛型
type Person<T> = {
    name: string;
    age: number;
    info: T
};
const person: Person<{hoddy: string[]}> = {
    name: 'ok',
    age: 18,
    info:{
        hoddy: ['eat', 'sleep']
    }
}

type Person2<T extends {hobby: string[]}> = {
    name: string;
    age: number;
    info: T
};
const person2: Person2<{hobby: string[]; b: string}> = {
    name: 'ok',
    age: 18,
    info:{
        hobby: ['eat', 'sleep'],
        b: 'ok'
    }
}
type Person3<T = {hobby: string[]}> = {
    name: string;
    age: number;
    info: T
};
// 三目运算符,确定条件类型
/*
1.继承 2.约束泛型 3.条件类型
*/
class Person {}
class Student extends Person {}
function say<T extends {id: string}>(a: T): T {
    return a;
}
say({id:"1"});
type IsString<T> = T extends String ? true : false;
const isString: IsString<string> = true;
// 类型复用
type Person = {name: string; age: number};
type NamedPerson = Pick<Person, 'name'>;// 提取
type NamedPerson2 = Omit<Person, "age">;// 丢弃
// 类型保护
type Value = string | number;
const value:Value = 'string';
// value.toFixed()
function isString(value: Value): value is string{
    return typeof value === 'string';
}
const s = isString(value)
在Vue3里的应用场景
HelloWorld.vue:
TypeScript
<script setup lang="ts">
import { ref } from 'vue'
//宏定义
defineProps<{
  msg: string
  age: number
}>()
// const emits = defineEmits<{
//     onClick:(e: MouseEvent) => void;
// }>()
defineEmits<{
    Click:(e: MouseEvent) => void;
}>()
</script>

<template>
  <div id="content">
    <h1></h1>
  </div>
</template>

<style scoped>
.content {
  text-align: center;
}
</style>
App.vue:
TypeScript
<script setup lang="ts">
import HelloWorld from './view/HelloWorld.vue';
</script>

<template>
  <div id = "content">
    <HelloWorld msg= "'123'" v-bind:age="1" v-on:click=""></HelloWorld>
    <HelloWorld msg= "'123'" :age="1"></HelloWorld>
  </div>
</template>

<style scoped>
.content{
  text-align: center;

}
</style>
HelloWorld2.vue:
TypeScript
<script setup lang="ts">
import { ref, reactive } from "vue";
const isOPen = ref<boolean>(false);
const personInfo = ref<{ name: string; age: number }>();
</script>

<template>
    <div id="content">
        <div class="card" @click="isOPen = !isOPen">{{ isOPen ? '开' : '关' }}</div>
        <p>{{ personInfo?.age }}</p>
    </div>
</template>

<style scoped>
#content {
    display: grid;
    place-items: center;
    min-height: 100vh;
}
</style>
TypeScript
<script setup lang="ts">
import  HelloWorld2 from './view/HelloWorld2.vue';

// import HelloWorld from './view/HelloWorld.vue';
</script>

<template>
    <!-- <HelloWorld msg= "'123'" v-bind:age="1" v-on:click=""></HelloWorld> -->
    <!-- <HelloWorld msg= "'123'" :age="1"></HelloWorld> -->
    <HelloWorld2>
      ----
    </HelloWorld2>
</template>

<style scoped>
</style>
三、VUE3实战
1.Vue2 VS. Vue3
TypeScript
<!-- <script lang="ts">
export default{
    name: '2vs3',
    data(){
        return {
            msg:'welcome to your vus.js app'
        };
    }
}
</script> -->
<script setup lang="ts">
    import {ref} from 'vue';
    // const msg = 'Welcom to UR vue.js app'
    const msg = ref('Welcom to UR vue.js app')
</script>
<template>
     <div id="content">
    {{ msg }}
    <h1 @click="msg += Math.random()">dian</h1>
    </div>
</template>

<style scoped>
#content {
    display: grid;
    place-items: center;
    min-height: 100vh;
}
</style>
从选项式api升级为组合式api,性能有大幅提升,且对数据进行了保护
2.Vue3基础模板
一个vue文件包含
TypeScript
<script></script>
<template></template>
<style></style>
TypeScript
<script setup lang="ts">
import { reactive, ref } from 'vue';

    // const msg = ref('okkkkk'); // 变成一个状态
    const msg = reactive({value:'soajodija'});
    setTimeout(() =>{
        msg.value = 'Hello, world!';
    }, 2000);

</script>
<template>
    <!-- <div id = 'content'>{{ msg }}</div> -->
     <div id = 'content'>{{ msg.value }}</div>
</template>
<style scoped></style>
一些简单vue功能:
TypeScript
<script setup lang="ts">
import { computed, onMounted, onUnmounted, onUpdated, ref, watch, watchEffect, watchPostEffect, watchSyncEffect } from 'vue';

const price = ref(11);
const count = ref(1);
// const total = price.value * count.value;
const total = computed(() => {
    return price.value * count.value;
})
// watch监听数据变化
watch([price, count], ([newP, newC], [oldP, oldC]) =>{
    console.log(newP,newC,oldP,oldC);
    console.log("price or count changed");
    if(price.value > 10){
        alert('oioioi价格贵了');
    }
});
watchEffect(() => {
    console.log("watchEffect");
    console.log(price.value, count.value);
})
watchPostEffect(() => {
    console.log("watchPostEffect");
    console.log(price.value, count.value);
})
watchSyncEffect(() => {
    console.log("watchSyncEffect");
    console.log(price.value, count.value);
})
// 组件挂载
onMounted(() =>{
    console.log('组件挂载');
});
// 组件更新
onUpdated(() =>{
    console.log('组件更新')
})
// 组件卸载
onUnmounted(() =>{
    console.log("组件卸载")
})
// 父级给子集传的数据,props - defineProps
// 父级给子集传的事件,emit - defineEmits
//
const emit = defineEmits<{
    change: [];
    update: [value: number];
}>();
defineProps<{price2: number; count2:number}>();
</script>
<template>
    <div id="content">
        <div>商品价格:<input v-model="price"></input></div>
        <div>商品数量:<input v-model="count"></input></div>
        <!-- <div>总价格:{{ price * count }}</div> -->
        <div>总价格:{{ total }}</div>
        <div>{{ price2 }}</div>
        <div>{{ count2 }}</div>
        <div @click="emit('update', 100)">更新数据</div>
    </div>
</template>
<style></style>
App.vue:
TypeScript
<script setup lang="ts">
import HelloWorld2 from './view/HelloWorld2.vue';
import VS3 from './view/2VS3.vue'
import basic from './view/1.basic.vue'
import Computed from './view/2.computed.vue';
import { ref } from 'vue';

const isOpen = ref(true);
const price2 = ref(1);
const count2 = ref(1);
</script>

<template>
  <!-- <HelloWorld msg= "'123'" v-bind:age="1" v-on:click=""></HelloWorld> -->
  <!-- <HelloWorld msg= "'123'" :age="1"></HelloWorld> -->
  <!-- <HelloWorld2>
      ----
    </HelloWorld2>
    <VS3>    </VS3> -->
  <!-- <basic></basic> -->
  <!-- <Computed></Computed> -->
  <Computed v-if="isOpen" :price2="price2" :count2="count2" v-on:change="" v-on:update="(v) => price2 += v">

  </Computed>
  <Computed v-if="isOpen" :price2="price2" :count2="count2" v-on:change="" v-on:update="(v) => price2 += v">

  </Computed>
  <div style="text-align: center;">
    <button @click="isOpen = !isOpen">{{ isOpen ? '关闭' : "打开" }}</button>
    <button @click="price2++">price++</button>
  </div>
</template>

<style>
#content {
  display: grid;
  justify-content: center;
  /* align-items: center; */
  /* place-items: center; */
  /* height: 100vh; */
}
</style>
插槽用法:
TypeScript
<script setup lang="ts">

</script>
<template>
    <div id = "content">
        123
        <div>
            <!-- 不确定是什么内容,需要外部传入 -->
            <slot name="header" header = Date() ></slot>
            --------------------------------
        </div>
        <div>
            <!-- 不确定是什么内容,需要外部传入 -->
            <slot></slot>
               --------------------------------
        </div>
        <div>
            <!-- 不确定是什么内容,需要外部传入 -->
            <slot name="footer"></slot>
               --------------------------------
        </div>
    </div>
</template>
TypeScript
<script setup lang="ts">
import Slot from './6.slot.vue'
</script>
<template>
    <Slot>
        <template #header="{header}">
            <div>{{ header }}</div>
        </template>

        <div v-on:click="console.log($slots)">中间</div>
        <template #footer>
            <div>footer</div>
        </template>

    </Slot>
</template>
动态组件:
TypeScript
<script setup lang="ts">
import { h } from 'vue';

// 使用场景:低代码、无代码的物料渲染,多个相同形态的组件需要渲染
const data = [
    { type: 'text', name: ' ok', age: 18 },
    { type: 'image', name: 'no0', age: 20 }
];
const render = (type: string) => {
    switch(type){
        case "text":
            return h('div', 'wksd');
        case 'image':
            return h('img', {src: 'https://www.baidu.com/img.jpg'})
    }
};
// let comp  =null;
// switch(data[0].type){
//     case "text":
//         comp = () => h('div', 'ok');
//         break;
//     case 'image':
//         comp = () => h('img', {scr: "https://www.baidu.com"})
// }
</script>
<template>
    <div id = 'content'>
        <div v-for="value in data">
            <!-- <component :is="123" /> -->
            <component :is="h('div', null  ,'ahha')"></component>
            <component :is="render(value.type)"/>
        </div>
    </div>
</template>
四、Router路由
1.定义router相关逻辑
2.在vue中使用router
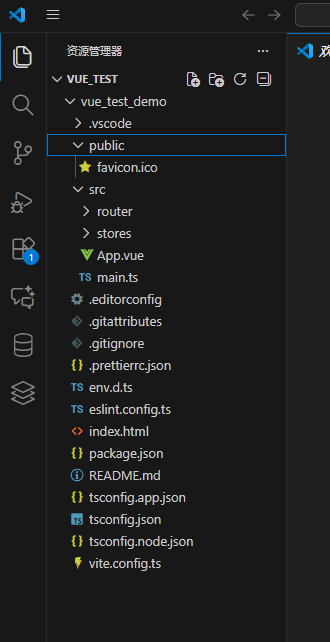
如果没有在vite脚手架初期选择router选型,可以自己创建一个router文件夹
同时在package.json中写上
TypeScript
"dependencies": {
    "pinia": "^3.0.4",
    "vue": "^3.5.25",
    "vue-router": "^4.6.3"
  },
TypeScript
npm install 下载下+在文件夹中写上index.ts:
TypeScript
import About from '@/pages/About.vue'
import Home from '@/pages/Home.vue';
import { h } from 'vue'
import { createRouter, createWebHistory } from 'vue-router'

const router = createRouter({
  history: createWebHistory(import.meta.env.BASE_URL),
  routes: [
    { path: "/", name: 'home', component: h('div', 'home') },
    { path: '/about', name: 'about', component: h('div', 'about') },
    { path: '/About2', name: 'About', component: About },
    { path: '/Home2', name: 'Home', component: Home }
  ],
})
// 全局守卫
router.beforeEach((to, from, next) => {
  console.log('beforeEach', to, from);
  // 权限控制
  if (Math.random() > 0.5) {
    next();
  }else{
    next({name:"Home"})
  }

});

export default router
均为可选项
Home.vue:
TypeScript
<script setup lang="ts">
import { useRouter } from 'vue-router';
const router = useRouter();
</script>
<template>
    HOMES
    <RouterLink to="/about2">通过router-link访问about2</RouterLink>
    <button @click="router.push('/about')">通过router.push 仿文about</button>
    <button @click="router.push({path: '/about2', query: {name : 'keyi'}})">通过router.push 仿文about</button>
</template>
About.vue
TypeScript
<script setup lang="ts">
import { useRoute } from 'vue-router';
const route = useRoute();
route.params
</script>
<template>
    ABOUT
    {{ $route.params }}
    {{ $route.query.name }}
</template>
在main.ts中写上:
TypeScript
import { createApp } from 'vue'
import { createPinia } from 'pinia'

import App from './App.vue'
import router from './router'

const app = createApp(App)

app.use(createPinia())
app.use(router)

app.mount('#app')
APP.vue中加入RouterView标签
五、Pinia管理
未初始化,package.json中自行加入,并创建文件加stores
TypeScript
  "dependencies": {
    "pinia": "^3.0.4",
    "vue": "^3.5.25",
    "vue-router": "^4.6.3"
  },
创建composable/useCount.ts(自定义数值):
TypeScript
import { ref } from "vue"

export const useCount = () => {
    const count = ref(0);
    return count;
}
在src/stores下单couter.ts文件中写入:
TypeScript
import { ref, computed } from 'vue'
import { defineStore } from 'pinia'
import { useCount } from '@/composable/useCount'
// 定义状态
export const useCounterStore = defineStore('counter', () => {
  const count = useCount();
  const doubleCount = computed(() => count.value * 2)
  function increment() {
    count.value++
  }

  return { count, doubleCount, increment }
})
无论是Home.vue还是about.vue全局共享一个数据
TypeScript
<script setup lang="ts">
import { useRoute } from 'vue-router';
import { useCounterStore } from '@/stores/counter';
const counterstore = useCounterStore();
const route = useRoute();
route.params
</script>
<template>
ABOUT
{{ $route.params }}
{{ $route.query.name }}
<div>通过pinia状态得到数据
{{ counterstore.count }}
<button @click="counterstore.increment">+1</button>
<div>{{ counterstore.doubleCount }}</div>
</div>
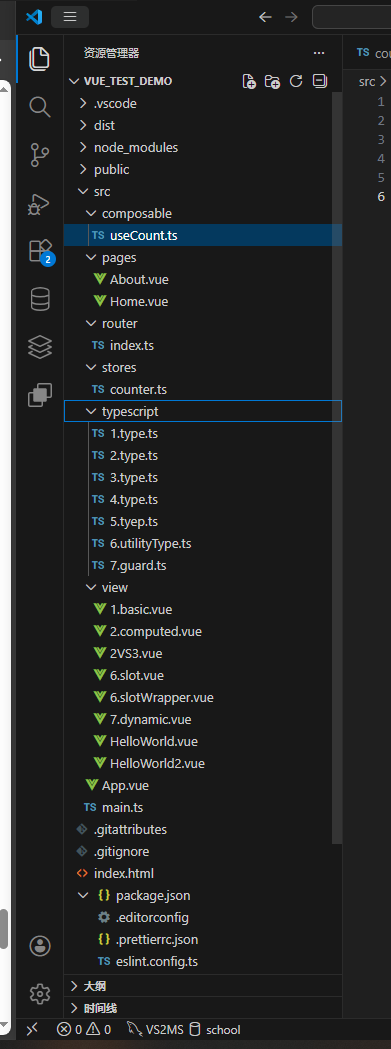
</template>总体项目: