目录
bean管理类常用的4个注解(作用相同,推荐使用在不同分层上)
1.快速入门
导入依赖:
XML
    <dependencies>
        <dependency>
            <groupId>org.springframework</groupId>
            <artifactId>spring-context</artifactId>
            <version>5.0.2.RELEASE</version>
        </dependency>
        <dependency>
            <groupId>commons-logging</groupId>
            <artifactId>commons-logging</artifactId>
            <version>1.2</version>
        </dependency>
        <dependency>
            <groupId>junit</groupId>
            <artifactId>junit</artifactId>
            <version>4.10</version>
            <scope>test</scope>
        </dependency>
    </dependencies>
在配置文件中开启注解扫描:
XML
<?xml version="1.0" encoding="UTF-8"?>
<beans xmlns="http://www.springframework.org/schema/beans"
       xmlns:xsi="http://www.w3.org/2001/XMLSchema-instance"
       xmlns:context="http://www.springframework.org/schema/context"
       xsi:schemaLocation="http://www.springframework.org/schema/beans
       http://www.springframework.org/schema/beans/spring-beans.xsd
       http://www.springframework.org/schema/context
       http://www.springframework.org/schema/context/spring-context.xsd">

    <!-- 开启注解扫描 -->
    <context:component-scan base-package="com.qcby"/>

</beans>
创建接口和实现类:
java
package com.qcby.service;

public interface UserService {

    public void hello();

}


package com.qcby.service.Impl;

import com.qcby.service.UserService;
import org.springframework.stereotype.Component;

/**
 *  @Component 作用是把当前类使用IOC容器进行管理,如果没有指定名称,默认使用当前类名userServiceImpl
 */
@Component(value = "userService")
public class UserServiceImpl implements UserService {
    @Override
    public void hello() {
        System.out.println("hello IOC注解........");
    }
}
测试代码:
java
import com.qcby.service.UserService;
import org.junit.Test;
import org.springframework.context.ApplicationContext;
import org.springframework.context.support.ClassPathXmlApplicationContext;

public class Demo {

    @Test
    public void test1() {
        ApplicationContext context = new ClassPathXmlApplicationContext("applicationContext.xml");
        UserService userService = (UserService) context.getBean("userService");
        userService.hello();
    }

}
运行结果:

我们在实现类上面加了@Component注解,它的作用是把当前类使用IOC容器进行管理,value指定Bean的名称,如果没有指定名称,默认使用当前类名userServiceImpl
2.常用注解
bean管理类常用的4个注解(作用相同,推荐使用在不同分层上)
@Component普通的类
@Controller表现层
@Service业务层
@Repository持久层
依赖注入常用的注解
@Value用于注入普通类型(String,int,double等类型)
@Autowired默认按类型进行自动装配(引用类型)
@Qualifier和@Autowired一起使用,强制使用名称注入
@Resource JavaEE提供的注解,也被支持。使用name属性,按名称注入
对象生命周期(作用范围)注解
@Scope生命周期注解,取值singleton(默认值,单实例)和prototype(多例)
初始化方法和销毁方法注解
@PostConstruct相当于init-method
@PreDestroy相当于destroy-method
3.纯注解模式
纯注解的方式是微服务架构开发的主要方式,所以也是非常的重要。纯注解的目 的是替换掉所有的配置文件。但是需要编写配置类。
配置类:
java
package com.qcby.config;

import org.springframework.context.annotation.ComponentScan;
import org.springframework.context.annotation.Configuration;

/**
 * spring的配置类,替换掉applicationContext.xml
 */
//声明这个类是配置类
@Configuration
//扫描指定的包结构
@ComponentScan(value="com.qcby")
public class SpringConfig {

}
实体类:
java
package com.qcby.entity;

import org.springframework.beans.factory.annotation.Value;
import org.springframework.stereotype.Component;

@Component
public class Order {

    @Value("北京")
    private String address;

    @Override
    public String toString() {
        return "Order [address=" + address + "]";
    }

}
测试方法:
java
import com.qcby.config.SpringConfig;
import com.qcby.entity.Order;
import org.junit.Test;
import org.springframework.context.ApplicationContext;
import org.springframework.context.annotation.AnnotationConfigApplicationContext;

public class Demo {

    /**
     * 需要加载配置类
     */
    @Test
    public void test() {
        ApplicationContext context = new AnnotationConfigApplicationContext(SpringConfig.class);
        //获取对象
        Order order = (Order) context.getBean("order");
        System.out.println(order);
    }
}
@Configuration声明是配置类
@ComponentScan扫描具体包结构的
@Import注解Spring的配置文件可以分成多个配置的,编写多个配置类。用于导入其他配置类
@Bean注解只能写在方法上,表明使用此方法创建一个对象,对象创建完成保 存到IOC容器中
创建SpringConfig2,在SpringConfig2当中配置德鲁伊连接池:
java
package com.qcby.config;

import com.alibaba.druid.pool.DruidDataSource;
import org.springframework.context.annotation.Bean;

import javax.sql.DataSource;

public class SpringConfig2 {

    @Bean(name = "dataSource")
    public DataSource createDataSource() {
        DruidDataSource dataSource = new DruidDataSource();
        dataSource.setDriverClassName("com.mysql.jdbc.Driver");
        dataSource.setUrl("jdbc:mysql://localhost:3306/spring_db");
        dataSource.setUsername("root");
        dataSource.setPassword("root");
        return dataSource;
    }

}
在原来的配置类当中导入配置:
java
package com.qcby.config;

import org.springframework.context.annotation.ComponentScan;
import org.springframework.context.annotation.Configuration;
import org.springframework.context.annotation.Import;

/**
 * spring的配置类,替换掉applicationContext.xml
 */
//声明这个类是配置类
@Configuration
//扫描指定的包结构
@ComponentScan(value="com.qcby")
@Import(value={SpringConfig2.class})
public class SpringConfig {

}
创建实体类:
java
package com.qcby.entity;

public class Account {

    private int id;
    private String name;
    private Double money;

    public Account(String name, int id, Double money) {
        this.name = name;
        this.id = id;
        this.money = money;
    }

    public Account() {
    }

    public int getId() {
        return id;
    }

    public void setId(int id) {
        this.id = id;
    }

    public String getName() {
        return name;
    }

    public void setName(String name) {
        this.name = name;
    }

    public Double getMoney() {
        return money;
    }

    public void setMoney(Double money) {
        this.money = money;
    }

    @Override
    public String toString() {
        return "Account [id=" + id + ", name=" + name + ", money=" + money + "]";
    }
}
持久层:
java
package com.qcby.dao;

import com.qcby.entity.Account;

import java.util.List;

public interface AccountDao {

    List<Account> findAll();

}


package com.qcby.dao.Impl;

import com.qcby.dao.AccountDao;
import com.qcby.entity.Account;
import org.springframework.beans.factory.annotation.Autowired;
import org.springframework.stereotype.Repository;

import javax.sql.DataSource;
import java.sql.Connection;
import java.sql.PreparedStatement;
import java.sql.ResultSet;
import java.util.ArrayList;
import java.util.List;

@Repository
public class AccountDaoImpl implements AccountDao {

    @Autowired
    private DataSource dataSource;

    @Override
    public List<Account> findAll() {
        List<Account> list = new ArrayList<>();

        Connection conn = null;
        PreparedStatement ps = null;
        ResultSet rs = null;

        try{
            //获取连接
            conn=dataSource.getConnection();
            //编写sql
            String sql="select * from account";
            //预编译
            ps=conn.prepareStatement(sql);
            //查询
            rs= ps.executeQuery();
            while(rs.next()){
                Account account=new Account();
                account.setId(rs.getInt("id"));
                account.setName(rs.getString("name"));
                account.setMoney(rs.getDouble("money"));
                list.add(account);
            }
        } catch (Exception e) {
            throw new RuntimeException(e);
        }finally {
            try {
                if (rs != null) rs.close();
                if (ps != null) ps.close();
                if (conn != null) conn.close();
            } catch (Exception e) {
                e.printStackTrace();
            }
        }
        return list;
    }
}
业务层:
java
package com.qcby.service.Impl;

import com.qcby.dao.AccountDao;
import com.qcby.entity.Account;
import com.qcby.service.AccountService;
import org.springframework.beans.factory.annotation.Autowired;
import org.springframework.stereotype.Service;

import java.util.List;

@Service
public class AccountServiceImpl implements AccountService {

    @Autowired
    private AccountDao accountDao;

    @Override
    public List<Account> findAll() {
        return accountDao.findAll();
    }
}


package com.qcby.service;

import com.qcby.entity.Account;

import java.util.List;


public interface AccountService {

    List<Account> findAll();

}
测试代码:
java
    @Test
    public void test2() {
        ApplicationContext context = new AnnotationConfigApplicationContext(SpringConfig.class);
        AccountService accountService = context.getBean(AccountService.class);
        List<Account> list=accountService.findAll();
        for(Account account:list){
            System.out.println(account);
        }
    }
结果:
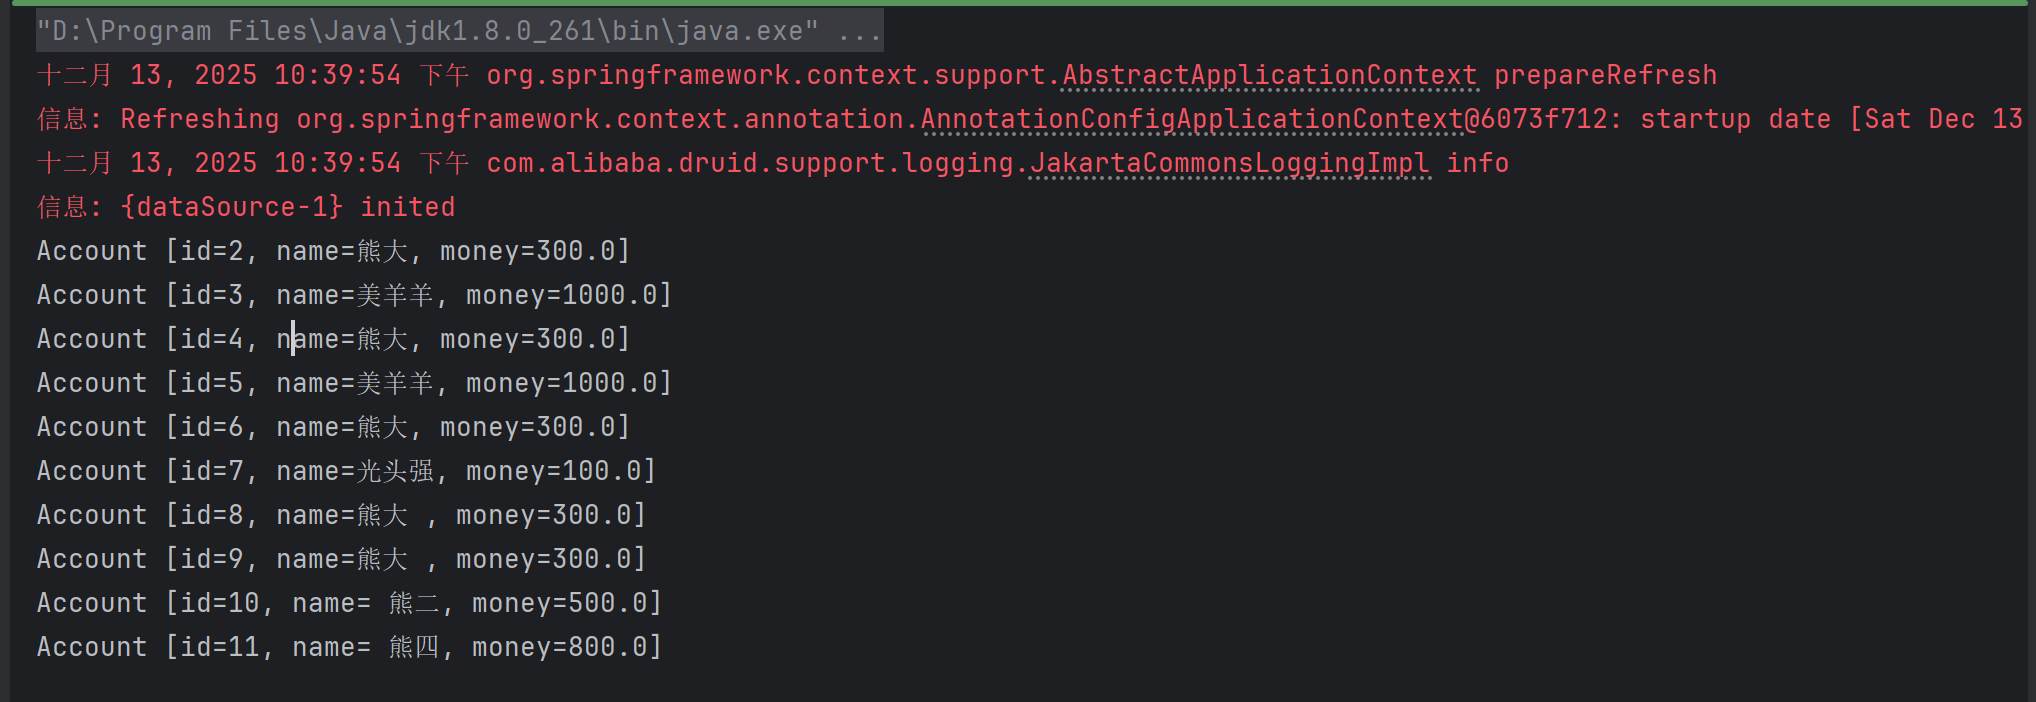
可见我们在配置类2当中的配置也生效了