一、LAMP实验基本步骤:
1、下载所需软件:lrzsz、zip、httpd、mariadb-server、php、php-fpm、php-mysqlnd;

2、转换到httpd目录:cd /var/www/html/
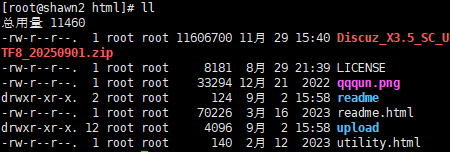
3、将Discuz软件压缩包拖入该目录并解压:
root@shawn2 html# rz -E
rz waiting to receive.
root@shawn2 html# unzip Discuz_X3.5_SC_UTF8_20250901.zip
4、关闭防火墙和设置宽容模式:
root@shawn2 html# systemctl stop firewalld.service
root@shawn2 html# setenforce 0
5、开启httpd功能:root@shawn2 html# systemctl start httpd
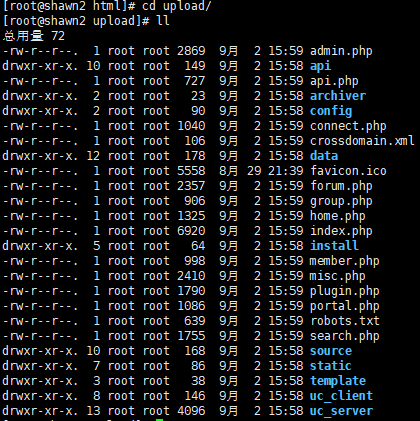
6、给upload/目录下的文件添加权限:
root@shawn2 upload# chmod -R 777 config/ data/ uc_*
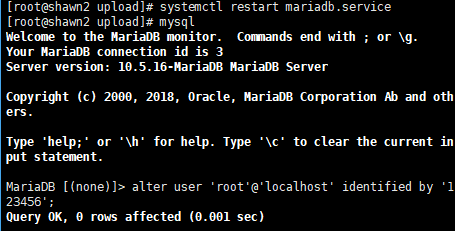
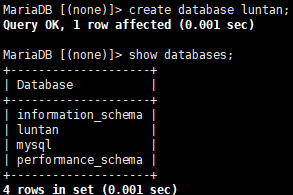
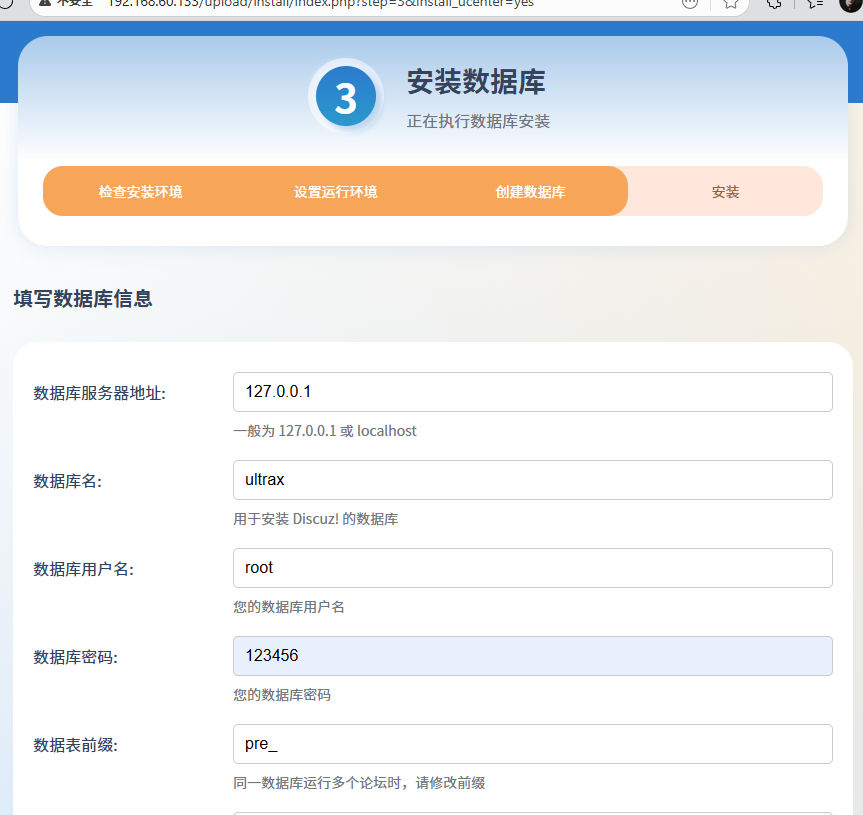
7、启用mariadb服务并创建一个luntan数据库
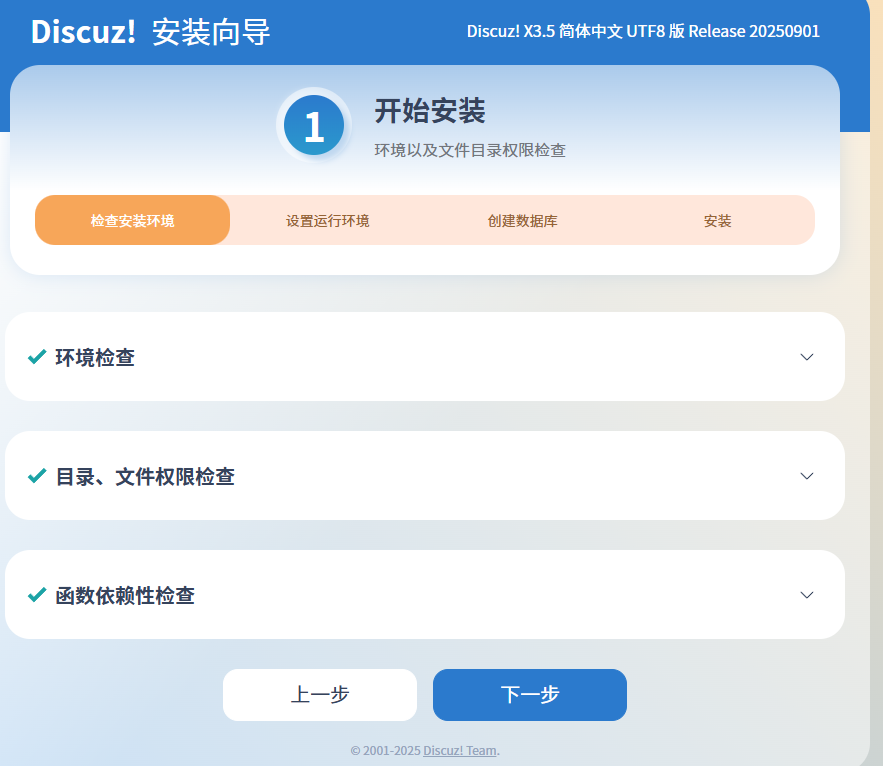
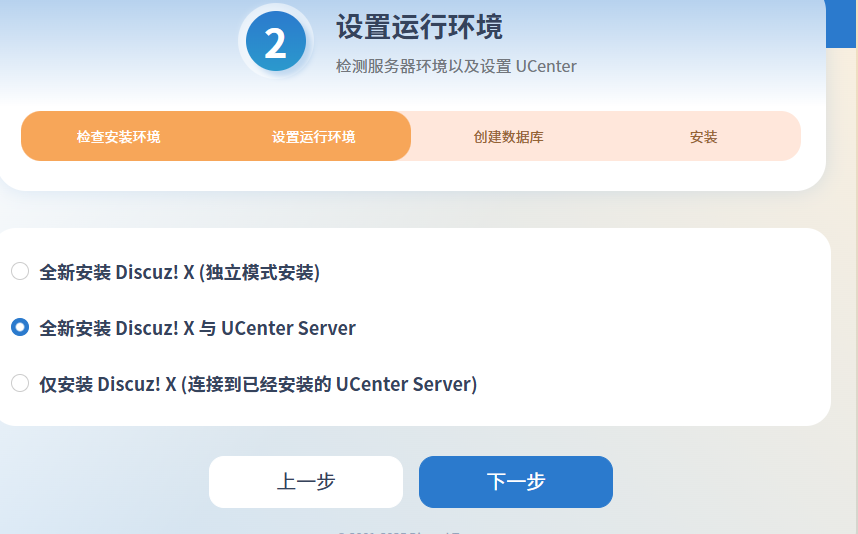
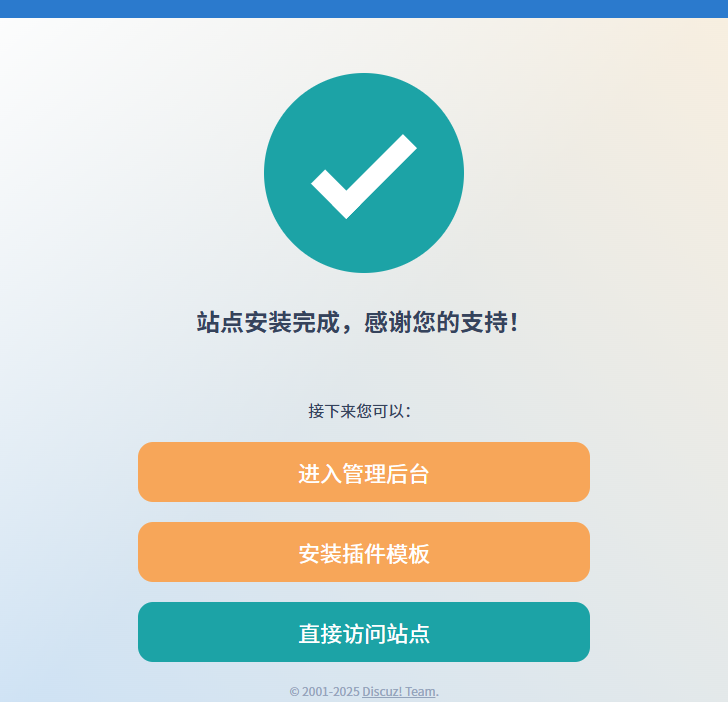
8、在浏览器上部署好:

(1)按照基本步骤写脚本
1.编写mysql.sh流程脚本:
#!/bin/bash
mysql_config() {
mysql<<end
alter user 'root'@'localhost'  identified by 'Redhat123!';
create database luntan;
exit
end
}
2.编写lib.sh实验环境部署脚本:
#!/bin/bash
#安装软件:
install_soft() {
yum install httpd mariadb-server php php-fpm php-mysqlnd -y > /dev/null
yum install lrzsz -y >/dev/null
yum install zip -y >/dev/null
}
#配置http
http() {
#提前把论坛软件放到/root
cp /root/Dis* /var/www/html
cd /var/www/html
unzip Discuz* >/dev/null && echo "解压成功" || echo "解压失败"
cd upload/
chmod -R 777 config/ uc_* data
}
#配置数据库
#mysql() {
#systemctl start mariadb.service
#mysql<<end
#alter user 'root'@'localhost' identified by 'Redhat123!';
#create database luntan;
#exit
#end
#}
#安全
safe() {
systemctl stop firewalld
setenforce 0
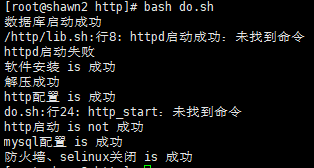
}3.编写do.sh总流程判断脚本:
#!/bin/bash
source  /http/lib.sh
source  /http/mysql.sh
install_soft
systemctl start  mariadb.service
systemctl start httpd
if [ $? -eq 0 ];then
     echo   软件安装 is 成功
else
    echo    软件安装 is not 成功

fi


http
if [ $? -eq 0 ];then
   echo     http配置 is 成功
else
      echo   http配置 is not 成功

fi

mysql_config
if [ $? -eq 0 ];then
   echo    mysql配置 is 成功
else
    echo     mysql配置 is not 成功

fi

safe
if [ $? -eq 0 ];then
     echo   防火墙、selinux关闭 is 成功
else
      echo   防火墙、selinux关闭  is not 成功

fi
验证脚本:先将环境恢复:
1. root@shawn2 shell# yum remove httpd mariadb-server php php-fpm php-mysqlnd -y > /dev/null
root@shawn2 shell# yum remove lrzsz -y >/dev/null
root@shawn2 shell# yum remove zip -y >/dev/null
root@shawn2 shell# rm -rf /var/lib/mysql/(特别注意要删除,移除mariadb后会有文件残留)
也将/var/www/html/目录下的文件移除,重新在/root下创建一个新目录http,将脚本和论坛软件放入,把软件包也复制到/root下:root@shawn2 http# mv Discuz_X3.5_SC_UTF8_20250901.zip /root/

2.启用脚本:(http_start函数已删除,忽略)
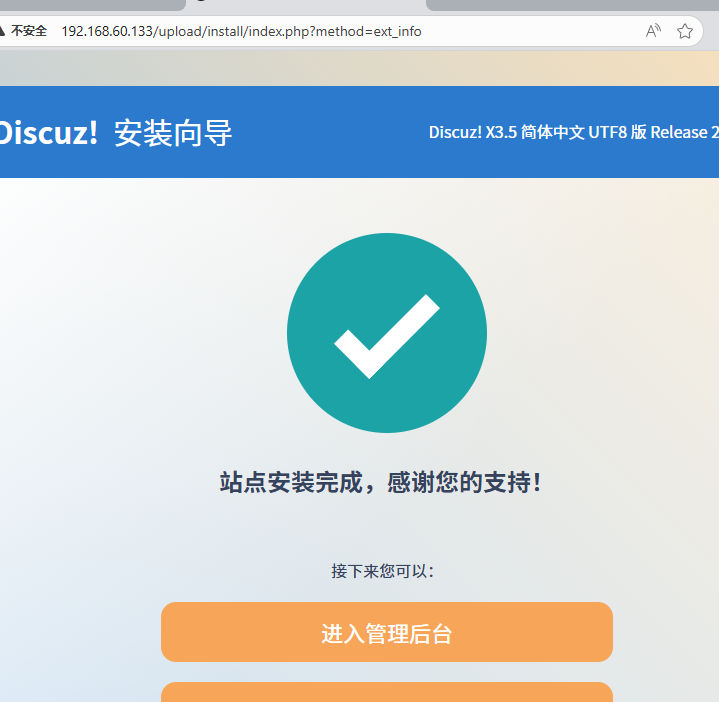
3.浏览器验证:
二、LNMP实验(恢复环境,关闭防火墙和设置宽容模式)
基础步骤:
1.下载所需软件:zip、nginx、mariadb-server、php、php-fpm、php-mysqlnd;
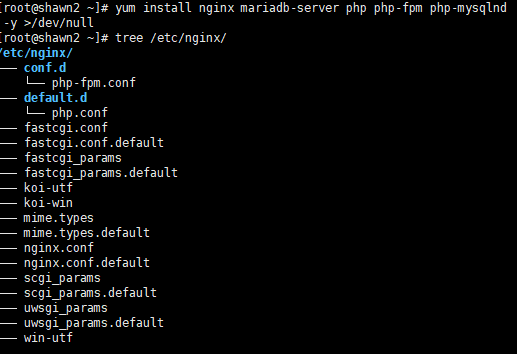
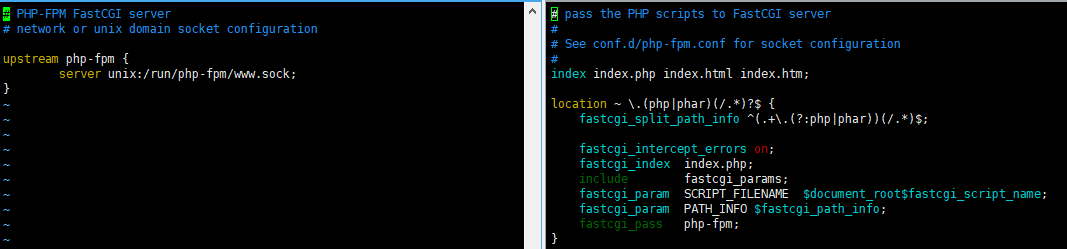
#php-fpm.conf文件和php.conf文件载入server
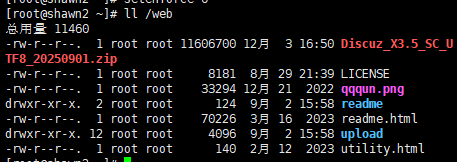
2.在/root目录下创建一个/web目录,将软件包复制到下面:
root@shawn2 \~# mkdir /web
root@shawn2 \~# mv /root/Discuz_X3.5_SC_UTF8_20250901.zip /web/
3.在/web目录下解压软件包
创建/etc/nginx/conf.d/nginx.conf文件
server{
        listen 192.168.60.133:80;
        root /web/upload;
        include /etc/nginx/default.d/php.conf
}
重启nginx服务
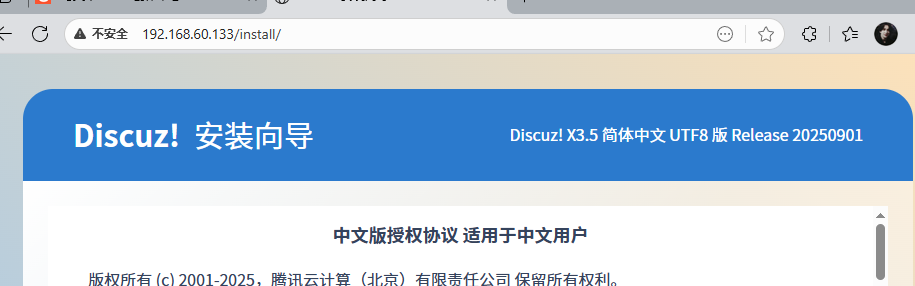
4.在浏览器上测试
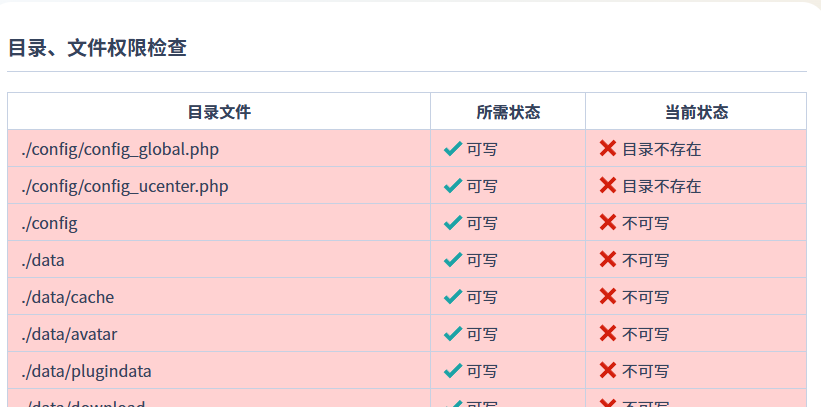
默认权限不够,更改权限:
root@shawn2 \~# cd /web/upload/
root@shawn2 upload# chmod -R 777 config/ data/ uc_*
5.启用mariadb服务并完善数据库部署:
[root@shawn2 ~]# systemctl start mariadb.service
[root@shawn2 ~]# mysql
Welcome to the MariaDB monitor.  Commands end with ; or \g.
Your MariaDB connection id is 3
Server version: 10.5.16-MariaDB MariaDB Server

Copyright (c) 2000, 2018, Oracle, MariaDB Corporation Ab and others.

Type 'help;' or '\h' for help. Type '\c' to clear the current input statement.

MariaDB [(none)]> exit
Bye
[root@shawn2 ~]# mysql <<end
> alter user 'root'@'localhost' identified by 'Redhat123!';
> create database luntan;
> exit
> end
6.在浏览器上完成后续步骤
7.创建公私钥
cd到/web目录:
[root@shawn2 web]# mkdir /miyao_zhengshu
[root@shawn2 web]# cd /miyao_zhengshu/
[root@shawn2 miyao_zhengshu]# openssl genrsa -out miyao.key
[root@shawn2 miyao_zhengshu]# openssl req -utf8 -new -key /miyao_zhengshu/miyao.key -x509 -days 100 -out /miyao_zhengshu/zhengshu.crt
You are about to be asked to enter information that will be incorporated
into your certificate request.
What you are about to enter is what is called a Distinguished Name or a DN.
There are quite a few fields but you can leave some blank
For some fields there will be a default value,
If you enter '.', the field will be left blank.
-----
Country Name (2 letter code) [XX]:99
State or Province Name (full name) []:ns
Locality Name (eg, city) [Default City]:ds
Organization Name (eg, company) [Default Company Ltd]:ds
Organizational Unit Name (eg, section) []:dsd
Common Name (eg, your name or your server's hostname) []:ds
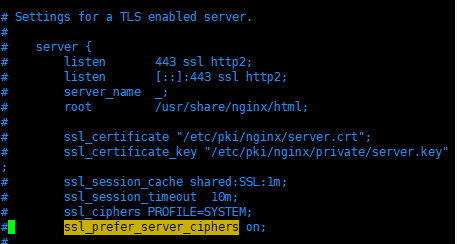
Email Address []:dwsdw8.编辑文件/etc/nginx/conf.d/nginx.conf
从/etc/nginx/nginx.conf文件中复制https样例到/etc/nginx/conf.d/nginx.conf文件,并修改公私钥识别路径
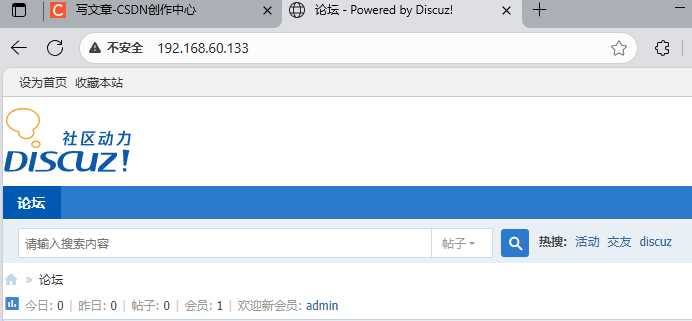
9.重启nginx服务,在浏览器验证:
root@shawn2 \~# systemctl restart nginx.service
(2)按照基本步骤写脚本(与LAMP实验框架差不多)
1.创建一个新目录/https,与前一实验一致
2.编写数据库mysql.sh脚本文件
#!/bin/bash
mysql_config() {
mysql<<end
alter user 'root'@'localhost'  identified by 'Redhat123!';
create database luntan;
exit
end
}
3.编写运行环境lib.sh脚本文件
http(){
#创建一个/web目录,把论坛软件放到/web下
mkdir /web
mv /root/Discuz_X3.5_SC_UTF8_20250901.zip /web/
cd /web
unzip Discuz_X3.5_SC_UTF8_20250901.zip >/dev/null && echo "解压成功" || echo "解压失败"
cd /web/upload/
chmod -R 777 config/ data/ uc_*
}
#配置数据库
#mysql() {
#systemctl start mariadb.service
#mysql<<end
#alter user 'root'@'localhost' identified by 'Redhat123!';
#create database luntan;
#exit
#end
#}
#安全
safe() {
systemctl stop firewalld
setenforce 0
}
#创建公私钥
miyao() {
cd
mkdir /miyao_zhengshu
cd /miyao_zhengshu/
openssl genrsa -out miyao.key
openssl req -utf8 -new -key /miyao_zhengshu/miyao.key -x509 -days 100 -out /miyao_zhengshu/zhengshu.crt<<end
cn
dads
sdawd
dsad
dasawd
dsadasd
ddawd
end
}
#在/etc/nginx/conf.d/nginx.conf文件添加https
https() {
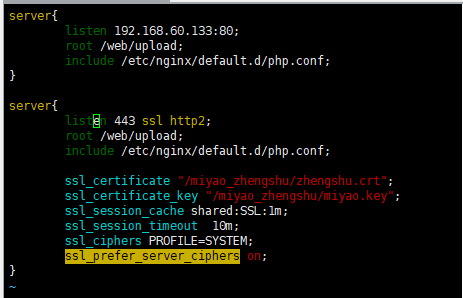
cat > /etc/nginx/conf.d/nginx.conf<<'EOF'
server{
listen 192.168.60.133:80;
root /web/upload;
include /etc/nginx/default.d/php.conf;
}
server{
listen 443 ssl http2;
root /web/upload;
include /etc/nginx/default.d/php.conf;
ssl_certificate "/miyao_zhengshu/zhengshu.crt";
ssl_certificate_key "/miyao_zhengshu/miyao.key";
}
EOF
systemctl restart nginx
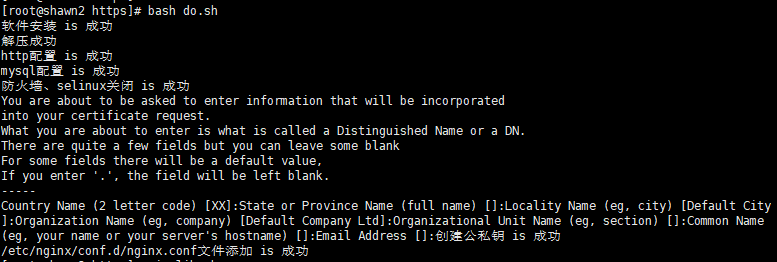
}4.编写流程判断do.sh脚本:
http
if [ $? -eq 0 ];then
   echo     http配置 is 成功
else
      echo   http配置 is not 成功

fi

mysql_config
if [ $? -eq 0 ];then
   echo    mysql配置 is 成功
else
    echo     mysql配置 is not 成功

fi

safe
if [ $? -eq 0 ];then
     echo   防火墙、selinux关闭 is 成功
else
      echo   防火墙、selinux关闭  is not 成功
fi

miyao
if [ $? -eq 0 ];then
     echo   创建公私钥 is 成功
else
      echo   创建公私钥  is not 成功
fi

https
if [ $? -eq 0 ];then
     echo   /etc/nginx/conf.d/nginx.conf文件添加 is 成功
else
      echo   /etc/nginx/conf.d/nginx.conf文件添加  is not 成功
fi
5.运行脚本测试:
6.浏览器测试: