文章目录
-
-
-
- [Nacos Config服务 配置介绍](#Nacos Config服务 配置介绍)
- [Nacos Config 入门](#Nacos Config 入门)
- 配置动态刷新
-
-
Nacos Config服务 配置介绍
Nacos Config 是阿里巴巴开源的 Nacos 平台核心功能之一,专注于分布式系统的配置管理,提供配置的动态发布、拉取、监听、版本管理等能力,解决传统配置文件(本地文件、静态配置中心)无法动态更新、环境不一致、配置分散等问题。
Nacos Config 入门
使用nacos作为配置中心,其实就是将nacos当做一个服务端,将各个微服务看成是客户端,我们
将各个微服务的配置文件统一存放在nacos上,然后各个微服务从nacos上拉取配置即可。
搭建Nacos环境
这一步已经在前面章节搭建过了, 可以移步 《springcloud alibaba(三)整合Nacos实现服务注册与发现》
在微服务中引入nacos的依赖
这里用 service-order 为例
yaml
<dependency>
	<groupId>com.alibaba.cloud</groupId>
	<artifactId>spring-cloud-starter-alibaba-nacos-config</artifactId>
</dependency>
请注意, Nacos 服务发现注册中心与 Nacos服务配置是分开的, 需要单独引入nacos-config 的依赖;
添加配置文件
- 在微服务resources目录下创建bootstrap.yml文件
yaml
spring:
  application:
    name: service-order
  cloud:
    nacos:
      config:
        server-addr: 127.0.0.1:8848
        file-extension: yaml
  profiles:
active: dev- nacos配置
登录进入nacos客户端, 在配置列表页面, 点击 '+' 号新增
Data ID: service-order-dev.yaml
规则: 微服务名称+active+file-extension
分组可以先默认;
配置格式, 当前支持 yaml格式和 properties格式两种, 这里选择yaml格式;
将application.yml中的所有配置信息, 复制粘贴到配置内容中发布即可。 - 将application.yml中原有的配置全部注释掉;
- 重启 service-order 微服务,一般情况下项目启动不报错和接口请求正常的话, 说明配置是没有问题的。
配置动态刷新
这里会使用硬编码和注解方式实现
yaml
package com.goblin.controller;

import org.springframework.beans.factory.annotation.Value;
import org.springframework.cloud.context.config.annotation.RefreshScope;
import org.springframework.context.ConfigurableApplicationContext;
import org.springframework.web.bind.annotation.GetMapping;
import org.springframework.web.bind.annotation.RestController;

import javax.annotation.Resource;

/**
 * nacos 配置管理
 */
@RestController
@RefreshScope # 动态刷新
public class NacosConfigController {

    @Resource
    private ConfigurableApplicationContext context;

    @Value("${nacos.config.appName}")
    private String appName;

    @Value("${config.env}")
    private String env;

    /**
     * 硬编码方式
     *
     * @return
     */
    @GetMapping("/order/getConfig")
    public String getConfig() {
        return context.getEnvironment().getProperty("nacos.config.appName");
    }

    /**
     * 注解方式(推荐)  配置动态刷新
     *
     * @return
     */
    @GetMapping("/order/getConfig2")
    public String getConfig2() {
        return appName;
    }
}
Nacos配置更新
- 打开Nacos配置的信息, 在配置内容中增加以下内容后重新发布
yaml
nacos:
  config:
    appName: service-order
请求http//localhost:8091/order/getConfig
页面正常输出service-order;
接下来在nacos中, 修改上面的配置为 service-order2发布。再次请求路径,页面会输出service-order2字样。
- 注解方式
2.1. 在类中添加 @RefreshScope 注解,重启service-order,
http//localhost:8091/order/getConfig2
页面输出显示 service-order2;
2.2. 接下来在nacos中, 修改上面的配置为 service-order3发布, 服务,然后请求路径http//localhost:8091/order/getConfig2, 页面显示 service-order3
这样就可以在不重启服务的情况下, 实现配置信息动态刷新;
共享配置
共享配置其实可以理解为 , 2个或多个数据集 取它们的交集, 公共部门放在一个配置中, 不同的配置放在不同的配置中;
例如: a> {1, 2, 3, 5}
b> {1, 2, 3, 4}
公共数据集为 > {1, 2, 3}
a> {5}
b> {4}
通过这个描述, 相信可以理解共享配置的主要思想了。
同一个微服务的不同环境之间共享配置
- 在nacos配置公共配置

- 配置不同环境配置
2.1 测试环境配置
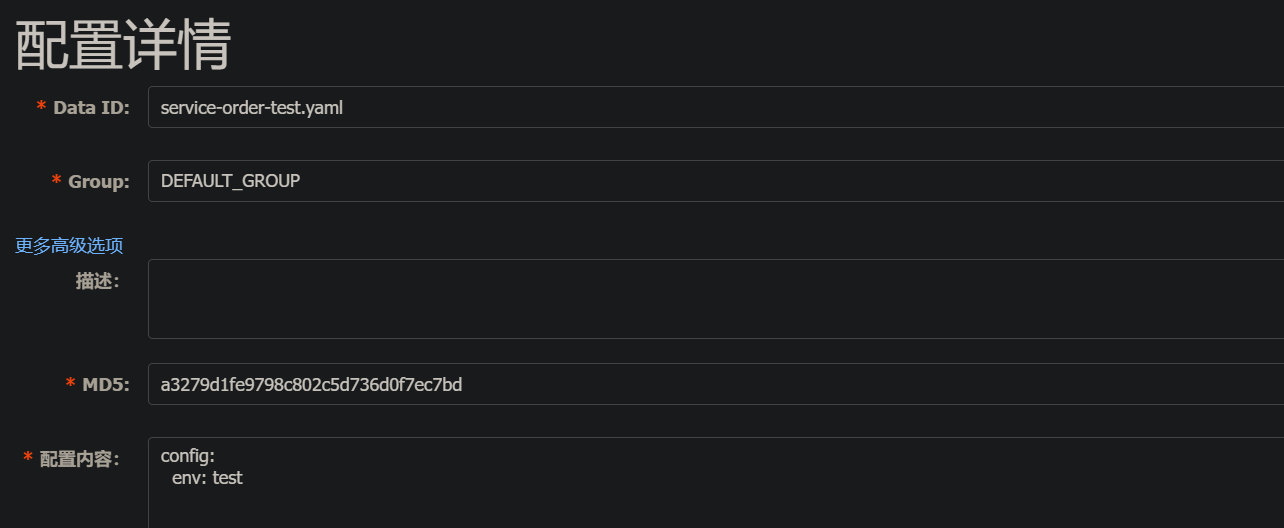
保存并发布。
2.2. 开发环境配置

保存并发布。 - bootstrap.yml文件中的配置
yaml
spring:
  application:
    name: service-order
  cloud:
    nacos:
      config:
        server-addr: 127.0.0.1:8848
        file-extension: yaml
  profiles:
active: test- 重新启动order-service 服务
请求地址: http://localhost:8091/order/getConfig3
页面输出:test - 修改active为dev, 重新启动服务, 再次请求地址: http://localhost:8091/order/getConfig3
页面输出: dev
不同微服务中间共享配置
- 在nacos配置列表页面添加 all-service.yaml的配置,作为所有微服务共享配置
配置内容如下:
yaml
spring:
	datasource:
	driver-class-name: com.mysql.jdbc.Driver
	url: jdbc:mysql:///shop?
serverTimezone=UTC&useUnicode=true&characterEncoding=utf-8&useSSL=true
	username: root
	password: root
jpa:
	properties:
		hibernate:
			hbm2ddl:
				auto: update
			dialect: org.hibernate.dialect.MySQL5InnoDBDialect
cloud:
	nacos:
		discovery:
server-addr: 127.0.0.1:8848- 在项目bootstrap.yml文件中配置如下
yaml
spring:
  application:
    name: service-order
  cloud:
    nacos:
      config:
        server-addr: 127.0.0.1:8848
        file-extension: yaml
        shared-dataids: all-service.yaml # 配置要引入的配置
        refreshable-dataids: all-service.yaml # 配置要实现动态配置刷新的配置
  profiles:
active: test- 按如上配置修改后, 即可完成配置,进行测试。