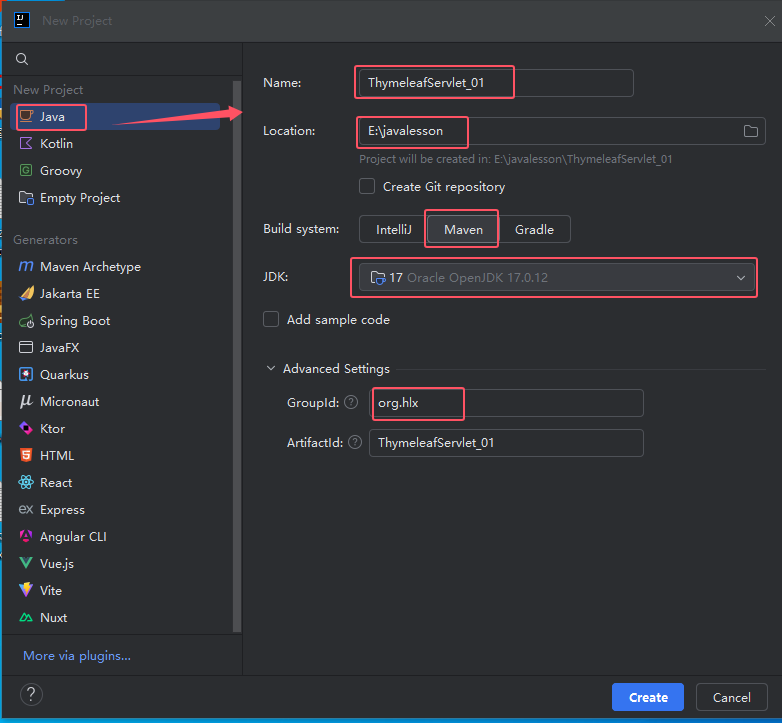
一、创建maven项目
二、pom.xml文件依赖包
XML
  <dependencies>
        <!-- JUnit依赖 -->
        <dependency>
                <groupId>org.junit.jupiter</groupId>
                <artifactId>junit-jupiter-api</artifactId>
                <version>5.9.2</version>
                <scope>test</scope>
        </dependency>
        <!-- Servlet依赖 -->
        <dependency>
            <groupId>jakarta.servlet</groupId>
            <artifactId>jakarta.servlet-api</artifactId>
            <version>6.0.0</version>
        </dependency>
        <!-- Thymeleaf依赖 -->
        <dependency>
            <groupId>org.thymeleaf</groupId>
            <artifactId>thymeleaf</artifactId>
            <version>3.1.2.RELEASE</version>
        </dependency>

        <!-- lombok依赖 -->
        <dependency>
                <groupId>org.projectlombok</groupId>
                <artifactId>lombok</artifactId>
                <version>1.18.32</version>
        </dependency>
    </dependencies>
三、选择File | Project Structrue | Facets | + 添加Web
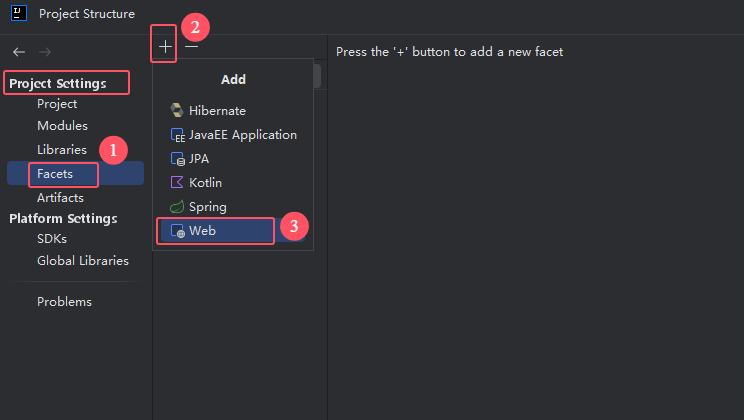
选择模块
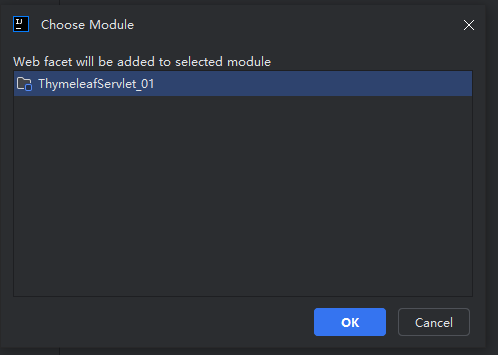
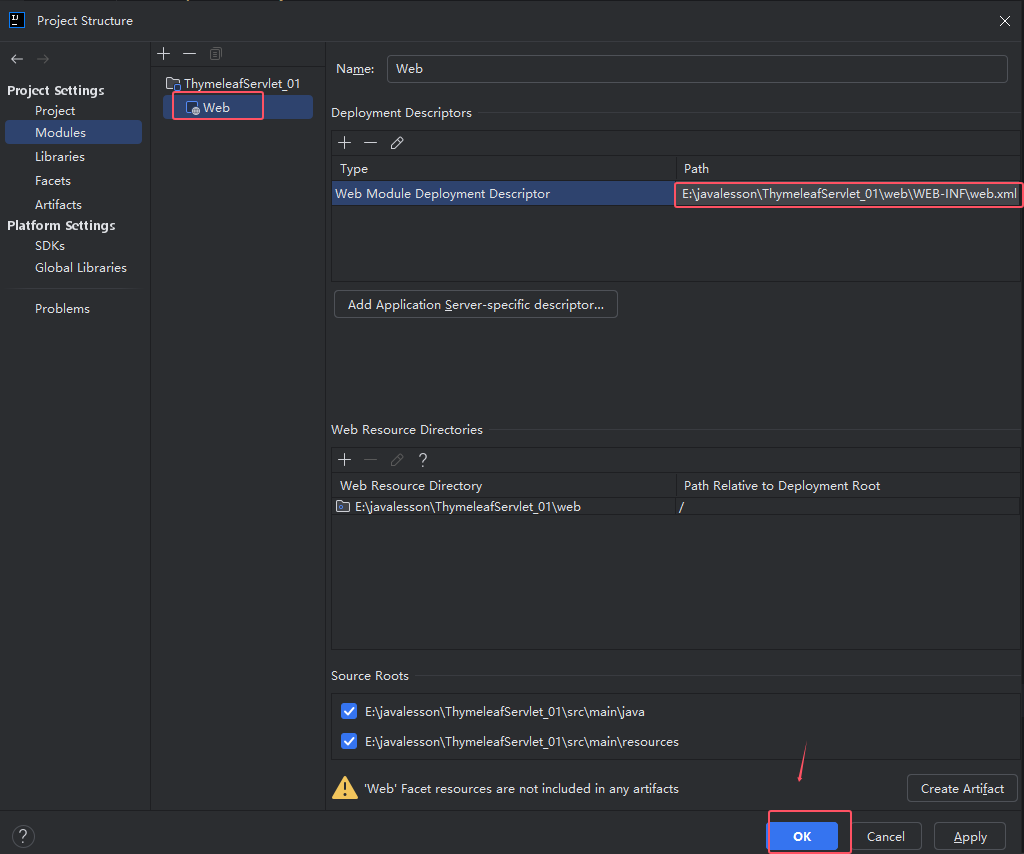
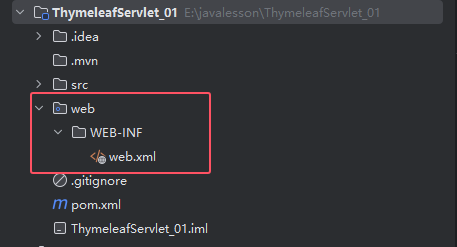
如图所示:web
四、编写HMTL页面和Servlet
(1) my.html
html
<!DOCTYPE html>
<!--导入thymeleaf命名空间-->
<html lang="en" xmlns:th="http://www.thymeleaf.org">
<head>
<meta charset="UTF-8">
<title>首页</title>
</head>
<body>
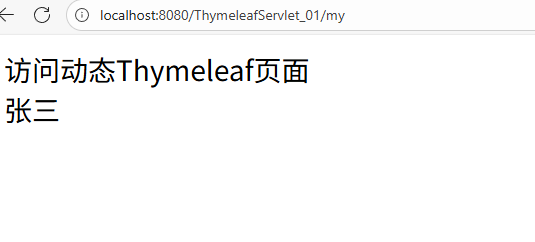
<div th:text="访问动态Thymeleaf页面">欢迎访问首页</div>
<!-- 请求域取值-->
<div th:text="${name}">张三</div>
</body>
</html>(2) MyServlet.java 类 (CustomTemplateEngine类 略)
java
package org.hlx.servlet;
import jakarta.servlet.ServletException;
import jakarta.servlet.annotation.WebServlet;
import jakarta.servlet.http.HttpServlet;
import jakarta.servlet.http.HttpServletRequest;
import jakarta.servlet.http.HttpServletResponse;
import org.hlx.thymeleaf.CustomTemplateEngine;
import org.thymeleaf.context.Context;
import java.io.IOException;
@WebServlet("/my")
public class MyServlet extends HttpServlet {
@Override
protected void doGet(HttpServletRequest req, HttpServletResponse resp) throws ServletException, IOException {
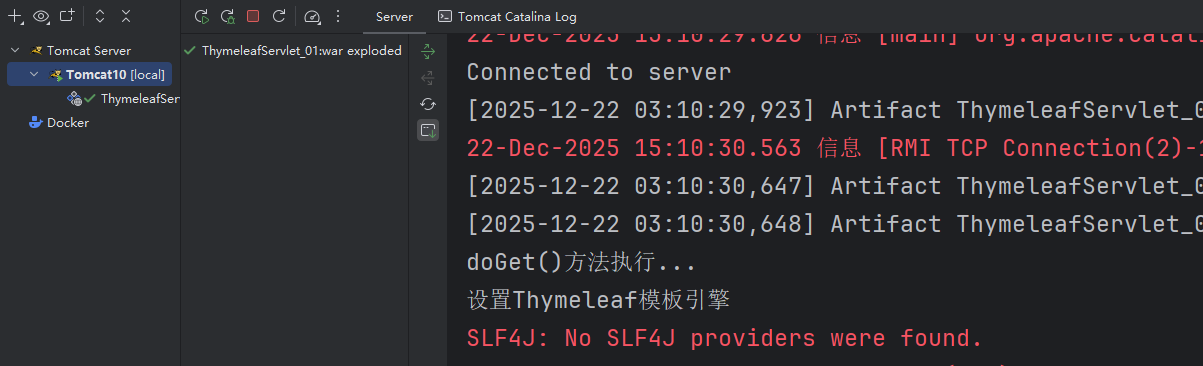
System.out.println("doGet()方法执行...");
// 获取模板引擎对象
CustomTemplateEngine templateEngine = CustomTemplateEngine.getInstance(req);
// 创建数据模型,即将要传递给Thymeleaf的数据
req.setAttribute("name", "张三");
// 处理请求并响应结果
templateEngine.processTemplate("my", req, resp);
}
protected void doPost(HttpServletRequest req, HttpServletResponse resp) throws ServletException, IOException {
doGet(req, resp);
}
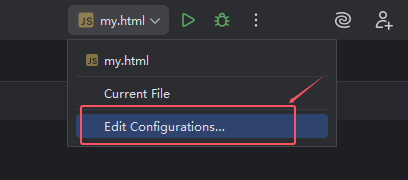
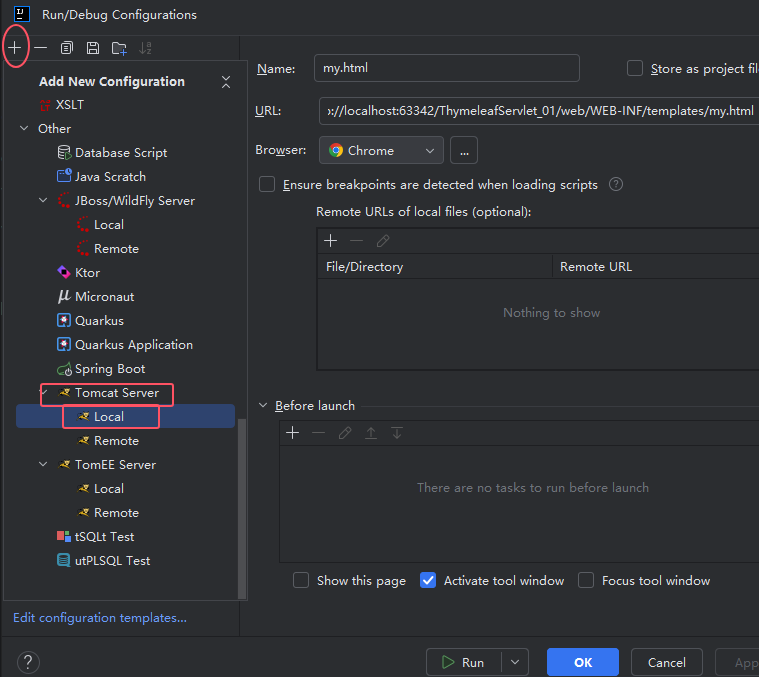
}五、配置Tomcat10
(1)找到Edit Configurations...
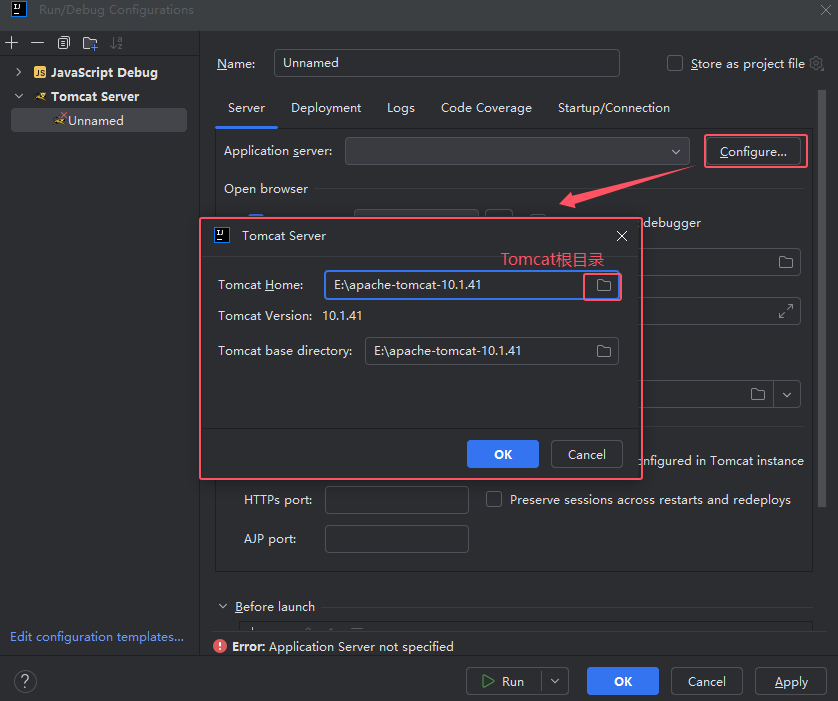
(2)Tomcat Server | Local
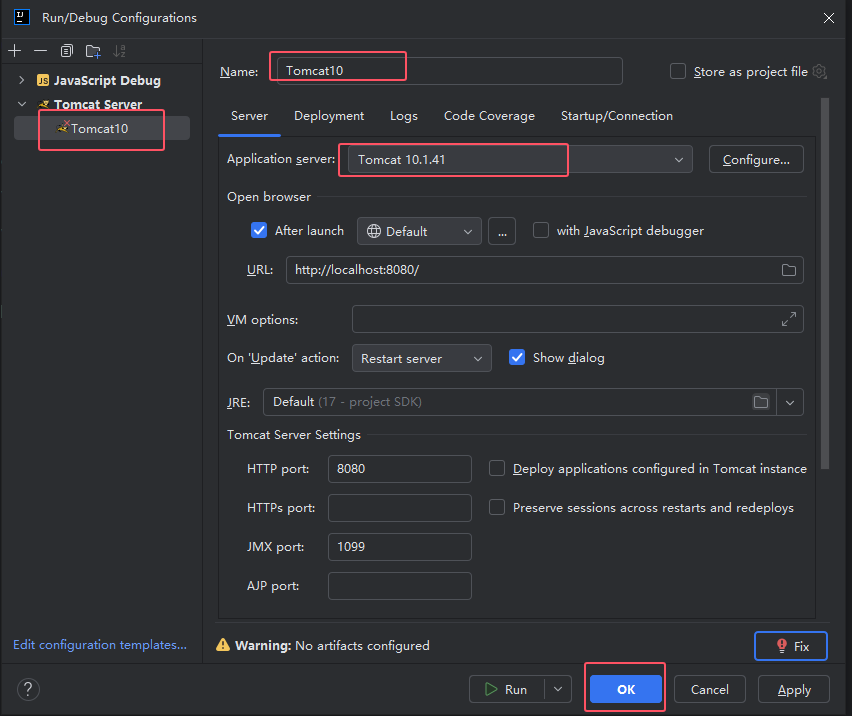
(3) 选择已安装好的Tomcat10.1.41
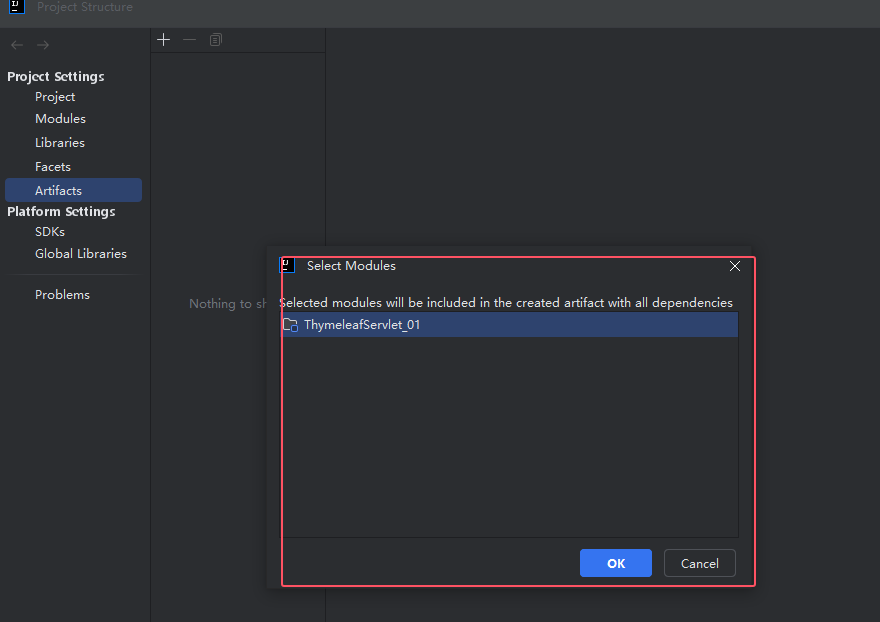
(4) File | Project Structrue | Artifacts| + 添加Web部署

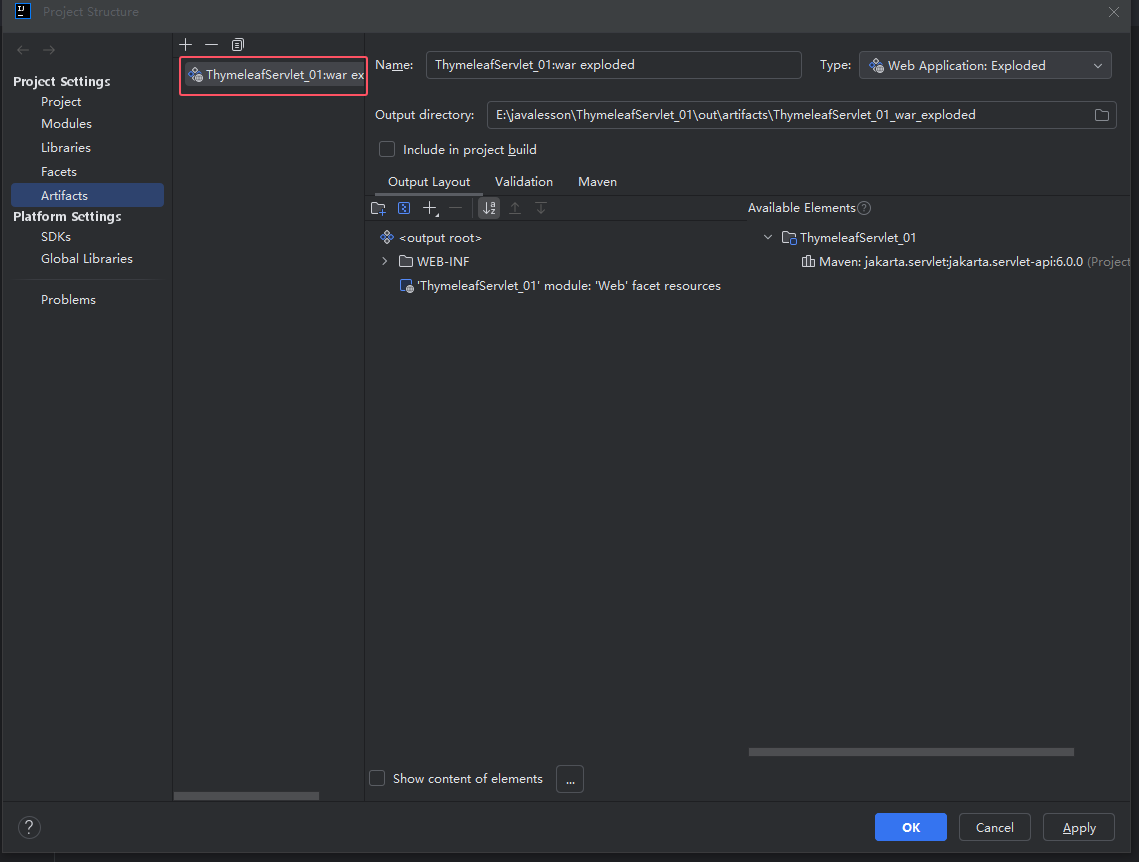
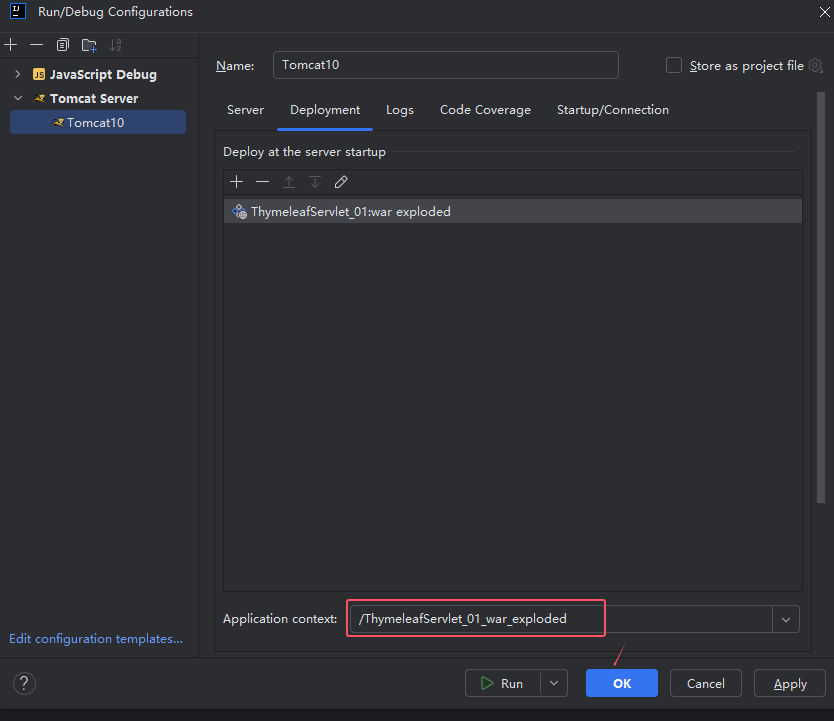
(5)可以修改部署文件名: Application context:

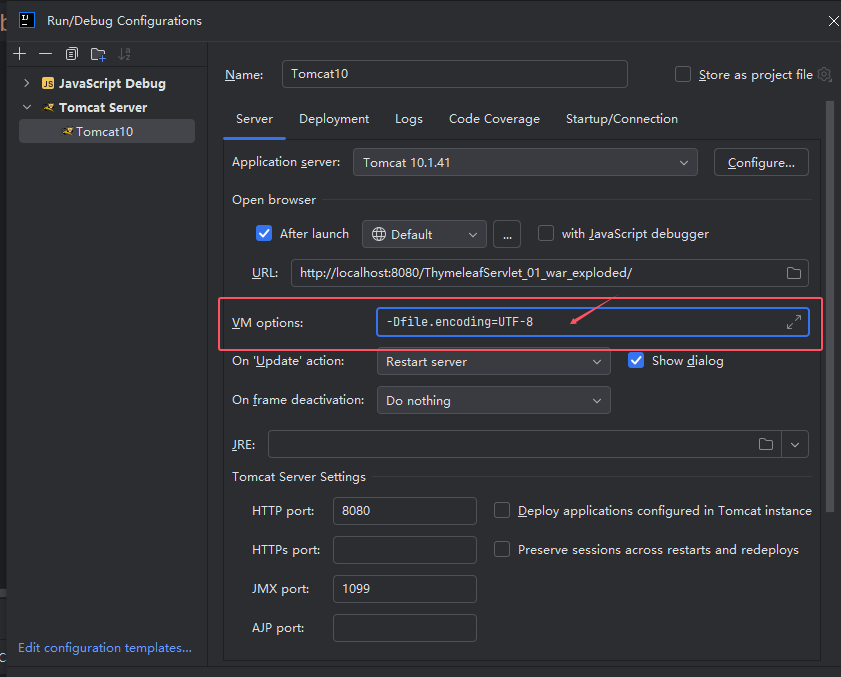
(6) 配置Tomcat VM options: 出现乱码
-Dfile.encoding=UTF-8
(7)配置Tomcat 运行时的更新方式 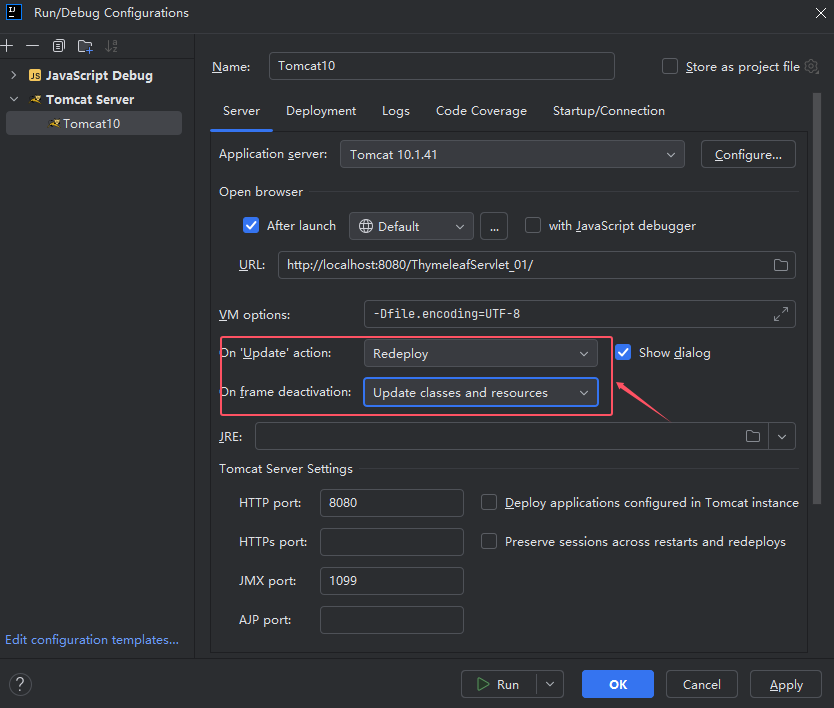
六、运行