创建并运行一个真正的Node.js服务器,理解HTTP模块,学会处理请求与响应。
实战项目:简易天气查询API
1. 创建项目结构
bash
mkdir server-demo
cd server-demo
npm init -y
npm install nodemon --save-dev
修改 package.json:
json
{
  "scripts": {
    "dev": "nodemon server.js"
  }
}
2. 核心模块讲解:http
创建 server.js:
javascript
// 1. 导入内置的http模块
const http = require('http');

// 2. 创建服务器实例
const server = http.createServer((req, res) => {
  // req: 请求对象,包含客户端的信息
  // res: 响应对象,用于向客户端返回数据

  console.log(`收到 ${req.method} 请求,路径: ${req.url}`);

  // 设置响应头
  res.writeHead(200, {
    'Content-Type': 'application/json',
    'Access-Control-Allow-Origin': '*'
  });

  // 根据请求路径返回不同响应
  if (req.url === '/weather/beijing') {
    res.end(JSON.stringify({
      city: "北京",
      temperature: "22°C",
      condition: "晴天"
    }));
  } else if (req.url === '/weather/shanghai') {
    res.end(JSON.stringify({
      city: "上海",
      temperature: "25°C",
      condition: "多云"
    }));
  } else {
    res.end(JSON.stringify({
      message: "欢迎使用天气API",
      endpoints: ["/weather/beijing", "/weather/shanghai"]
    }));
  }
});

// 3. 监听端口
const PORT = 3000;
server.listen(PORT, () => {
  console.log(`🚀 服务器运行在: http://localhost:${PORT}`);
  console.log(`📡 试试访问: http://localhost:${PORT}/weather/beijing`);
});
3. 运行并测试
bash
npm run dev用三种方式测试:
- 浏览器访问 :打开
http://localhost:3000

2 命令行curl:
bash
curl http://localhost:3000/weather/shanghai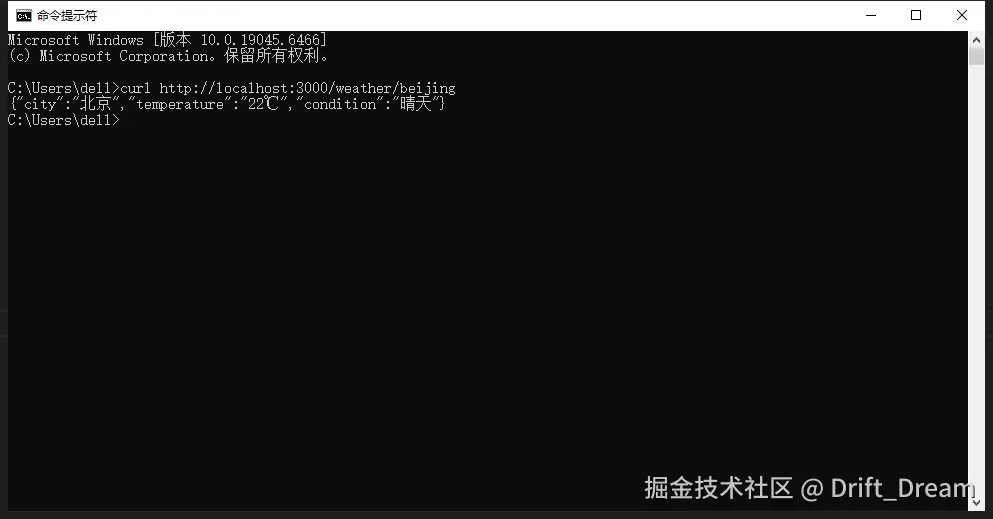
- 创建测试文件
test.js:
javascript
const http = require('http');

const options = {
  hostname: 'localhost',
  port: 3000,
  path: '/weather/beijing',
  method: 'GET'
};

const req = http.request(options, (res) => {
  let data = '';

  res.on('data', chunk => {
    data += chunk;
  });

  res.on('end', () => {
    console.log('天气数据:', JSON.parse(data));
  });
});

req.end();
知识点总结
✅ 掌握 http.createServer()创建服务器
✅ 理解 req和 res对象
✅ 学会设置响应头和状态码
✅ 能根据不同URL返回不同内容
✅ 知道如何用 nodemon热重载