【AI学习-comfyUI学习-第二十二-DepthAnythingV2深度图工作流-各个部分学习】
1,前言
最近,学习comfyUI,这也是AI的一部分,想将相关学习到的东西尽可能记录下来。
2,说明
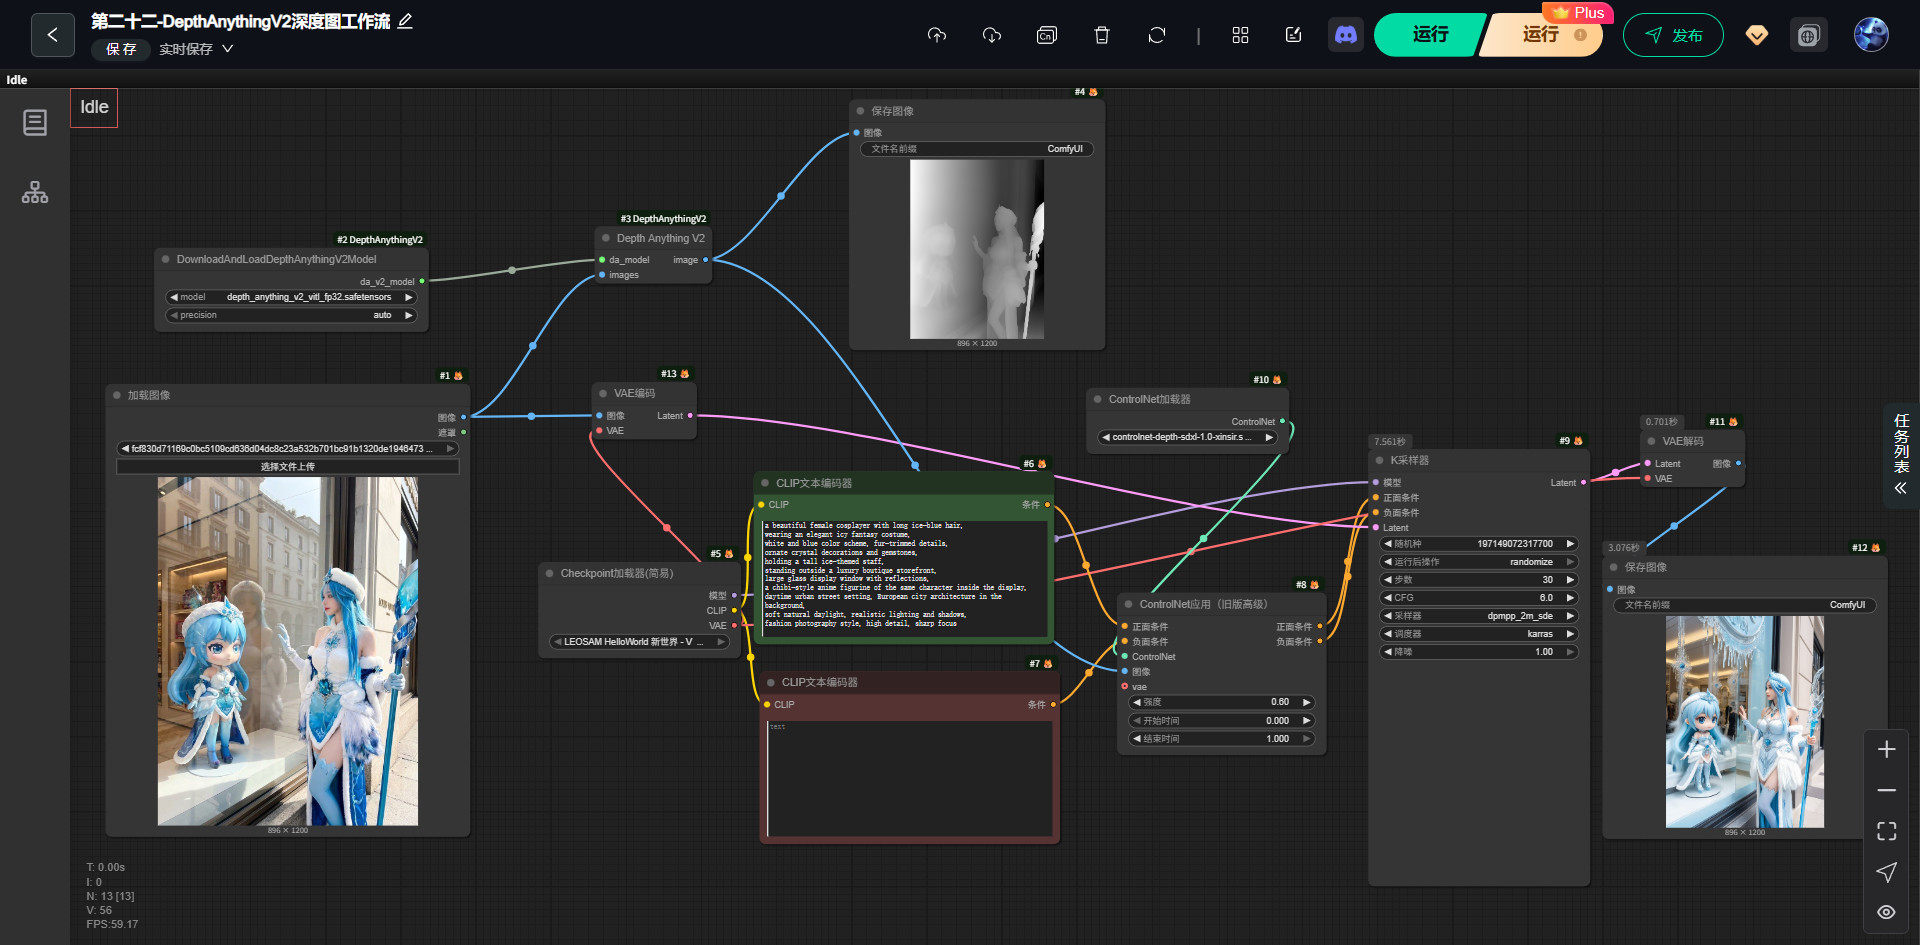
1,第二十二-DepthAnythingV2深度图工作流
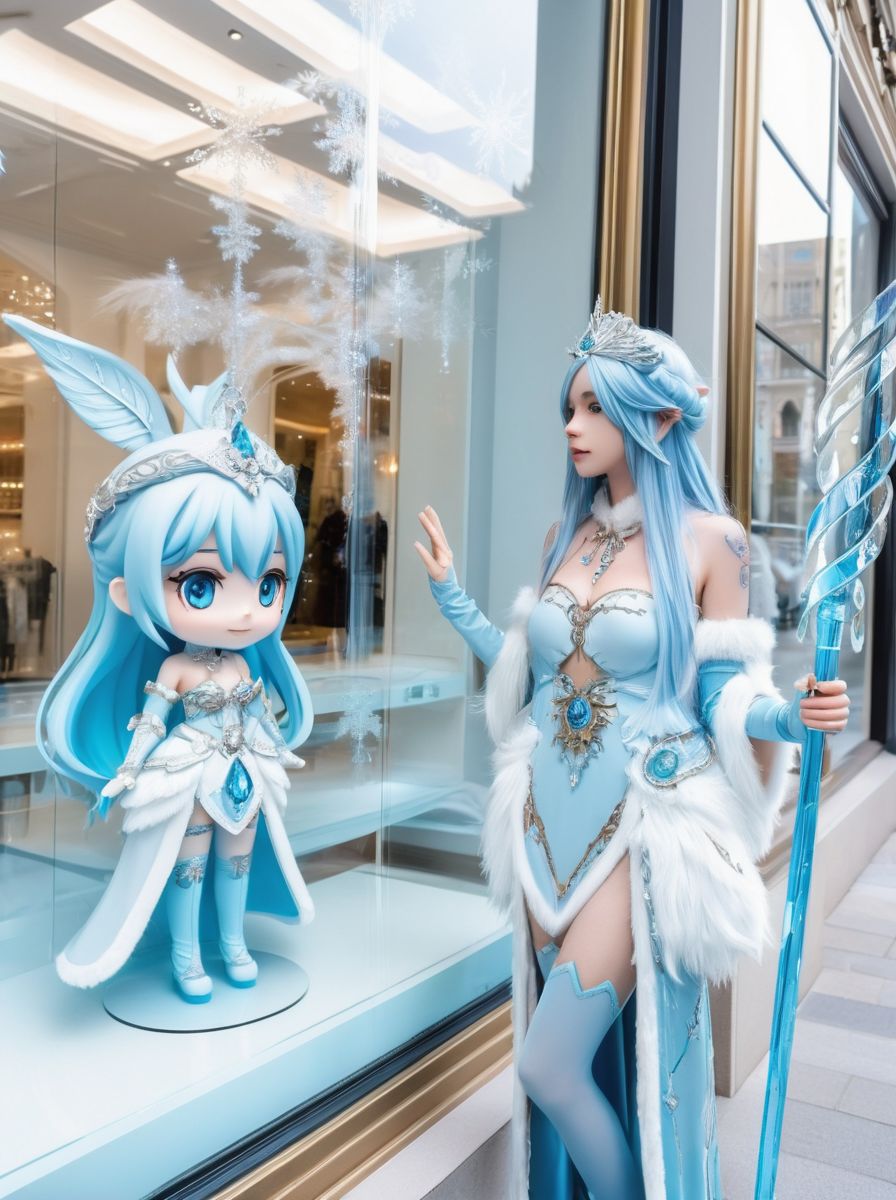
这是一套:先用 DepthAnythingV2 从真实照片中提取"空间前后关系(深度)",再通过 ControlNet 把这个空间结构强约束进扩散模型,实现"人物、前景、背景层次不跑"的可控重绘流程。
没有 Depth ControlNet 会发生什么?
-
人物和背景层次乱
-
橱窗像贴纸
-
人物"浮在空气中"
加了之后:
-
前景:Cosplayer
-
中景:橱窗
-
背景:街道建筑
空间逻辑稳定
本流程通过引入 DepthAnythingV2 模型对输入图像进行单目深度估计,并将生成的深度图作为结构约束输入至 ControlNet,在扩散生成过程中对前景人物、橱窗及背景建筑之间的空间层次进行全流程约束,从而在保持真实场景几何关系的前提下,实现高质量、结构稳定的图像重绘。
3,流程
(1)调用模块
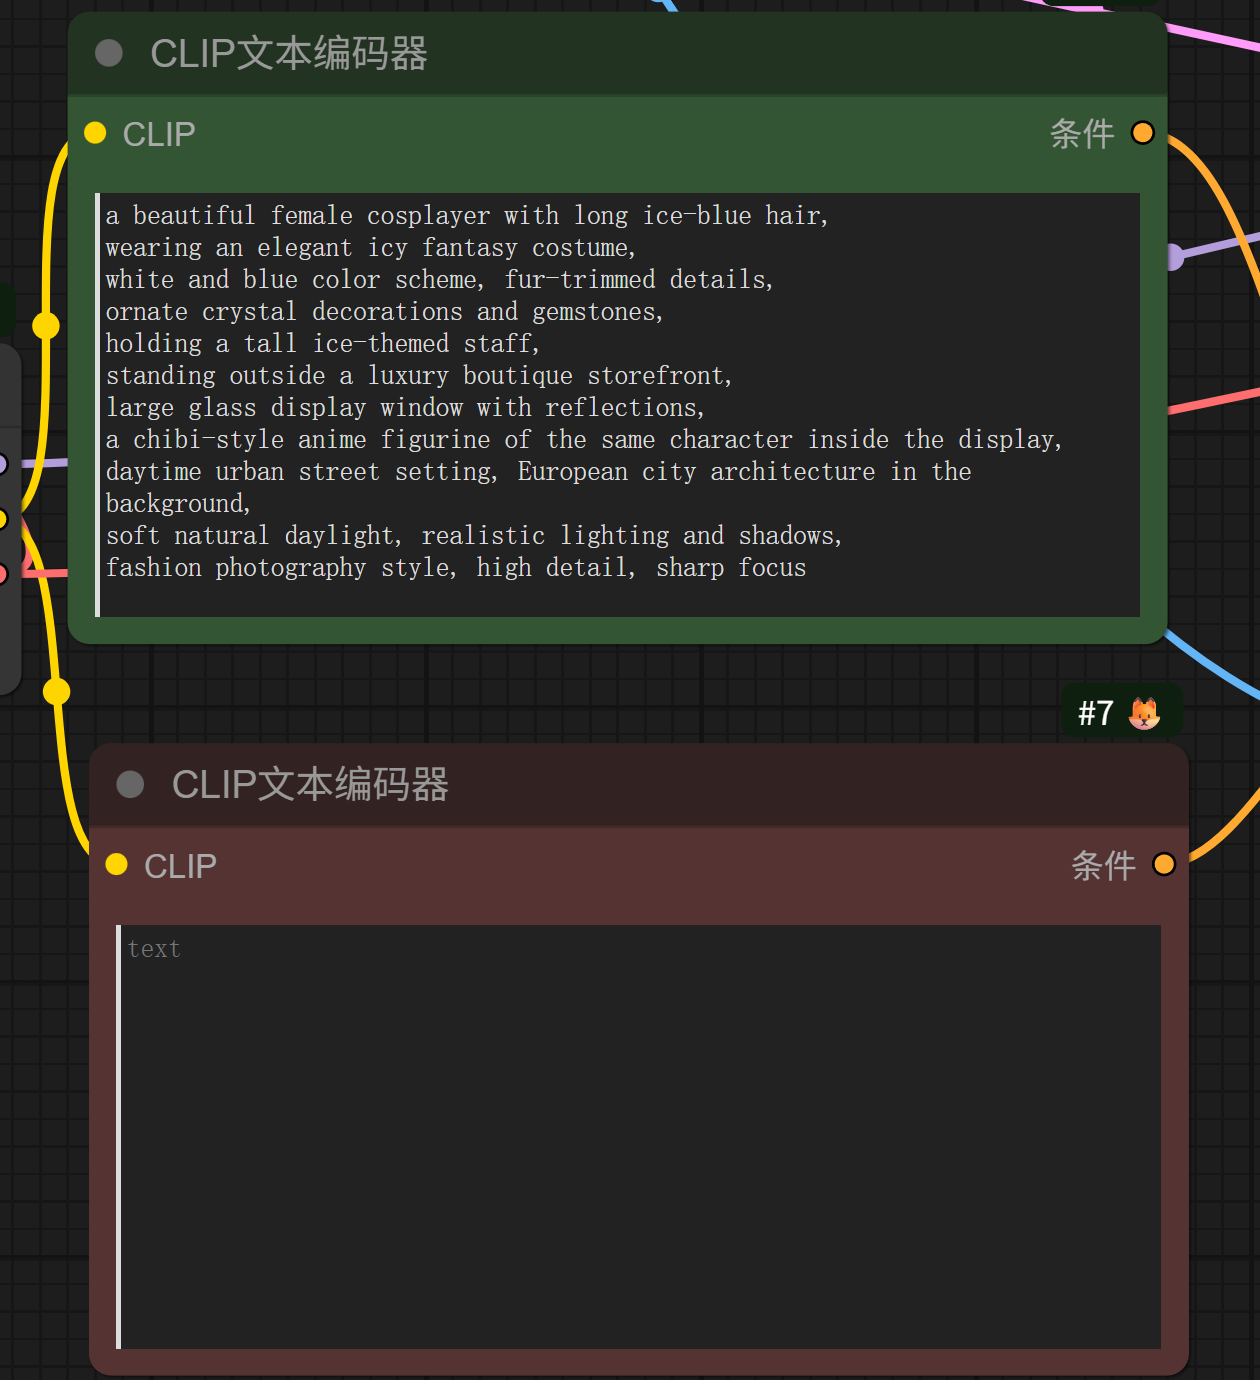
(2)输出 提示词
bash
a beautiful female cosplayer with long ice-blue hair,
wearing an elegant icy fantasy costume,
white and blue color scheme, fur-trimmed details,
ornate crystal decorations and gemstones,
holding a tall ice-themed staff,
standing outside a luxury boutique storefront,
large glass display window with reflections,
a chibi-style anime figurine of the same character inside the display,
daytime urban street setting, European city architecture in the background,
soft natural daylight, realistic lighting and shadows,
fashion photography style, high detail, sharp focus
(3)生成图片
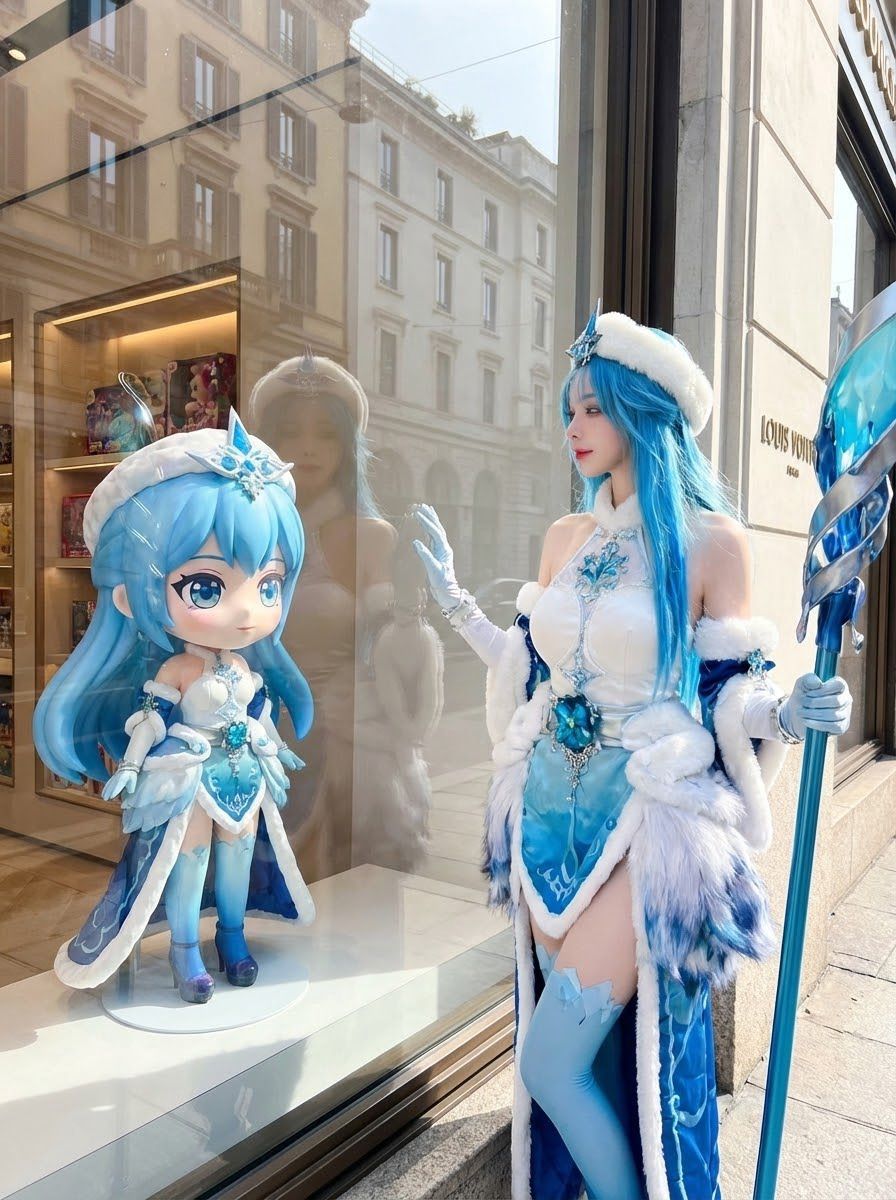
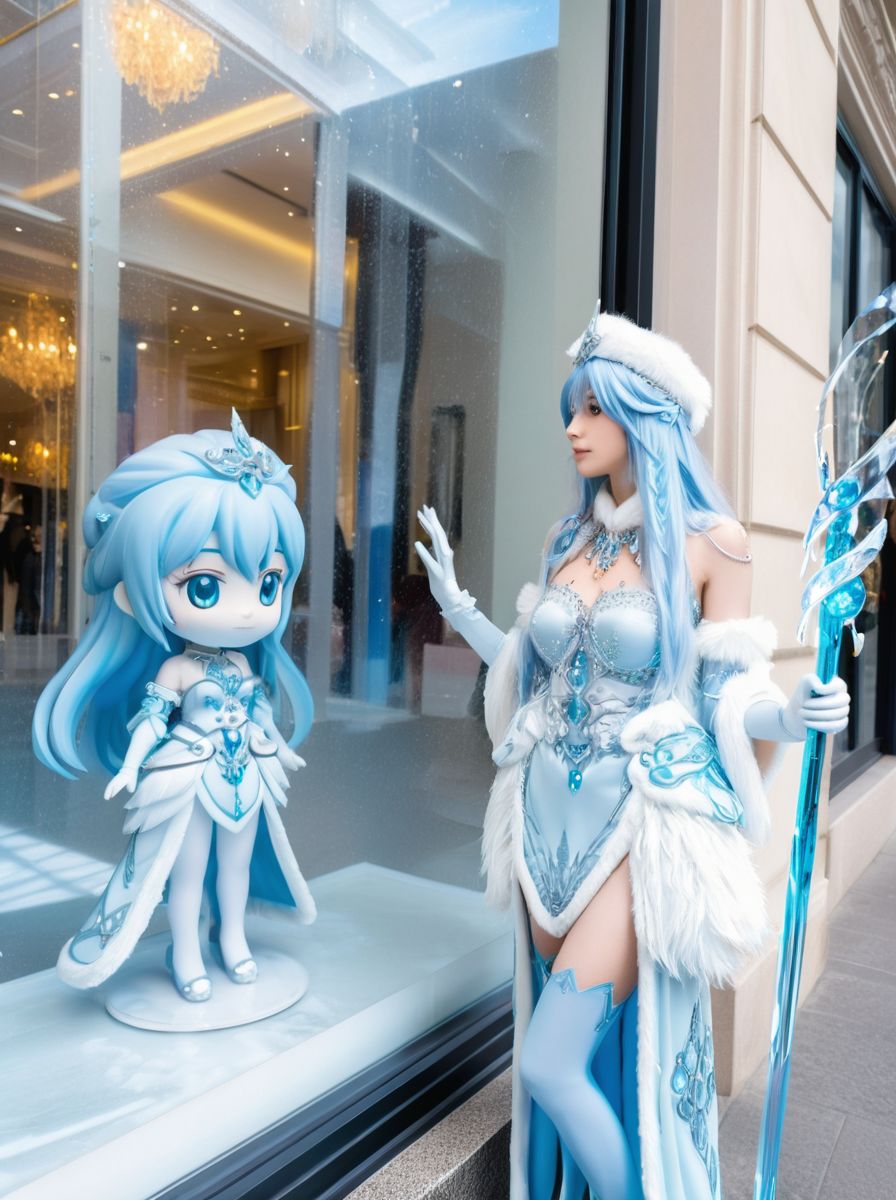
(1)原图片
(2)生成图片
(4)结构说明
bash
原始参考图
   ↓
DepthAnythingV2(生成深度图)
   ↓
ControlNet(depth 模型)
   ↓
扩散模型生成(KSampler)
   ↓
VAE 解码
   ↓
最终图像
4,模块介绍
1 加载图像(参考原图)
作用
- 输入一张真实照片(这里是:橱窗 + Cosplayer + 手办)
它在系统里的角色
-
提供:
- 真实构图
- 人物位置
- 前景 / 中景 / 背景关系
⚠️ 注意
这一步不直接决定生成效果,它只是"结构信息来源"。
2 DepthAnythingV2 模型加载
节点
DownloadAndLoadDepthAnythingV2Model
depth_anything_v2_vitl_fp32.safetensors
这个模型是干嘛的?
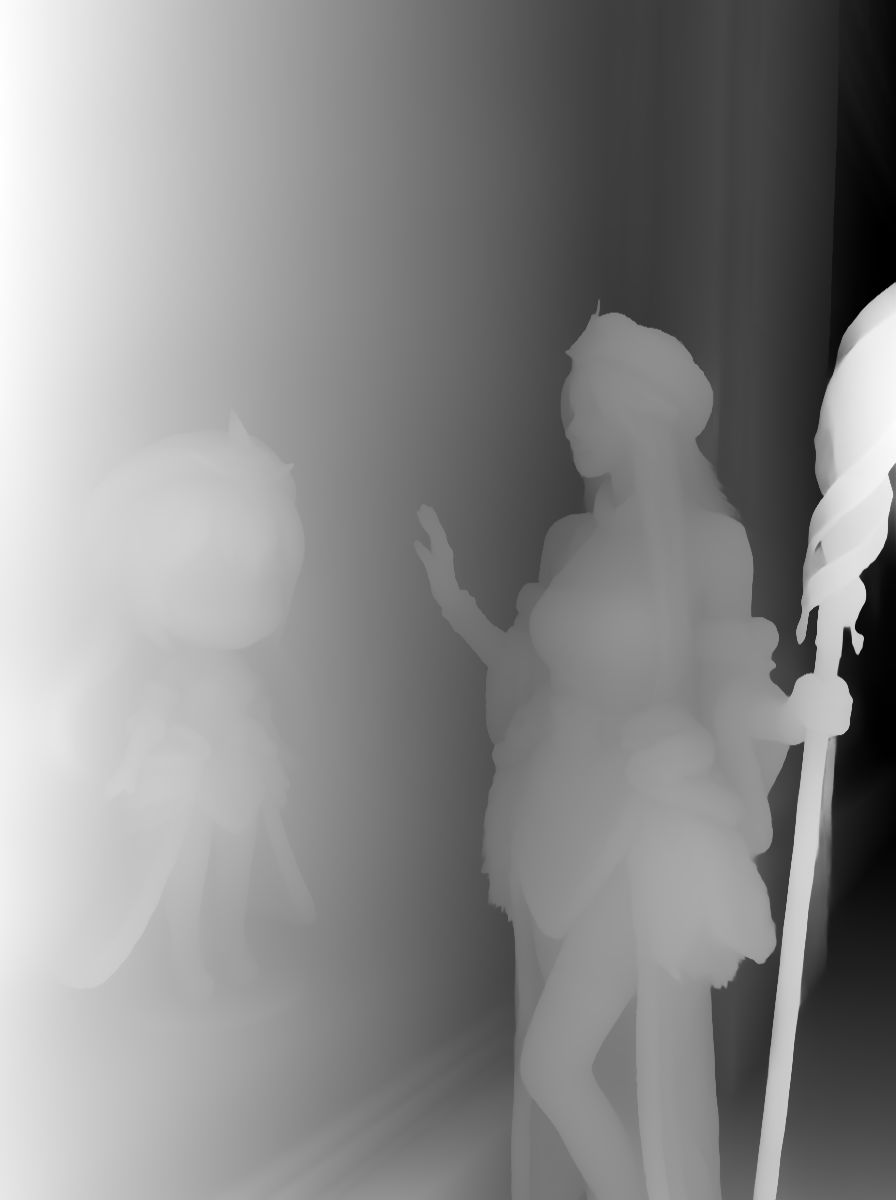
从一张 RGB 图片,预测每个像素"离相机有多远"
输出的是:
-
一张 灰度深度图
- 白色:近
- 黑色:远
📌 特点(很重要):
- 不依赖双目
- 不需要真实深度传感器
- 对人物、建筑、橱窗玻璃都很稳
3 DepthAnythingV2 推理节点
输入
- 原始图像
- 已加载的 DepthAnythingV2 模型
输出
- Depth Map(深度图)
在右上角看到的那张黑白图就是它。
👉 这张图不是给人看的,是给 ControlNet 用的
5️⃣ ControlNet(Depth 专用)
用的模型
controlnet-depth-sdxl / sd15(深度)它学的是什么?
"当我看到这种深度分布时,生成的图像前后关系应该保持一致"
也就是说:
- 谁在前
- 谁在后
- 背景不能"跳到前面"
📌 它 不关心:
- 颜色
- 服装细节
- 风格
只关心:
👉 空间结构
5,细节部分
1,描述词要是短的话,质量低下
2,不同模型风格不一样,图像崩坏可能
6,工作流链接
https://download.csdn.net/download/qq_22146161/92492695
7,总结
这也算各一个开始吧,我也在学习摸索中。