一、环境准备
1、主机环境
前提每台机器必须安装docker
| 主机 | 服务 | 配置 |
|---|---|---|
| 192.168.10.22 | jenkins:2.480、redis-7.4.1、mysql-8.0.39、spring boot、nginx-1.2.6.2 | 虚拟机最少2C 8G |
| 192.168.10.17 | docker-20.10.18、gitlab-10.7.5 | 1C 4G |
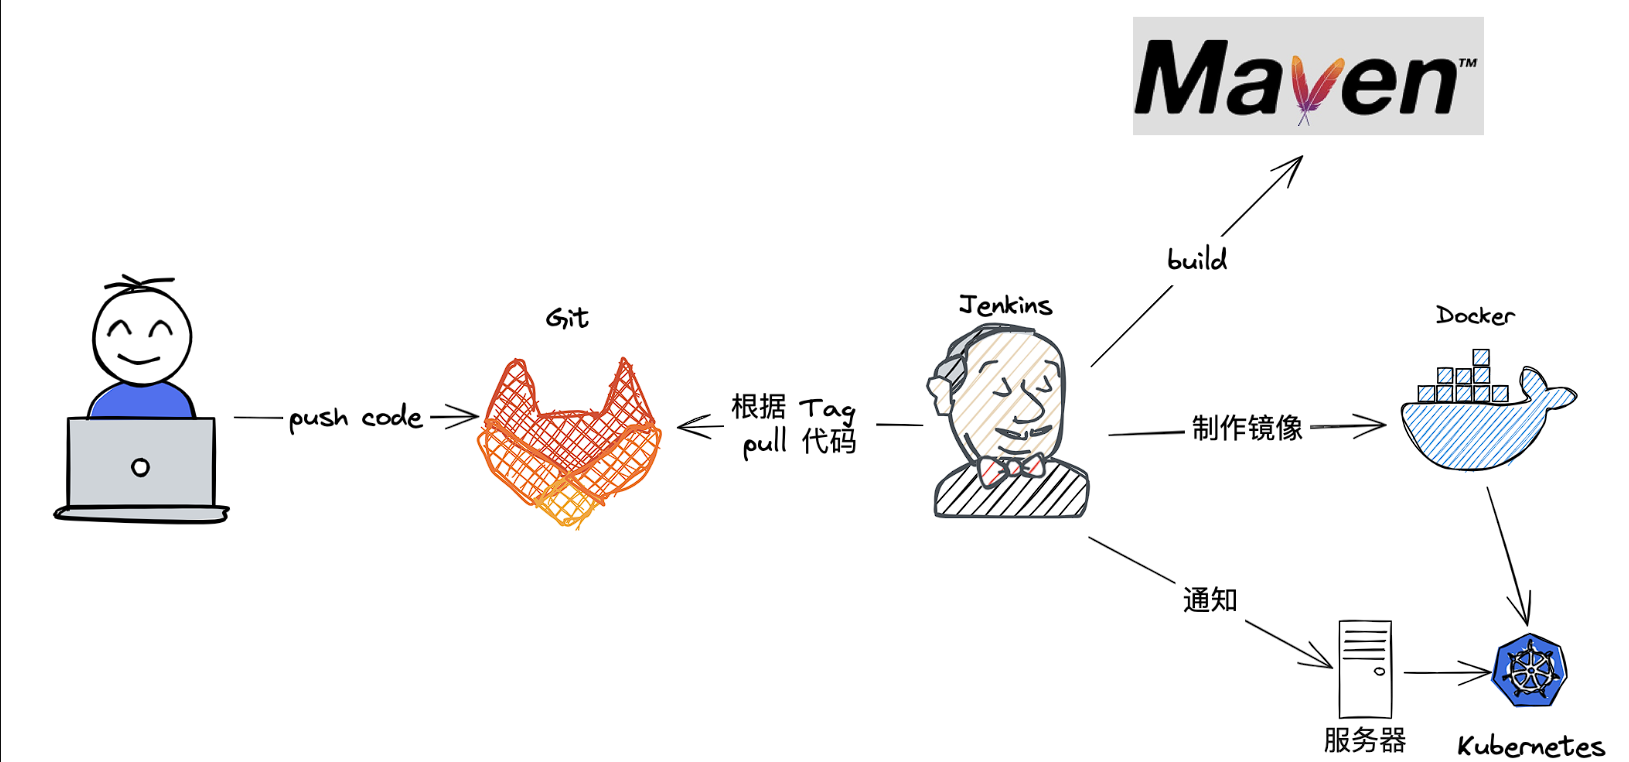
2、jenkins 流程
3、docker安装
bash
#安装依赖包
yum install -y yum-utils device-mapper-persistent-data lvm2
#设置阿里云镜像源
yum-config-manager --add-repo https://mirrors.aliyun.com/docker-ce/linux/centos/docker-ce.repo
#安装 Docker-CE 并设置为开机自动启动
yum install -y docker-ce-20.10.18 docker-ce-cli-20.10.18 containerd.io

systemctl start docker.service
systemctl enable docker.service

#配置 Docker 使用华为镜像加速器来提高镜像下载速度。
mkdir -p /etc/docker
tee /etc/docker/daemon.json <<-'EOF'
{
  "registry-mirrors": [ "https://0a40cefd360026b40f39c00627fa6f20.mirror.swr.myhuaweicloud.com" ]
}
EOF
systemctl daemon-reload
systemctl restart docker
二、部署与配置gitlab
1、下载gitlab镜像
bash
docker pull beginor/gitlab-ce2、创建数据卷,把gitlab配置文件、数据与log日志挂载出来
bash
[root@gitlab opt] mkdir -p /data/gitlab/etc/ /data/gitlab/log/ /data/gitlab/data
[root@gitlab opt] chmod 777 /data/gitlab/etc/ /data/gitlab/log/ /data/gitlab/data/
3、创建临时gitlab容器,保存修改配置文件
bash
docker run -itd --name=gitlab \
--restart=always \
--privileged=true \
-p 8443:443 \
-p 80:80 \
-p 222:22 \
-v /data/gitlab/etc:/etc/gitlab \
-v /data/gitlab/log:/var/log/gitlab \
-v /data/gitlab/data:/var/opt/gitlab \
beginor/gitlab-ce
4、查看gittlab
bash
docker ps -a
#利用-v挂载的原理,把临时gitlab 容器的配置共享出来,如下:
[root@gitlab opt] cd /data/gitlab/
[root@gitlab gitlab] ls *
data:
backups  git-data  gitlab-ci  gitlab-rails  gitlab-shell  postgresql  redis  trusted-certs-directory-hash

etc:
gitlab.rb            ssh_host_ecdsa_key      ssh_host_ed25519_key      ssh_host_rsa_key      trusted-certs
gitlab-secrets.json  ssh_host_ecdsa_key.pub  ssh_host_ed25519_key.pub  ssh_host_rsa_key.pub

log:
gitlab-rails  gitlab-shell  postgresql  reconfigure  redis  sshd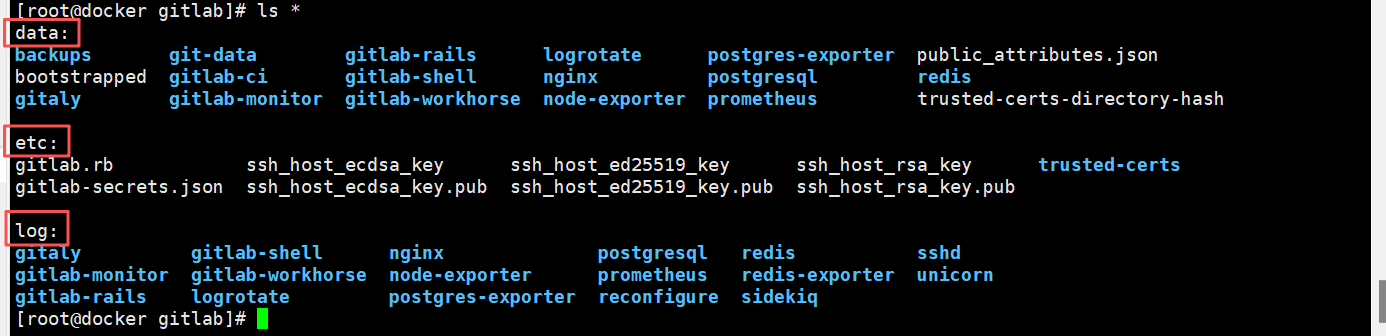
5、修改配置文件
bash
#先关闭gitlab
1) #修改监听地址external_url 'http://192.168.10.17'
[root@gitlab gitlab] sed -i "/external_url 'GENERATED_EXTERNAL_URL'/a external_url\t'http://192.168.10.17' " /data/gitlab/etc/gitlab.rb
#查看是否修改成功
[root@gitlab gitlab] cat /data/gitlab/etc/gitlab.rb | grep external_url
##! For more details on configuring external_url see:
 external_url 'GENERATED_EXTERNAL_URL'
external_url 'http://192.168.10.17'
 registry_external_url 'https://registry.gitlab.example.com'
 pages_external_url "http://pages.example.com/"
 gitlab_pages['artifacts_server_url'] = nil  Defaults to external_url +
'/api/v4'
 mattermost_external_url 'http://mattermost.example.com'
bash
2)#修改gitlab远程登录的主机
[root@gitlab gitlab] sed -i "/gitlab_ssh_host/a gitlab_rails['gitlab_ssh_host']= '192.168.10.17' " /data/gitlab/etc/gitlab.rb
#验证
[root@master gitlab] cat /data/gitlab/etc/gitlab.rb |grep gitlab_ssh_host
# gitlab_rails['gitlab_ssh_host'] = 'ssh.host_example.com'
gitlab_rails['gitlab_ssh_host'] = '192.168.10.17'
bash
3) #修改gitlab 远程登录的端口 :
[root@gitlab gitlab] sed -i "/gitlab_shell_ssh_port/a gitlab_rails['gitlab_shell_ssh_port'] = 222" /data/gitlab/etc/gitlab.rb
验证
[root@gitlab gitlab] cat /data/gitlab/etc/gitlab.rb | grep gitlab_shell_ssh
 gitlab_rails['gitlab_shell_ssh_port'] = 22
gitlab_rails['gitlab_shell_ssh_port'] = 222
以上配置重启gitlab容器并访问192.168.10.17主机
root@gitlab gitlab# docker start gitlab
gitlab
root@gitlab gitlab# docker ps

5、初始化gitlab 的账户密码
访问主机IP地址+gitLab容器映射端口号80 (192.168.10.17:80)
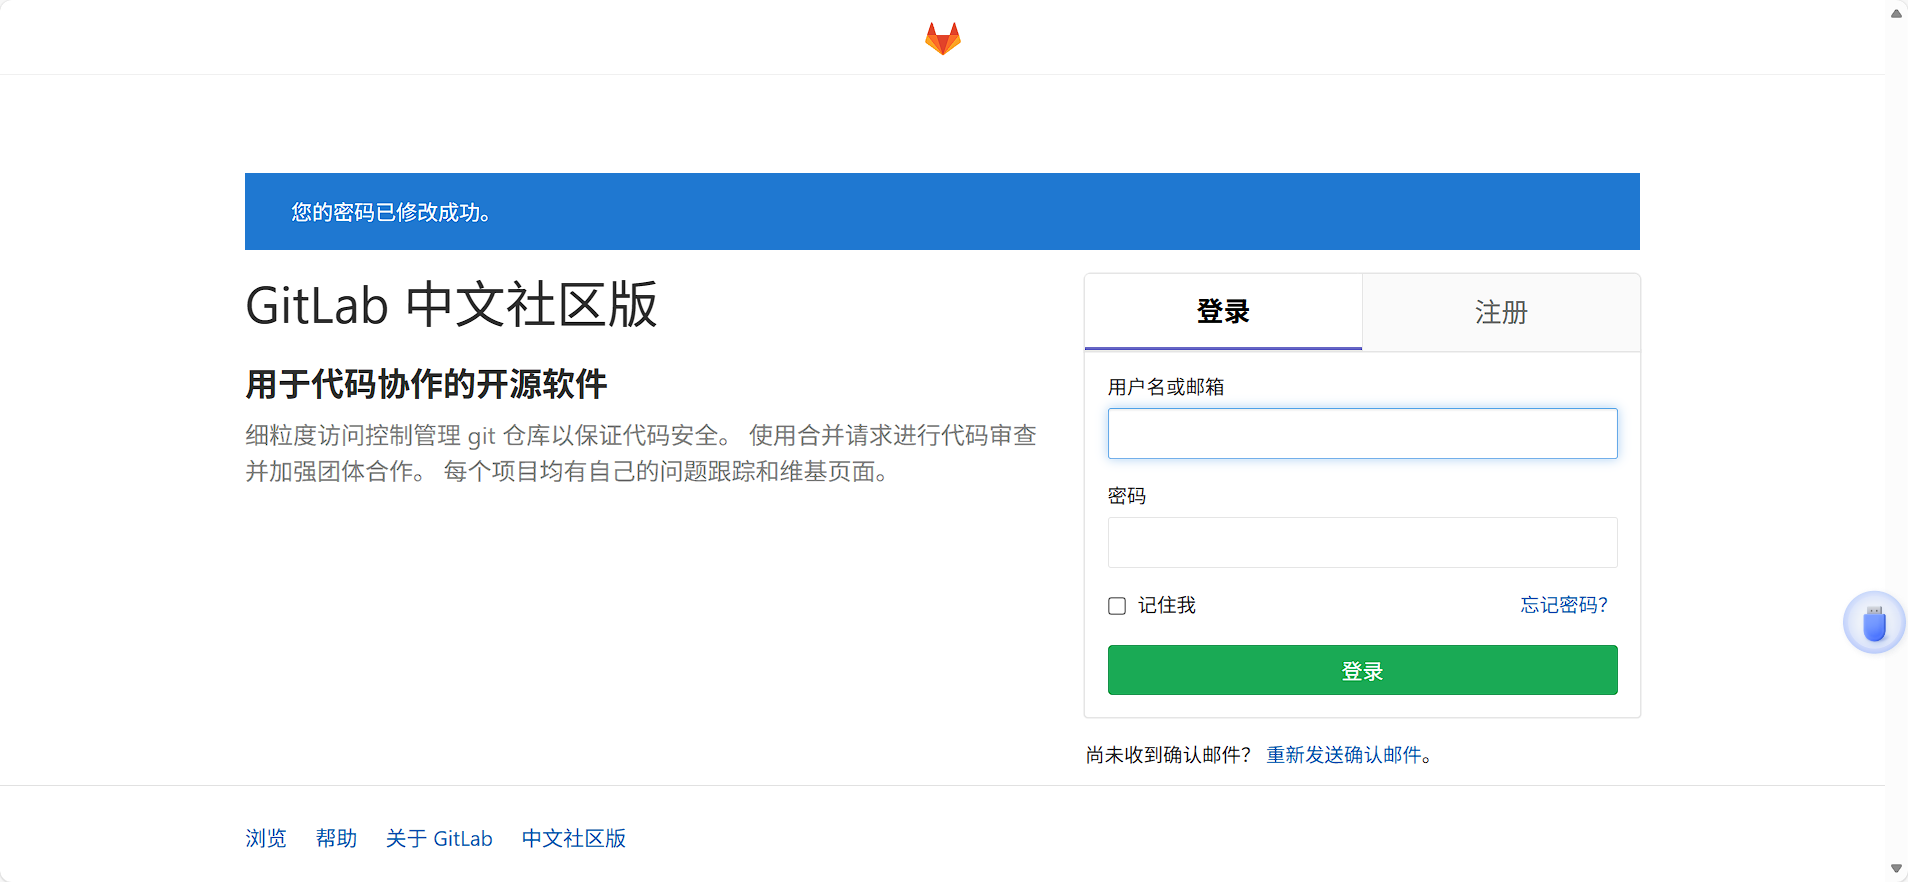
6、使用root 账号 + 新设密码登录
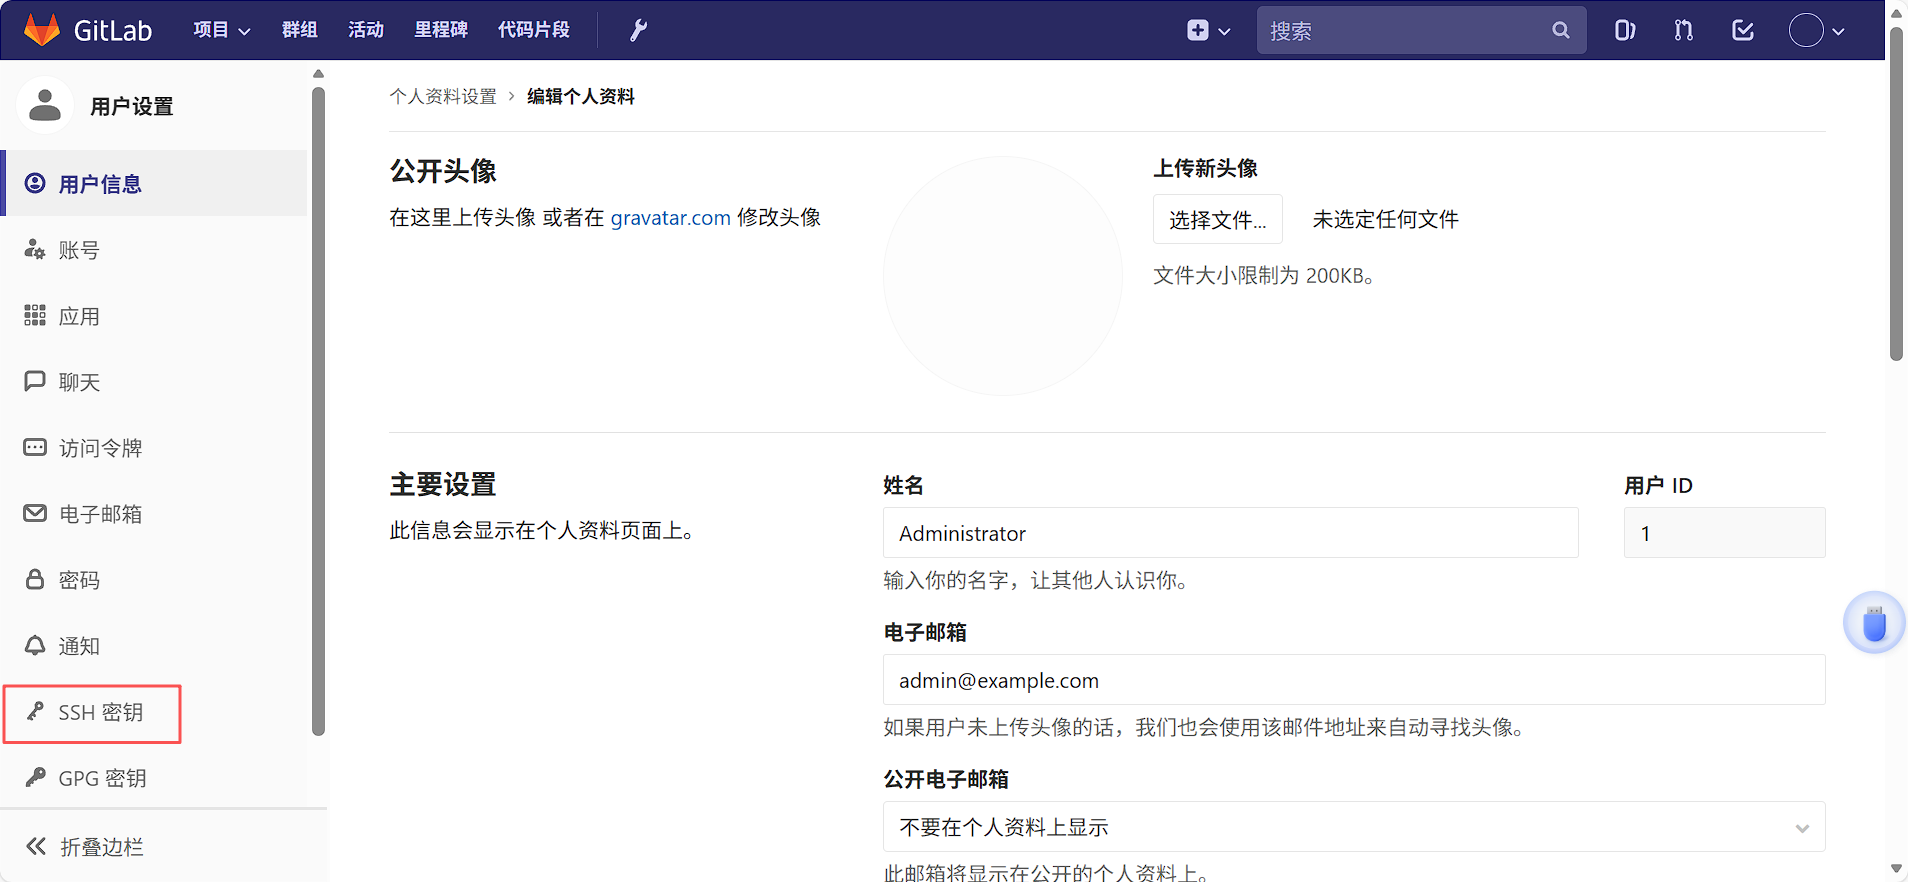
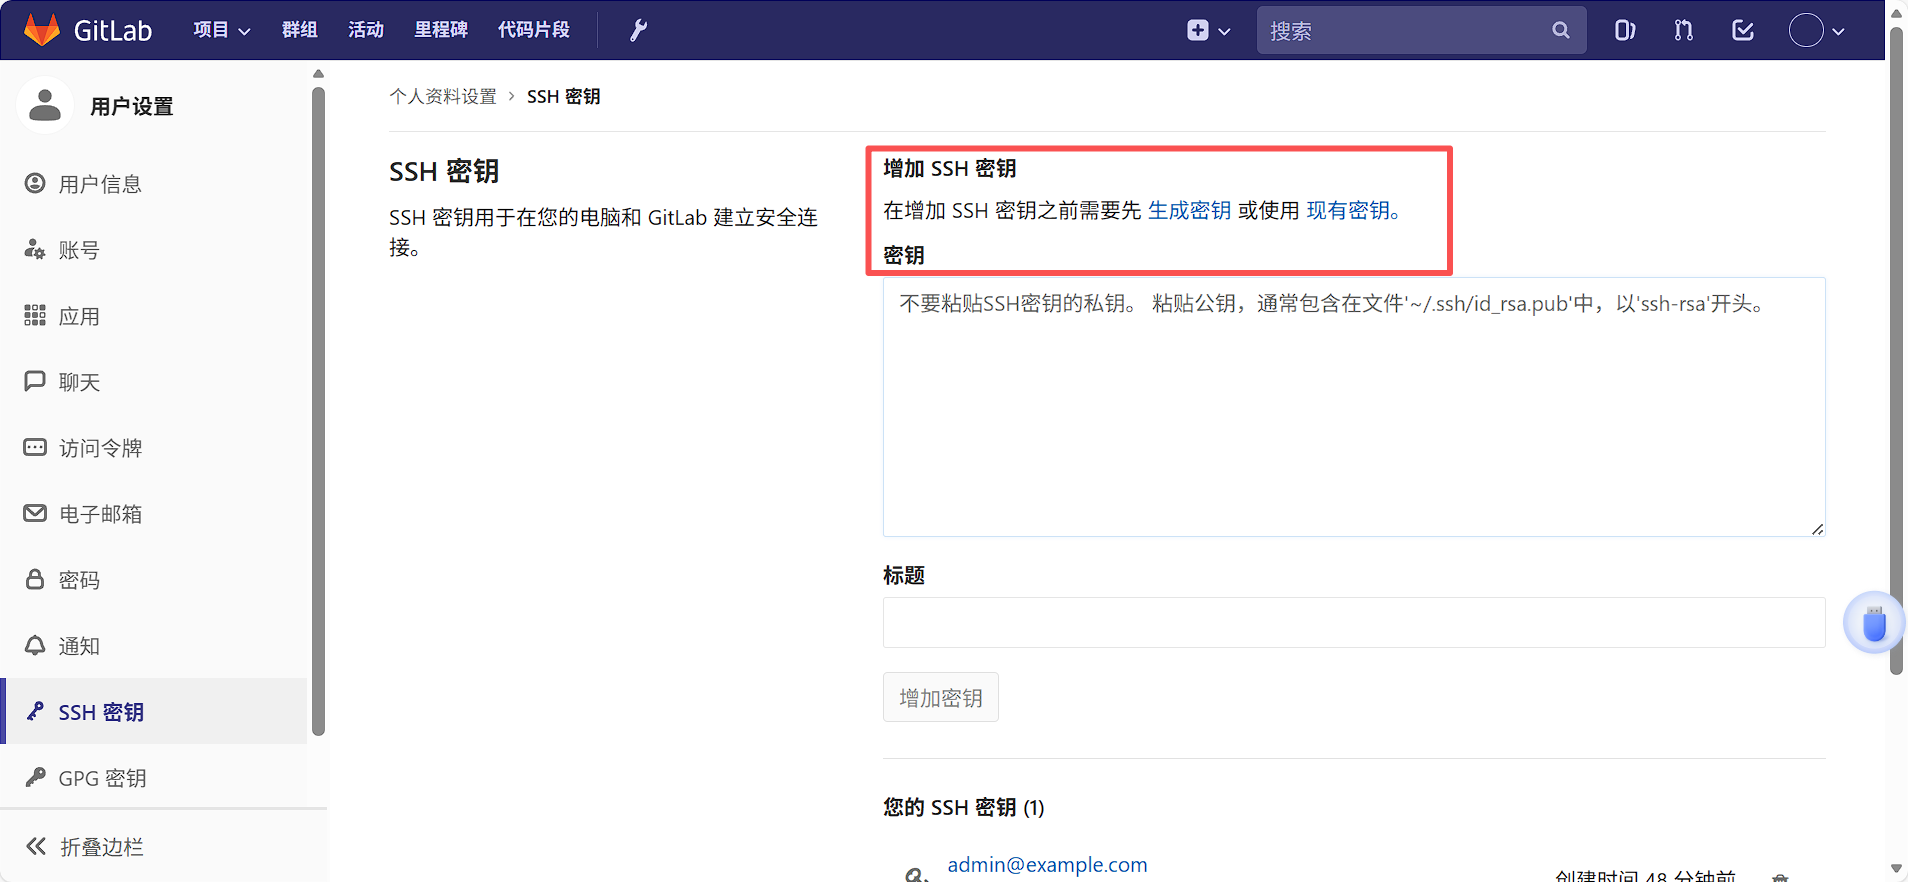
7、配置SSH密钥
输入 ssh-keygen -t rsa -b 4096 -C "admin@example.com"
bash
[root@docker opt] ssh-keygen -t rsa -b 4096 -C "admin@example.com" # 邮箱填你之前配置的 git email
Generating public/private rsa key pair.
Enter file in which to save the key (/root/.ssh/id_rsa):
Enter passphrase (empty for no passphrase):
Enter same passphrase again:
Your identification has been saved in /root/.ssh/id_rsa.
Your public key has been saved in /root/.ssh/id_rsa.pub.
The key fingerprint is:
SHA256:YA7Qy8O4v4dTk7eu+DApyNneFYO7Zd57S+/04qt9wfQ admin@example.com
The key's randomart image is:
+---[RSA 4096]----+
| .. |
| .. |
| +..o |
| . =+.. . |
| . o.+S o .|
|..+ .= + oE|
|.o.o++ * . . . .|
| ..=+B o ..+... |
| .oBo+.ooo=*+. |
+----[SHA256]-----+
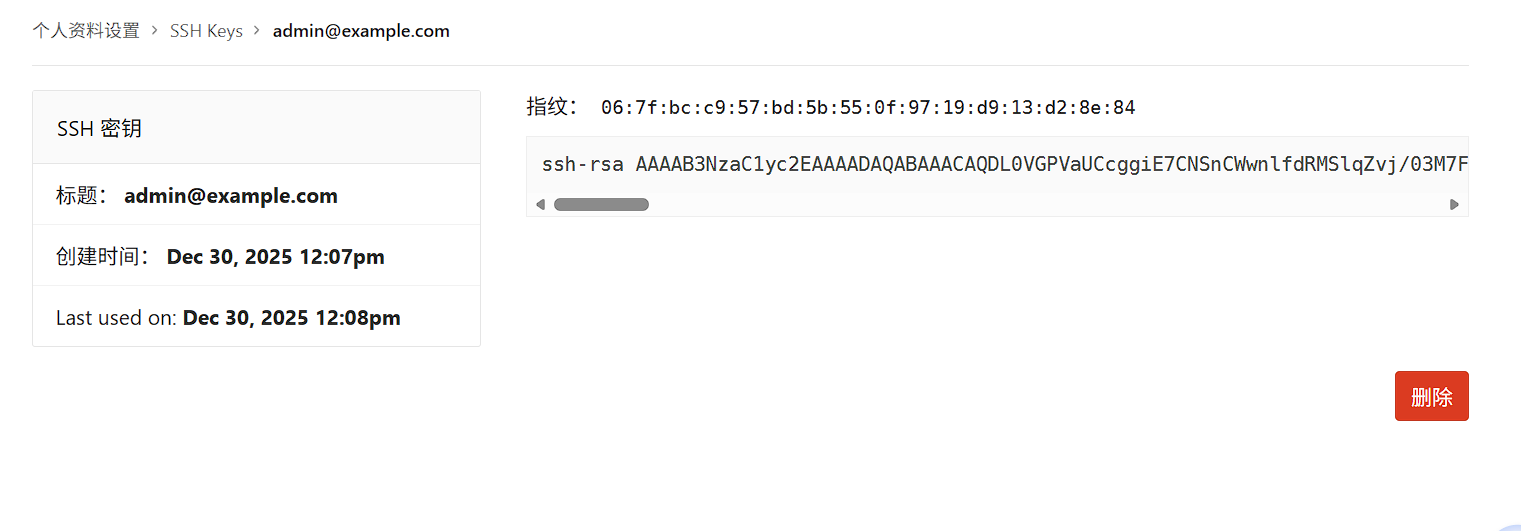
[root@docker opt]# cat ~/.ssh/id_rsa.pub
#查看自己的私钥对 一般是由rsa开头在gitlab -ui界面中配置ssh密钥
8、前后端代码下载上传
8.1、下载若依项目
https://gitee.com/y_project/RuoYi-Vue
下载 命令
bash
git clone https://gitee.com/y_project/RuoYi-Vue.git8.2 查看若依项目
 编辑
编辑
8.3 上传 若依项目 到 gitlab
bash
$ cd RuoYi-Vue/
#在当前目录初始化一个 Git 本地仓库。
git init

#为本地仓库添加一个远程仓库地址,名称为 origin。
git remote add origin http://192.168.10.17/root/ruoyi-server.git

#将当前目录下的所有文件加入暂存区。
git add .

#将暂存区的文件提交到本地仓库,并添加提交说明"Initial commit"。
git commit -m "Initial commit"

#将本地 master 分支推送到远程仓库 origin,并建立默认的上游分支关联。
git push -u origin master

顺序  初始化本地 Git 仓库 → 关联远程仓库 → 提交代码 → 推送到远程仓库
注意 :
如果中途添加本地仓库地址有报错原因是 当前 Git 仓库中已经存在名为 origin 的远程仓库,所以不能重复添加
bash
git remote -v #查看已有的远程仓库解决方式
bash
方式一
#只是修改 origin 的地址(最常见)
git remote set-url origin http://192.168.10.80/root/ruoyi.git
方式二
#先删除再重新添加
git remote remove origin
git remote add origin http://192.168.10.80/root/ruoyi-server.git
最后改完直接上传
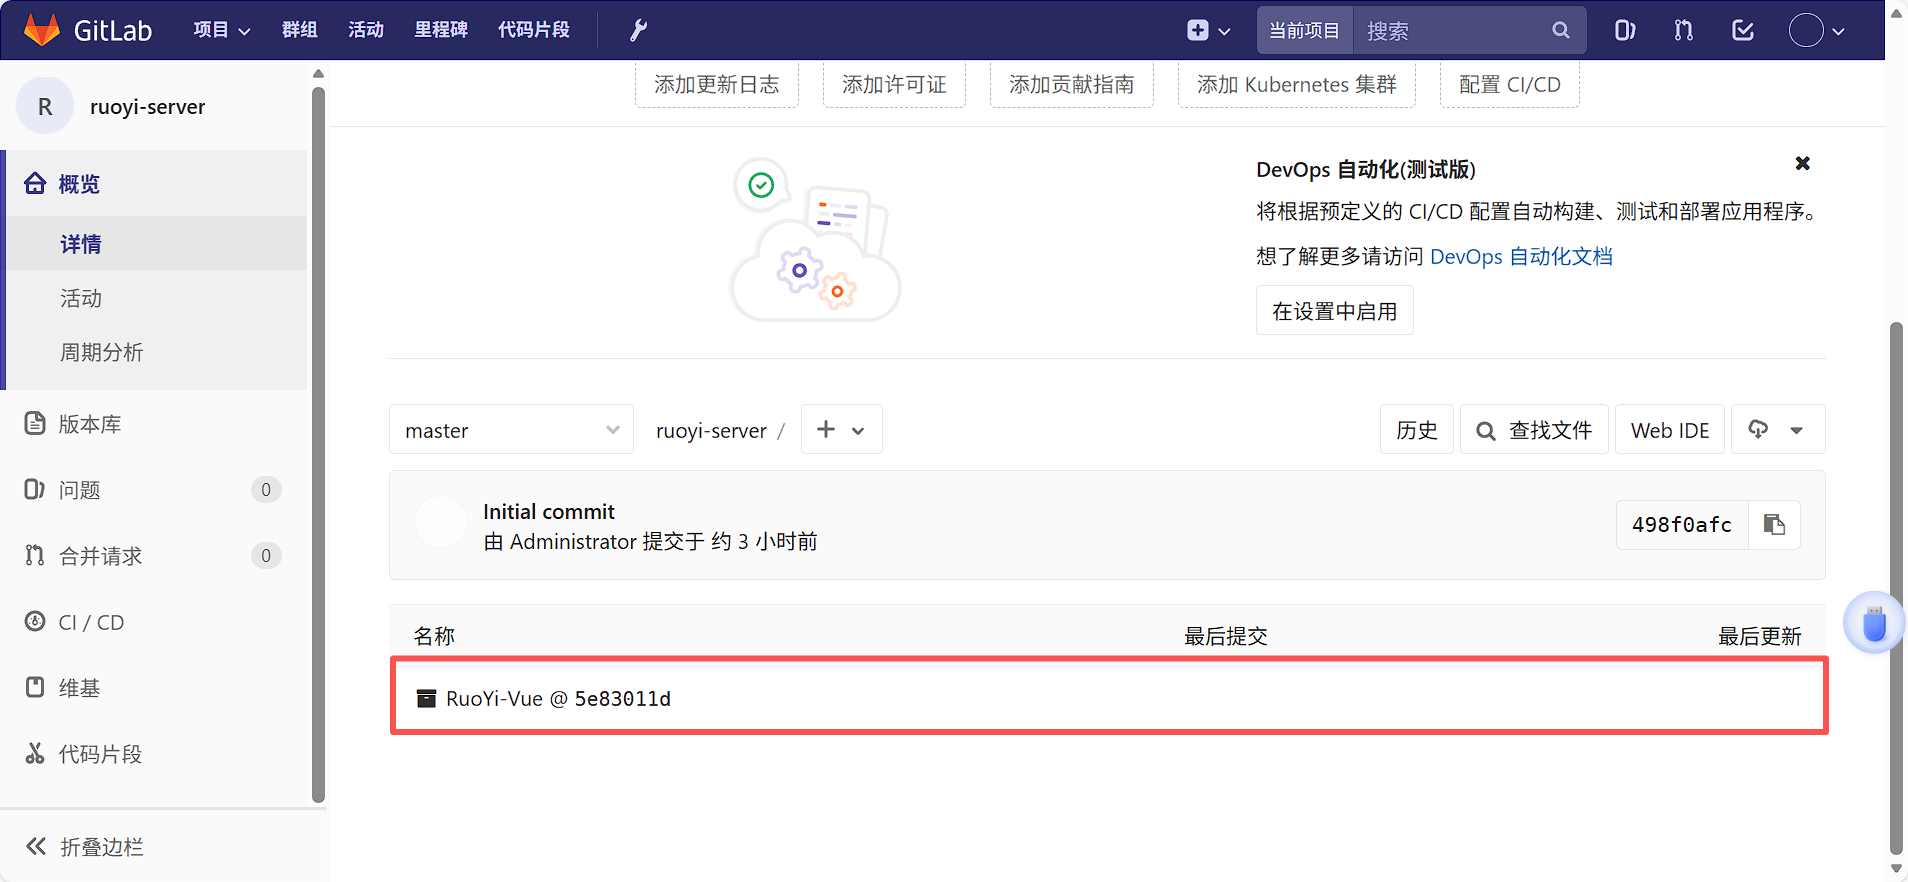
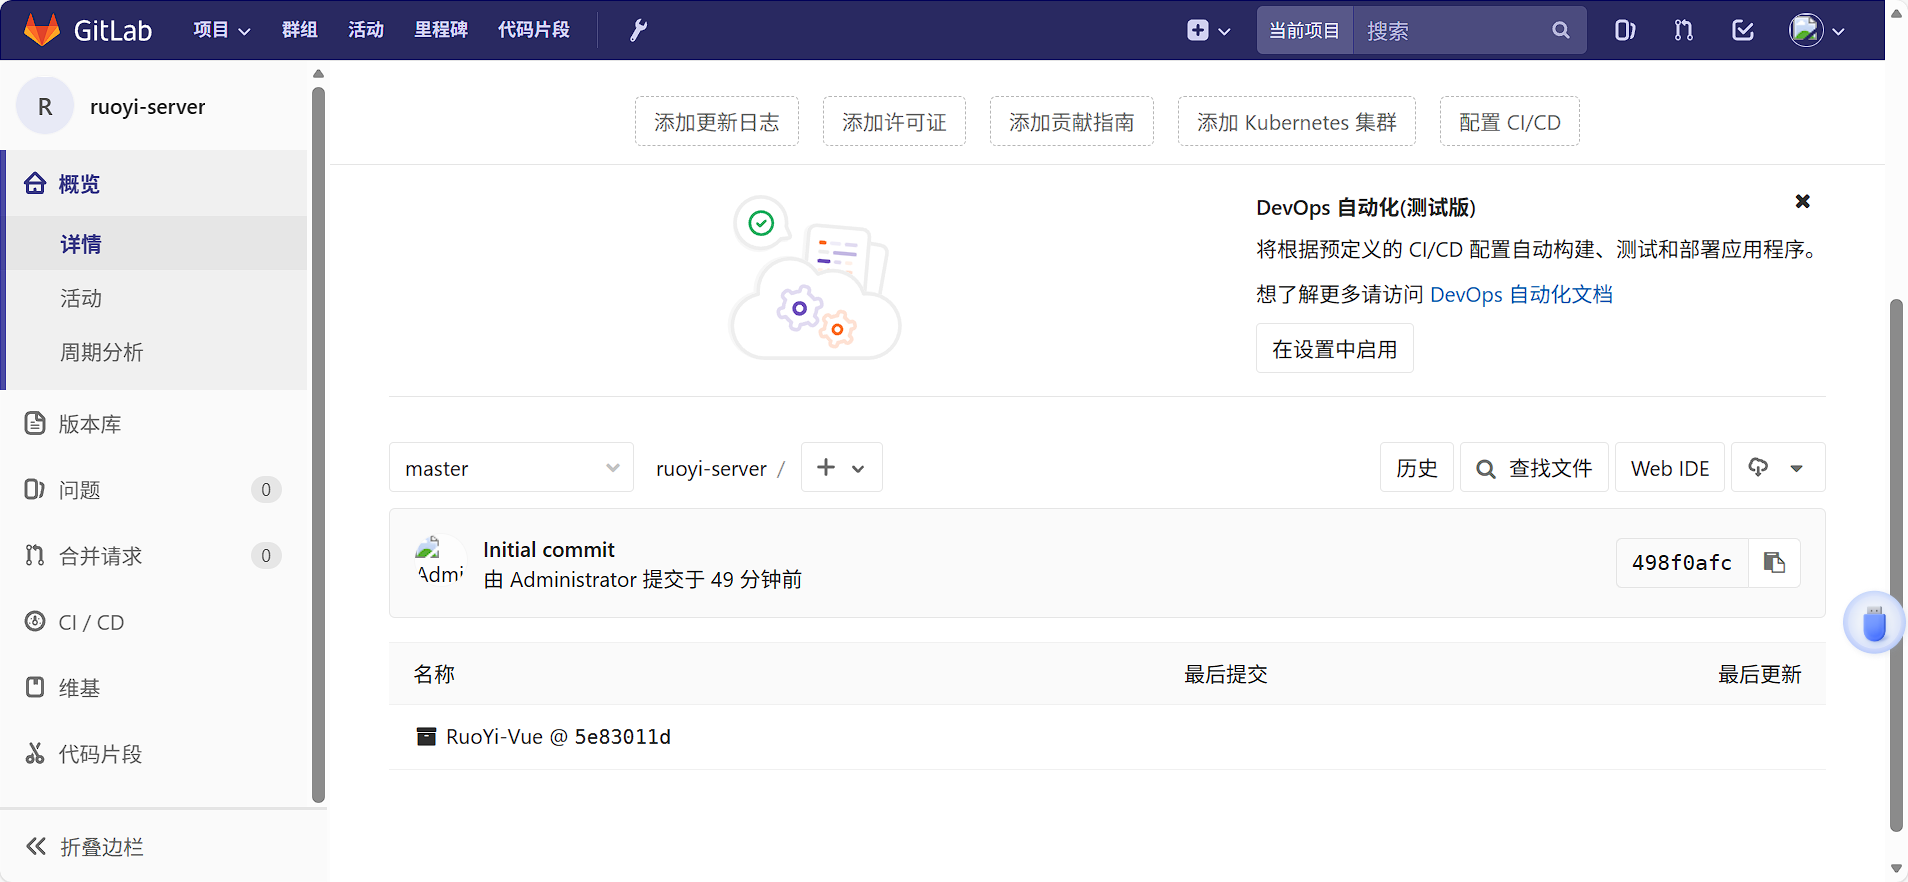
git push -u origin master ③ 在gitlab上查看项目