1.下载地址
GitHub源码地址:https://github.com/CVHub520/X-AnyLabeling/tree/main
2.下载之后解压,用pycharm打开。
创建一个新的环境以作区分
conda create -n xanylabelingapp python=3.9安装必须的包,镜像源安装更快一些(使用哪个源都可以)
pip install numpy pandas -i https://pypi.tuna.tsinghua.edu.cn/simple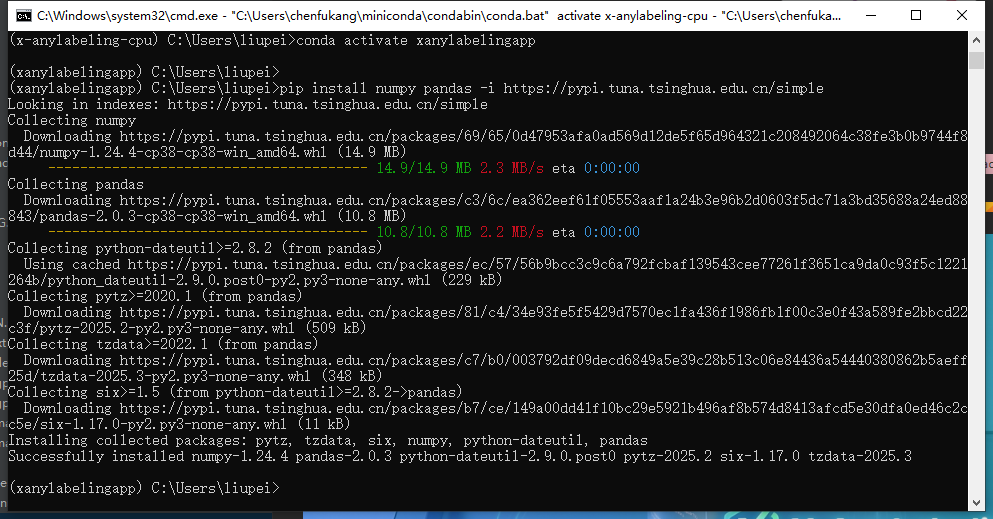
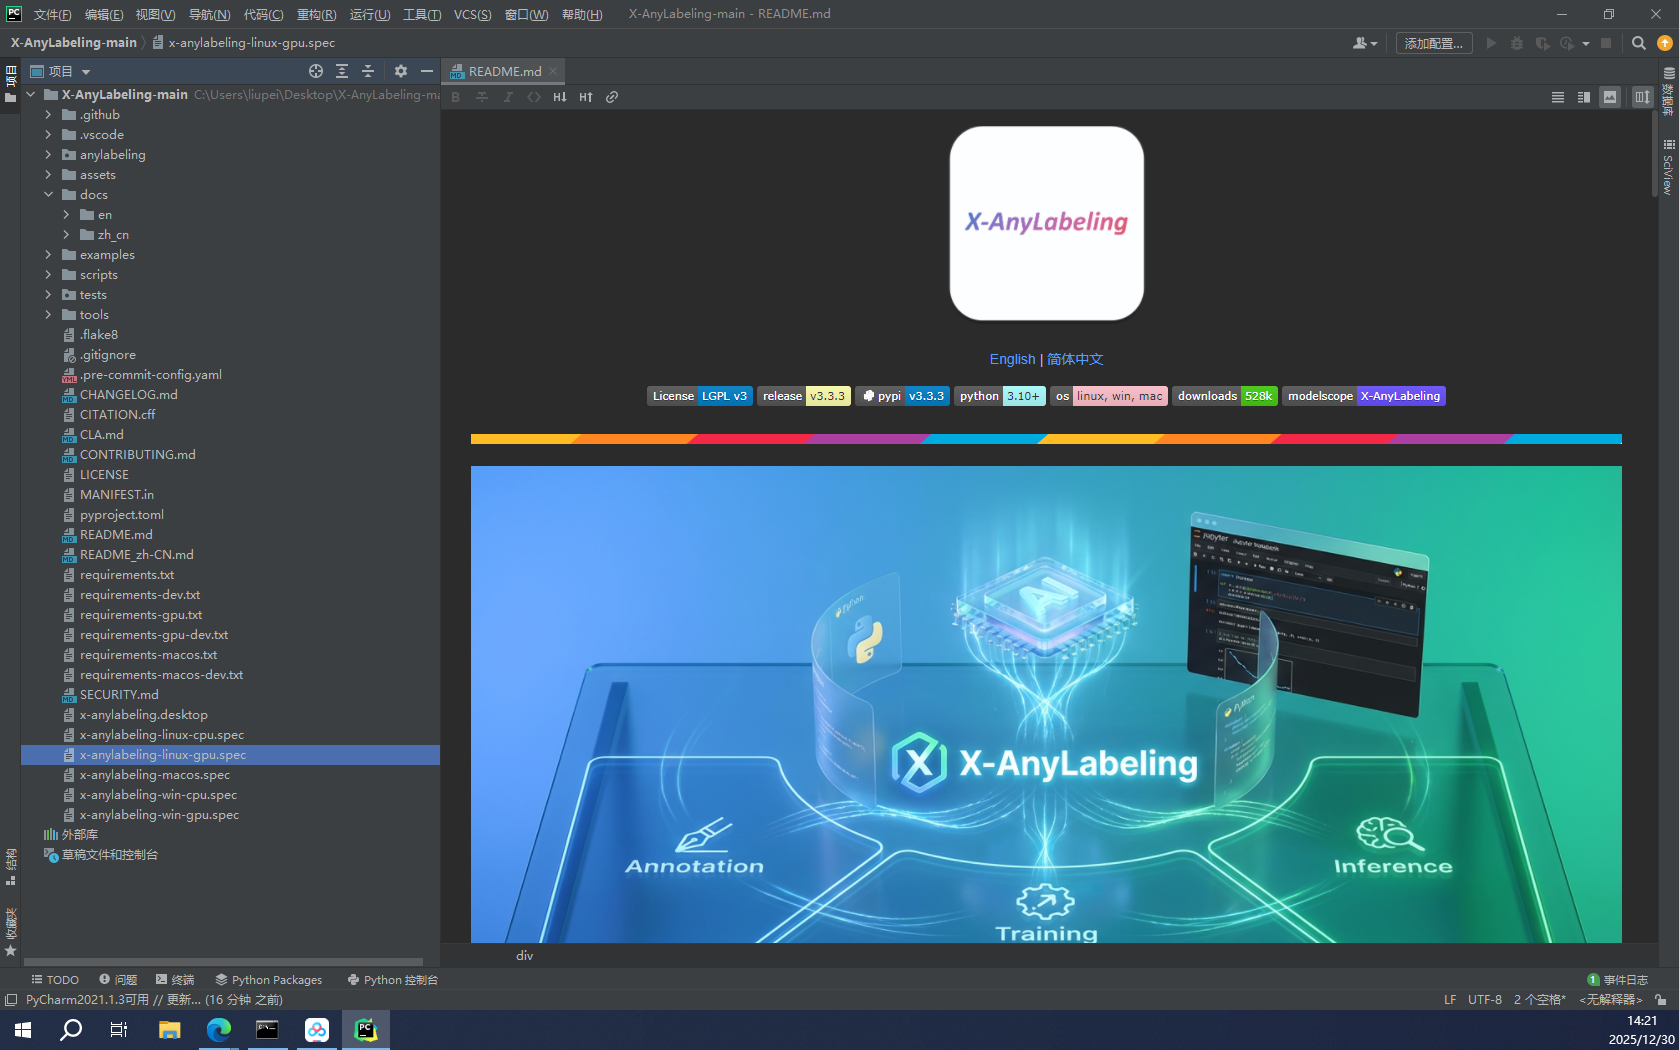
3.pycharm打开下载后解压的包,如下
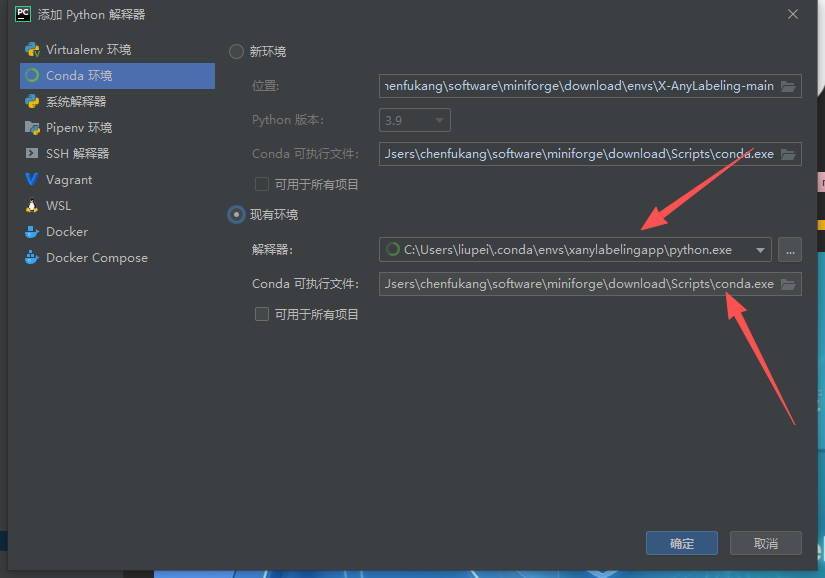
 添加解释器,选择你刚刚创建的环境即可
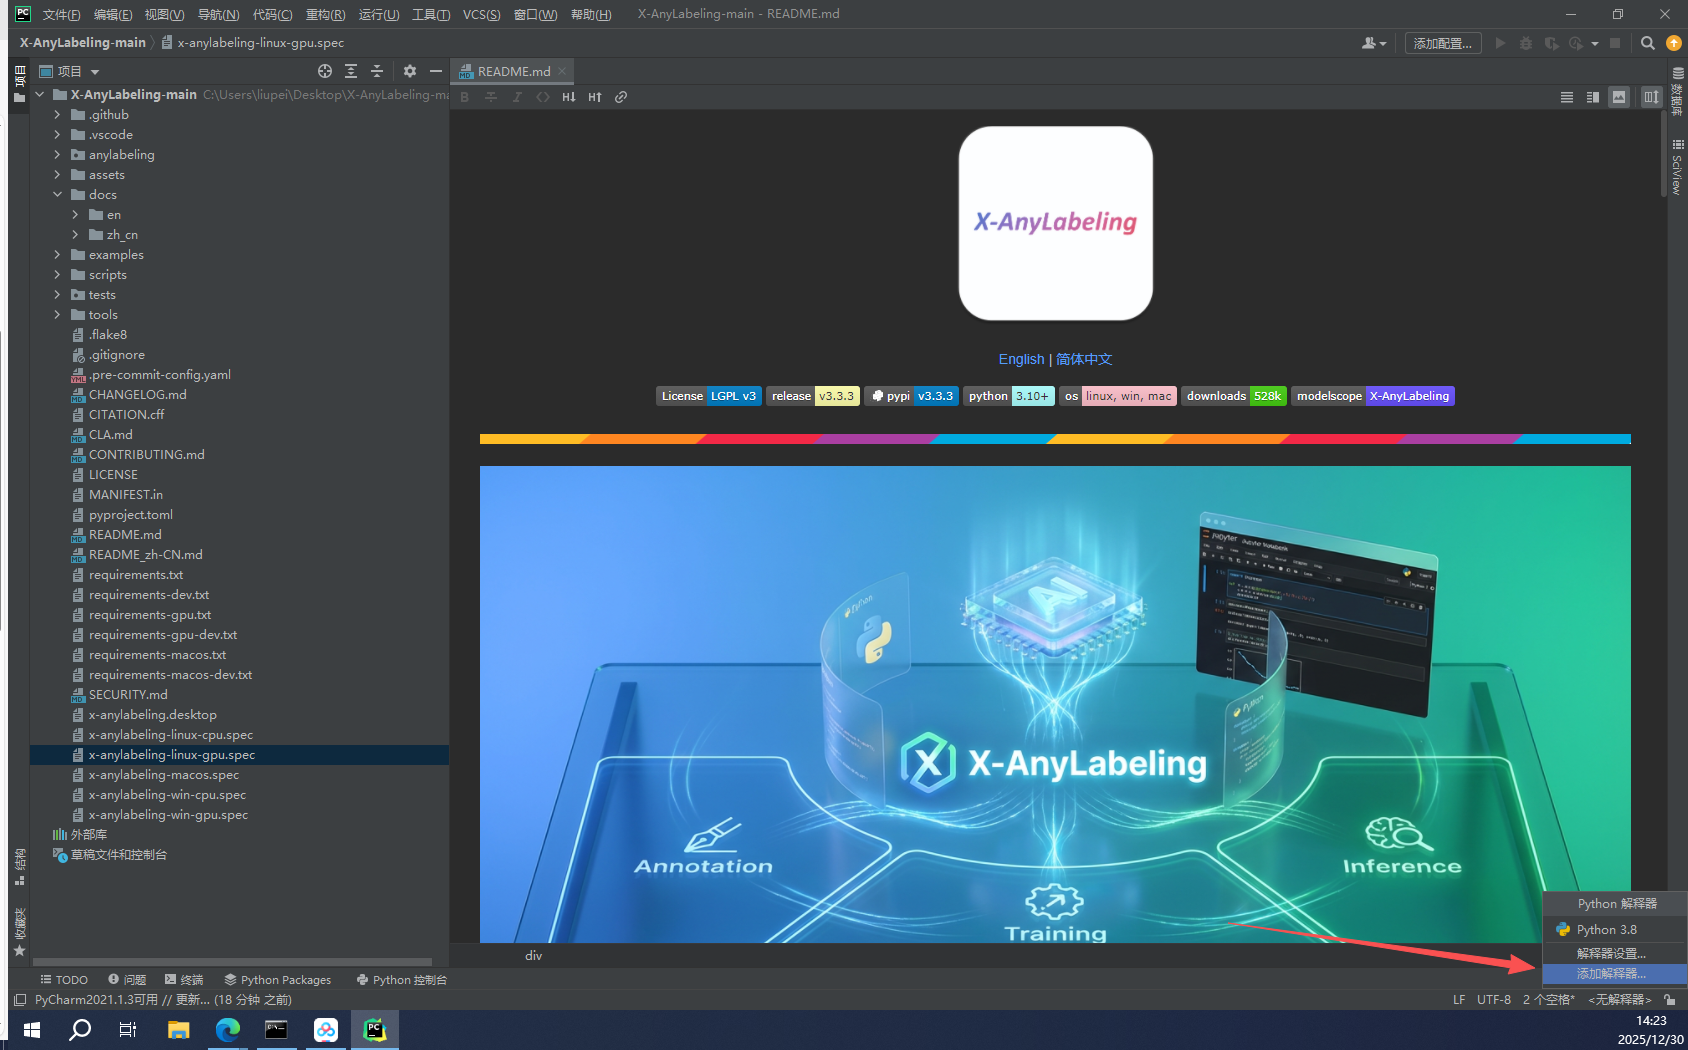
自己下载的位置选一下就可以类
等待加载完成
点击终端,安装requirements.txt(或者win+r +》cmd 激活对应的conda环境,然后直接cd C:\Users\liupei\Desktop\X-AnyLabeling-main)
pip install -r requirements.txt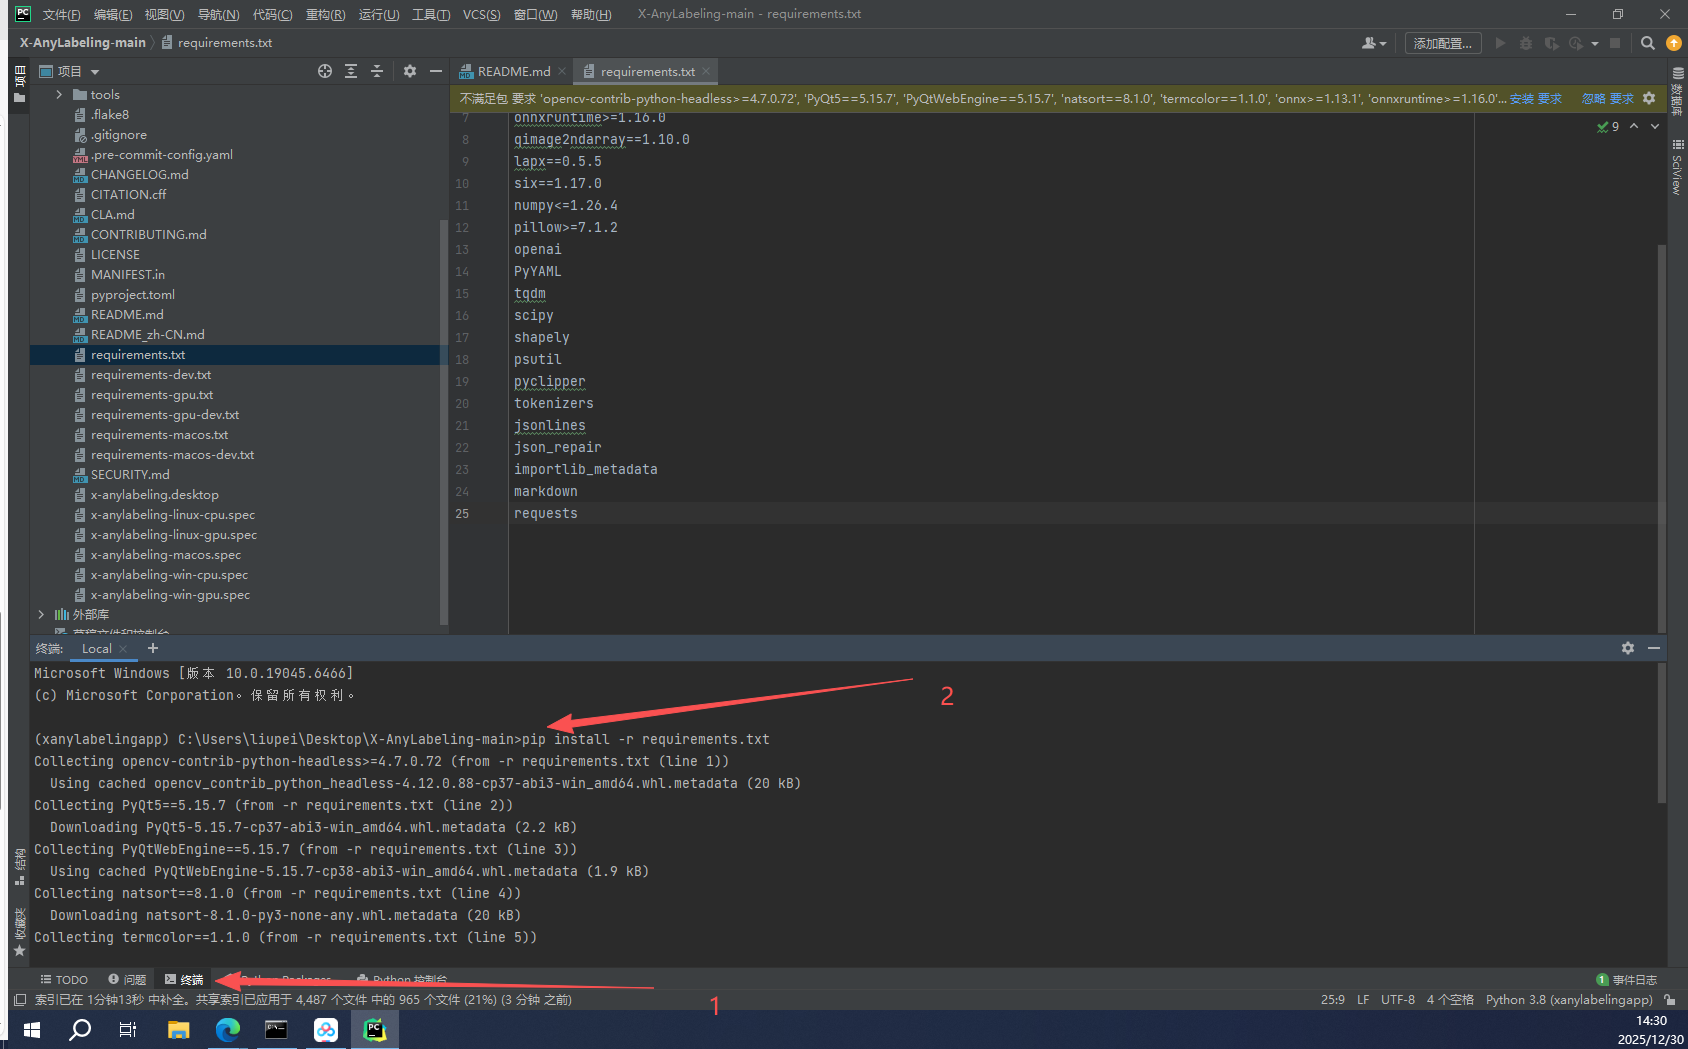 安装完成之后,再次安装一个读取yaml文件的包,因为后续我们实现自动标注是需要自己配置对应的yaml文件的,下面我是采用了镜像源加速,若是还有其他模块报错,缺什么安装什么就行
pip install PyYAML -i https://pypi.tuna.tsinghua.edu.cn/simplexxxxxxxxxxxx替换成你缺少的
pip install xxxxxxxxxxxxxxx -i https://pypi.tuna.tsinghua.edu.cn/simple(这种是在pycharm上启动的,就不需要进行cd一下)就可以启动了
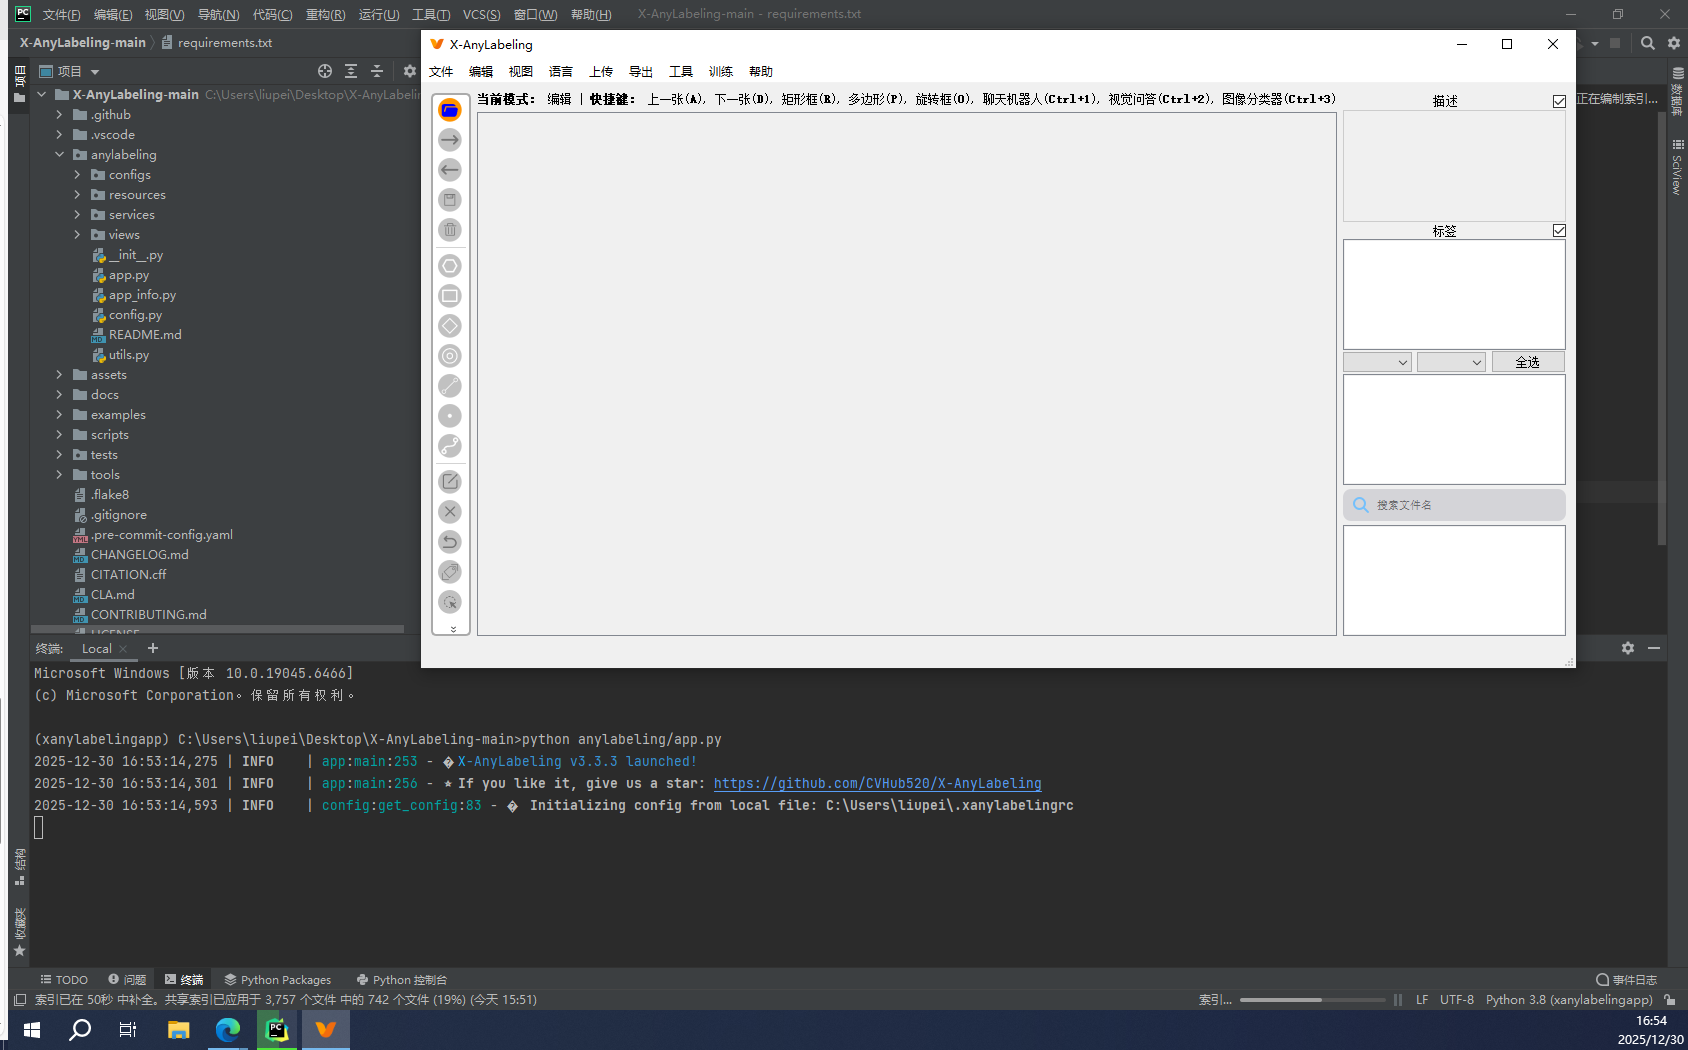
python anylabeling/app.py
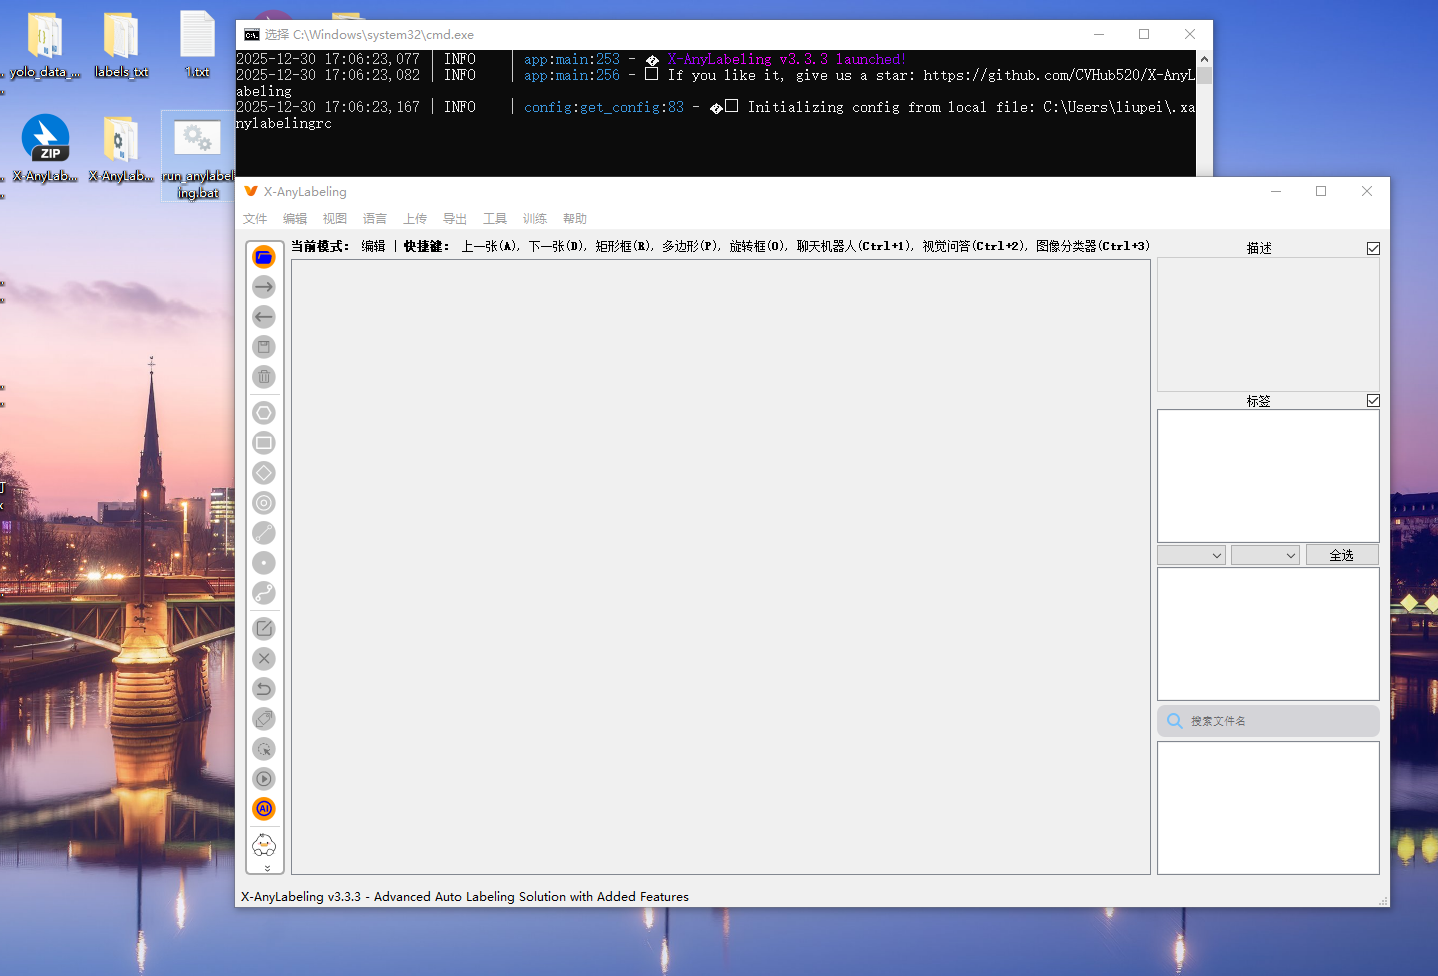
启动成功(后续只需要在cmd页面启动即可)
此时此刻你肯定觉得每次
cd C:\Users\liupei\Desktop\X-AnyLabeling-main 很麻烦
tops:
写一个bat小脚本批处理文件(cd 后面跟上你自己的地址)(conda activate xxxx你的环境)
我是命名为run_anylabeling.bat(当然你是先改成txt文件,把修改后你的下面的内容放进去)
双击这个 .bat 文件,就能自动进入目录、激活环境、启动程序!
@echo off
cd /d "C:\Users\liupei\Desktop\X-AnyLabeling-main"
call conda activate xanylabelingapp
python anylabeling/app.py
pause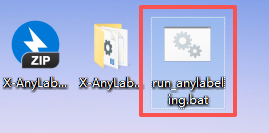
效果如下