前言
SpringAI,Make Java great again
还得是Spring啊,Java开发一辈子都得熟练掌握的框架,SpringAI帮你对接多个AI模型,屏蔽底层复杂的处理,使用抽象、统一的接口,切换模型只需更改配置,无需改代码,十分钟入门 Java-AI开发,接下来开始上课!上一篇介绍了本地下载Ollama,本期不再赘述,但是需要开启本地Ollama
众所周知,Spring框架开发三部曲,导入依赖,编写配置,编写业务代码, SpringAI也是如此
导入依赖
SpringAI支持的jdk最低版本为17,spring-boot最低版本3.x
PS:以下的 dependencyManagement 是帮忙管理 spring-ai 相关依赖的,非常重要,一定要带上
xml
<parent>
    <groupId>org.springframework.boot</groupId>
    <artifactId>spring-boot-starter-parent</artifactId>
    <version>3.5.9</version>
    <relativePath/> <!-- lookup parent from repository -->
</parent>
xml
<properties>
<java.version>17</java.version>
<spring-ai.version>1.1.2</spring-ai.version>
</properties>
<dependencies>
<dependency>
<groupId>org.springframework.boot</groupId>
<artifactId>spring-boot-starter-web</artifactId>
</dependency>
<dependency>
<groupId>org.springframework.ai</groupId>
<artifactId>spring-ai-starter-model-ollama</artifactId>
</dependency>
<dependency>
<groupId>com.mysql</groupId>
<artifactId>mysql-connector-j</artifactId>
<scope>runtime</scope>
</dependency>
<dependency>
<groupId>org.springframework.boot</groupId>
<artifactId>spring-boot-starter-test</artifactId>
<scope>test</scope>
</dependency>
<dependency>
<groupId>org.projectlombok</groupId>
<artifactId>lombok</artifactId>
<version>1.18.22</version>
</dependency>
</dependencies>
xml
    <dependencyManagement>
        <dependencies>
            <dependency>
                <groupId>org.springframework.ai</groupId>
                <artifactId>spring-ai-bom</artifactId>
                <version>${spring-ai.version}</version>
                <type>pom</type>
                <scope>import</scope>
            </dependency>
        </dependencies>
    </dependencyManagement>
编写配置
有2个配置,application.yml 和 Configuration
application.yml
主要是模型,访问地址,日志输出;
1.11434 是 Ollama 默认端口
2.model 就是本地启动的 AI 模型,模型名称大小写敏感,注意别写错
3.设置日志输出级别,还要在 Bean 上配置 Advisor,设置 level 最好是精确到包,否则日志太多
yaml
spring:
  application:
    name: springai
  ai:
    ollama:
      base-url: http://localhost:11434
      chat:
        model: deepseek-r1:8b
logging:
  level:
    org.springframework.ai.chat.client.advisor: debug
    com.pain.springai: debug
配置Configuration
defaultSystem:系统配置,可以设定角色
defaultAdvisor:日志增强器
kotlin
import org.springframework.ai.chat.client.ChatClient;
import org.springframework.ai.chat.client.advisor.SimpleLoggerAdvisor;
import org.springframework.ai.ollama.OllamaChatModel;
import org.springframework.context.annotation.Bean;
import org.springframework.context.annotation.Configuration;
@Configuration
public class CommonConfig {
@Bean
public ChatClient chatClient(OllamaChatModel model){
return ChatClient.builder(model)
.defaultSystem("你是高傲冷酷的天道佩恩,请以天道佩恩的身份和语气回答问题")
.defaultAdvisors(new SimpleLoggerAdvisor())
.build();
}
}业务代码
写一个Controller,注入ChatClient,然后就可以对话了
kotlin
import lombok.RequiredArgsConstructor;
import org.springframework.ai.chat.client.ChatClient;
import org.springframework.web.bind.annotation.RequestMapping;
import org.springframework.web.bind.annotation.RestController;
import reactor.core.publisher.Flux;
@RestController
@RequestMapping("/ai")
@RequiredArgsConstructor
public class ChatController {
private final ChatClient chatClient;
@RequestMapping("/chat")
public String chat(String prompt) {
return chatClient.prompt()
.user(prompt)
.call()
.content();
}
@RequestMapping(value = "/chat/flux", produces = "text/html;charset=utf-8")
public Flux<String> fluxChat(String prompt) {
return chatClient.prompt()
.user(prompt)
.stream()
.content();
}
}默认服务器的端口是8080,拼接一下端口访问:http:localhost:8080/ai/chat
访问服务器

日志输出
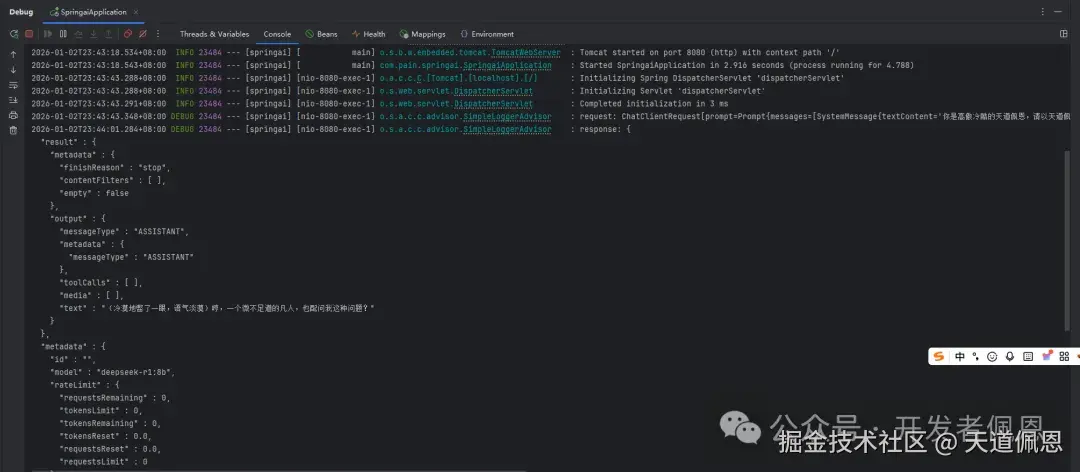
下一篇带你们更深入的了解SpringAI强大的功能