1、简介
Langfuse 是一个专为大语言模型(LLM)应用开发设计的开源可观测性平台。它就像是 LLM 应用的"黑匣子"或"监控仪表盘",帮助开发者追踪、分析和优化基于 AI 的应用。
它的核心功能如下:
1. 追踪与监控
-
自动记录:自动追踪每次 LLM 调用、函数执行和用户交互
-
可视化工作流:以树形结构展示复杂的 AI 应用执行过程
-
性能指标:监控延迟、成本和 token 使用情况
2. 提示工程管理
-
版本控制:像 Git 一样管理不同的 prompt 版本
-
A/B 测试:比较不同 prompt 版本的效果
-
协作:团队共享和优化提示词
3. 评估与分析
-
自动评估:使用 AI 评估 AI 回答的质量
-
人工反馈:收集用户评分和反馈
-
数据分析:识别模式、异常和优化机会
4. 数据集管理
-
创建和管理测试数据集
-
批量运行和评估
-
持续改进模型性能
2、如何安装
langfuse的安装非常简单,只需要执行以下几条命令就可以了:
bash
# Get a copy of the latest Langfuse repository
git clone https://github.com/langfuse/langfuse.git
cd langfuse

# Run the langfuse docker compose
docker compose up更多信息可以参考:https://github.com/langfuse/langfuse?tab=readme-ov-file
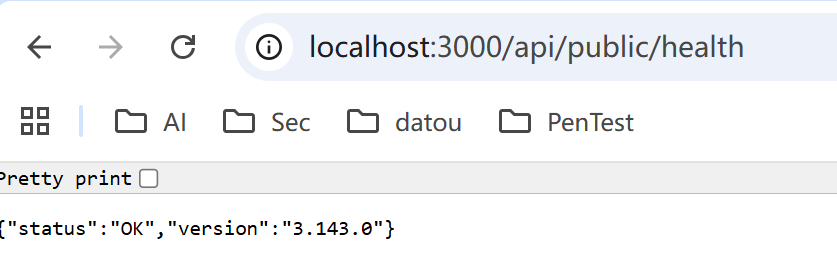
安装完之后,默认的端口是3000, 可以通过http://localhost:3000/api/public/health确认服务是否正常启动了。
3、构建环境遇到的一个问题
开始环境使用的python的版本是3.14.0, 在确认安装了 langfuse之后,凡是import langfuse的任何package,例如:
python
from langfuse.openai import OpenAI都会报错如下:
"ConfigError: unable to infer type for attribute "description'"

经过查询得知主要是由于pydantic的兼容问题导致的,按照各种方法尝试修复,例如:指定pydantic的版本为2.9.2, 都无果。
最终的解决方案:
安装一个Python1.22.7版本,然后安装所有的依赖,使用这个版本的python就可以了。
4、如何运行一个Ollama的应用实例
本例子是尝试使用Ollama的qwen3:8b模型来运行一个query,查看是否可以在Langfuse上进行Track这个query的具体信息。
第一步,langfuse的配置信息,具体可以参考如下页面显示,生成LANGFUSE_PUBLIC_KEY 和 LANGFUSE_SECRET_KEY。
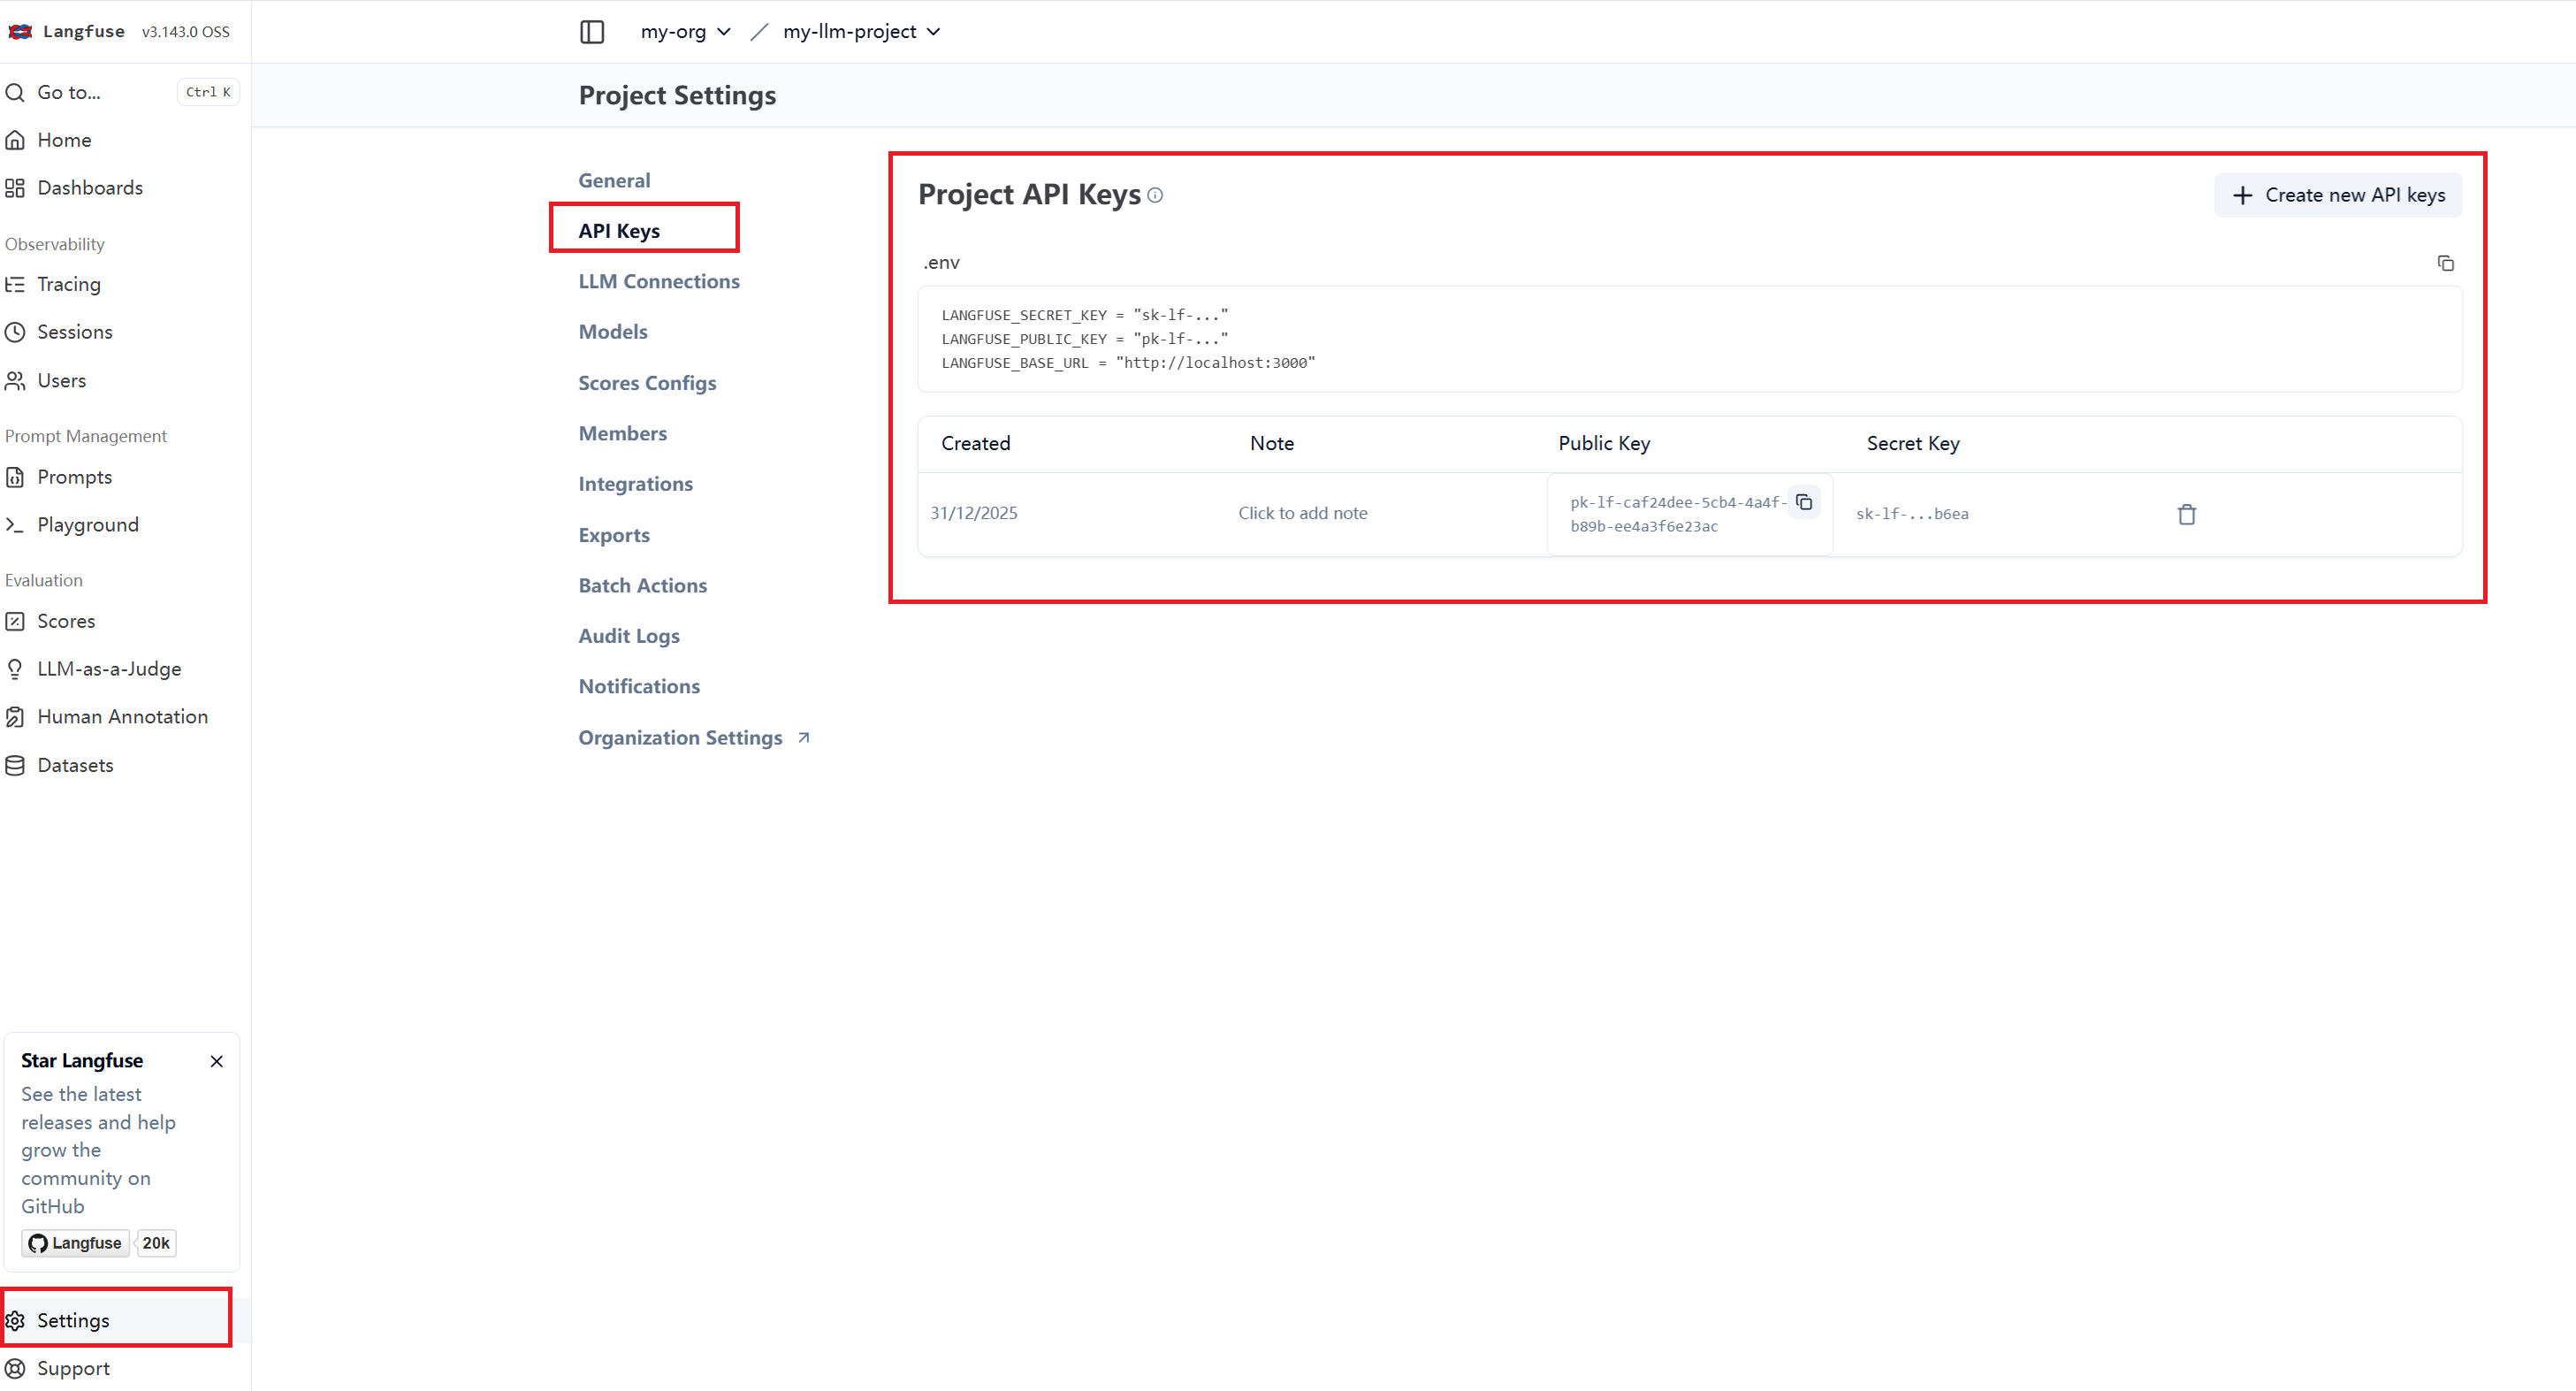
然后在程序的.env文件,添加langfuse的配置信息,可以从页面上直接复制:
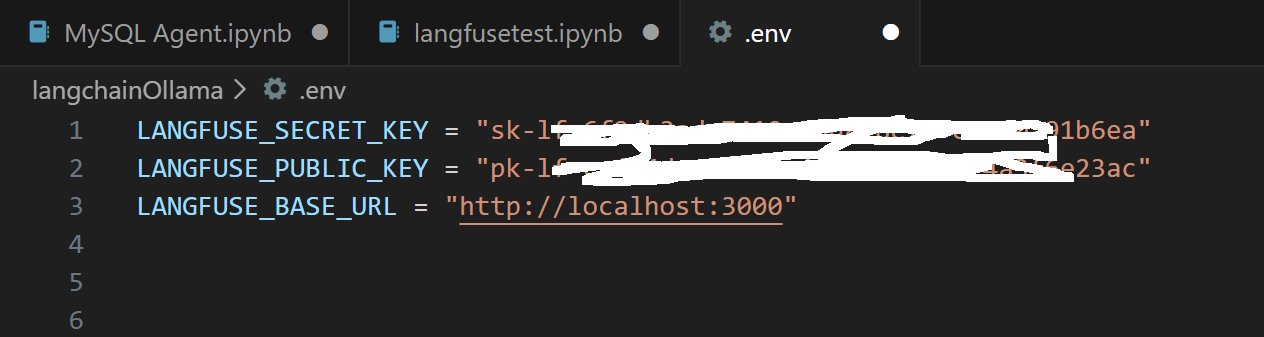
或者直接在代码里赋值:
python
os.environ["LANGFUSE_PUBLIC_KEY"] = ""
os.environ["LANGFUSE_SECRET_KEY"] = ""
os.environ["LANGFUSE_BASE_URL"] = "https://cloud.langfuse.com"第二步,安装依赖:
python
%pip install langfuse openai
%pip install pydantic
%pip install dotenv第三步,加载配置项
python
import os
from dotenv import load_dotenv
load_dotenv()


LANGFUSE_PUBLIC_KEY = os.getenv("LANGFUSE_PUBLIC_KEY")
LANGFUSE_SECRET_KEY = os.getenv("LANGFUSE_SECRET_KEY")
LANGFUSE_HOST = os.getenv("LANGFUSE_HOST", "http://localhost:3000")

# 打印验证是否能够正确读出来配置的内容
print(LANGFUSE_PUBLIC_KEY)
print(LANGFUSE_SECRET_KEY)
print(LANGFUSE_HOST)
第四步 ,编写代码使用Ollama执行Query,这里使用langfuse的示例代码,【https://langfuse.com/integrations/model-providers/ollama】
python
# Drop-in replacement to get full logging by changing only the import
from langfuse.openai import OpenAI

# Configure the OpenAI client to use http://localhost:11434/v1 as base url
client = OpenAI(
    base_url = 'http://localhost:11434/v1',
    api_key='ollama', # required, but unused
)

response = client.chat.completions.create(
  model="qwen3:8b",
  messages=[
    {"role": "system", "content": "You are a helpful assistant."},
    {"role": "user", "content": "Who was the first person to step on the moon?"},
    {"role": "assistant", "content": "Neil Armstrong was the first person to step on the moon on July 20, 1969, during the Apollo 11 mission."},
    {"role": "user", "content": "What were his first words when he stepped on the moon?"}
  ]
)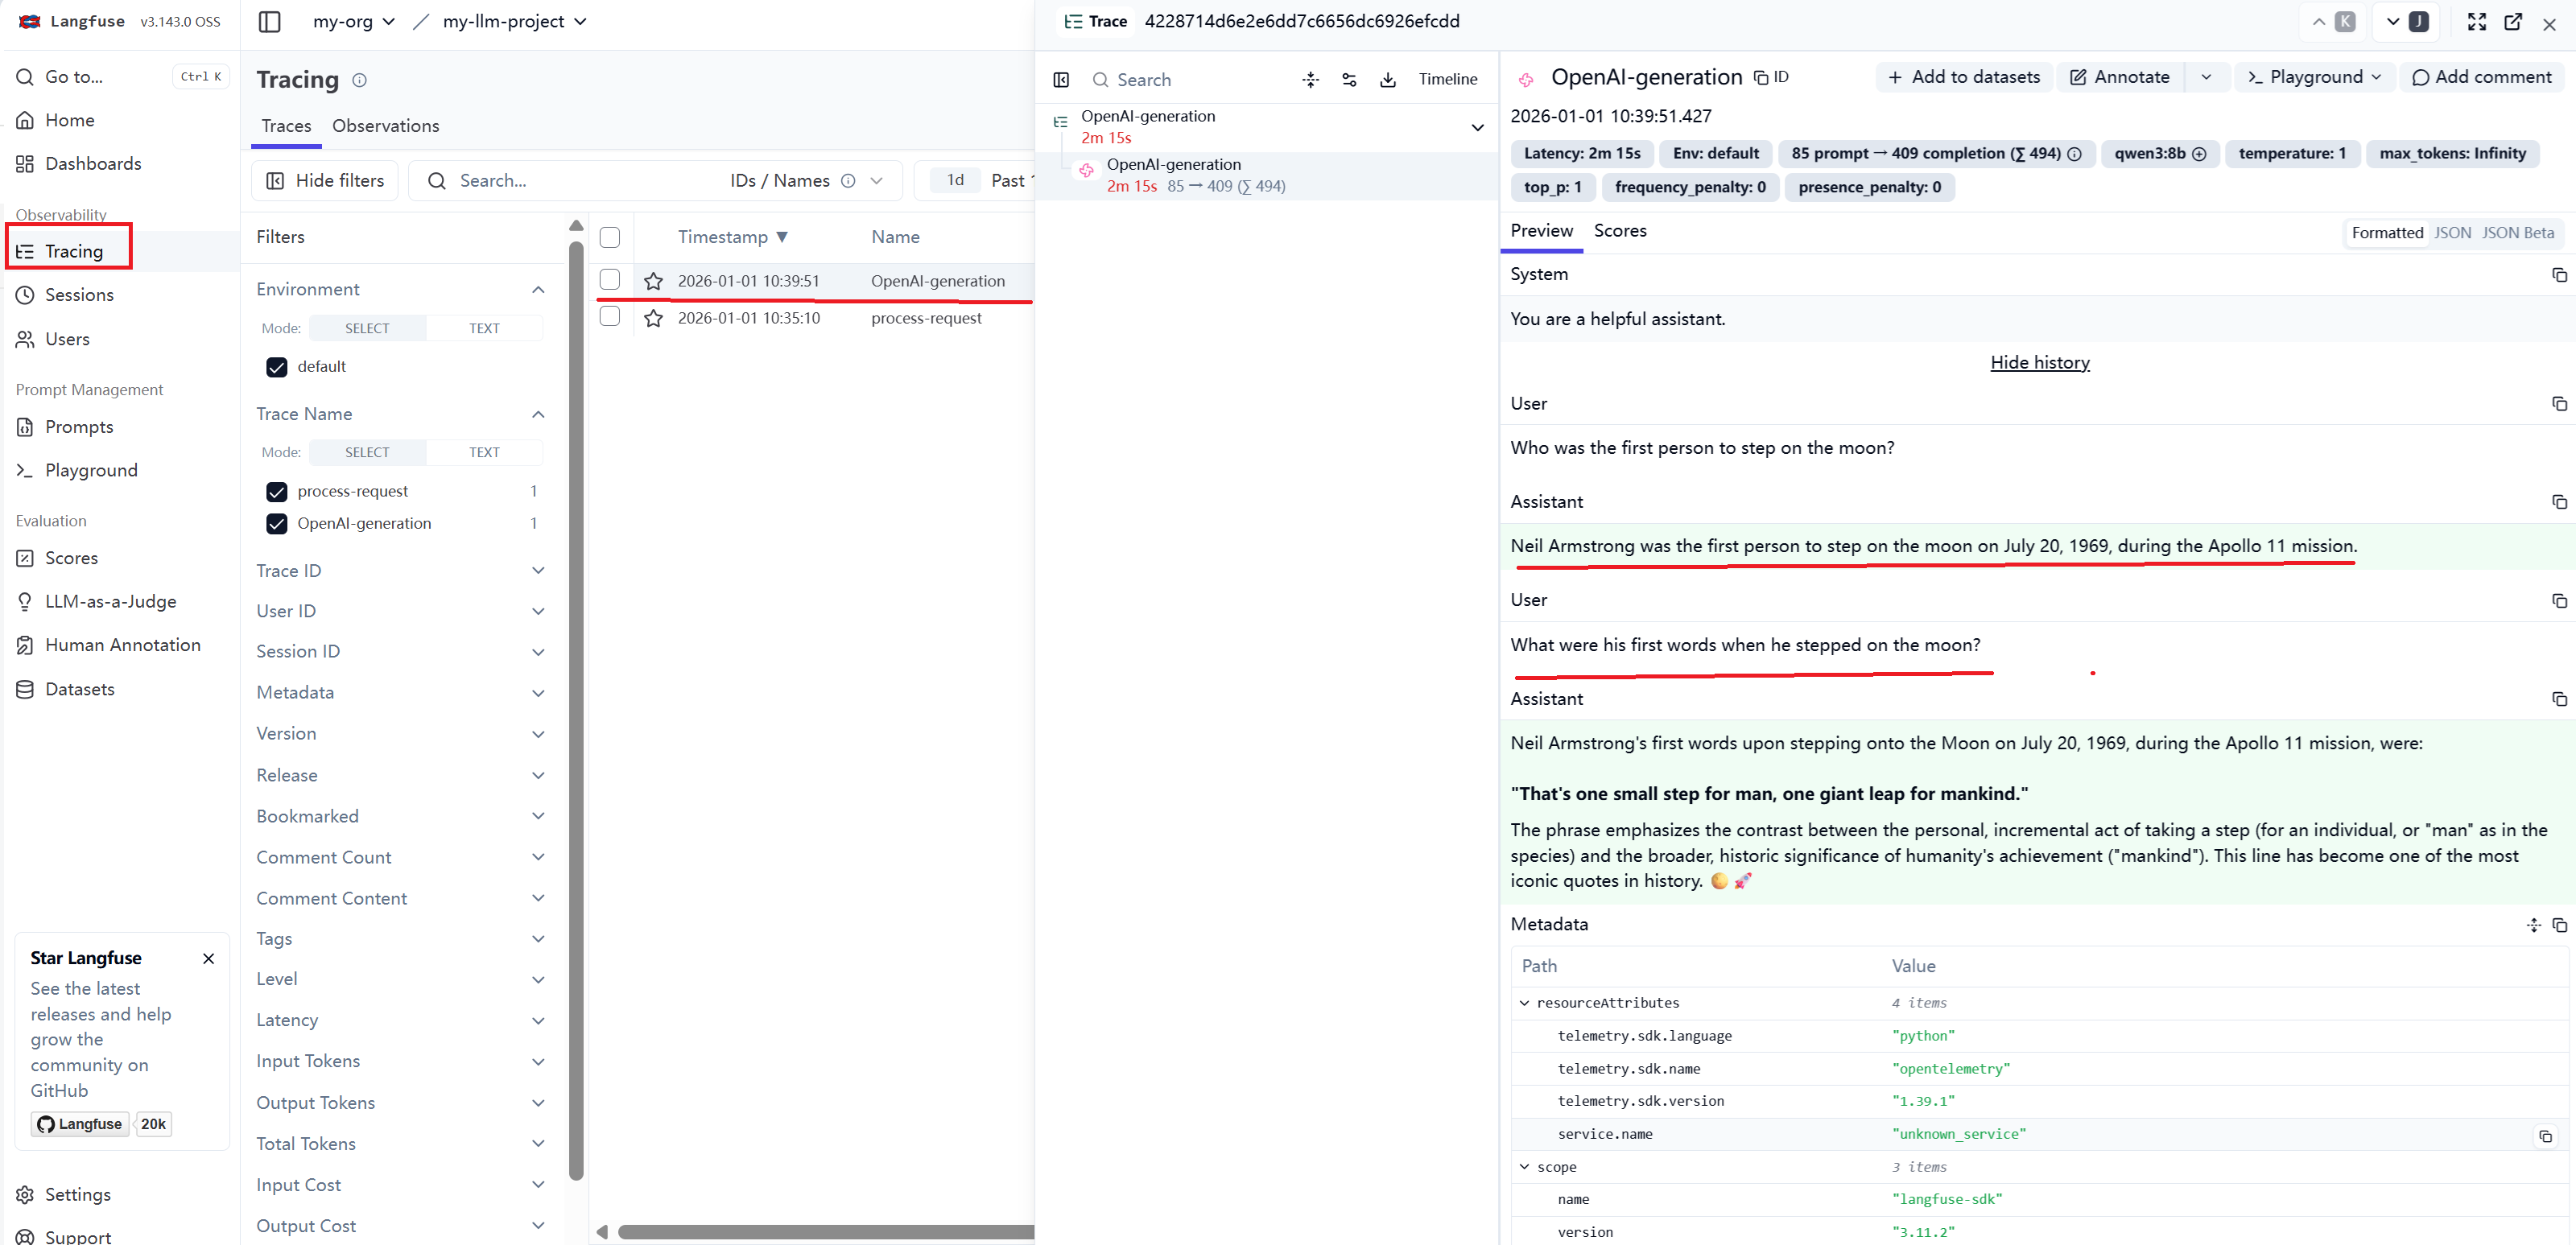
print(response.choices[0].message.content)第五步,登录langfuse的界面查看Query的详细信息: