先随便看看吧,暂时没有时间写完整
一、钢笔工具功能分析
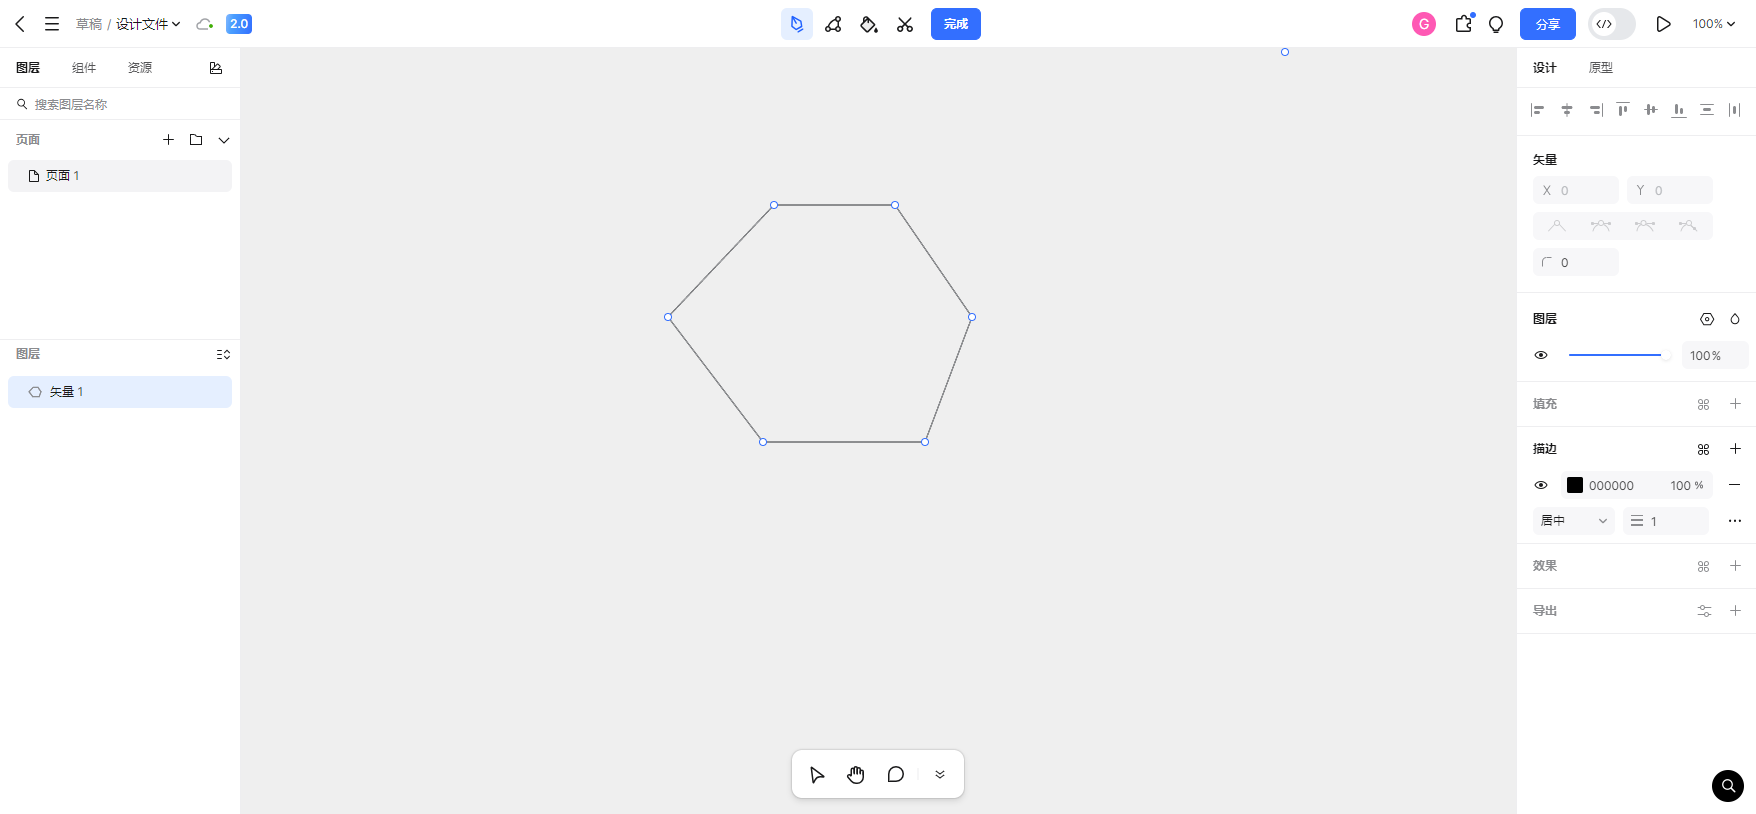
先去pixso官网用一下钢笔工具:https://pixso.cn/
本文会先梳理一下绘制逻辑和简单实现,然后再介绍一些具体实现,比如用的是Konva框架。
导入方式:import Konva from 'konva';
1、关键变量定义
java
// 编辑模式 分为"idle"、"creating"、"halfDone"、"finalized"
const editingMode = ref("idle")

// 临时曲线
const tempP1 = ref({ x: 0, y: 0 });
const tempC1 = ref({ x: 0, y: 0 });
const tempC2 = ref({ x: 0, y: 0 });
const tempP2 = ref({ x: 0, y: 0 });

// 鼠标信息
const mousePosition = ref({ x: 0, y: 0 })
//预览线是否开启
const previewLine = ref(false)
//上一个点坐标
const lastPoint = ref(null)

//长按相关
const longPressTimer = ref(null)
const isLongPress = ref(false)
const PRESS_DURATION = 300;

showHandles.value = {                    // 控制柄显示状态恢复
    showBigHandle: false,
    showTempBezier: false,
    showBothControlPoints: false,
  };

const currentPolygon = computed(() => {
  if(polygons.value.length === 0) {
    startNewPolygon()
  }
  return polygons.value[currentPolygonIndex.value]
})
idle就是普通添加直线点的模式
creating就是长按移动大控制柄的模式(后面有解释)
halfDone是长按移动大控制柄后松开,进入的动态曲线绘制模式
finalized是完成了动态曲线的绘制
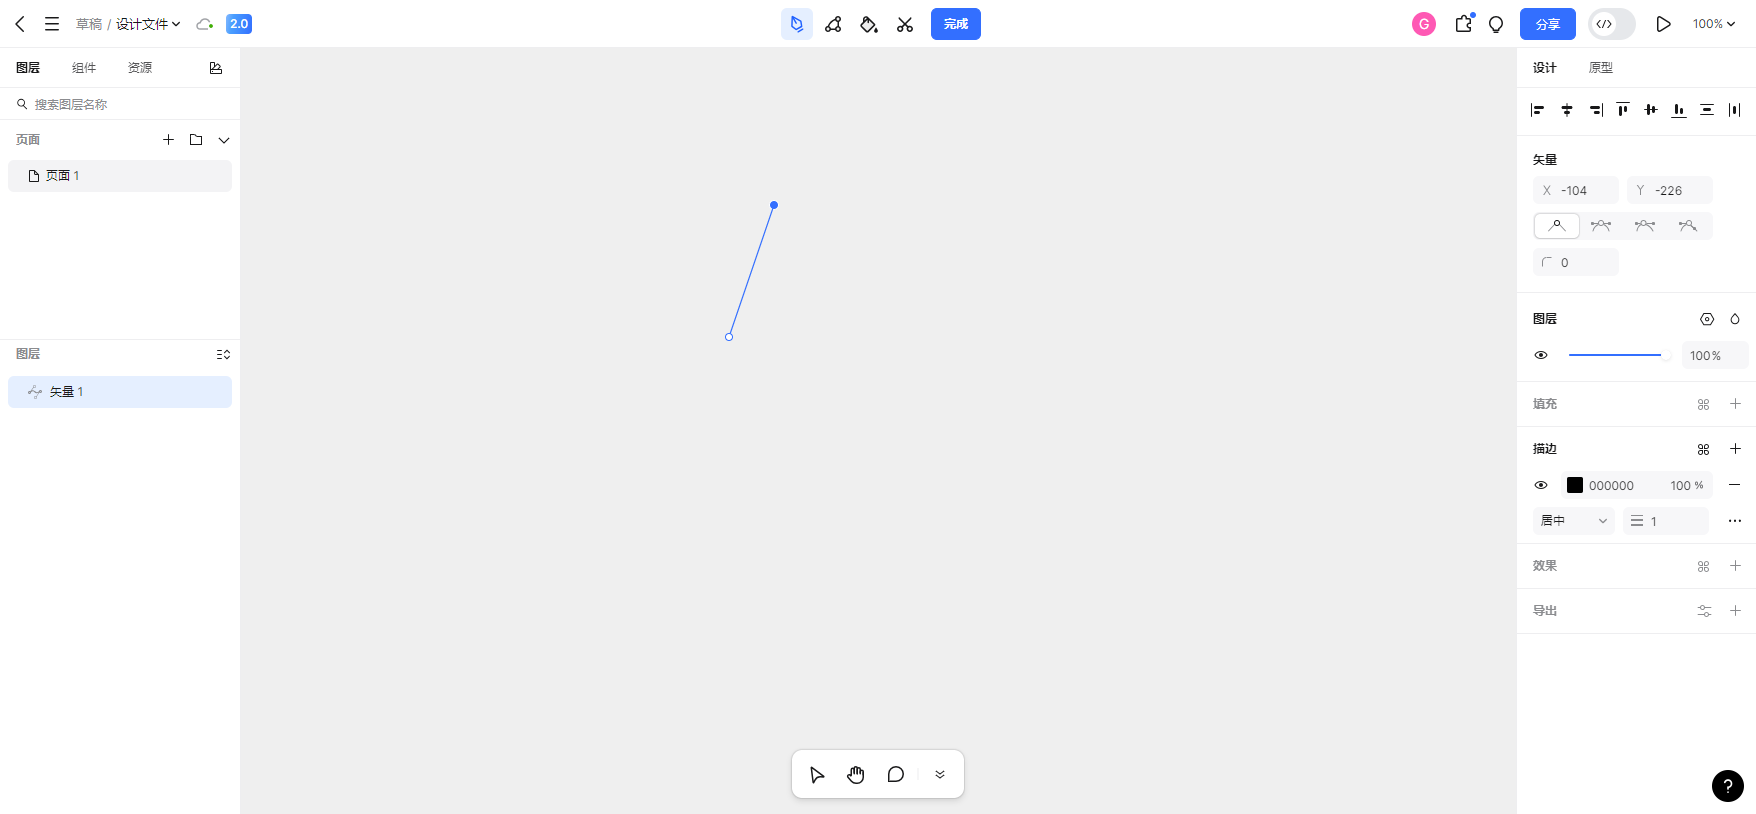
2、点击鼠标左键可在画布上添加一个点,并且这个点会拉出一条预览线,这条预览线的路径是<刚添加的点,鼠标当前的位置>。不断添加点可以绘制直线
//点击画布区域的函数
javascript
const onPenStageClick = (event) => {
        // 获取鼠标按钮类型
        const button = event.button || (event.evt ? event.evt.button : 0);

        const stage = event.target.getStage();
        const position = stage.getRelativePointerPosition(
        const { x, y } = position;
        const target = event.target;
        const targetName = target.name ? target.name() : "";
        // 普通点击创建直线点逻辑
        if(button == 0 || button ==1) normalAddPointLogic(x, y, targetName);
}
//如果形成了封闭区域,则新建一个多边形的函数
javascript
function startNewPolygon() {
         const newPolygon = {
            points: [],
            segments: [],
            closed: false,
          };
        polygons.value.push(newPolygon);
        currentPolygonIndex.value = polygons.value.length
}
//普通点击创建直线点的函数
javascript
function normalAddPointLogic(x, y, targetName) {
        // 保存当前状态到撤销栈
        saveState();

        const old_polygon = currentPolygon.value;

        if (old_polygon?.closed) {
                  //如果形成了封闭区域,则新建一个多边形
                  startNewPolygon();
        }

        const polygon = currentPolygon.value;
        const segments = polygon?.segments;
        const points = polygon?.points;

        if (segments?.length > 0) {
                const lastSegment = segments[segments.length - 1];
                if (segments?.length >= 3) {
                        const firstSegment = segments[0];
                        const firstPoint = getPointById(polygon, firstSegment.startPointId);
                        //已经有点且超过3个点,要判断是否闭合
                        const dist = calculateDistance({ x, y }, firstPoint);
                        if (dist < 10) {
                            //已形成封闭区域
                            const closingSegment = {
                                type: "line",
                                startPointId: lastSegment.endPointId,
                                endPointId: firstPoint.id,
                                controlPoints: [],
                            };
                            segments.push(closingSegment);
                            polygon.closed = true;
                            previewLine.value = false;
                            return;
                        }
                }

                //已经有点,但是没闭合,要添加一段新的点和直线
                const newPoint = { id: uuidv4(), x, y };
                points.push(newPoint);

                const newSegment = {
                      type: "line",
                      startPointId: lastSegment.endPointId,
                      endPointId: newPoint.id,
                      controlPoints: [],
                };
                segments.push(newSegment);

        }else{
                //一个点也没有,添加第一个点
                const newPoint = { id: uuidv4(), x, y };
                points.push(newPoint);

                const newSegment = {
                      type: "line",
                      startPointId: newPoint.id,
                      endPointId: newPoint.id,  //第一个点自己指向自己
                      controlPoints: [],
                };
                segments.push(newSegment);

        }

        //更新视图
        polygons.value = [...polygons.value];

}
辅助函数
javascript
function calculateDistance(p1, p2) {
    const dx = p1.x -p2.x
    const dy = p1.y - p2.y;
    return Math.sqrt(dx * dx + dy * dy);
}

function getPointById(polygon, pointId) {
    return polygon.points.find((p) => p.id === pointI
}

function getLinePoints(polygon, segment) {
    const startPt = getPointById(polygon, segment.startPointId);
    const endPt = getPointById(polygon, segment.endPoitById(polygon, segment.endPointId);
    return [startPt.x, startPt.y, endPt.x, endPt.y];
}

function getBezierPoints(polygon, segment) {
    const P0 = getPointById(polygon, segment.startPointId);
    const P3 = getPointById(polygon, segment.endPointId);
    const C1 = segment.controlPoints[0];
    const C2 = segment.controlPoints[1];
    return [P0.x, P0.y, C1.x, C1.y, C2.x, C2.y, P3.x,
}
3、首先我们整体描述一下绘制曲线的问题。
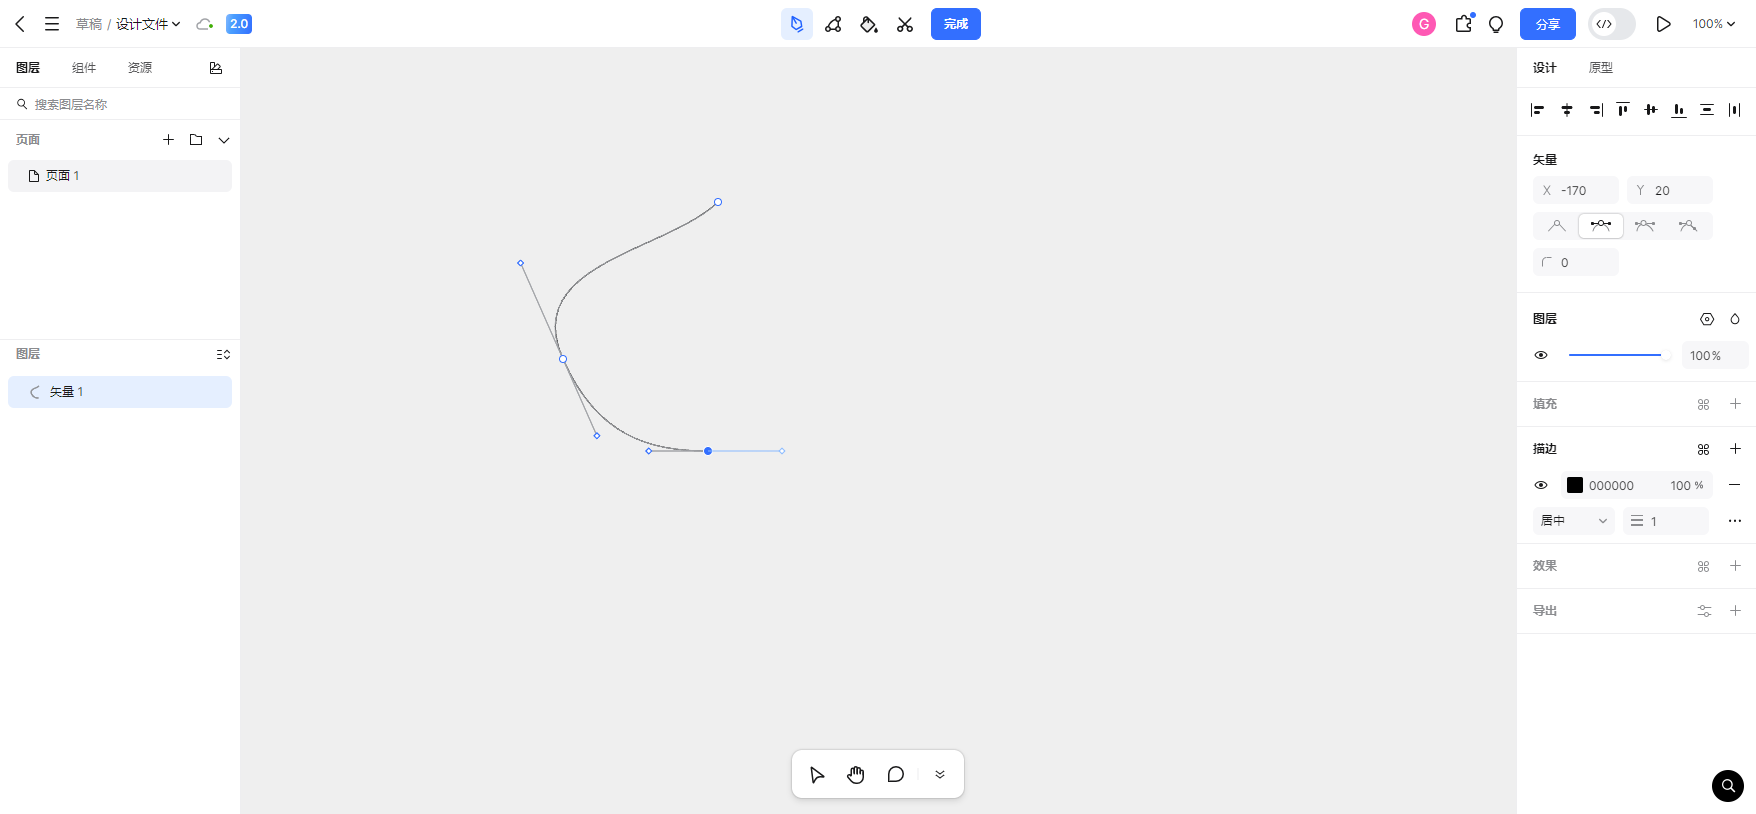
我们先定义一段曲线的首端是P1,末端是P2,P1的切线是C1,P2的切线是C2。长按可以绘制曲线。假设已经有一个点P1,然后移动鼠标到某个位置P2开始保持长按并移动鼠标到某一位置tempC1,P1和P2之间会形成曲线,P1的切线是C1,P2的切线是C2。

C2-P2-tempC1会形成一个大控制柄,这三个点在一条直线上,鼠标移动tempC1会对整个大控制板进行移动,也就是说C2随着tempC1的移动会跟随移动,移动时保持三点一线。
为什么称为tempC1,我们将大控制板下半段P2-tempC1看做是未来的曲线的首端的切线,也就是说这是未来曲线的C1,我们记作临时点tempC1。
鼠标长按后拉动到tempC1之后,就会形成P1和P2的曲线以及C2-P2-tempC1这个大控制柄,为什么叫大控制柄,因为虽然在保持长按的状态下移动tempC1可以控制整个大控制柄的方向,但是其实大控制柄可以看做是两段,第一段P2-C2是曲线P1P2的末端小控制柄(P2的切线),第二段是P2-tempC1是未来曲线tempP1-tempP2的首端小控制板(tempP1的切线),实际上tempP1就是P2。
用户在tempC1松开长按状态后会引出一条动态曲线tempP1-tempP2,tempP2是鼠标位置,如果用户点击了某处,tempP2就固定了;如果用户在tempP2长按了,则会在tempP2形成新的大控制柄,逻辑就跟前面长按是一样的。
对于当前步骤来说,我们只暂时关注鼠标长按拉到tempC1这个阶段,如下图所示。关于用户在tempC1松开长按状态后的逻辑,我们在后面的步骤再细说。

对于用户鼠标长按这个阶段,实际上有两种情况,一种是鼠标在P2点原地长按形成曲线P1-P2,一种是鼠标从P2点长按并移动到tempC1,那么不但形成曲线P1-P2,还形成一个大控制柄C2-P2-tempC1。第二种情况其实就是上图的情况,第一种情况其实是下图的情况,也就是说曲线P1和P2被创建了,但它们看起来还是一条直线,这是因为,直线可以看做是特殊的曲线。我们可以想象一下有一条直线P1-P2,向量P1-P2的方向上有一个P1-C1,向量P2-P1的方向上有一个P2-C2(下图只显示了P1-C1),我们定义了直线的情况下两个控制点的位置,此时直线可以看做是特殊的曲线,具体是为什么直线可以看做是特殊的曲线,要了解二阶贝塞尔曲线公式。
3.1 长按生成曲线P1-P2
//当鼠标点击左键
javascript
function onPenMouseDown(event) {
         // 记录"长按起点"------后面要用它判断是否真的移动了
        const stage = event.target.getStage();
        const startPos = stage.getRelativePointerPosition();
        longPressStartPos.value = { x: startPos.x, y: starPos.y };

        //将tempC1从(0,0)的初始化位置更新为当前鼠标添加点的位置
        if (editingMode.value === "idle" || editingMode.value === "creating"){
            tempC1.value = longPressStartPos.value
        }

        // 重置长按标志
       isLongPress.value = false;
       pendingBezier.value = false;
       hasDraggedDuringLongPress.value = false;
       pendingSegmentIdx.value = null;

       longPressTimer.value = setTimeout(() => {
                const segIdx = createPointAndStraightSegment(event
                pendingBezier.value = true;          // 表示这条新段 *可能* 要改成贝塞尔
                pendingSegmentIdx.value = segIdx;
                // 此时不把 editingMode 改成 creating,等到真的拖动时再改
       }, PRESS_DURATION);
}
javascript
/**
 * ① 长按计时器触发后调用
 * 在当前多边形末端 **添加一个新点** 并 **用线段** 把它连起来。
 * 返回新段的索引,后面会用它来把段改为贝塞尔(如果用户真的拖动)。
 */
function createPointAndStraightSegment(event) {
    saveState(); // 与原来保持一致

    const polygon = currentPolygon.value;
    const { segments, points } = polygon;

    // 取当前多边形最后一段的终点(即前一个点)
    const lastSeg = segments[segments.length - 1];
    const stage = event.target.getStage();
    const { x, y } = stage.getRelativePointerPosition();

    // 新点(Pnew)
    const newPt = { id: uuidv4(), x, y };
    points.push(newPt);

    // 用 **直线** 把它接上(暂时不算贝塞尔)
    const newSeg = {
        type: "line",         // 先写成 line,后面如果拖动再改成 bezier
        startPointId: lastSeg.endPointId,
        endPointId: newPt.id,
    };
    segments.push(newSeg);

    // 更新 UI(预览线等)
    previewLine.value = true;
    lastPoint.value = newPt;
    polygons.value = [...polygons.value]; // 响应式更新

    // 返回新段的索引,后面会用它来改成贝塞尔
    return segments.length - 1;
}
3.2 保持长按状态下移动鼠标能够移动大控制柄
javascript
function onPenMouseMove(event) {
        const stage = event.target.getStage();
        const position = stage.getRelativePointerPosition()

        if (
            isLongPress.value &&
            editingMode.value == "creating" &&
            currentSegmentIndex.value != null
        ) {
            updateC1C2WhileCreating(position);
        }

        // 长按后但还没有确认是否要画贝塞尔的阶段
        if (pendingBezier.value && !hasDraggedDuringLongPress.value) {
            // 计算从长按起点到当前指针的位移
            const moved = dist(position, longPressStartPos.value);
            if (moved >= MOVE_THRESHOLD) {
                // 用户真的拖动了就把那条直线段改为贝塞尔段
                const segIdx = pendingSegmentIdx.value;
                const seg = polygon.segments[segIdx];
                const startPt = getPointById(polygon, seg.startPointId);
                const endPt = getPointById(polygon, seg.endPointId);

                //控制点C1的位置是向量P1-P2的方向上的点
                const dx = x - lastPt.x;
                //控制点C2的位置是向量P2-P1的方向上的与P1-C1等距的点
                const dy = y - lastPt.y;
                //取控制点C1的位置为向量P1-P2的方向上四分之一位置的点
                const cp1 = { x: lastPt.x + dx * 0.25, y: lastPt.y + dy * 0.25 };
                //取控制点C2的位置为向量P1-P2的方向上四分之三位置的点,其实相当于向量P2-P1的方向上四分之一位置的点
                const cp2 = { x: lastPt.x + dx * 0.75, y: lastPt.y: lastPt.y + dy * 0.75 };
                seg.type = "bezier";
                seg.controlPoints = [cp1, cp2];

                // 进入正式的贝塞尔创建状态
                editingMode.value = "creating";
                currentSegmentIndex.value = segIdx; // 让后面的updateC1C2WhileCreating能找到它
                isLongPress.value = true;           // 真正的长按标记
                previewLine.value = false;          //预览线条
                showHandles.value.showBigHandle = true; // 显示大控制柄

                // 标记已经拖动过,后面的 mouseup 不会再走 "直线回退" 分支
                hasDraggedDuringLongPress.value = true;
            }
        }

        if (editingMode.value === "halfDone" && currentSegmentIndex.value !== null) {
            // 仅在鼠标不在控制点上时显示动态贝塞尔曲线
            if (!isMouseOverControlPoint.value) {
                showHandles.value.showTempBezier = true;
            }
        }
        //更新动态曲线的tempP2为当前鼠标位置
        tempP2.value = { x: mousePosition.value.x, y: mousePosition.value.y };

        //预览直线
        if (currentPolygon.value?.segments?.length && previewLine.value) {
            const lastSegment = currentPolygon.value.segments[currentPolygon.value.segments.length - 1];
            if (lastSegment) {
                const lastPointObj = getPointById(
                    currentPolygon.value,
                    lastSegment.endPointId
                );
                lastPoint.value = lastPointObj;
            }
        }
}

//当用户添加了P1之后,在P2处长按,就会在P1-P2形成新的曲线。

function startCreatingBezierSegment(event) {

        const polygon = currentPolygon.value;
        const segments = polygon.segments;

        const points = polygon.points;

        if (segments.length > 0) {

                const lastSegment = segments[segments.length - 1];

                //上一个点其实就是P1

                const lastPt = getPointById(polygon, lastSegment.endPointId);

                const stage = event.target.getStage();

                const pos = stage.getRelativePointerPosition();

                const { x, y } = pos;  //当前鼠标位置是我们即将要创建的P2

                const newPoint = { id: uuidv4(), x, y };
                points.push(newPoint); //添加一个P2

                const dx = x - lastPt.x;   //控制点C1的位置是向量P1-P2的方向上的点
                const dy = y - lastPt.y;    //控制点C2的位置是向量P2-P1的方向上的与P1-C1等距的点

                //取控制点C1的位置为向量P1-P2的方向上四分之一位置的点
                const cp1 = { x: lastPt.x + dx * 0.25, y: lastPt.y + dy * 0.25 };

                //取控制点C2的位置为向量P1-P2的方向上四分之三位置的点,其实相当于向量P2-P1的方向上四分之一位置的点

                const cp2 = { x: lastPt.x + dx * 0.75, y: lastPt.y: lastPt.y + dy * 0.75 };

                //新建曲线P1-P2

                const newSegment = {
                      type: "bezier",
                      startPointId: lastSegment.endPointId,

                      endPointId: newPoint.id,

                      controlPoints: [cp1, cp2],

                };
                segments.push(newSegment);


                // 此时显示大控制柄(上一段C2 + 本段tempC1),初始tempC1与鼠标一致

                showHandles.value.showBigHandle = true;

                polygons.value = [...polygons.value];

         }

}
javascript
// 计算两点欧氏距离
function dist(a, b) {
  const dx = a.x - b.x;
  const dy = a.y - b.y;
  return Math.sqrt(dx * dx + dy * dy);
}
javascript
function updateC1C2WhileCreating(pos) {
        const polygon = currentPolygon.value;
        const segments = polygon.segments;
        const segment = segments[currentSegmentIndex.value

        if (segment && segment.type === "bezier") {
                tempC1.value = { x: pos.x, y: pos.y };                //当前鼠标位置
                const P1 = getPointById(polygon, segment.startPointId);
                const P2 = getPointById(polygon, segment.endPointId);
                const C1 = segment.controlPoints[0];
                const C2 = segment.controlPoints[1];

                const ratio = -0.7;
                C2.x = P2.x + (pos.x - P2.x) * ratio; //C2是P2-tempC1反方向,就是tempC1-P2
                C2.y = P2.y + (pos.y - P2.y) * ratio; //C2是P2-tempC1反方向,就是tempC1-P2

                const tangentRatio = 0.4;
                const tangentDX = C2.x - P1.x;
                const tangentDY = C2.y - P1.y;
                C1.x = P1.x + tangentDX * tangentRatio; //C1是P1-C2的方向上的点
                C1.y = P1.y + tangentDY * tangentRatio; //C1是P1-C2的方向上的点

                polygons.value = [...polygons.value];
        }
}
4、在tempC1处松开以后,会出现一段曲线,这段曲线会跟随鼠标的位置进行实时绘制,即实时绘制<P2-当前鼠标位置>的曲线

javascript
function onPenMouseUp(event) {

        clearTimeout(longPressTimer.value);

        // 长按后没有真正拖动(hasDraggedDuringLongPress === false)
        //  已经在长按计时器里创建了一条直线段,直接保留它
        if (pendingBezier.value && !hasDraggedDuringLongPress.value) {
            // 退出 creating 状态,恢复到普通 idle
            editingMode.value = "idle";
            isLongPress.value = false;
            pendingBezier.value = null;
            hasDraggedDuringLongPress.value = false;

            // 隐藏所有贝塞尔相关的 UI(大柄、绿色临时曲线)
            showHandles.value.showBigHandle = false;
            showHandles.value.showTempBezier = false;
            tempC1.value = null;
            tempP2.value = null;
            previewLine.value = true; // 仍然显示普通的预览直线
            return;
        }

        // 进入正式的贝塞尔创建(已经改成 bezier 且 isLongPress 为 true)
        // 按原来的流程进入 halfDone / finalize
        if (isLongPress.value) {
            if (editingMode.value === "creating") {
                editingMode.value = "halfDone";
                updateLastPointFromCurrentSegment();
                tempC1.value = { x: mousePosition.value.x, y: mousePosition.value.y };
                showHandles.value.showTempBezier = true;
            }
            // 重置长按标记,防止后续误判
            isLongPress.value = false;
            pendingBezier.value = false;
            pendingSegmentIdx.value = null;
            hasDraggedDuringLongPress.value = false;
            previewLine.value = true;
            return;
        }else{
            // 完全没有触发长按(普通短点)
            if (editingMode.value === "halfDone") {
                //半完成状态下没有触发长按,直接在tempP2短按,需要固定动态曲线
                previewLine.value = false;
                finalizeBezierSegment();
            }
        }

        previewLine.value = true;
}
5、
(1)在第4步之后,用户有可能鼠标点击某个空白位置以确定这条曲线。在某个位置单击与在某个位置长按但鼠标不移动,两者都是下图的效果。

javascript
function finalizeBezierSegment() {
        editingMode.value = "finalized";
        const polygon = currentPolygon.value;
        const P1 = tempP1.value;
        const endPoint = { id: uuidv4(), x: tempP2.value.x, y: tempP2.value.y };
        polygon.points.push(endPoint);

        const newSegment = {
                type: "bezier",
                startPointId: P1.id,
                endPointId: endPoint.id,
                controlPoints: [
                      { x: tempC1.value.x, y: tempC1.value.y },
                      { x: tempC2.value.x, y: tempC2.value.y },
                ],
        };
        polygon.segments.push(newSegment);

        currentSegmentIndex.value = polygon.segments.length - 1;
        showHandles.showTempBezier = false;
        showHandles.value.showBigHandle = true;

        polygons.value = [...polygons.value];
}
(2)在第4步之后,用户有可能还可能在某个空白位置进行长按并且发生移动,会出现下面的画面。那这个长按然后移动鼠标松开的操作,其实前面已经介绍过了。
6、重做
javascript
const clearCanvas = () => {
  polygons.value = []

  // 清空撤销栈和重做栈
  undoStack.value = []
  redoStack.value = []

  // 清空预览线条
  previewLine.value = false
  lastPoint.value = null;
  mousePosition.value = { x: 0, y: 0 };    // 鼠标位置恢复
  editingMode.value = "idle";             // 编辑模式恢复
  showHandles.value = {                    // 控制柄显示状态恢复
    showBigHandle: false,
    showTempBezier: false,
    showBothControlPoints: false,
  };
  currentSegmentIndex.value = null;       // 当前段索引清空
  currentPolygonIndex.value = -1;         // 没有正在编辑的

  // 临时贝塞尔点/控制点全部归零
  tempP1.value = { x: 0, y: 0 }
  tempC1.value = { x: 0, y: 0 }
  tempC2.value = { x: 0, y: 0 }
  tempP2.value = { x: 0, y: 0 }

  //如果还有显示尺寸/光标等 UI 也同步关闭
  cursorLayerConfig.visible = false;
}
javascript
// 执行绘制操作,将当前状态存入撤销栈
const saveState = () => {
    const currentState = cloneFullState()
    undoStack.value.push(currentState)
    redoStack.value = []
}

// 保存画布状态
const cloneFullState = () => {
    return JSON.parse(JSON.stringify({
        polygons: : polygons.value,
        brushStrokes: brushStrokes.value
    }))
}

// 撤销操作
二、模板实现(并不完整)
javascript
<template>
    <div class="right-wrapper">
        <div v-if="!isBatch" ref="konvaContentRef" :class="['konva-content', headerActiveTool === 'move' && 'konva-content-cursor']">
            <div v-if="!['extend'].includes(firstTool)" class="canvas-wrapper" :style="{width: stageSize.width || 1500, height: stageSize.height || 900,}">
                <v-stage
                  ref="stageRef"
                  :config="stageSize"
                  @mousedown="handleStageMouseDown"
                  @mousemove="onMouseMove"
                  @mouseup="onMouseUp"
                  @click="onStageClick"
                  :style="{zIndex: 1001, cursor: isHideStagePointer ? 'none' : 'default'}"
                  @wheel="handleDrawStageWheel"
                 >

                 <v-layer ref="penLayer">
                    <!-- 渲染多边形的线 -->
                    <template
                          v-for="(polygon, polygonIndex) in polygons"
                              :key="'polygon-' + polygonIndex"
                     >
                        <template
                                 v-for="(segment, segmntIndex) in polygon.segments"
                                 :key="'segment-' + polygonIndex + '-' + segmentIndex"
                        >
                            <!-- 直线段 -->
                            <v-line
                                v-if="segment.type === 'line'"
                                :points="getLinePoints(polygon, segment)"
                                @click="onLineSegmentClick(polygonIndex, segmentIndex, $event)
                            />
                            <!-- 贝塞尔段 -->
                            <v-line
                                v-if="segment.type === 'line'"
                                :points="getBezierPoints(polygon, segment)"
                                @click="onBezierSegmentClick(polygonIndex, segmentIndex, $event)
                            />
                        </template>

                    </template>

                    <!-- 渲染多边形的点 -->
                    <template
                          v-for="(polygon, polygonIndex) in polygons"
                              :key="'points-polygon-' + polygonIndex"
                    >
                         <template
                                 v-for="point in polygon.points"
                                 :key="'point-' + polygonIndex + '-' + point.id"
                         >
                             <v-circle
                                 :config="{
                                     x: point.x,
                                     y: point.y,
                                 }
                                 @contextmenu="onRightClick(polygonIndex, point.id,, $event)"
                                 @contextmenu="onDragMove(polygonIndex, point.id,, $event)"
                                 @mouseenter="onPolygonPointMouseEnter"
                                 @mouseenter="onPolygonPointMouseLeave"
                             />
                         </template>
                    </template>

                    <!-- 预览线条 -->

                    <!-- 临时贝塞尔曲线显示(半完成状态下) -->
                    <v-line
                        v-if="
                            editingMode === 'halfDone' &&
                            showHandles.showTempBezier &&
                            currentSegmentIndex !== null
                        "
                        :points="getTempBezierPoints()"
                    />
                 </v-layer>

                 <v-layer ref="controlLayer">
                     <template
                          v-for="(polygon, polygonIndex) in polygons"
                              :key="'control-polygon-' + polygonIndex"
                     >
                         <template v-if="polygonIndex === currentPolygonIndex">
                             <template
                                 v-for="(segment, segmntIndex) in polygon.segments"
                                 :key="'control-segment-' + polygonIndex + '-' + segmentIndex"
                             >
                                 <!-- 如果是贝塞尔段,就渲染两条参考线 -->
                                 <template
                                     v-if="
                                     segment.type === 'bezier' &&
                                     (segmentIndex === currentSegmentIndex || segmentIndex === currentSegmentIndex - 1)
                                     "
                                 >
                                     <template
                                         v-for="(cp, cpIndex) in segment.controlPoints"
                                         :key="'cp-' + segmentIndex + '-' + cpIndex"
                                     >
                                         <!-- 1) 画控制线 -->
                                         <v-line
                                             v-if="shouldRenderLine(segmentIndex, cpIndex)"
                                             :points="
                                                 getControlLinePoints(
                                                     polygon,
                                                     segment,
                                                     segmentIndex
                                                 )
                                             "
                                         />
                                         <!-- 2) 画控制点 -->
                                         <v-rect
                                             v-if="shouldRenderControlPoint(segmentIndex, cpIndex)"
                                             :config="{
                                             }
                                             :key="'cprect-' + segmentIndex + '-' + cpIndex"
                                             @dragmove="
                                                 onControlPointDrag(
                                                 )
                                             "
                                             @mouseenter="onControlPointMouseEnter"
                                             @mouseleave="onControlPointMouseLeave"
                                         />
                                 </template>
                             </template>
                         </template>
                     </template>

                     <!-- 显示大控制柄(tempC1与上一段C2的连线)和对应的参考线条 -->
                     <template
                         v-if="showHandles.showBigHandle && currentSegmentIndex !== null"
                     >
                         <v-line
                             :points="getP2toTempC1Line()"
                         />
                         <v-rect :x="tempC1.x - 5" :y="tempC1.y - 5" width="10" height="10"
                             fill="#1984ec" stroke="#1984ec" :strokeWidth="1"
                             name="tempC1-handle" draggable="true" dragOnTop: true,
                             @dragmove="onTempC1Drag" />
                     </template>
                 </v-layer>

            </div>
        </div>
    </div>
</template>