这里的环境是win11,默认配置isaacsim5.1到C盘以及安装isaaclab2.3.0到D盘。梳理流程后,也可以将目前的模块安装到其他路径。
1. 下载和安装sim
https://docs.isaacsim.omniverse.nvidia.com/latest/introduction/examples.html
下载软件包后运行命令:
mkdir C:\isaacsim
cd %USERPROFILE%/Downloads
tar -xvzf "isaac-sim-standalone-5.1.0-windows-x86_64.zip" -C C:\isaacsim
cd C:\isaacsim
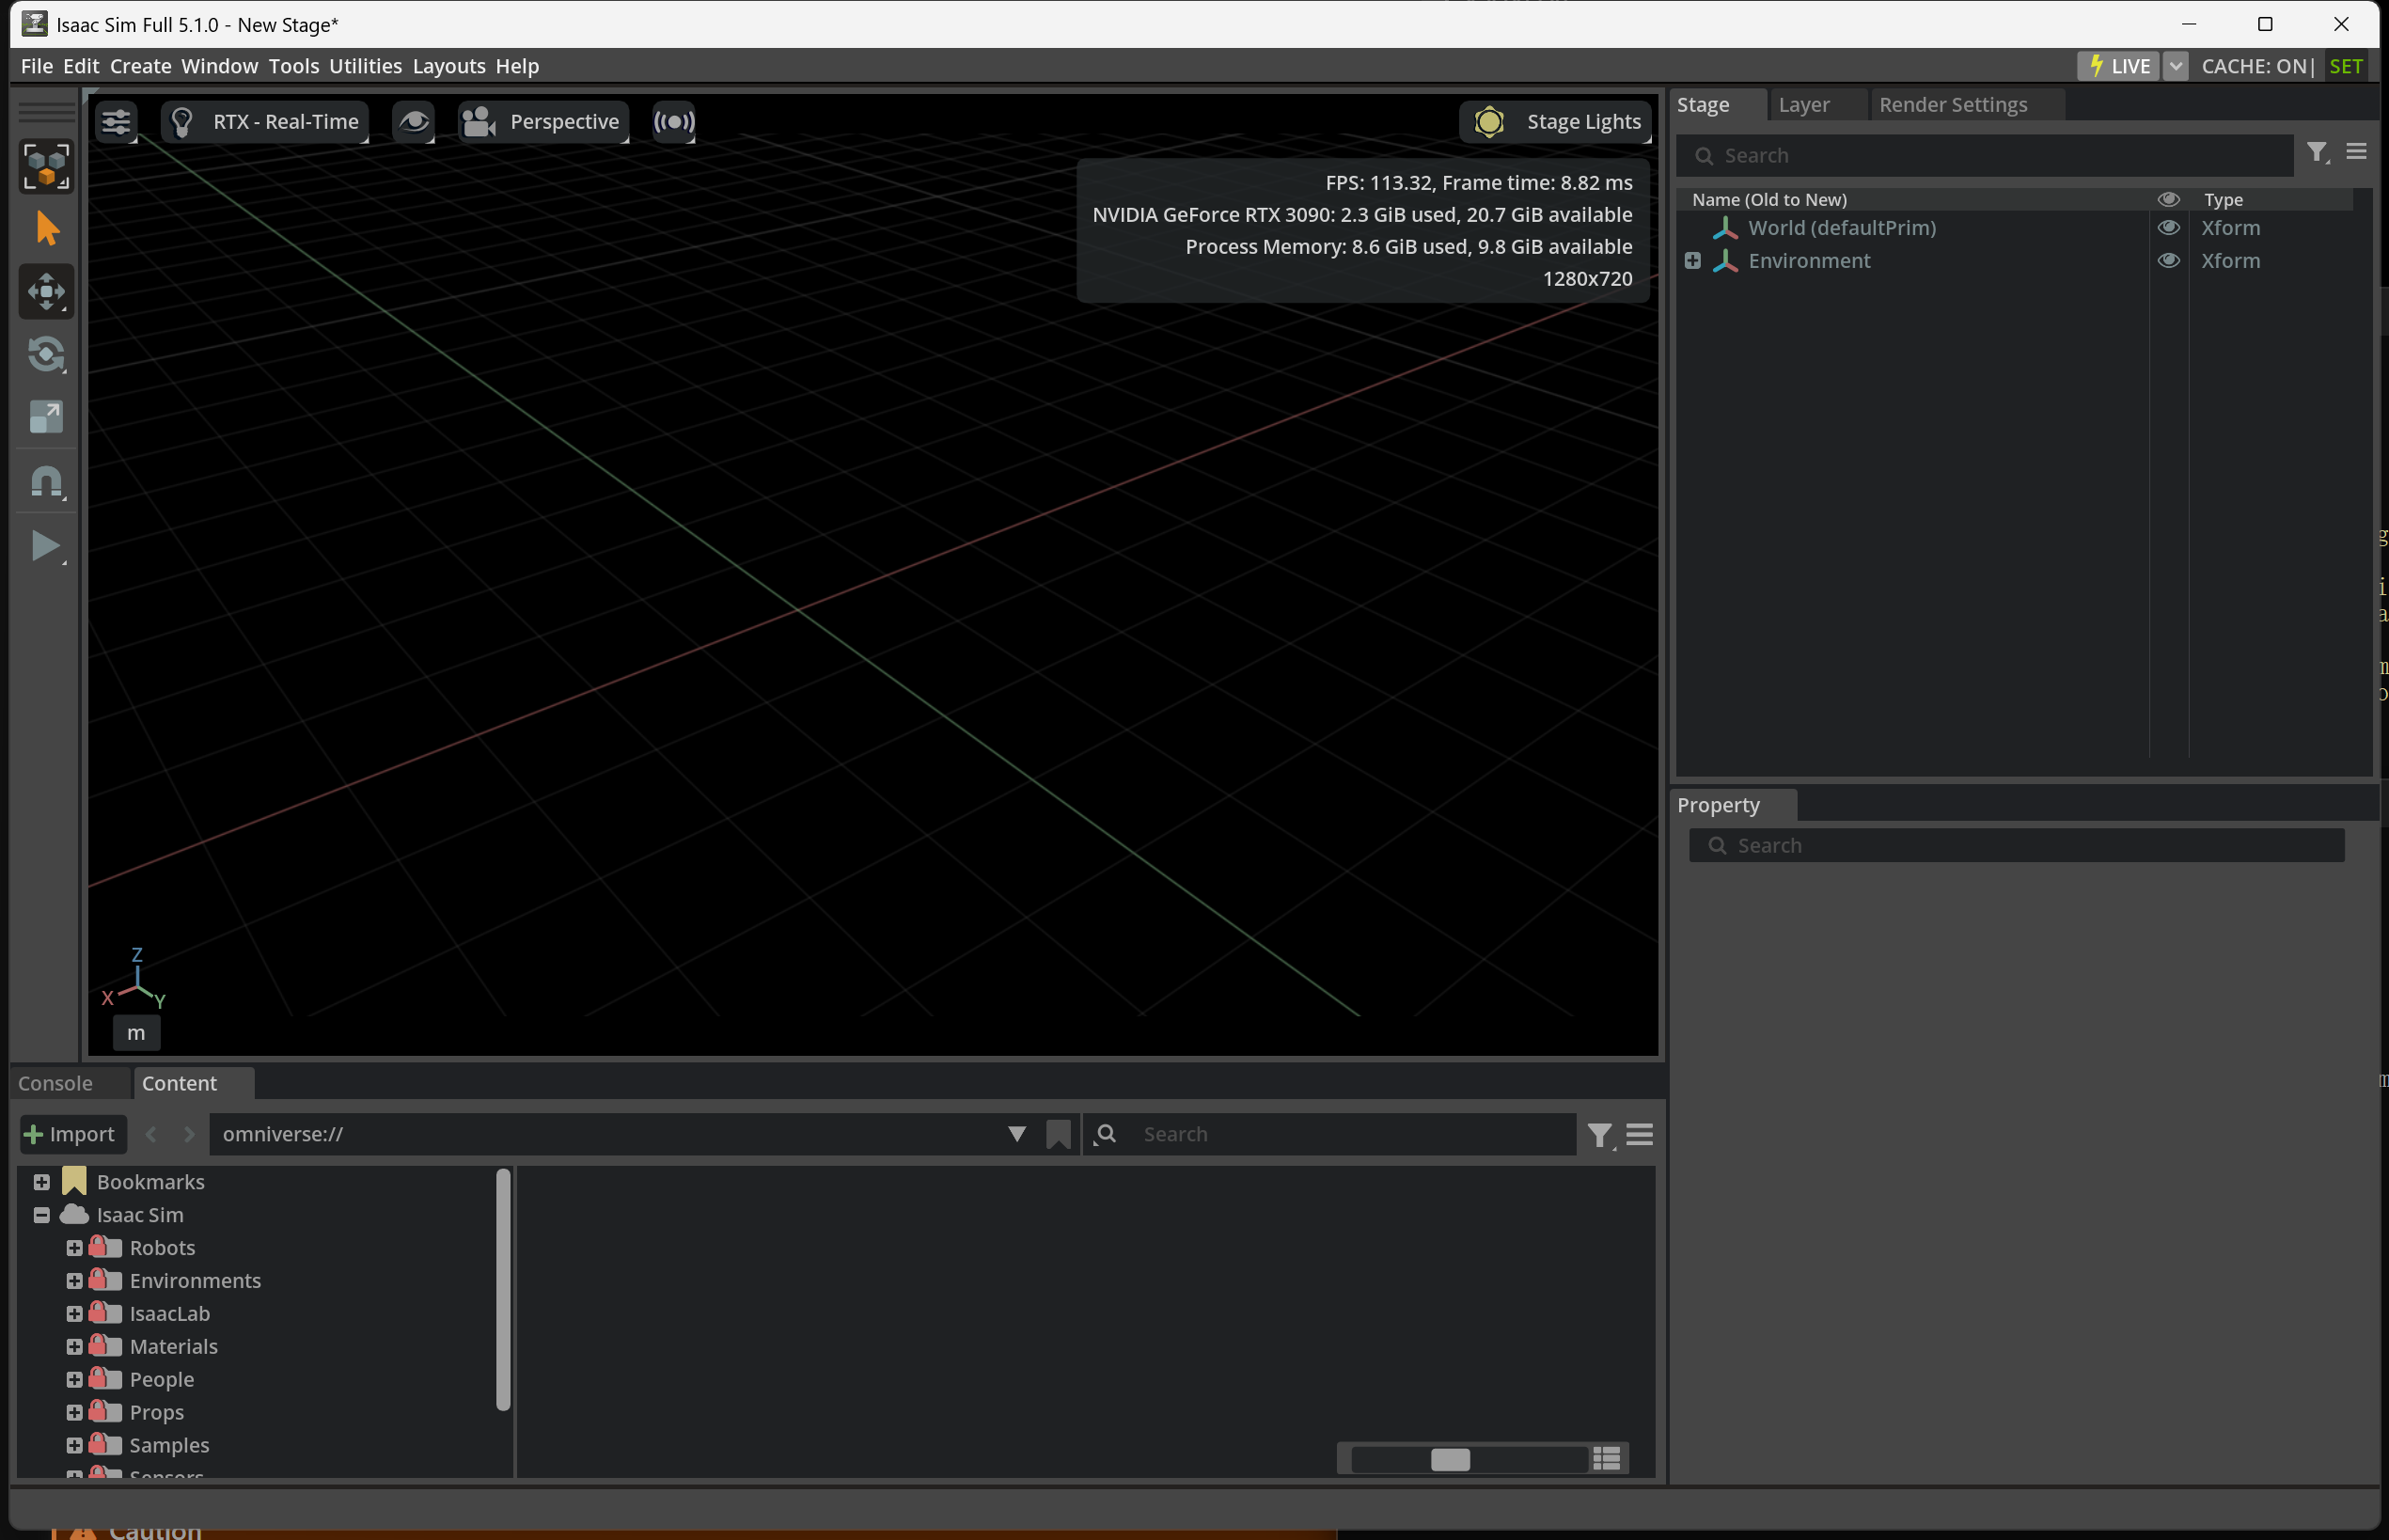
post_install.bat启动:
isaac-sim.bat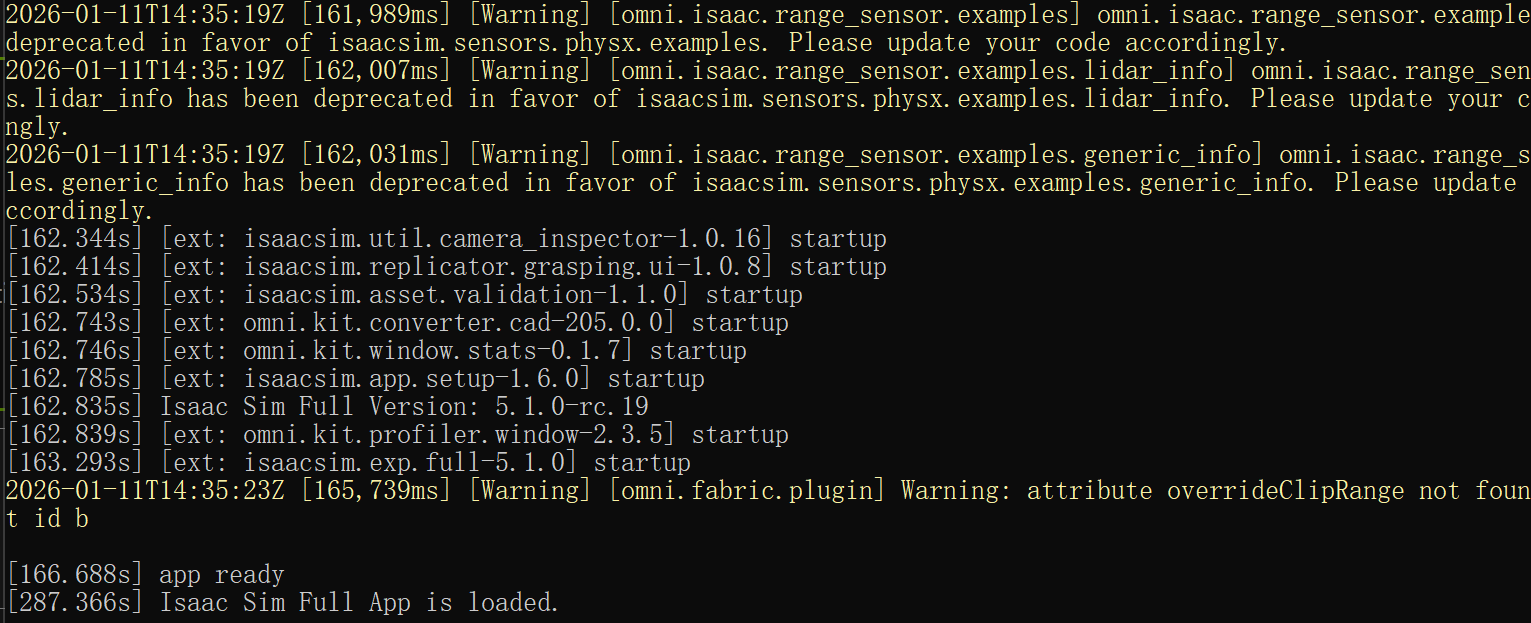
2. 安装lab
https://isaac-sim.github.io/IsaacLab/main/source/setup/installation/binaries_installation.html
首先测试文件关联,这里默认isaacsim的目录在C盘:
:: Isaac Sim root directory
set ISAACSIM_PATH="C:\isaacsim"
:: Isaac Sim python executable
set ISAACSIM_PYTHON_EXE="%ISAACSIM_PATH:"=%\python.bat"
测试启动sim:
:: note: you can pass the argument "--help" to see all arguments possible.
%ISAACSIM_PATH%\isaac-sim.bat
测试运行standalone脚本:
:: checks that python path is set correctly
%ISAACSIM_PYTHON_EXE% -c "print('Isaac Sim configuration is now complete.')"
:: checks that Isaac Sim can be launched from python
%ISAACSIM_PYTHON_EXE% %ISAACSIM_PATH%\standalone_examples\api\isaacsim.core.api\add_cubes.py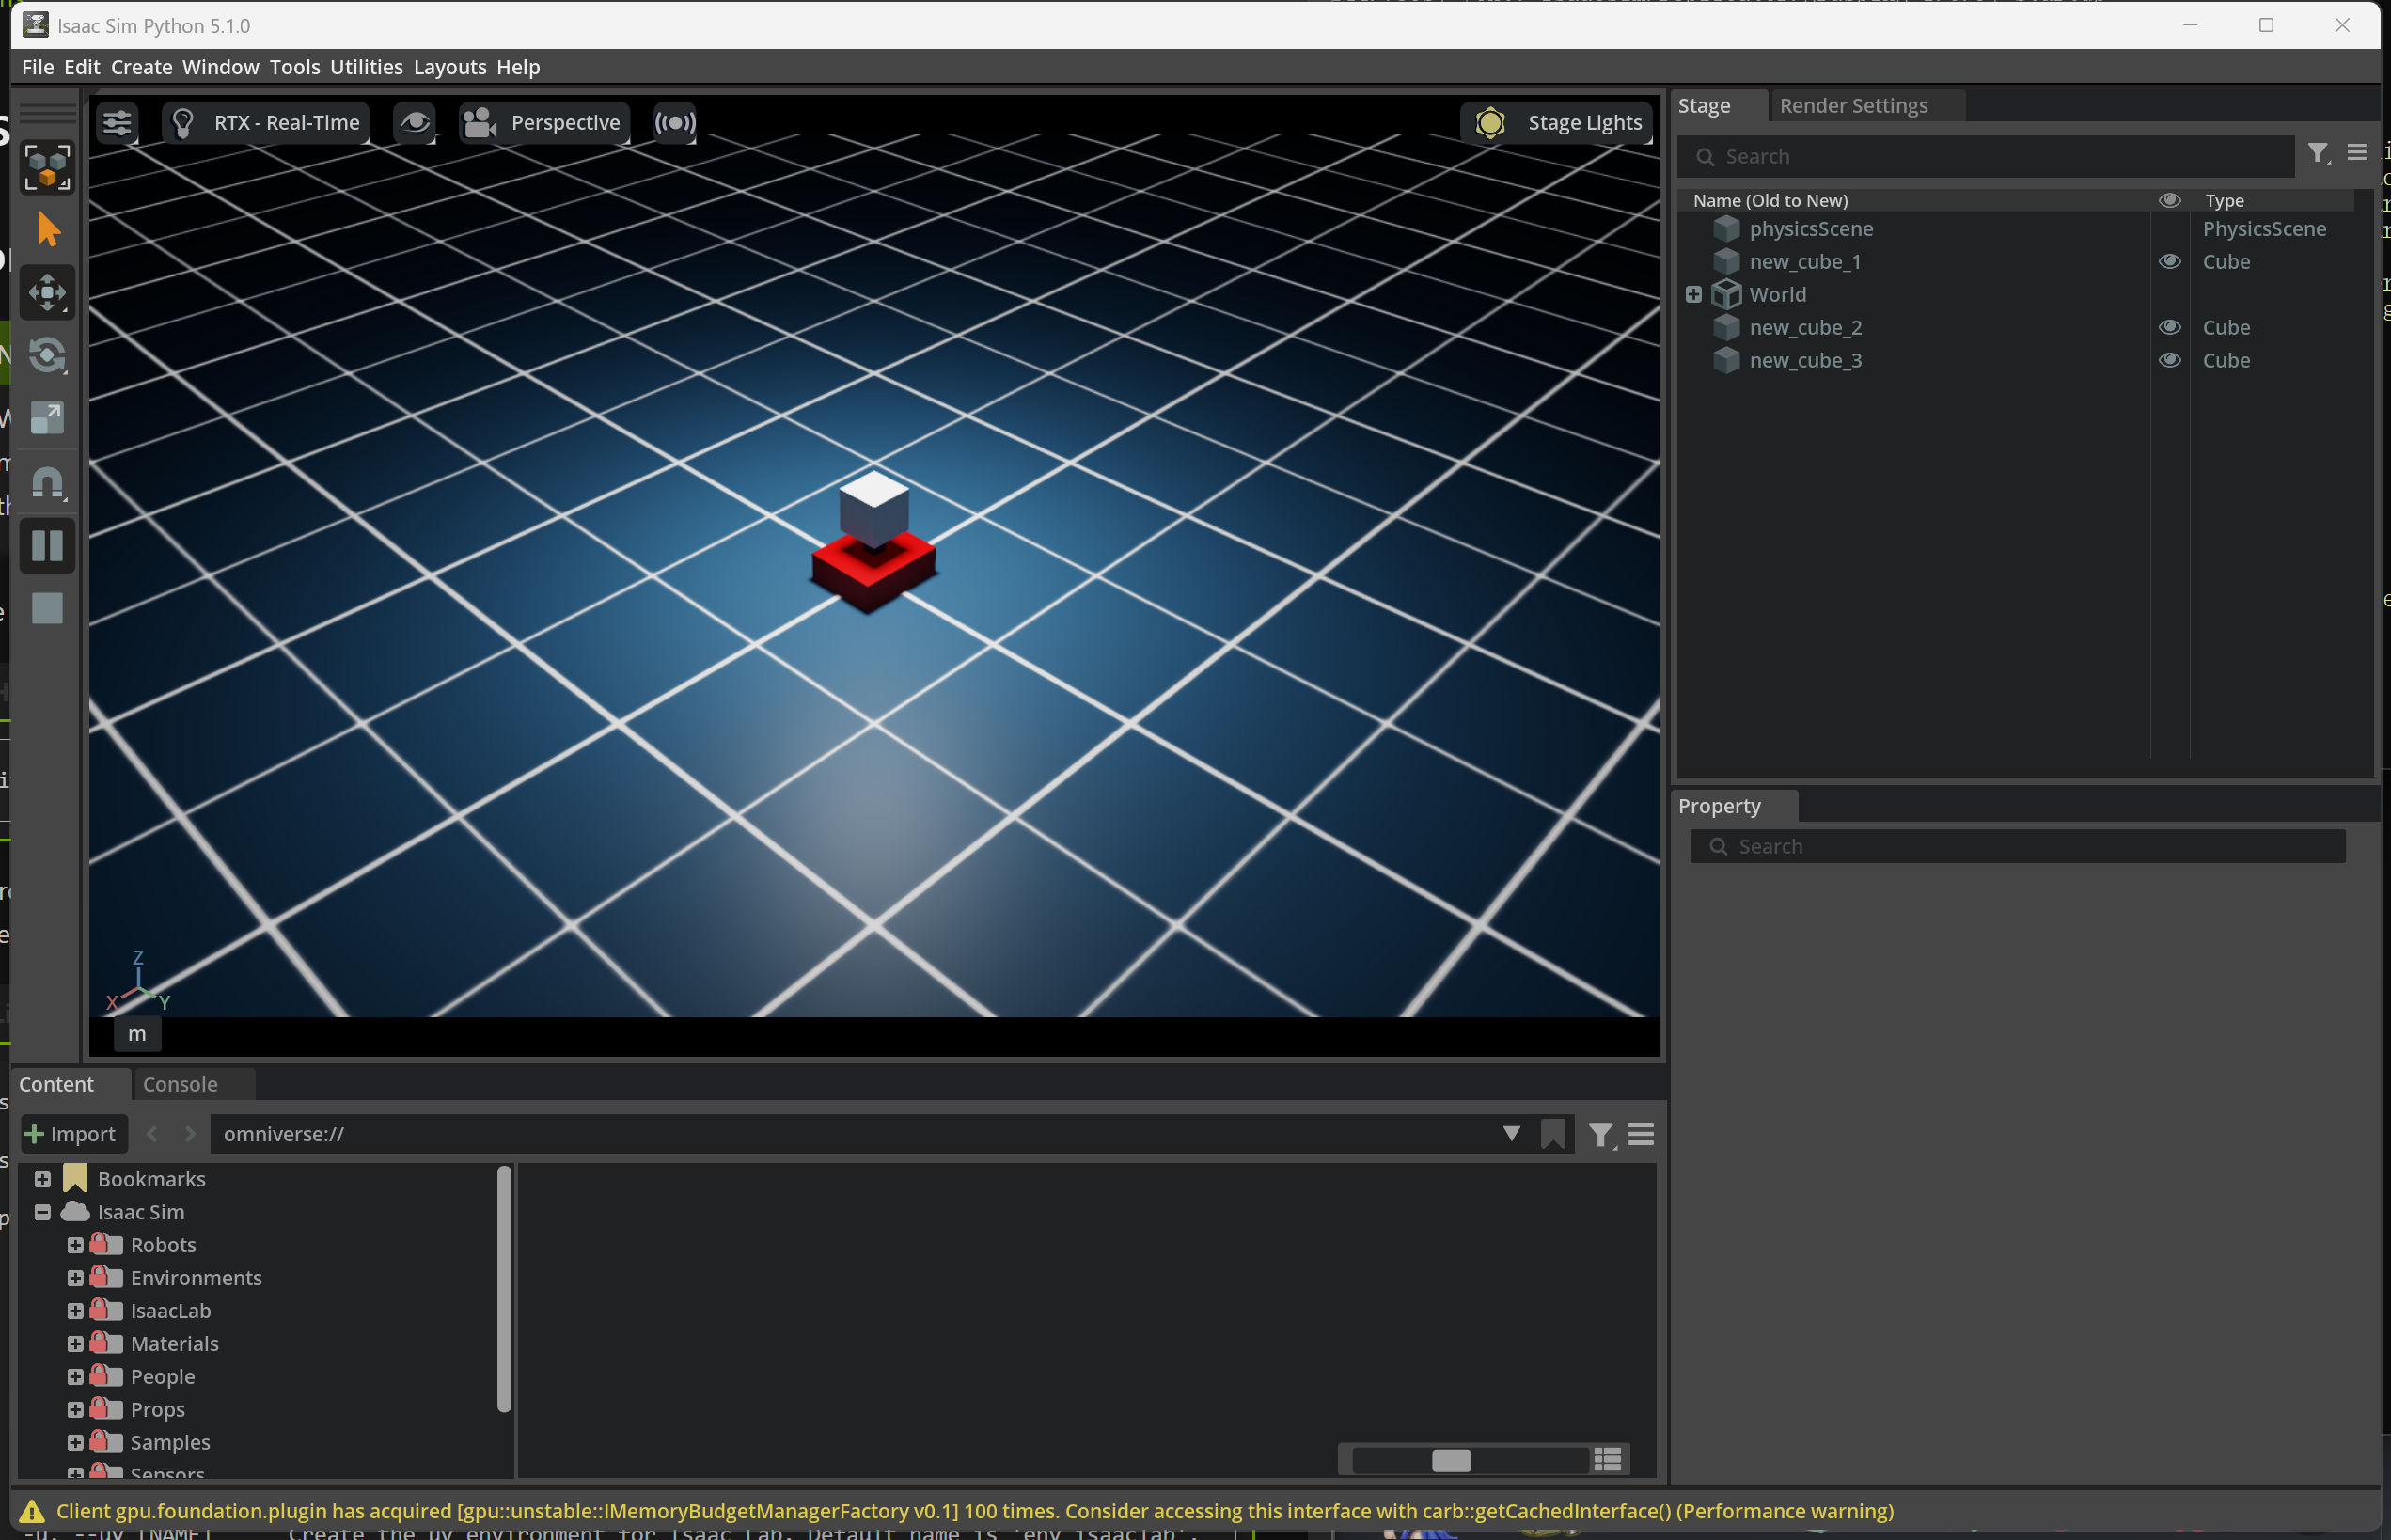
由于我曾经安装过4.5, 5.0,所以尝试clean掉之前的缓存等文件,避免冲突:
%ISAACSIM_PATH%\isaac-sim.bat --reset-user下载lab包:
git clone https://github.com/isaac-sim/IsaacLab.git将之前安装进C盘的sim路径关联到目前的Lab仓库
:: enter the cloned repository
cd IsaacLab
:: create a symbolic link - requires launching Command Prompt with Administrator access
mklink /D _isaac_sim %ISAACSIM_PATH%

:: For example:
:: Option 1: If pre-built binaries were installed:
:: mklink /D _isaac_sim C:\isaacsim
::
:: Option 2: If Isaac Sim was built from source:
:: mklink /D _isaac_sim C:\IsaacSim\_build\windows-x86_64\release
准备conda环境,安装好anaconda/miniconda后再lab目录中执行:
:: Option 1: Default environment name 'env_isaaclab'
isaaclab.bat --conda  :: or "isaaclab.bat -c"
:: Option 2: Custom name
isaaclab.bat --conda my_env  :: or "isaaclab.bat -c my_env"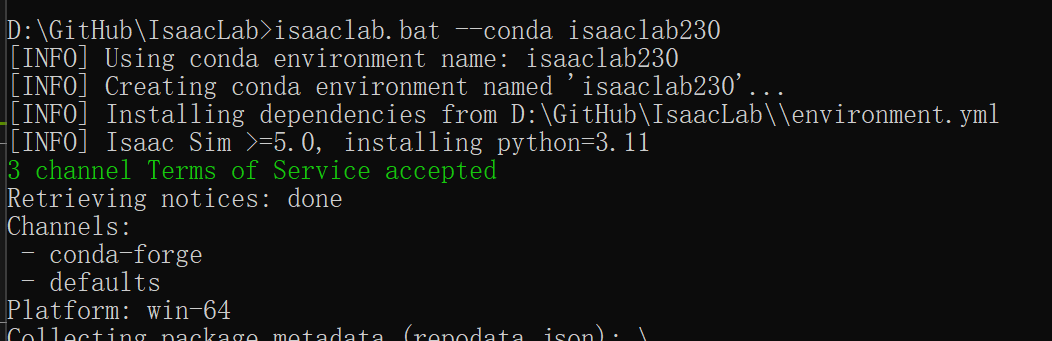
进入conda env, 安装isaaclab仓库:
isaaclab.bat --install这里最好有梯子,如果报错就重复运行安装命令,直到出现:

测试环境:
isaaclab.bat -p scripts\tutorials\00_sim\create_empty.py