创建一个SpringAI项目
-
直接入门体验,选用deepseek,需要提前准备好apiKey;获取apiKey的步骤前面的文章中有描述
-
创建一个maven项目
-
pom.xml(这里用的其实是ChatModel的pom)
xml<project xmlns="http://maven.apache.org/POM/4.0.0" xmlns:xsi="http://www.w3.org/2001/XMLSchema-instance" xsi:schemaLocation="http://maven.apache.org/POM/4.0.0 http://maven.apache.org/maven-v4_0_0.xsd"> <modelVersion>4.0.0</modelVersion> <groupId>com.qi</groupId> <artifactId>springAI_demo06</artifactId> <version>1.0-SNAPSHOT</version> <name>springAI_demo06</name> <url>http://maven.apache.org</url> <dependencyManagement> <dependencies> <!-- 引入 Spring Boot BOM --> <dependency> <groupId>org.springframework.boot</groupId> <artifactId>spring-boot-dependencies</artifactId> <version>3.4.3</version> <type>pom</type> <scope>import</scope> </dependency> <!-- 引入 Spring AI BOM --> <dependency> <groupId>org.springframework.ai</groupId> <artifactId>spring-ai-bom</artifactId> <version>1.0.0</version> <type>pom</type> <scope>import</scope> </dependency> </dependencies> </dependencyManagement> <dependencies> <!-- SpringBoot 核心包 --> <dependency> <groupId>org.springframework.boot</groupId> <artifactId>spring-boot-starter</artifactId> </dependency> <!-- SpringBoot Web容器 --> <dependency> <groupId>org.springframework.boot</groupId> <artifactId>spring-boot-starter-web</artifactId> </dependency> <!-- springAI --> <dependency> <groupId>org.springframework.ai</groupId> <artifactId>spring-ai-starter-model-deepseek</artifactId> </dependency> </dependencies> </project> -
application.yml
ymlspring: ai: deepseek: api-key: sk-xxxxxxxxx base-url: https://api.deepseek.com -
Application
javaimport org.springframework.boot.SpringApplication; import org.springframework.boot.autoconfigure.SpringBootApplication; @SpringBootApplication public class Application { public static void main(String[] args) { SpringApplication.run(Application.class, args); System.out.println("----------------项目启动成功----------------"); } } -
controller
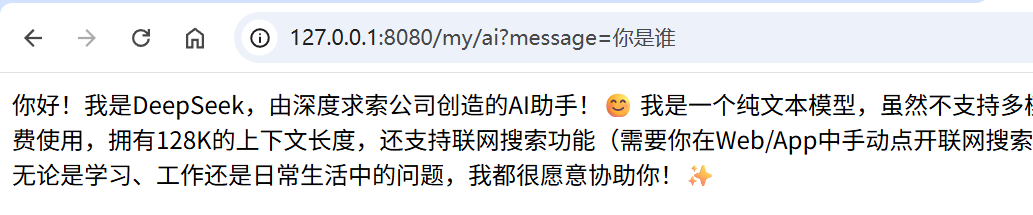
javaimport org.springframework.ai.chat.client.ChatClient; import org.springframework.web.bind.annotation.GetMapping; import org.springframework.web.bind.annotation.RequestMapping; import org.springframework.web.bind.annotation.RequestParam; import org.springframework.web.bind.annotation.RestController; @RestController @RequestMapping("/my") class MyController { private final ChatClient chatClient; public MyController(ChatClient.Builder chatClientBuilder) { this.chatClient = chatClientBuilder.build(); } @GetMapping("/ai") public String generation(@RequestParam("message") String message) { //prompt:提示词 return this.chatClient.prompt() //用户给的信息 .user(message) //远程请求大模型 .call() //返回文本 .content(); } } -
调用
预设角色
-
为AI预先设置一个角色
-
其实就是预设一个聊天客户端:ChatClient
-
ChatClient是一个通用的封装,几乎所有大模型都通用
-
在上文中,我们通过 chatClientBuilder.build() 创建了一个默认的 ChatClient。这里我们需要自定义一下,创建一个config类
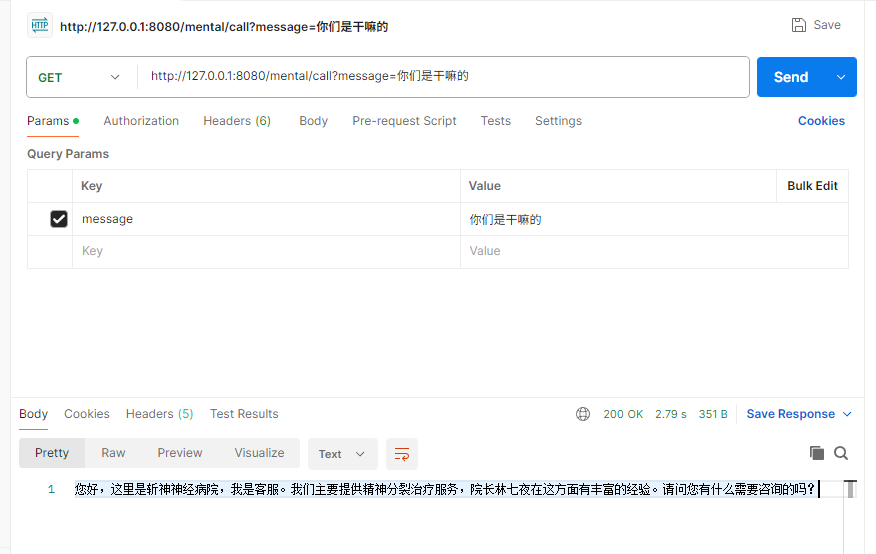
javaimport org.springframework.ai.chat.client.ChatClient; import org.springframework.context.annotation.Bean; import org.springframework.context.annotation.Configuration; @Configuration public class Config { @Bean ChatClient chatClient(ChatClient.Builder builder) { return builder.defaultSystem("你现在是斩神神经病院的一个客服,需要为客户解答。我们神经病院的院长叫林七夜,他最擅长的就是精神分裂治疗。") .build(); } } -
创建一个新的控制层:MentalController
javaimport org.springframework.ai.chat.client.ChatClient; import org.springframework.beans.factory.annotation.Autowired; import org.springframework.web.bind.annotation.GetMapping; import org.springframework.web.bind.annotation.RequestMapping; import org.springframework.web.bind.annotation.RequestParam; import org.springframework.web.bind.annotation.RestController; @RestController @RequestMapping("/mental") public class MentalController { @Autowired private ChatClient chatClient; @GetMapping("/call") public String call(@RequestParam("message") String message) { //prompt:提示词 return chatClient.prompt() //用户给的信息 .user(message) //远程请求大模型 .call() //返回文本 .content(); } } -
调用接口(这里用的是postman,和浏览器调用是一样的)
使用流的方式,按token发送到前端
-
创建一个接口,这里用的还是上面自定义的 ChatClient
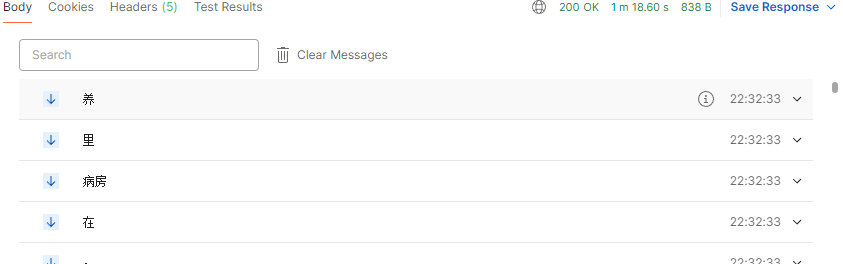
java@GetMapping(value = "/stream", produces ="text/stream;charset=UTF-8") public Flux<String> stream(@RequestParam("message") String message) { //prompt:提示词 Flux<String> content = chatClient.prompt() //用户给的信息 .user(message) //远程请求大模型 .stream() //返回文本 .content(); return content; } -
调用接口,可以看到是一行一行输出的

-
拓展:postman等软件还是无法正常按token接收,还是会等待全部返回之后才会展示
-
这是因为返回时,头中的协议不是 text/event-stream;
-
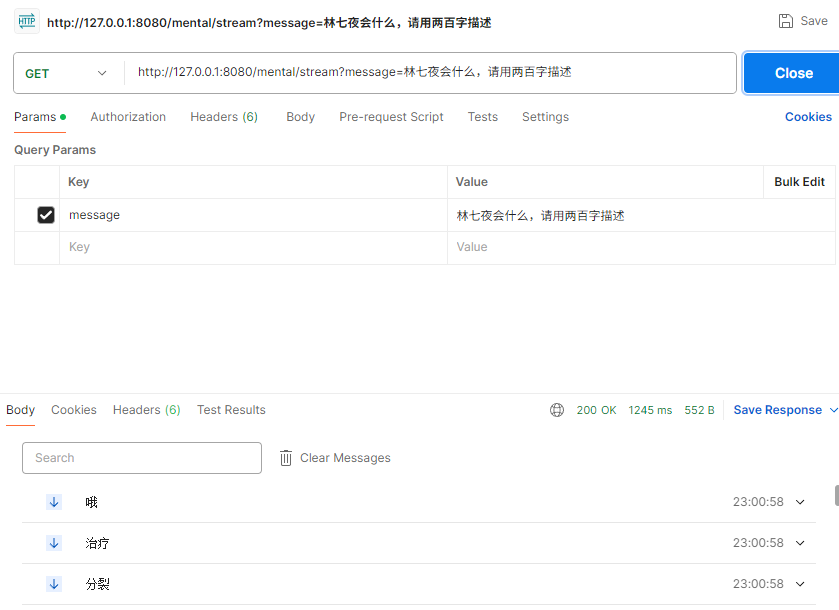
如果想要postman可以正常接收流式响应,需要将produces设置为:MediaType.TEXT_EVENT_STREAM_VALUE(就是text/event-stream;)
java@GetMapping(value = "/stream", produces = MediaType.TEXT_EVENT_STREAM_VALUE) public Flux<String> stream(@RequestParam("message") String message) { ...... -
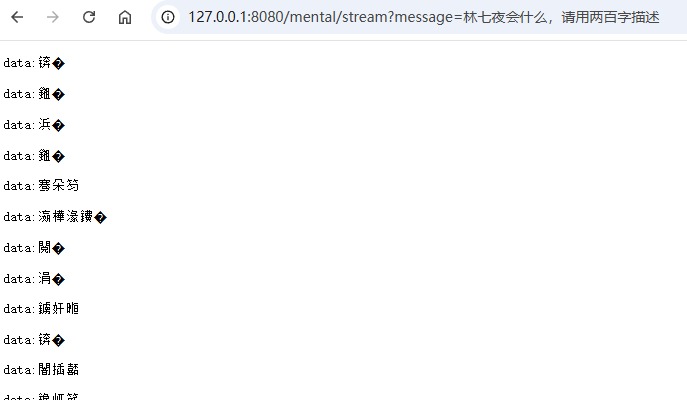
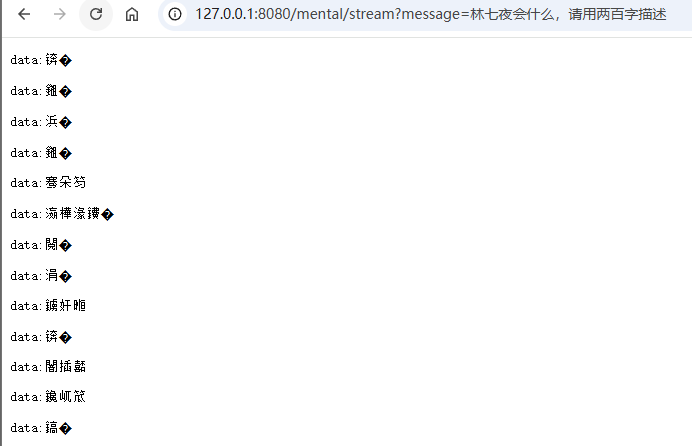
虽然postman中可以了,但是这样浏览器就又会乱码
-
我们尝试解决这个问题,在produces中指定编码
java@GetMapping(value = "/stream", produces = "text/event-stream;charset=UTF-8") -
但是并没有解决
-
这和我们理解中的编码问题有冲突,理论上我们指定了UTF-8,浏览器应该不会乱码,查看接口的返回头
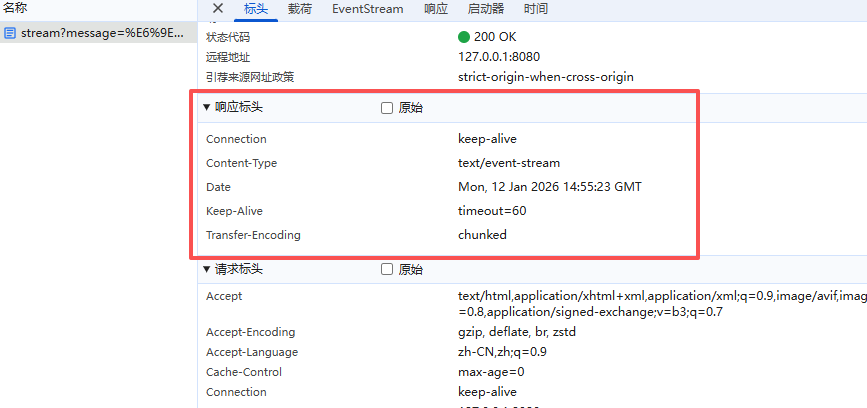
-
可以看到并没有返回,所以可以有依据的怀疑:produces 注解中的 charset 在 WebFlux 的响应式管道中可能被忽略或覆盖。
-
手动指定
java@GetMapping(value = "/stream", produces = MediaType.TEXT_EVENT_STREAM_VALUE) public Flux<String> stream(@RequestParam("message") String message, HttpServletResponse response) { response.setContentType( "text/event-stream;charset=UTF-8" ); //防止缓存SSE流,不是必须 response.setHeader("Cache-Control", "no-cache"); //prompt:提示词 Flux<String> content = chatClient.prompt() //用户给的信息 .user(message) //远程请求大模型 .stream() //返回文本 .content(); return content; } -
此时可以看到不乱码了
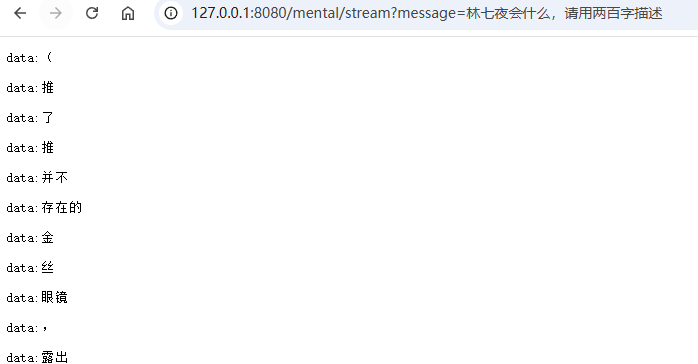
-
但是 text/event-stream 这种返回形式会在每个token前添加:data:
-
所以这样的数据对于浏览器(直接查看内容)来说也没有什么意义。
-
程序设置代理
-
如果访问openAI的官方,可能需要设置代理
-
需要的话自行选择代理服务器和端口
javaimport org.springframework.boot.SpringApplication; import org.springframework.boot.autoconfigure.SpringBootApplication; @SpringBootApplication public class ApplicationProxy{ public static void main(String[] args) { String proxyHost = "127.0.0.1"; int proxyPort = 7897; //代理的端口 // 设置HTTP代理 System.setProperty("http.proxyHost", proxyHost); System.setProperty("http.proxyPort", String.valueOf(proxyPort)); // HTTPS代理 System.setProperty("https.proxyHost", proxyHost); System.setProperty("https.proxyPort", String.valueOf(proxyPort)); // SOCKS代理 System.setProperty("socksProxyHost", proxyHost); System.setProperty("socksProxyPort", String.valueOf(proxyPort)); // FTP代理(如果需要) System.setProperty("ftp.proxyHost", proxyHost); System.setProperty("ftp.proxyPort", String.valueOf(proxyPort)); //Springboot启动 SpringApplication.run(ApplicationProxy.class, args); System.out.println("----------------项目启动成功----------------"); } }